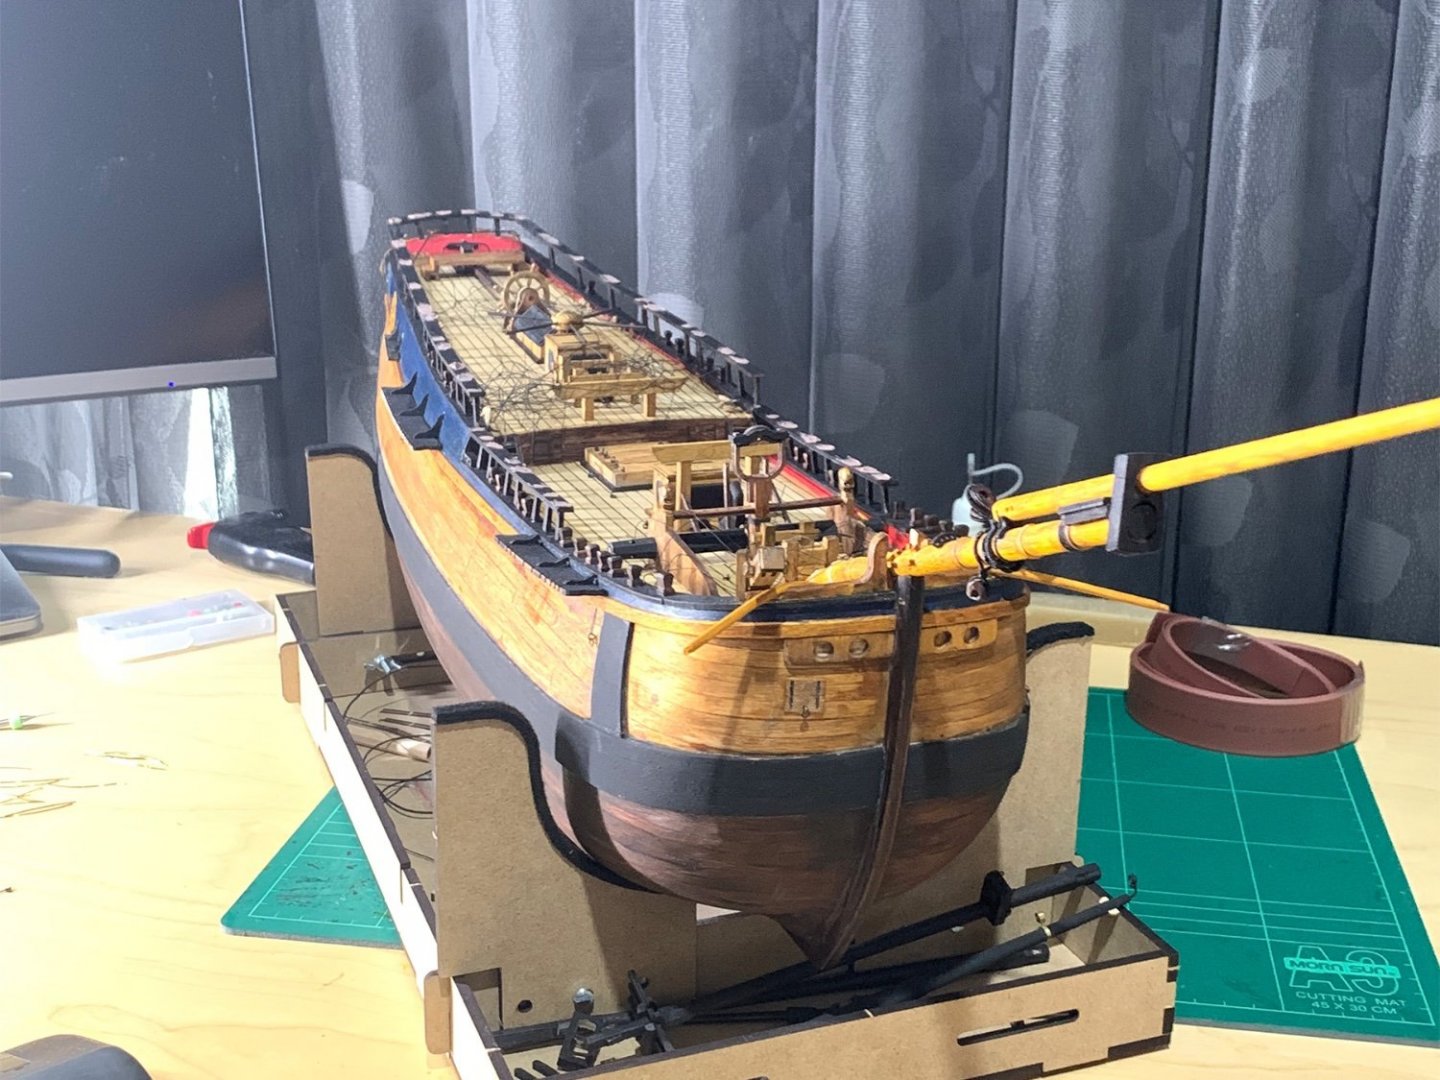
Good morning Peter. That is great progress. Looking really good. I imagine the handrails where some difficult work. Did you fit all the stanchions to the rail and then fit? You owned the transom BTW. I keep looking at your deck- it is so good. In my opinion the colour and caulking is spot on. Nice! Cheers GrantHandrails on and holes filled ready for sanding. Have made some preliminary progress with the transom; some cleaning up to do. I have also mounted the channels and started on making up the deadeyes; 24 down, 22 more to 'wire up' before assembling and fitting to the channels.
The boom has been fitted and 'bolted" in place under the foremost bitts. The catheads have also been installed as have the bumpkins. You may note that the ships bell has not yet been fitted but as its a swinging bell I did not want to to go astray. Some hatch covers have been installed on the STBD side too.
View attachment 305491
-

Win a Free Custom Engraved Brass Coin!!!
As a way to introduce our brass coins to the community, we will raffle off a free coin during the month of August. Follow link ABOVE for instructions for entering.
-

PRE-ORDER SHIPS IN SCALE TODAY!
The beloved Ships in Scale Magazine is back and charting a new course for 2026!
Discover new skills, new techniques, and new inspirations in every issue.
NOTE THAT OUR FIRST ISSUE WILL BE JAN/FEB 2026
You are using an out of date browser. It may not display this or other websites correctly.
You should upgrade or use an alternative browser.
You should upgrade or use an alternative browser.
- Joined
- Dec 30, 2021
- Messages
- 278
- Points
- 278

Grant, I applied glue tot he holes then installed the stanchions int heir respective holes and orientations. I then loosely slipped the rail over the stanchions to make sure they stayed in correct alignment while the glue dried. I used miniature wooden clothes pegs to make sure the front and rear stanchions remained vertical. After the glue dried, I then applied glue to the handrail and placed over the stanchions again using pegs to hold the rail at the right height and there it needed to bend down, I pushed a sin into the joint to ensure it was level with the top of the related stanchion. As for the rear, I used the Marquardt drawings to get the post location and rail curve right. I did have to ease a started groove into the transom top to align the inboard side of the post to the transom face. Again, the rail was used initially for alignment then pegs and pins used to keep the rails curved to meet the top of the stanchions.Good morning Peter. That is great progress. Looking really good. I imagine the handrails where some difficult work. Did you fit all the stanchions to the rail and then fit? You owned the transom BTW. I keep looking at your deck- it is so good. In my opinion the colour and caulking is spot on. Nice! Cheers Grant
The transom wasn't too difficult (or different from the instructions). I did not apply all parts and the window rims are bare metal (scraped after painting royal blue). I used the deck veneer for the panelling around the window etch as the wood suggested int he instructions is far too thick.
WELL DONE MATE. I like special your PlankingHandrails on and holes filled ready for sanding. Have made some preliminary progress with the transom; some cleaning up to do. I have also mounted the channels and started on making up the deadeyes; 24 down, 22 more to 'wire up' before assembling and fitting to the channels.
The boom has been fitted and 'bolted" in place under the foremost bitts. The catheads have also been installed as have the bumpkins. You may note that the ships bell has not yet been fitted but as its a swinging bell I did not want to to go astray. Some hatch covers have been installed on the STBD side too.
View attachment 305491
- Joined
- Dec 30, 2021
- Messages
- 278
- Points
- 278

Thank you. And its the first layer of planking too. I didn't use the thin second layer since I was able to shape the thick base planking to fit.WELL DONE MATE. I like special your Planking
I have a really old unstarted AL Endeavor kit in the closet of shame. The pieces in that kit are very crude compare to the laser cut components in your kit. Did you group the similar pieces into plastic bags or is that how they are supplied in the kit?Have spent time doing more planking. Bends are going well but I am now getting to the point on the bow and stern where the bend and twist starts to exceed the capacity of straight planks so it's time to start tapering.
In th meantime I have received my serving machine which has sped up and improved my serving so I have dumped previously made rigging components and started again. I have rigged the Bowsprit with both Fore and Preventer stay deadeyes and the Bobstay deadeye. I have also lashed the jib boom to the Bowsprit.
I have also made a start of the deck fitting, features, structures though I am loathe to paint them all red per the instructions. I think I will have to do some more reading before I commit to painting everything red.
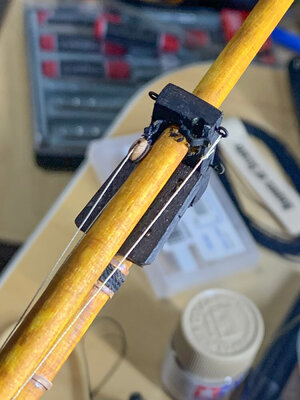
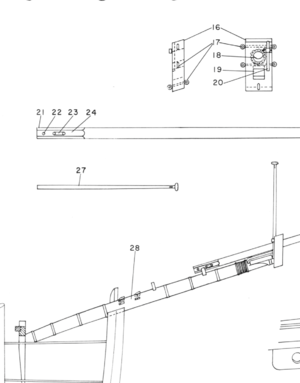
I put wooden hoops on the foremast and bowsprit using white heat shrink. Its temporarily in place and only coloured with a caramel marker (I'm waiting for some paint to arrive).
View attachment 291631
View attachment 291632
- Joined
- Dec 30, 2021
- Messages
- 278
- Points
- 278

Hi Glen,I have a really old unstarted AL Endeavor kit in the closet of shame. The pieces in that kit are very crude compare to the laser cut components in your kit. Did you group the similar pieces into plastic bags or is that how they are supplied in the kit?
The new AL kit only groups pieces by their thickness; i.e. all 3mm ply parts are cut from that sheet etc, so you do have to work through all the sheets to get the parts you need. I think identifying and grouping all the parts you have into individual assembly groups is smart. Using zip lock bags and a marker to identify the assembly helps for later ID when it comes time to assemble. Always read the instructions carefully. There are issues with ALL instructions some kits worse then others. Check out the build logs on this forum and other forums for your particular kit. These will help identify issues and their resolutions.
I have just purchases the Amarti BOUNTY kit and found that Amarti made a You-Tube video series to help modeller assemble what is considered a poorly made kit.
Last edited:
- Joined
- Dec 30, 2021
- Messages
- 278
- Points
- 278

Getting into the Shrouds on the Foremast. I'm not glueing the mast in place so its position and straightness will be down to the rigging. One thing I have noted using ropes of scale is that when I tension the shrouds, they twist. I am putting about 5mm of tension into the Shrouds. I will have to go through glueing the deadeyes straight in the channels to remedy. The first four pairs are in with after installing a pair of Burton Pennants; one more pair each side before heading to the Fore and Aft Stays.
I have also temporarily fitted the Jackstaff and the Jib Boom Traveller.
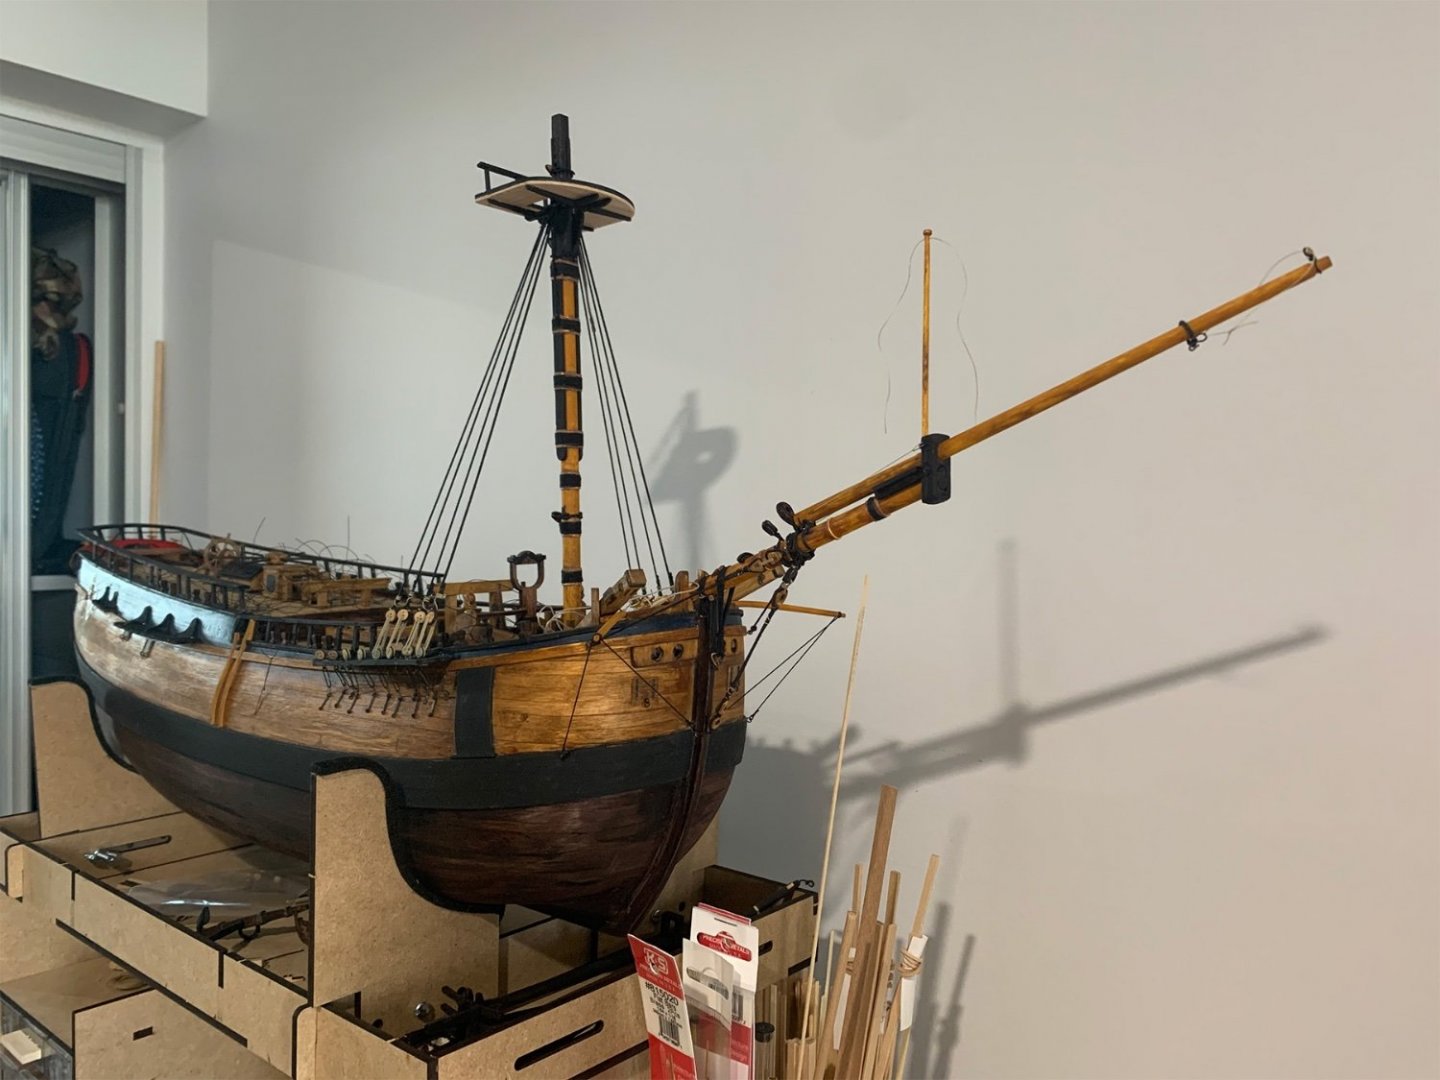
I have also temporarily fitted the Jackstaff and the Jib Boom Traveller.

- Joined
- Apr 15, 2021
- Messages
- 232
- Points
- 213

Looking good.
Deadeyes twisting is something that happens on real ships, cordage under strain tends to twist this. As far as I know, the fix for this is called a sheer pole. In the picture below is the Niagara. You'll see the metal bar above the deadeyes. Most examples you will find on the internet have a metal rod that sits a little lower not this square bar. I've seen some ships where the bar was up too high and the deadeyes ended up misaligned anyway...
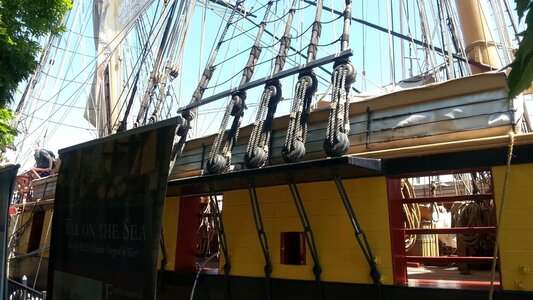
Deadeyes twisting is something that happens on real ships, cordage under strain tends to twist this. As far as I know, the fix for this is called a sheer pole. In the picture below is the Niagara. You'll see the metal bar above the deadeyes. Most examples you will find on the internet have a metal rod that sits a little lower not this square bar. I've seen some ships where the bar was up too high and the deadeyes ended up misaligned anyway...

I would wait to add tp Flag pore that early. You will have a big risk to break it. Shrouds look good, and well align. el capiGetting into the Shrouds on the Foremast. I'm not glueing the mast in place so its position and straightness will be down to the rigging. One thing I have noted using ropes of scale is that when I tension the shrouds, they twist. I am putting about 5mm of tension into the Shrouds. I will have to go through glueing the deadeyes straight in the channels to remedy. The first four pairs are in with after installing a pair of Burton Pennants; one more pair each side before heading to the Fore and Aft Stays.
I have also temporarily fitted the Jackstaff and the Jib Boom Traveller.

correct-el capiLooking good.
Deadeyes twisting is something that happens on real ships, cordage under strain tends to twist this. As far as I know, the fix for this is called a sheer pole. In the picture below is the Niagara. You'll see the metal bar above the deadeyes. Most examples you will find on the internet have a metal rod that sits a little lower not this square bar. I've seen some ships where the bar was up too high and the deadeyes ended up misaligned anyway...
View attachment 307080
- Joined
- Dec 30, 2021
- Messages
- 278
- Points
- 278

no problems. The Jackstaff is removable per the original. Its in place for the phot....I would wait to add tp Flag pore that early. You will have a big risk to break it. Shrouds look good, and well align. el capi
- Joined
- Dec 30, 2021
- Messages
- 278
- Points
- 278

Thank heavens for that. I thought I might have done something wrong (like put too much tension in the shrouds). Mind you they are tight enough to play a tune....Looking good.
Deadeyes twisting is something that happens on real ships, cordage under strain tends to twist this. As far as I know, the fix for this is called a sheer pole. In the picture below is the Niagara. You'll see the metal bar above the deadeyes. Most examples you will find on the internet have a metal rod that sits a little lower not this square bar. I've seen some ships where the bar was up too high and the deadeyes ended up misaligned anyway...
View attachment 307080
just a bad experience with the bowsprit ones. elcapino problems. The Jackstaff is removable per the original. Its in place for the phot....
- Joined
- Apr 15, 2021
- Messages
- 232
- Points
- 213

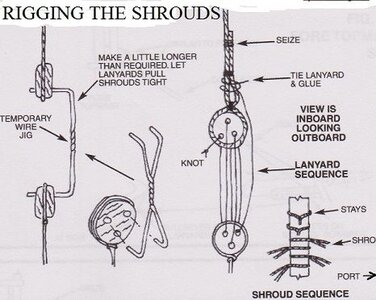
Cotton does loosen up over time. The standing rigging should be fairly tight.Mind you they are tight enough to play a tune....
Yes, over time it can slack something. that is the reason that I am using this metal cross that i¡I will attach. I made one for each Deadeyes on the whole ship. it will aline the Deadeyes, and you can now pur the shroud around and tight. when the time comes for Riggen, take them out, and now fasten the shrouds tough and correct now- raw materials coming from paperclips.. el capiCotton does loosen up over time. The standing rigging should be fairly tight.
- Joined
- Dec 30, 2021
- Messages
- 278
- Points
- 278

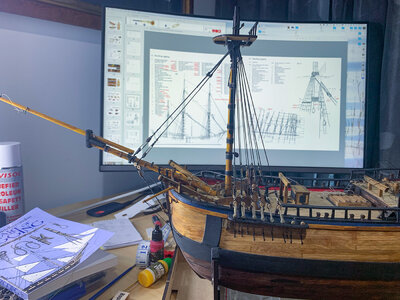
Have made further progress this weekend. The Foremast Main and Preventer stays are installed after completing the 5th and 6th pair of shrouds. I also installed the final 10 deck fittings in the foredeck for running rigging.
I think tomorrow will see the main mast channel deadeyes installed but noting its Mothers Day in Australia, I may have other duties to perform....
I think tomorrow will see the main mast channel deadeyes installed but noting its Mothers Day in Australia, I may have other duties to perform....

it looks very good and correct, but PLEASE take care with bowsprit outer part- jib bom?? especially with a beer belly. I know it from experience-el capi.Have made further progress this weekend. The Foremast Main and Preventer stays are installed after completing the 5th and 6th pair of shrouds. I also installed the final 10 deck fittings in the foredeck for running rigging.
I think tomorrow will see the main mast channel deadeyes installed but noting its Mothers Day in Australia, I may have other duties to perform....
View attachment 307227
- Joined
- Dec 30, 2021
- Messages
- 278
- Points
- 278

Having completed the shrouds and forward stays on the Fore mast, I have moved onto the main mast. It was a little loose in its hole so I have had to wedge it before starting the shrouds. Even dredging it, I had to temporarily fit the Main stay to stop the mast from being dragged too far aft when tensioning the third and forth shroud pairs. I have also fitted the topmasts as the shrouds position around the mast top can affect fit (again only temporary at present).
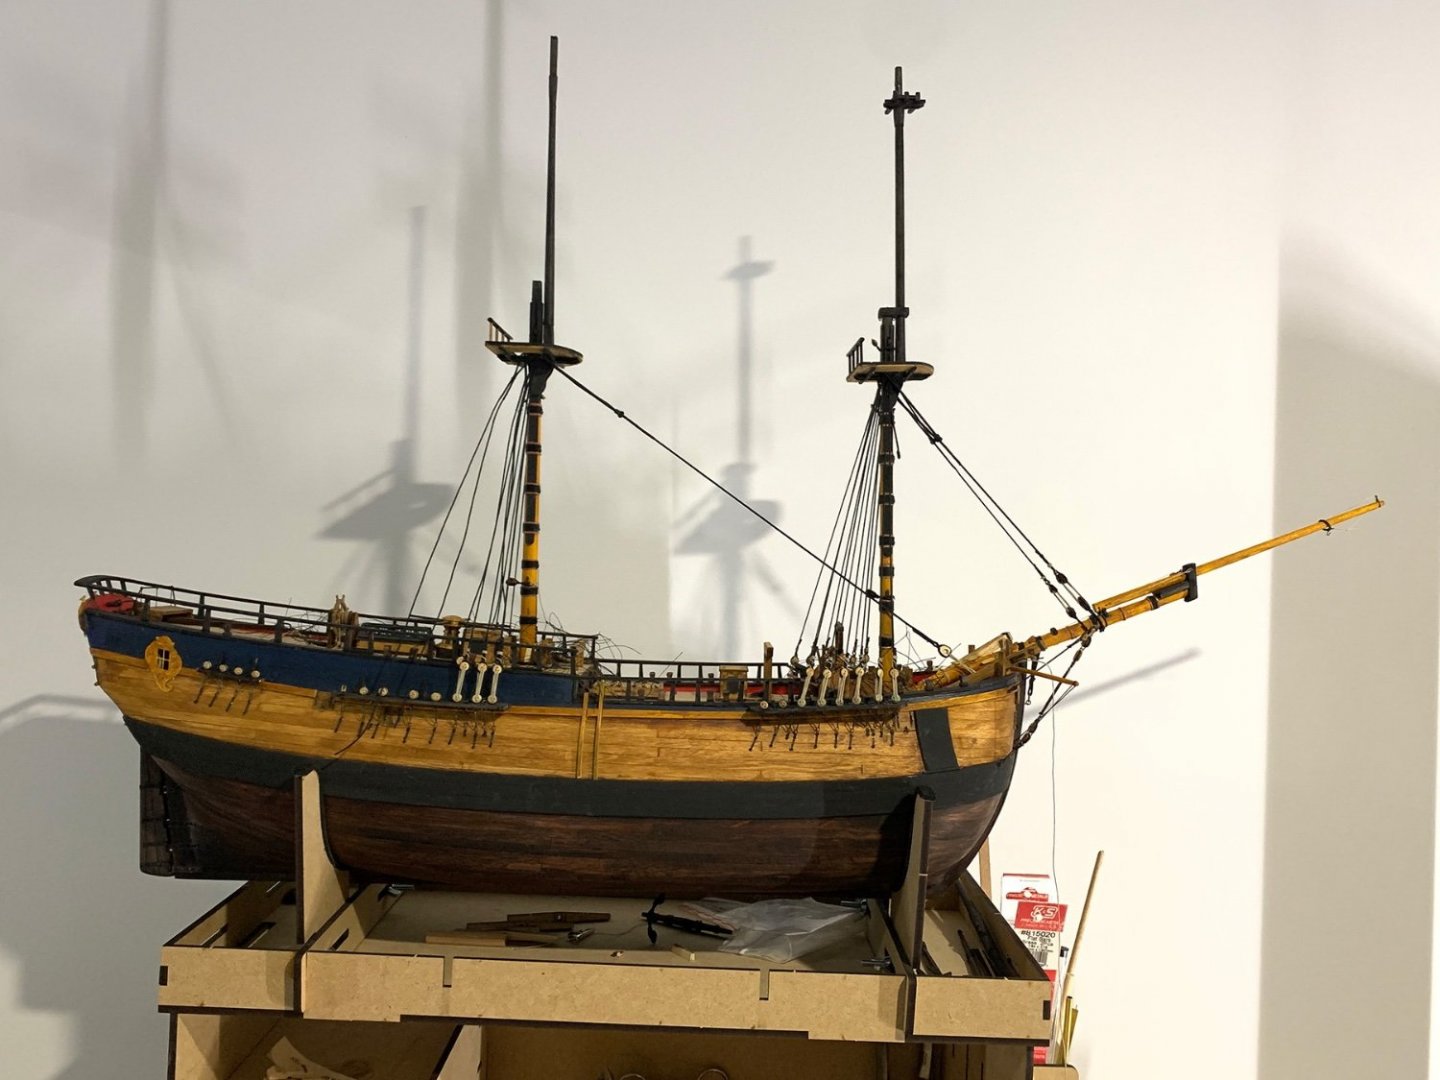

well done. the only thing to avoid moving the mast is to start with the first and second, then go backwards and start with the last two ned, until we will end in the middle.Having completed the shrouds and forward stays on the Fore mast, I have moved onto the main mast. It was a little loose in its hole so I have had to wedge it before starting the shrouds. Even dredging it, I had to temporarily fit the Main stay to stop the mast from being dragged too far aft when tensioning the third and forth shroud pairs. I have also fitted the topmasts as the shrouds position around the mast top can affect fit (again only temporary at present).


