Wow Boris- that is brilliant. The detail and the sheaves are immaculate. Impressive modeling.Cheers GrantEverybody thanks for the likes and watching.
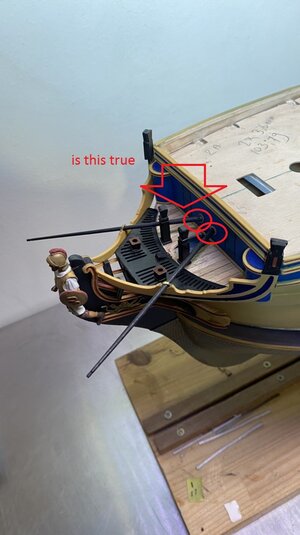
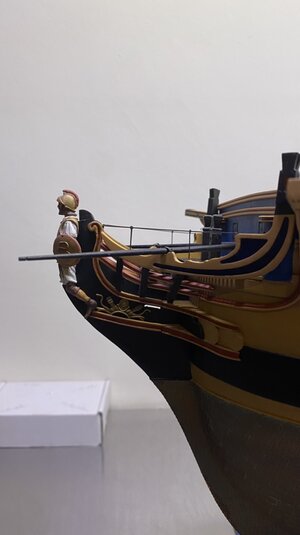
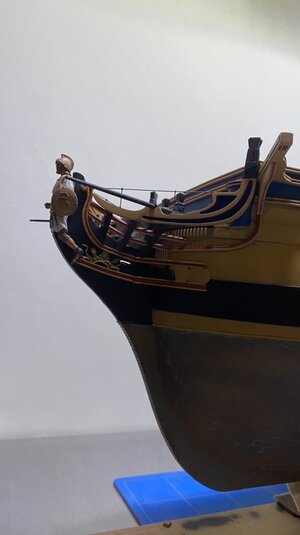
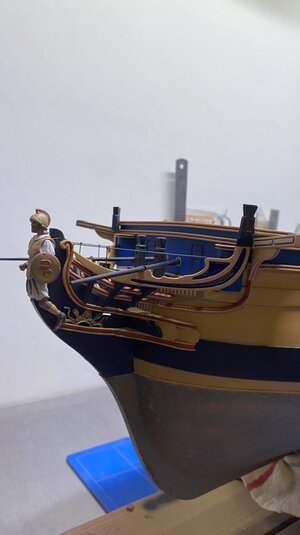
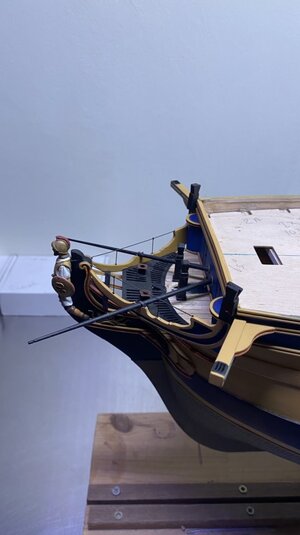
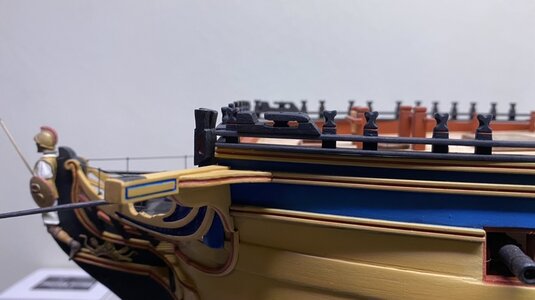
Went a bit further with the galleon, and made the catheads,
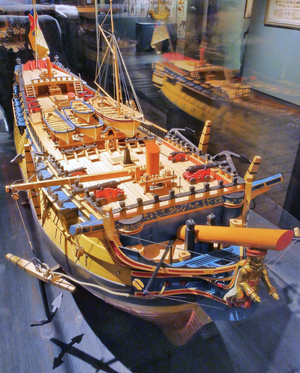
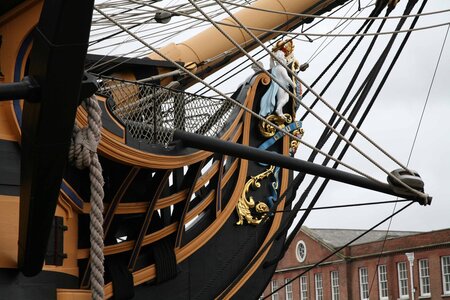
As there is little mention of them in the building description, I took a number of contemporaries, including the Victory as a guide, and came to the following.
and made the last mouldings and gave them a colour, also gave the rest of the construction a colour.
Only the railing remains to be made, and then the galleon chapter is finished.
Below some photos.
View attachment 303081View attachment 303082View attachment 303083View attachment 303084View attachment 303085View attachment 303086
-

Win a Free Custom Engraved Brass Coin!!!
As a way to introduce our brass coins to the community, we will raffle off a free coin during the month of August. Follow link ABOVE for instructions for entering.
-

PRE-ORDER SHIPS IN SCALE TODAY!
The beloved Ships in Scale Magazine is back and charting a new course for 2026!
Discover new skills, new techniques, and new inspirations in every issue.
NOTE THAT OUR FIRST ISSUE WILL BE JAN/FEB 2026
You are using an out of date browser. It may not display this or other websites correctly.
You should upgrade or use an alternative browser.
You should upgrade or use an alternative browser.
HMS Agamemnon (1/64 Caldercraft)
- Thread starter Willbor237
- Start date
- Watchers 38
-
- Tags
- agamemnon caldercraft
Thanks for the thumbs up and looking!
A bit further on
Given that I am waiting for a serving machine.
To make the rigging for the guns.
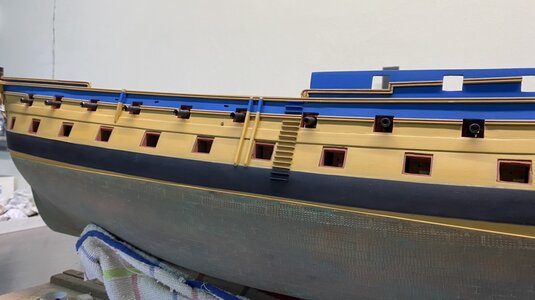
In the meantime I started with the stairs on the outside of the hull.
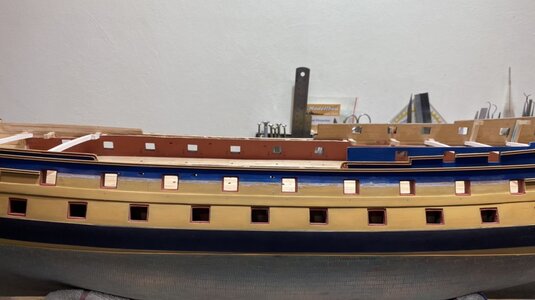
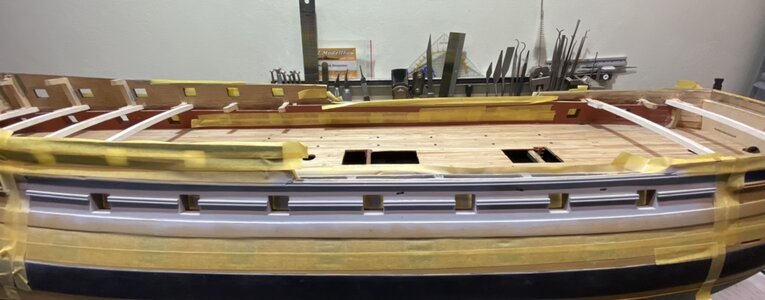
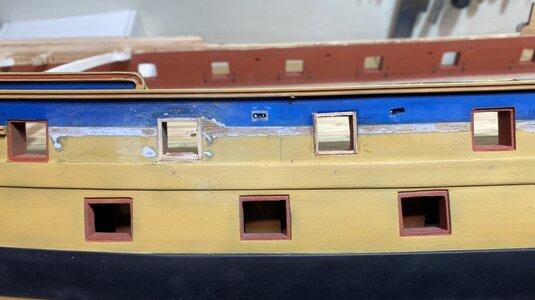
While determining the location on the drawing, my eye fell on the edges (rebates) of the upper gun ports, these are at some (6 piece) and at some not (7 piece)
Oops, how stupid of me, while cutting out the gun ports I blindly assumed that they would all be executed with hatches, not so!
So acting like I never saw it and just keep going and ending up fooling myself, or taking everything off and redoing it.
Then just swallowed and took everything off and redid it.
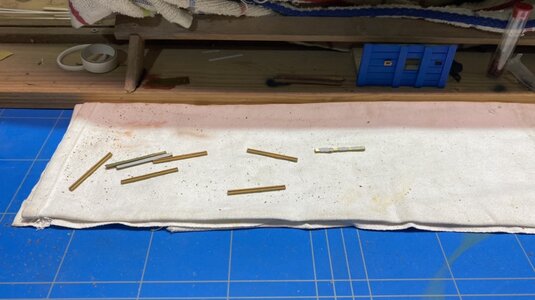
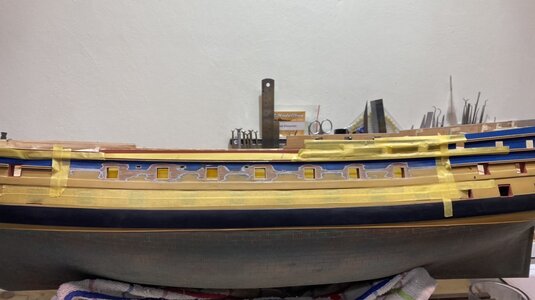
Broke all the mouldings away and then filled the rebates with 1x1mm strips,
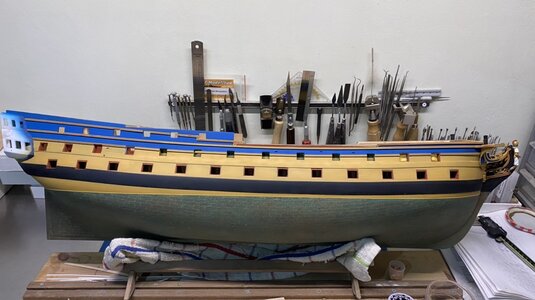
Sanded and filled where necessary, then placed new mouldings, primed everything again, and then sprayed it in the right color, only the red of the inside of the gun ports and painting of the red frame remains.
It was a job in itself, but I am satisfied with the result.


Brilliant dedication to getting it right. Bravo!
Thanks for the nice words and thumbs up.
A bit further.
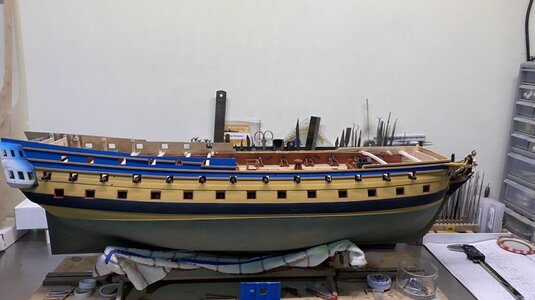
Put the model outside in the warmth for a few hours (not in the sun) and the result the paint hardened nicely, so I could paint the gun ports on the inside and add a red trim to the trim.
Plus repaired some minor damage.
The result "we are back to square one".
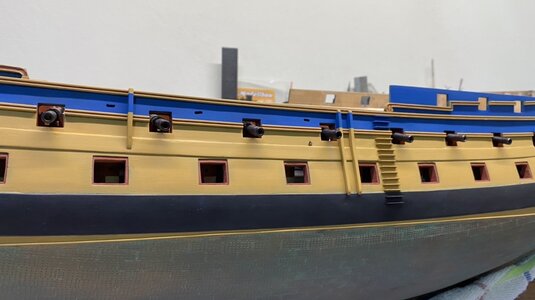
So can now start with the the stairs on the outside of the hull again, plus the necessary things,
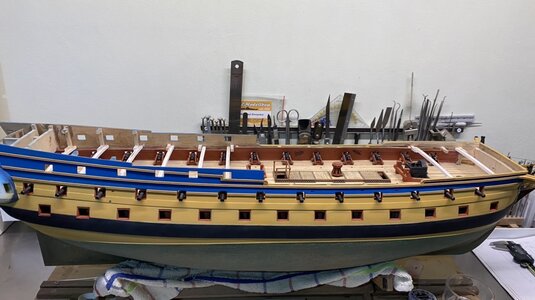
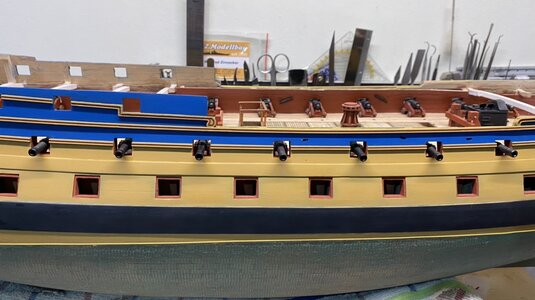


Hi Boris
I have read your build log today and admire your eye for detail and determination to get it up to your own high standard. Coppering was done brilliantly. Especially your oven is piece of art in itself and the paint job of the figurehead is beautiful. Keep up the good work so we can get even more inspired!
I have read your build log today and admire your eye for detail and determination to get it up to your own high standard. Coppering was done brilliantly. Especially your oven is piece of art in itself and the paint job of the figurehead is beautiful. Keep up the good work so we can get even more inspired!
Thank you all for your feedback and watching apriciate it !.
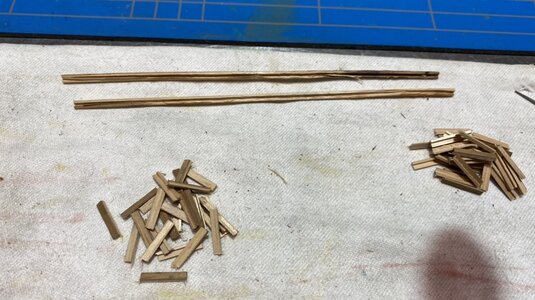
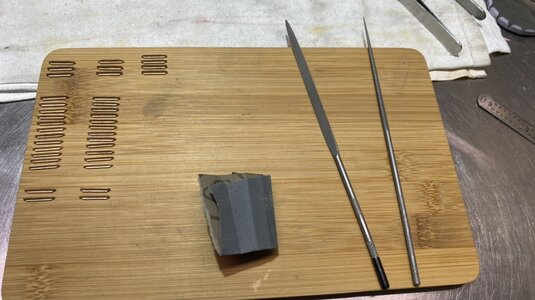
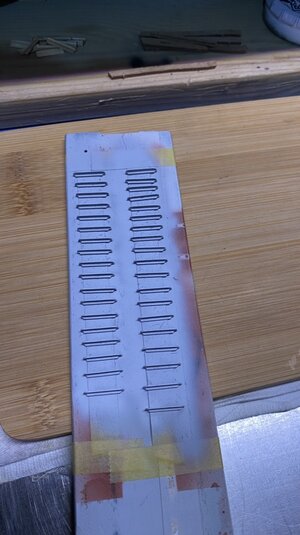
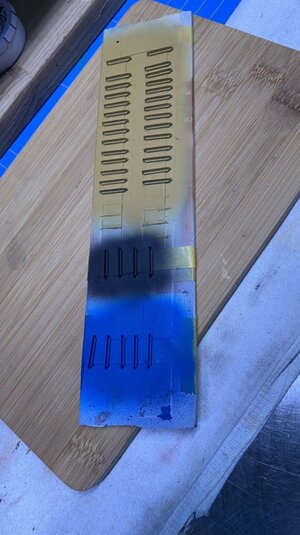
- The Climbing ladders outside ship's hul -
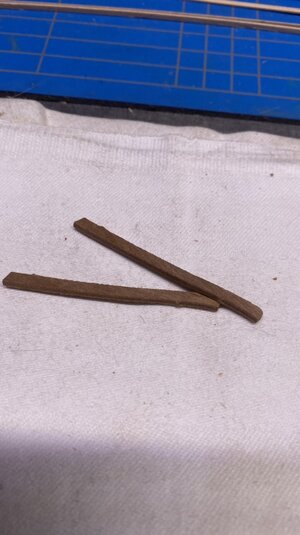
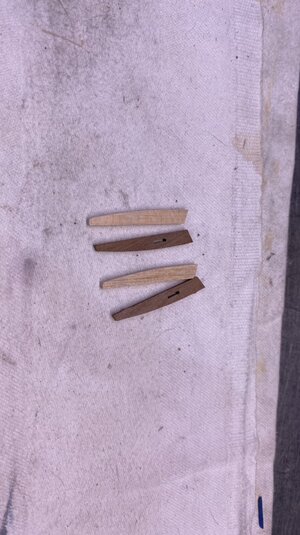
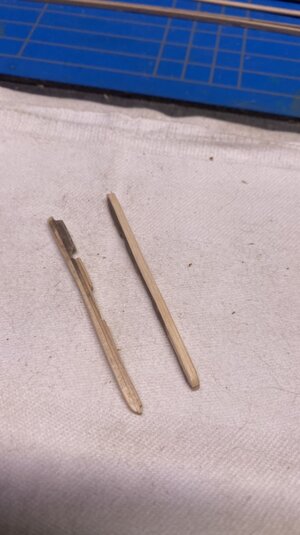
Given that I find the milled walnut plywood (splintering too) supplied with the kit ladders too coarse and not pretty.
I decided to make them again, which in my opinion seem more realistic than the supplied ones.
The pictures below explain it all.
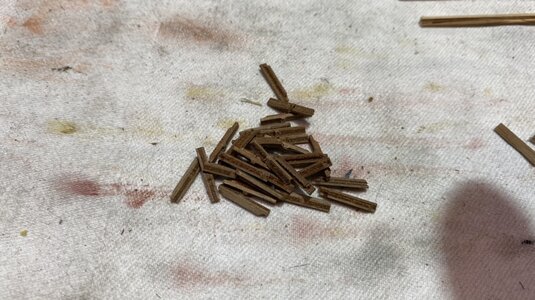
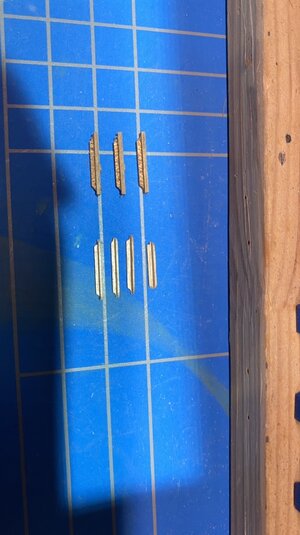
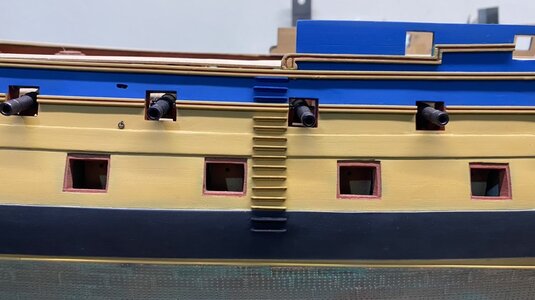
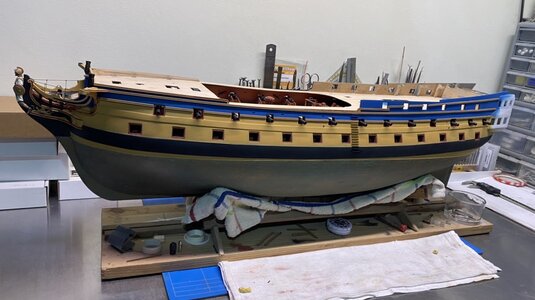
- The Climbing ladders outside ship's hul -
Given that I find the milled walnut plywood (splintering too) supplied with the kit ladders too coarse and not pretty.
I decided to make them again, which in my opinion seem more realistic than the supplied ones.
The pictures below explain it all.


a good and correct decision to scratch these steps - finally a very good result - looking very good
OutstandingThank you all for your feedback and watching apriciate it !.
- The Climbing ladders outside ship's hul -
Given that I find the milled walnut plywood (splintering too) supplied with the kit ladders too coarse and not pretty.
I decided to make them again, which in my opinion seem more realistic than the supplied ones.
The pictures below explain it all.
View attachment 308469View attachment 308476View attachment 308470View attachment 308471View attachment 308475View attachment 308472View attachment 308473View attachment 308474
Superb!
- Joined
- Oct 15, 2017
- Messages
- 1,190
- Points
- 443

Wonderful work! I applaud your decision to go back and rectify the misstep. Been there, done that, I even think I have a tee shirt on it! It's always a tough pill to swallow, but once fixed we feel good knowing we made the right decision. Also, I feel better knowing I'm not the only one in the "club'.
Thanks for sharing your work!
Thanks for sharing your work!
Thanks everyone for the thumbs up and looking
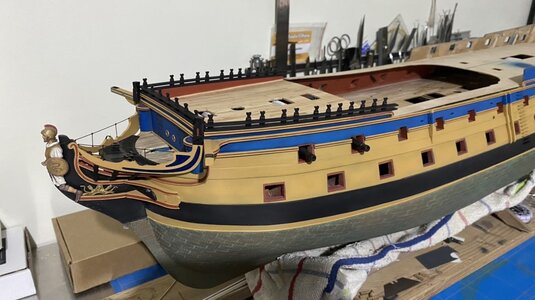
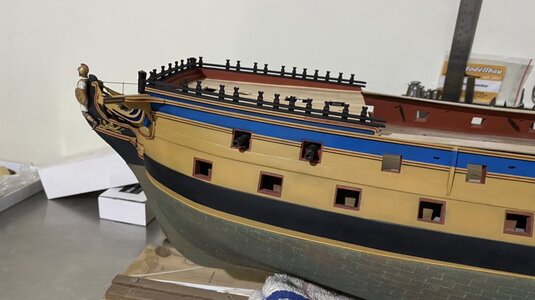
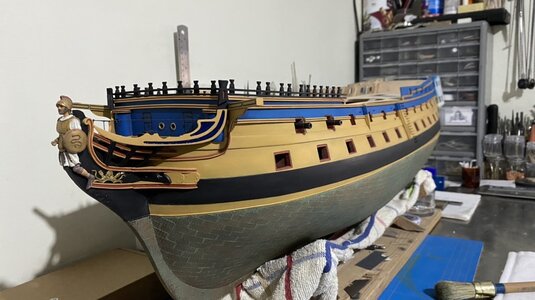
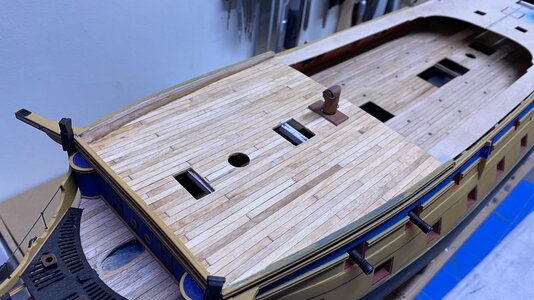
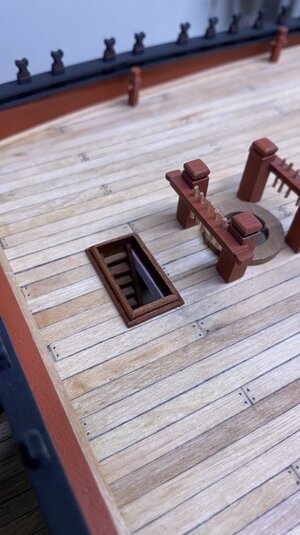
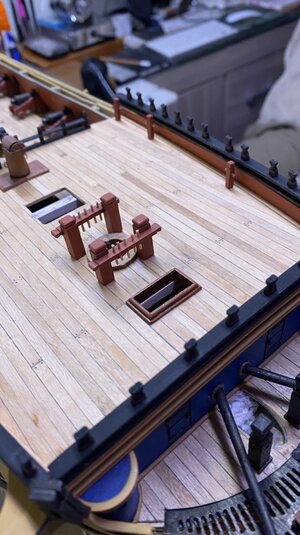
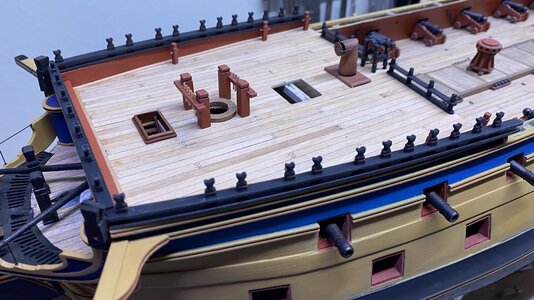
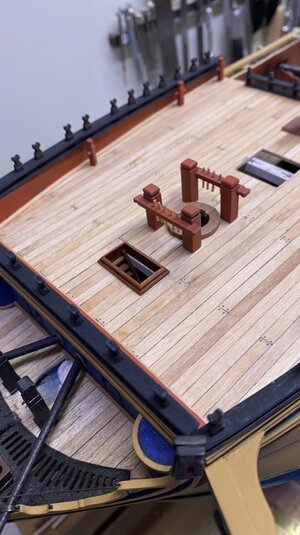
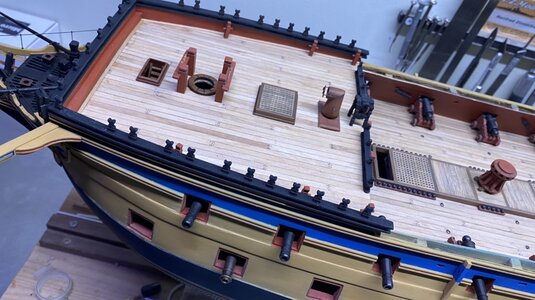
Since I am still waiting on my servingmachine, decided to make the front deck and railing.
There is still a bit difference in color between the lower deck and upper deck, they should eventually color in the same way, the first deck I placed 10 years ago.
Everything is still standing loose, and needs to be glued in place, pictures are for the impression.
Below some pictures
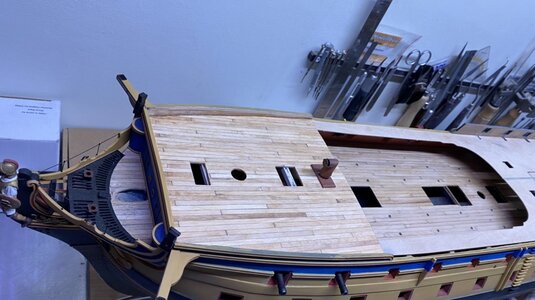


Good Morning Boris. I Love your Agamemnon!Thanks everyone for the thumbs up and looking
Since I am still waiting on my servingmachine, decided to make the front deck and railing.
There is still a bit difference in color between the lower deck and upper deck, they should eventually color in the same way, the first deck I placed 10 years ago.
Everything is still standing loose, and needs to be glued in place, pictures are for the impression.
Below some pictures
View attachment 311498View attachment 311499View attachment 311500View attachment 311501View attachment 311502View attachment 311503
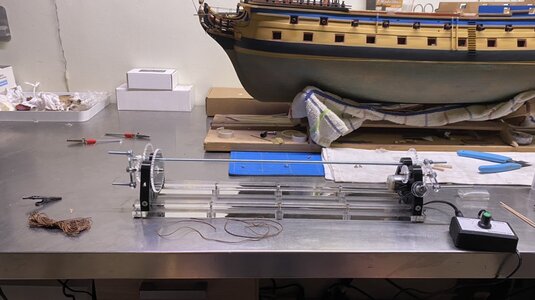
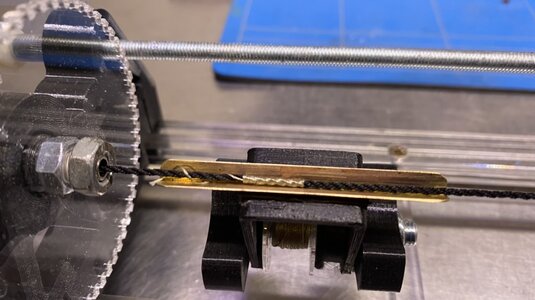
Well after a 3 week vacation at customs, I finally received my serving machine, package came in good order without missing or defective parts and components, the assembly is quite simple and was also done fairly quickly.
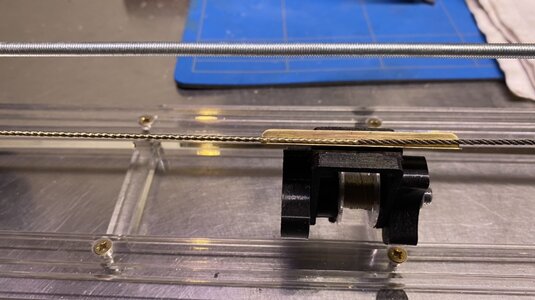
I had bought the so-called endless version, but I did not like the attachments that came with it, so I removed them.
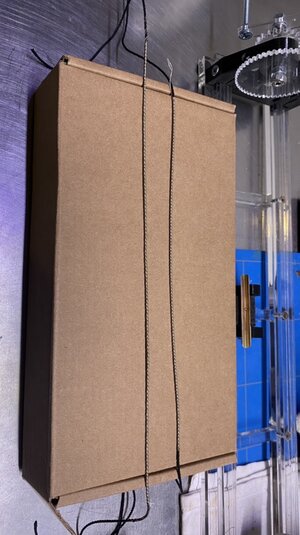
During testing I came up with the idea to modify the so-called endless rope fittings, and make an attachment of it to make winding a bit easier, and so after some soldering and sanding and grinding the result is satisfactory and I am extremely satisfied with the result.
See the pictures below for an explanation.
Worked also in the meantime on the attributes on the frond deck.
I had bought the so-called endless version, but I did not like the attachments that came with it, so I removed them.
During testing I came up with the idea to modify the so-called endless rope fittings, and make an attachment of it to make winding a bit easier, and so after some soldering and sanding and grinding the result is satisfactory and I am extremely satisfied with the result.
See the pictures below for an explanation.


Worked also in the meantime on the attributes on the frond deck.


Last edited:
Everyone thanks for the thumbs up and watching.
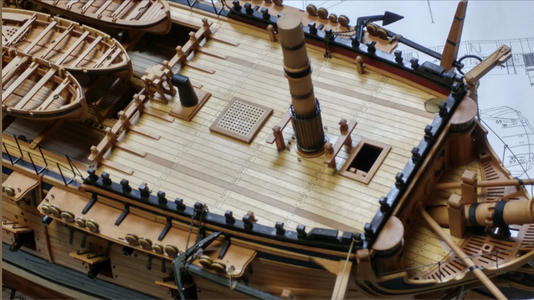
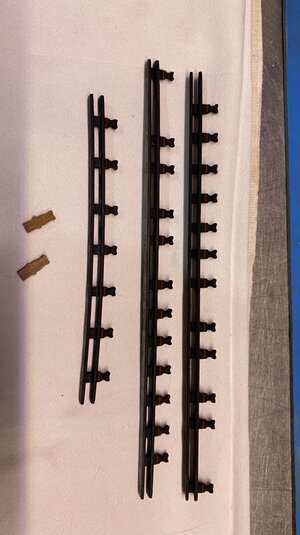
Another bit further on the foreship, made the deck grid, and the so called forecastle snatch cleats.
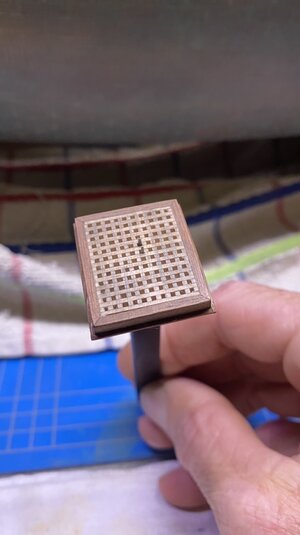
Now the attributes that will be placed on the foredeck are more or less ready.
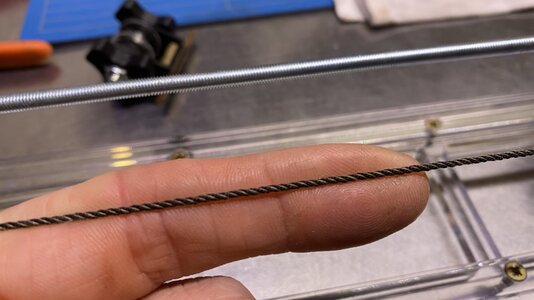
So that I can now begin to manufacture the rigging for the gunwale, I have milled the rope myself on a rope making machine.
Is all still in the test phase but gives an idea.
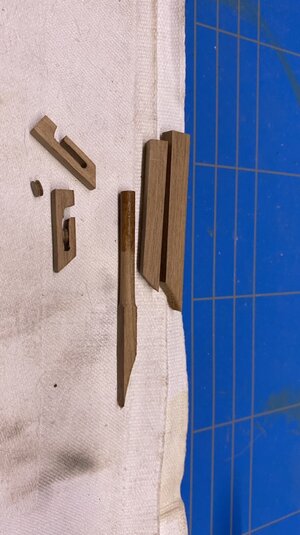
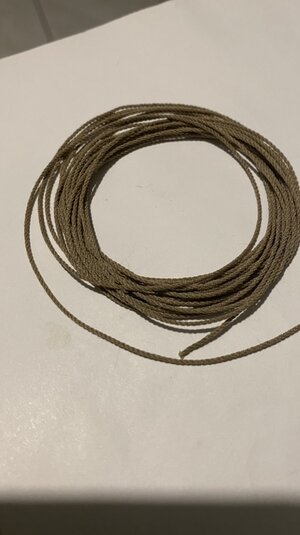
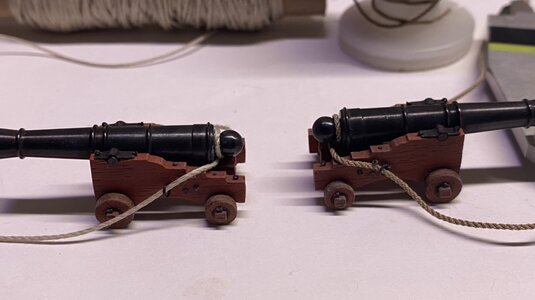
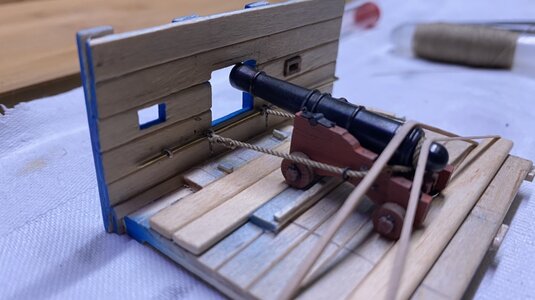
Another bit further on the foreship, made the deck grid, and the so called forecastle snatch cleats.


Now the attributes that will be placed on the foredeck are more or less ready.
So that I can now begin to manufacture the rigging for the gunwale, I have milled the rope myself on a rope making machine.
Is all still in the test phase but gives an idea.


- Joined
- Jan 9, 2020
- Messages
- 10,566
- Points
- 938

Boris your Agammemnon is an attack on the senses! There is just so much to see. Studying that foredeck, I am absolutely amazed at the depth you created with that small front hatch and the ladder leading down to the below level - just superb ... but then so is everything! 


