Lookinhg very good - clean and accurate work 

 |
As a way to introduce our brass coins to the community, we will raffle off a free coin during the month of August. Follow link ABOVE for instructions for entering. |
 |
 |
The beloved Ships in Scale Magazine is back and charting a new course for 2026! Discover new skills, new techniques, and new inspirations in every issue. NOTE THAT OUR FIRST ISSUE WILL BE JAN/FEB 2026 |
 |


great progress, it's looks beautiful ship, well doneThanks for the reactions and likes appreciate it!
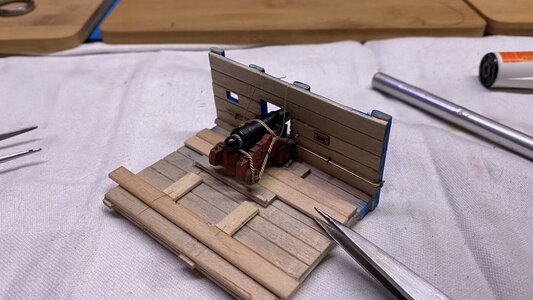
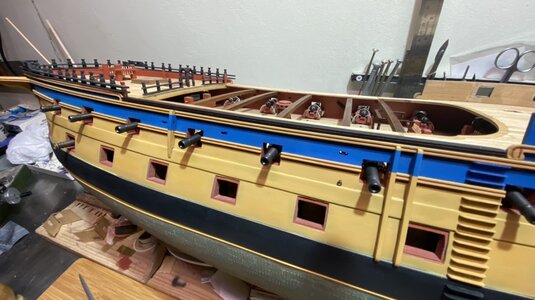
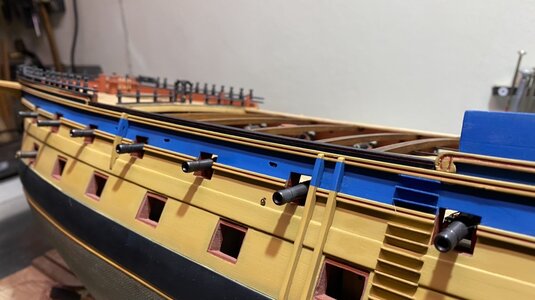
The gun breeches for the visible guns are ready, but I will have to think about whether I will also add gun breeches to the guns that are not on display. If so, I will do it on a more basic level as there will be nothing to see afterwards.
Below some more photos
Also one of the moulds I use, as said before, this is a handy way to prepare the guns one by one in base, before they are placed on the model, also prevents any damage that may occur when preparing the guns on the model itself.
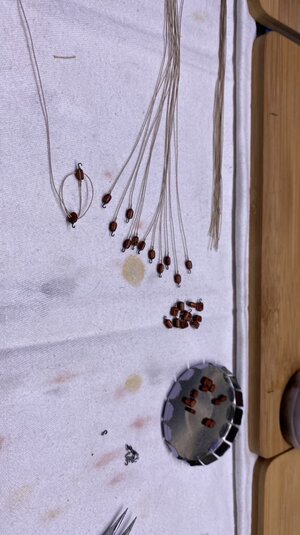
Next chapter will be the gun tackles , which I am still experimenting with at the moment.
View attachment 315395View attachment 315396View attachment 315397

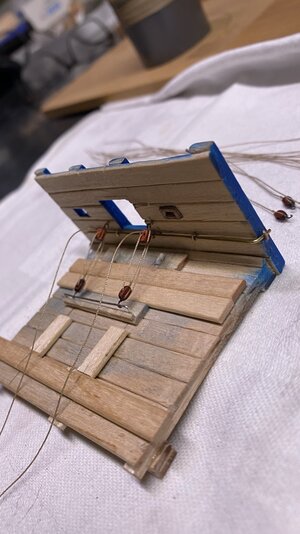
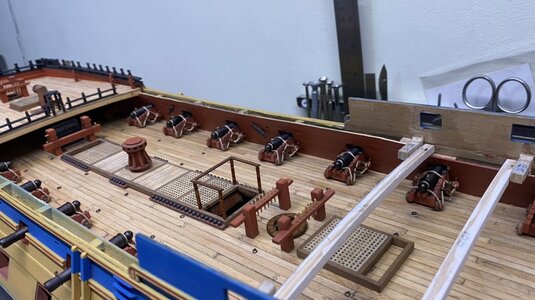
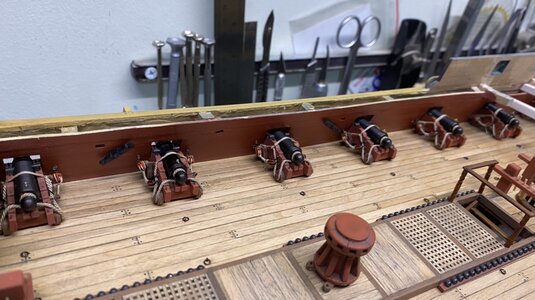
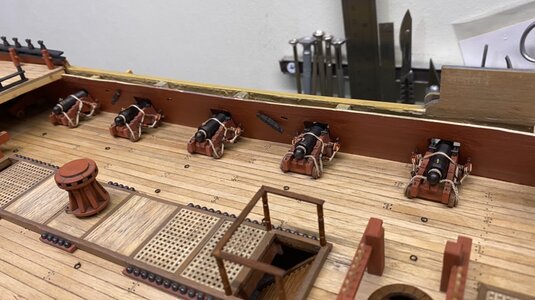

the upper deck and the railing from beech, looks beautifulThanks again for the thumbs up and looking It is appreciated
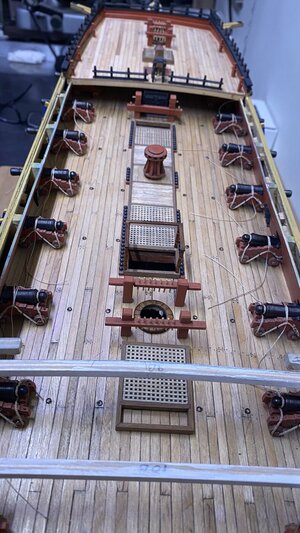
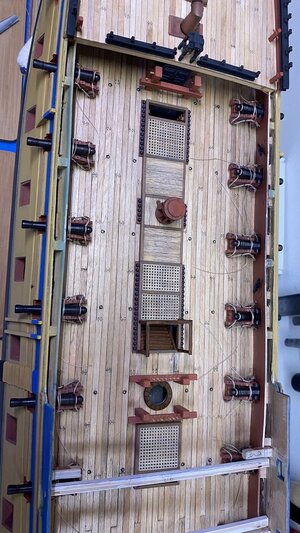
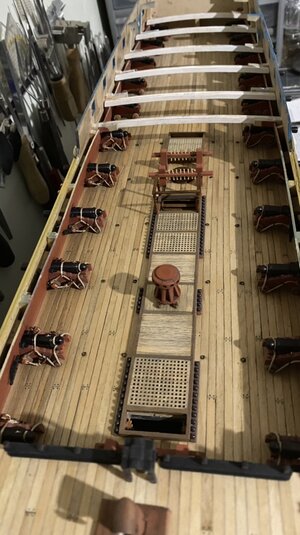
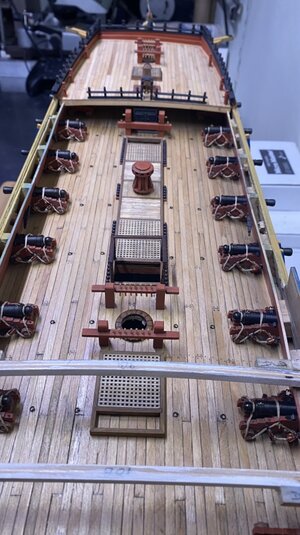
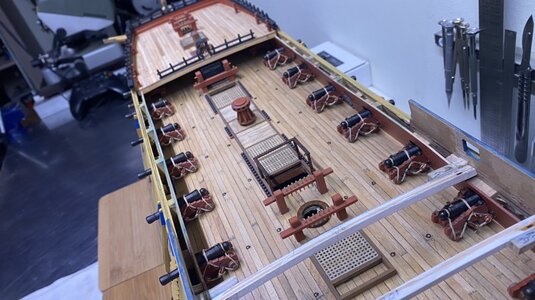
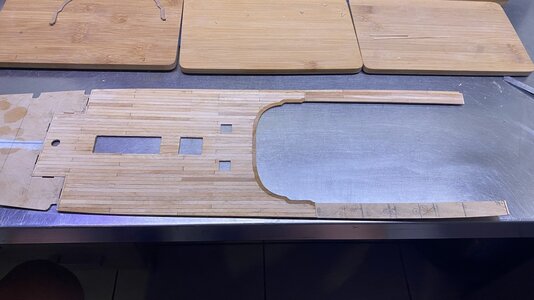
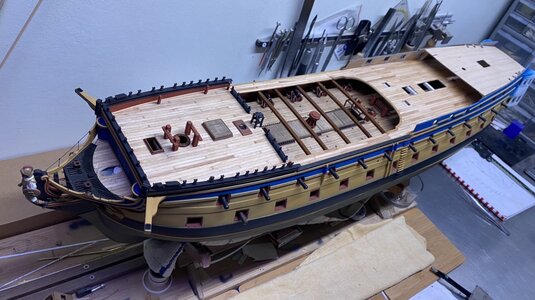
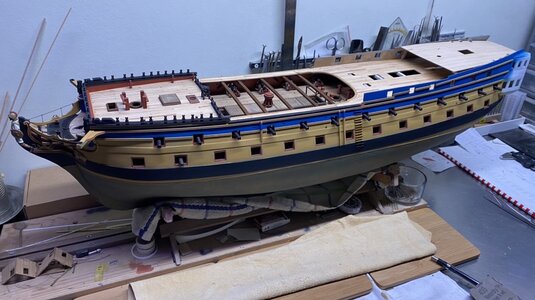
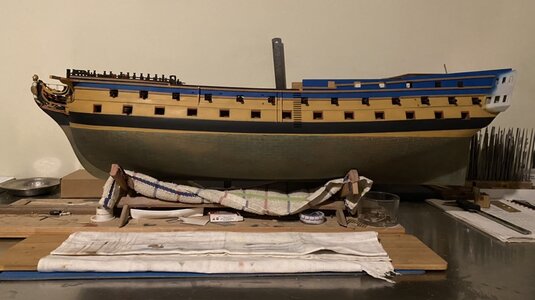
A bit further on, I have planked the upper deck, there is a slight difference in colour compared to the lower deck, but that will change in the course of time, as I have used the same materials and techniques, it has only been 10 years since I made the underlying deck.
I have also made a start with the connecting railing to the foredeck, for this I did not use the supplied walnut but made one myself from beech, as I found the walnut a little too coarse in structure,
The photos below explains it all.View attachment 319747View attachment 319748View attachment 319749
View attachment 319750View attachment 319751View attachment 319752

Good evening Boris. Very neat cannon rigging. These look brilliant on your Agamemnon. Nice! Cheers GrantEverybody thanks for the likes and watching really appreciate it!!
Since we had such a severe storm here on the Leeward Antilles (NOT) and were obliged by the government to stay at our home. So I took my time to rig up the last pieces of the deck guns
At least we had a productive day.
See below the result.
View attachment 316375View attachment 316376
Boris your work is immaculate. I am enjoying watching this come together. Cheers GrantThanks again for the thumbs up and looking It is appreciated
A bit further on, I have planked the upper deck, there is a slight difference in colour compared to the lower deck, but that will change in the course of time, as I have used the same materials and techniques, it has only been 10 years since I made the underlying deck.
I have also made a start with the connecting railing to the foredeck, for this I did not use the supplied walnut but made one myself from beech, as I found the walnut a little too coarse in structure,
The photos below explains it all.View attachment 319747View attachment 319748View attachment 319749
View attachment 319750View attachment 319751View attachment 319752

