The results of the recovery speak for themselves. 

 |
As a way to introduce our brass coins to the community, we will raffle off a free coin during the month of August. Follow link ABOVE for instructions for entering. |
 |
 |
The beloved Ships in Scale Magazine is back and charting a new course for 2026! Discover new skills, new techniques, and new inspirations in every issue. NOTE THAT OUR FIRST ISSUE WILL BE JAN/FEB 2026 |
 |


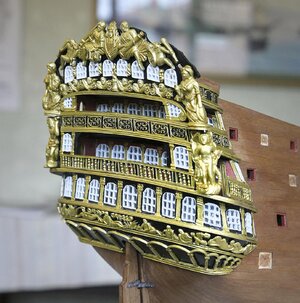
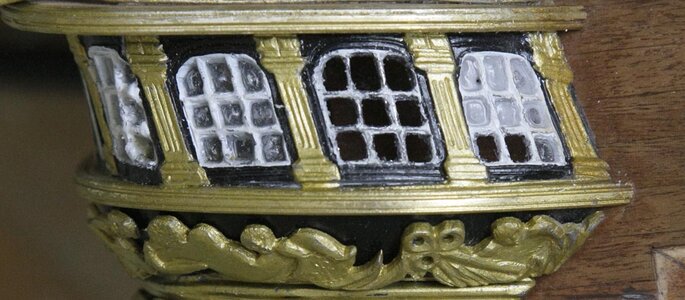
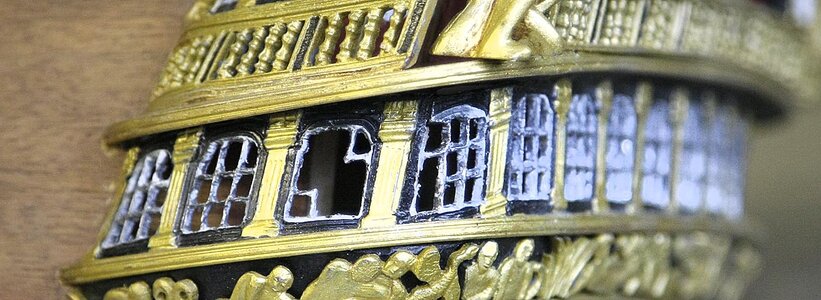
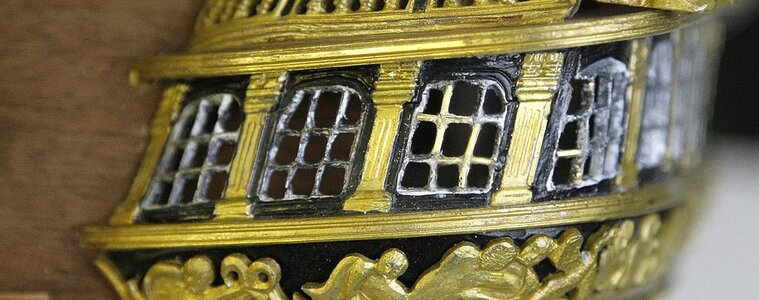
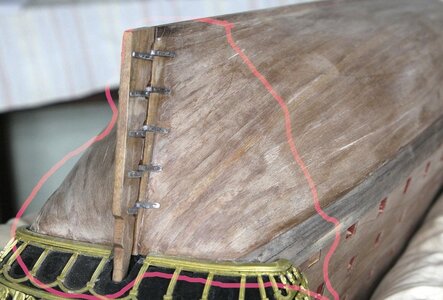
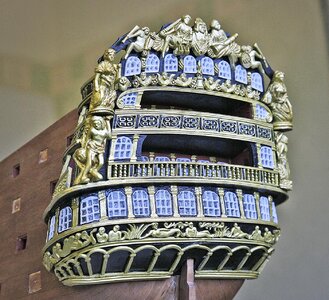
Hi Paul, Yes how right you are, nothing is lost except perhaps your temper, I’m well practiced in the art of recovery. Here’s an example of one of my many recoveries.A very nice recovery Ken. As a master of the 'redo' I have found that most everything can be fixed if I am willing to put in the time and work.

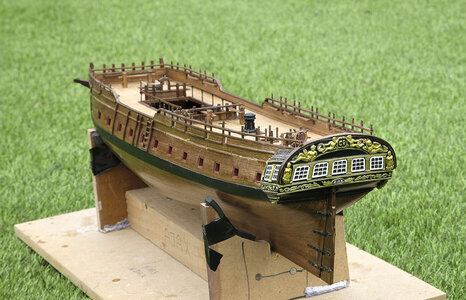
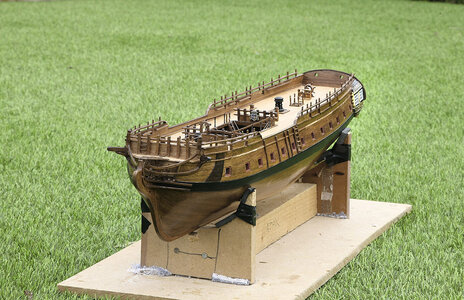
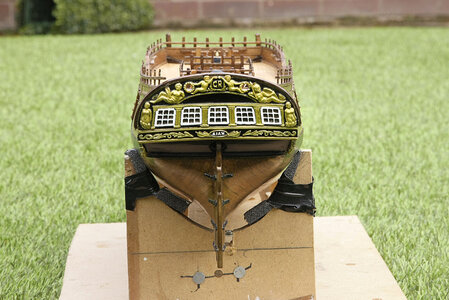
I've been thinking the same thing. I'll never take pictures of my ship on my lawn.......Who's the green thumb - your lawn always look perfect!

Hi Paul, I’m a bit of a fraud really, I’d like to say that I looked after my lawn tending to its needs every day but alas I must admit that it’s artificial grass, but don’t tell anyone.I've been thinking the same thing. I'll never take pictures of my ship on my lawn.......


Hi Dean, Yes I agree, but giving the gold a sepia wash, which is specifically made to run into the recesses it has the same effect but rather than brightening the raised part it slightly darkens the recesses. It’s use quite a bit on plastic models for emphasising door, window edges and shading etc. I had the sepia wash but I didn’t have a lighter gold so just went with what I had.Ken, the dry brushing is not for bling, but for depth. If you paint the gold ornamentation a single gold color, you are depending solely on light to give depth to the pieces. I usually start with a darker bronze color, then dry brush a brighter gold on the higher surfaces giving the pieces more depth. They actually look more rustic or aged that way, verses one color which makes them look too new or pristine. That’s why I like to dry brush gold pieces.
Yes I use washes and dry brushing. But sometimes I just use up to three shades to get the same effect. Start with a dark base color and then dry brush medium color, then dry brush highlights last with brightest color. Either way it brings out the detail in the pieces.Hi Dean, Yes I agree, but giving the gold a sepia wash, which is specifically made to run into the recesses it has the same effect but rather than brightening the raised part it slightly darkens the recesses. It’s use quite a bit on plastic models for emphasising door, window edges and shading etc. I had the sepia wash but I didn’t have a lighter gold so just went with what I had.

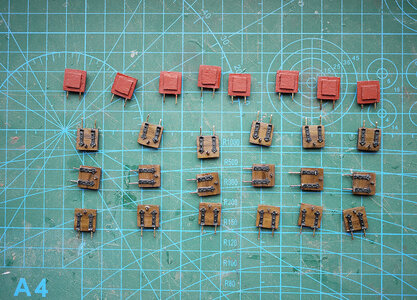
She’s really looking good Ken!Hello, A very short update. I've finished the channels and painted the strakes. The pictures show the hull, masked ready, then painted and then complete. I'm now working on the gun port lids, I don't have to fit them now but at least they'll be ready.
View attachment 221598
View attachment 221599
View attachment 221600

Hi Dean, Thanks very much for your input on this. You put forward a good argument for highlighting so I’ll give it a go next time I get my paints out. If I don’t prefer it, as It it’s only such a light coat I can easily paint over it, so no harm in trying.Yes I use washes and dry brushing. But sometimes I just use up to three shades to get the same effect. Start with a dark base color and then dry brush medium color, then dry brush highlights last with brightest color. Either way it brings out the detail in the pieces.
Also if you don’t have a lighter color, you make one by adding a little bit of white to the color you have and use that for highlights.
In addition, you can add water to thin out water based paints to use for washes. Experiment with the ratio, say 4 parts water to one part paint, etc., until you get the right flow.

Hi Bryian, Thanks for your comments they’re appreciated. You know Euromodel kits fairly well, they do come out quite nice, but are rather, shall we say interesting to build! I’m finding them a bit addictive, though I don’t understand why and I may even try another of theirs if I survive this one with some sanity left.Gosh, thats very quick construction, and it looks a beauty.

Only one comment Ken. As far I remember, you mentioned here, that you never use bow and Sternfellers. where I recommended this to a builder., but at least on this Ajax I see both typesHello again. Thanks for those likes and comments. I find that it's fairly difficult starting a log and get it going in a direction that you you would like and your comments help quite a bit.
Here we go again in an effort to catch up to where I'm at with the build. Having made up the supports for the decks and masts I decided to add them after I'd fitted the bulkheads to the keel, that way I could check first that they were in the correct position when I placed the deck on. I fitted the kitchen deck and stained it, it wasn’t worth planking as it is so low down it would never be seen. I attached blocks at the bow and stern, material was supplied for this, boxwood I think, and carved them to shape as shown on the plan. I sanded and faired the bulkheads to get a good flow of planks. Having checked the bulkheads with the plans initially I found that there was almost no correction needed, they were all pretty good.
I fixed the gun deck into place using glue and nails, this now left me prepared for the first planking. The planks were a white wood, nice quality 5mm x 1.5, my fears over them being old proved unfounded as they were nice and bendy and didn’t tend to split as old wood does. I started at the level of the gun deck and went downwards. I terminated them at the rearmost bulkhead as I would normally expect but after fixing three planks I realized that I was going to run into serious problems later when I needed to make up the stern galleries, an issue that caused me to re think my build plan, more of that next time.
View attachment 213158
View attachment 213159
View attachment 213160
View attachment 213161
View attachment 213162
View attachment 213163
View attachment 213164
View attachment 213166
gun port and the upper plqanking1Th Class. Well Done MateHello Everyone. Progress continues apace. Today’s post is to tell you about my second planking. I don't intend to do what many do and shape each plank to a set pattern, carefully measured into sections, adding scarfs and stealers so that each plank ends up the same. I tried that once and found that I couldn’t master it and the end result looked poor, a bit of a mess with not perfectly fitting edges. I much prefer the planks to end up smooth, flat and tightly fitted to its adjacent plank with not the slightest gap, they may not be correct to the purists but to my eye it looks better. I know I will end up with the dreaded tapered to a point planks but I will arrange these so that the wale covers the pointy bits and all should look well, to my satisfaction anyway.
The planks are 5mm x 1mm and are nicely machined. Because of the age of the kit I found that although they were still nice and springy the wood was very dry and prone to having small splinters coming away, so I had to be careful with them. I don’t use a holding cradle or hull clamp when planking, I find that these prevent you from getting at the hull from all angles and hampers you. I just put a pillow on my knee and rest the hull on that, you can move it around easily to come at it from any angle just like wresting with a small dog.
I started my planks by running the first just above the gun ports, the width of the recess and the second just below the ports then I planked in between them cutting and sanding them to the exact size so that it leaves the correct gap for the port recess, it may feel like it takes longer but there will be no cutting out for the recess which can often lead to a slightly imperfect edge. With that section done I continued down tapering each plank slightly and fixing until I thought the pointy planks would then run to under the wale then started from the keel upwards. I use cyno on all my second planking only doing small lengths at a time, pressing down into place then when set moving along to another small section. I leave the planks standing upright in a thermos flask of hot water for at least ten minutes before I use them. I only needed to use my nippers for the bow curves but for the stern as the curve was pretty severe I needed to use a soldering iron. A good thing about cyno is it activates with moisture so still works well with damp planks. So far, so good
View attachment 215110
View attachment 215111
View attachment 215112
View attachment 215113
View attachment 215114
