For the lazy - you can
scroll to the
end of the
post, there will be conclusions and the
final result.
And for the curious - pleasant reading!
This post is also for those who like to learn something useful and read the course and results of experiments with different oils and tree species, as well as different options for nailing.
Everything is clear with the first building... after being covered in oil, it rests and dries.
Now, you need to understand how to cover the second case... there is enough material, but you need to understand how to best combine colors and how different oils will affect this material.
To begin with, I have 3 types of dark pear, light pear (there are also many shades), and there are colored blanks... about them later.
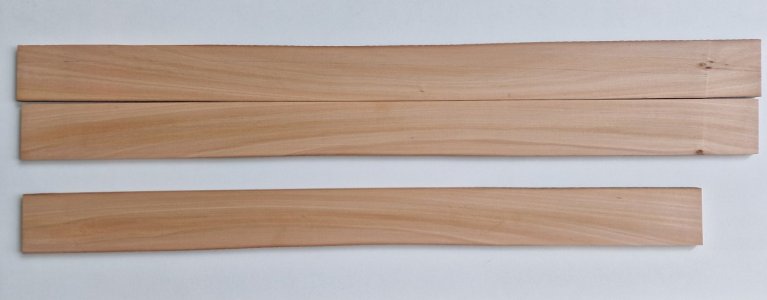
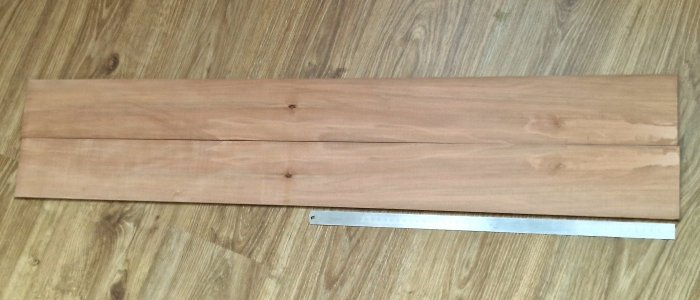
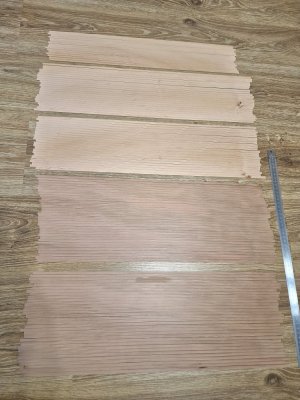
At the beginning, I decided which pear to make the deck from. From the dark I understood that it was not an option, but I did it for the test and confirmed it. But here is a light pear with layers. And in the layers it varies and quite strongly, which is why tests are needed.
View attachment 528370
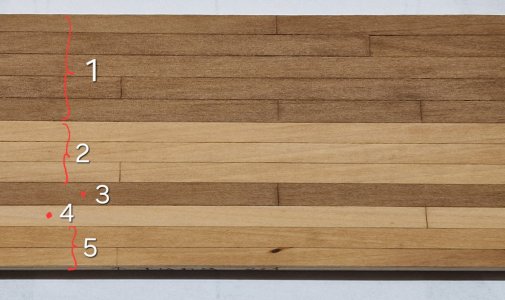
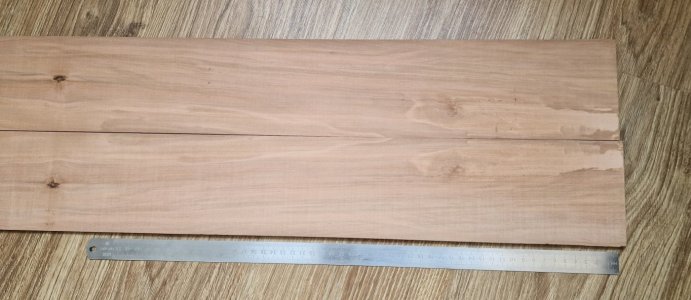
After coating with Tung oil, the wood appeared and this is what was discovered...
View attachment 528371
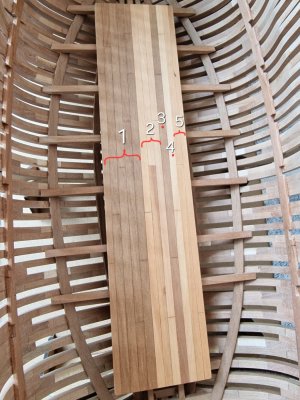
1 and 3. Dark pear - definitely not suitable for the deck in full. Although it has a homogeneous structure and without color differences, it can be used on the deck except for single power boards, which can go next to the grilles with two belts on the sides and two on the border with the sides... (I will try this again on the final probe).
2. Light pear (like 4 and 5 it is from the same blank, but as I said that the color is different, because there is an idea of how to deal with this, more on that later). This shade is not bad, but light, like 4, which is lighter still. And here...
5. This is just that pear, or rather the color that I really like (peach).
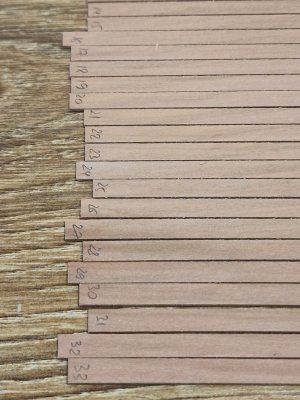
So that's how I will act. I will cut all the blanks that I have on the slats and will immediately sign them in the same order as I sawed them. Then I will lay them out not changing the top-bottom position or the outer-inner side, but just like sawing and fixing them on a flat surface, and then polishing them so that they are calibrated. Then I will cover them with oil, but only in a thin layer. (Wipe lightly with a napkin so that the oil does not get very saturated and immediately wipe it off). This will show the color of all the rails and I will be able to understand exactly what color suits me. I will remove the rails with a dark or light shade and leave only those that I will count so that there are no big jumps in color between them (checkerboard effect).
View attachment 528373
With the deck, I am not finished yet and will soon be making a new probe already close to the true result.
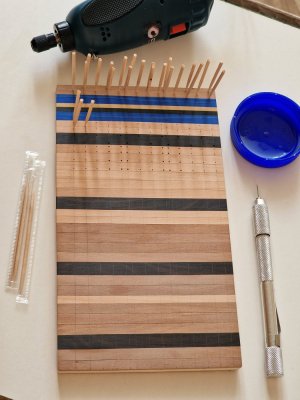
Next, I made a side sampler.
View attachment 528374
I finalized it a little in the process, but in general, all the breeds that I will use for the second case are here:
View attachment 528375
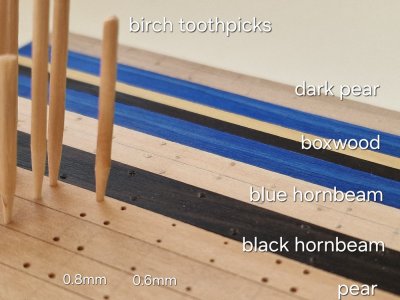
Basically, a light and dark side pear will be used. Black hornbeam for velvet and railings. And also boxwood for railings and blue hornbeam for the decorative rail that was on the original ship.
My favorite misty pink pear will also be used, but it will be for details on the deck and maybe in some places there will be toptimbesses from it and maybe the inner skin of the sides... it still needs to be tried... (but it is not shown in the photo).
To be honest, I really liked this blue hornbeam. Not quite in the photo, he is like that, although close to the original, but he is sooo beautiful alive. And most importantly, it was this color on the ship and I got this hornbeam by accident. The person who helped me with sawing a tree just gave me a couple of blanks of this blue hornbeam... and he was perfect for me... I am delighted that now no paints are needed (since both black and yellow (boxwood) and blue I have), hurray!
View attachment 528382
Only instead of white, there will be a dark pear below the waterline. I'll tell you a little about this in detail...
And so, after applying Tung oil to the probe - here is the result.
View attachment 528395
I made Nagel from birch toothpicks. NOT bamboo!!! The cut at the (end) of bamboo toothpicks consists of small cylinders (pores) and this is very rushed and does not look natural in combination with wood.
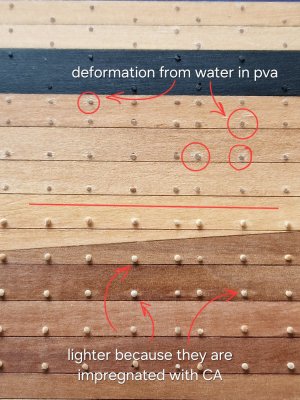
At first I glued toothpicks to PVA diluted in water (some modelers do it), but I didn't like the method, since pile on a tree rises from water in PVA and deforms the surface a little. (I will talk about this later). This is not critical if the surface, together with the pins, is then polished, but I will do this only on the deck, and there will be different equipment on the sides.
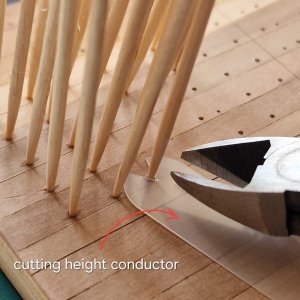
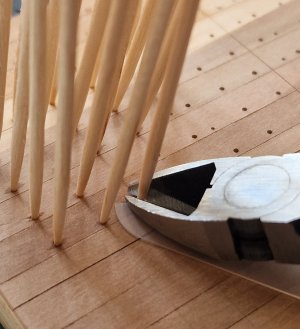
Therefore, I then glued the toothpicks on the CA very liquid. And with the help of a special conductor of height (a piece of plastic) that I put under the clippers, I bit off toothpicks with them.
View attachment 528396
View attachment 528397
View attachment 528398
The only thing you need to remember is to erase the line from the pencil after drilling and before acupuncture, otherwise it will be more difficult to erase later.
View attachment 528399
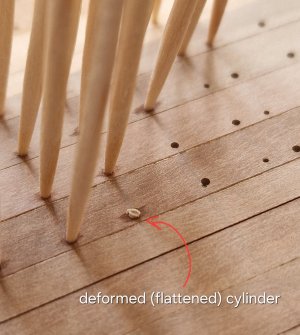
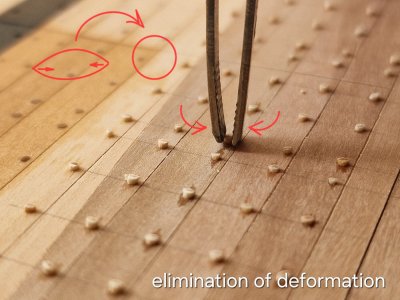
Since the clippers flatten the toothpick, you need to return the geometry to them with tweezers.
View attachment 528400
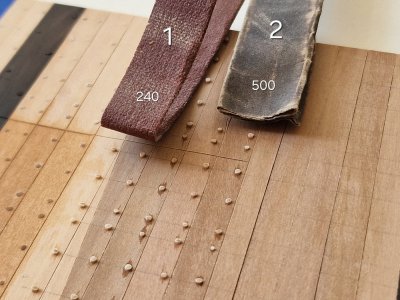
And then, with two issues of sandpaper, I shorten and circle the protruding ends.
View attachment 528401
And here are two disadvantages from different types of glue. Deformations remain on the surface from PVA and pile rises (I'm not saying that the fixation is much worse than that of the CA and when biting off they can simply fall off or stratify)...
View attachment 528402
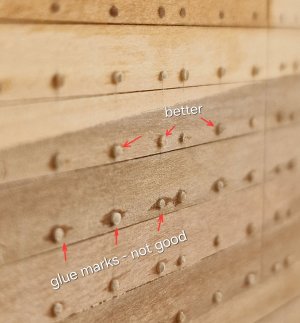
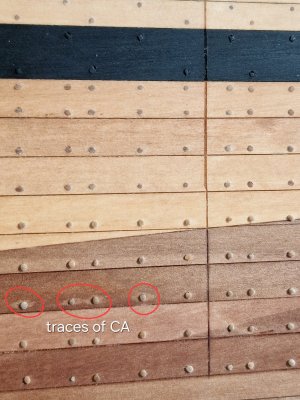
... and from the glue straightener there are leaks on the surface, as in the photo below. You can fight this by dipping the toothpick less into the glue and it will not take on much glue, which will not soak the surface later. And one more moment from SA (pictured above). This is that the glue seals the entire surface of the toothpick and after applying the oil, it does not cover it from the outside and does not completely penetrate into the cutoff, which is how the CA can be slightly impregnated into the end of the toothpick. Therefore, a very small amount is needed so that there are no leaks and the toothpick itself is not very saturated. And then the result is good, but you still need to try and practice.
View attachment 528403
View attachment 528405
Here, by the way (running ahead) traces of CA glue leaks after applying oil, and you need to be careful with this. I think these zones will be hidden under the bitumen (and yes, I will cover with bitumen and create an aging effect).
View attachment 528406
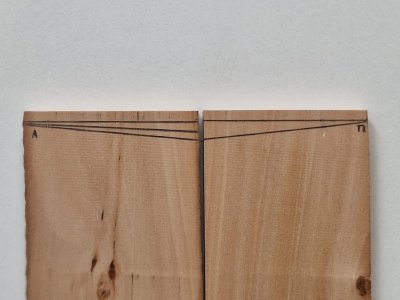
As you noticed, I did a little bit of redoing of the probe and added a diagonally dark pear...
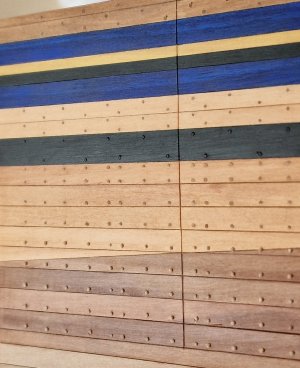
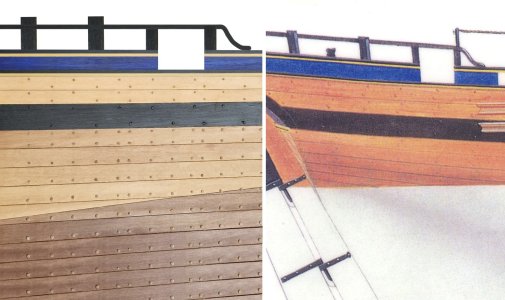
... all because I plan to make the body skin two-tone. Before the waterline - a light pear and below the waterline - a dark pear. And the transition will be the waterline itself - which will combine these two colors without painting... That is, I will need to connect 6-7 skin belts and make the slats prefabricated from two colors, or rather from 3 parts, since some belts begin above the waterline, then lower under it and the prom rises again. And yes, it is very difficult, but I really want to try it!
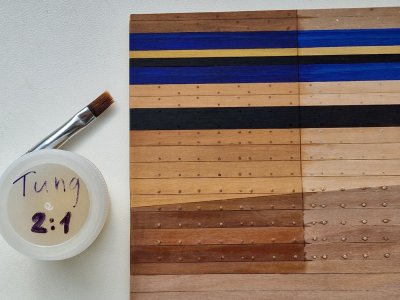
I covered the left side with Tung oil (Belinka) 2:1...
View attachment 528407
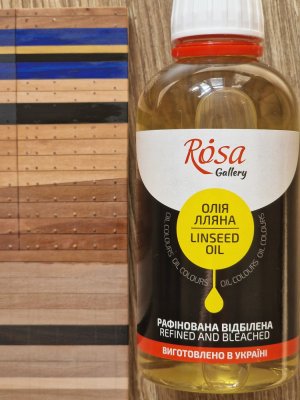
... and the right Linseed Oil. To test how it will change the colour of the tree over time, as Flaxseed Oil yellows light woods and darkens dark breeds.
View attachment 528408
So let's check what the difference will be. And how the time will come for applying oil - I will decide... the only catch... I wanted to cover with oil initially before choosing the color of the slats, so that when the oil shows wood - remove too different in color... So... here you need to think, but most likely I will cover Tungov, as I worry that Flax can distort the colors later, and I would not want this. But as an experiment, let the probe be covered with both oils.
And here, some macro textured nagels.
View attachment 528409
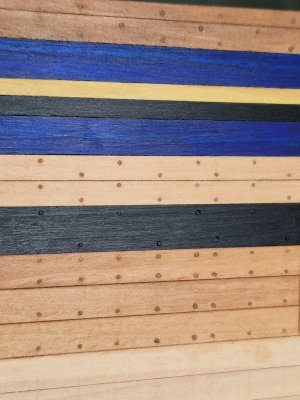
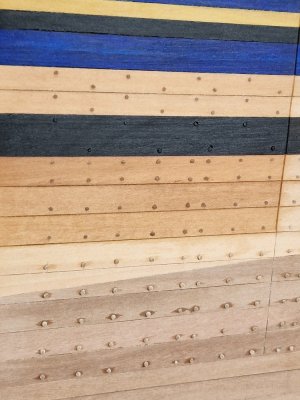
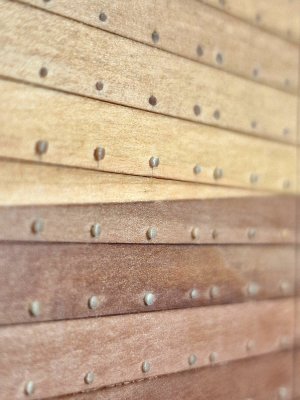
As you can see, thin pins (0.6 mm) will be on the rails above the borkhout and they will only slightly rise above the surface of the rails. Creating a small textured shape. But below the black velvet and the velvet itself, (black nagel on it) will appear stronger imitating the caps of bolts (0.8 mm). By the way, it was not just such hats.. on the final probe, I will do as needed and show the final result. In the meantime, this is how it looks like.
View attachment 528410
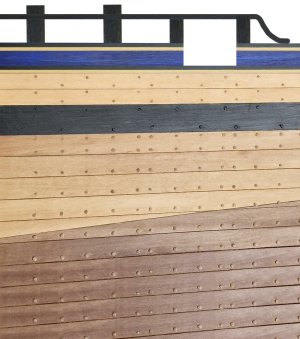
And if you photoshop a couple of elements a little (since they will be on the final version), you can see an almost finished result...
Oh yes, I promised brief conclusions for the lazy 
1. I cover the tree with Tung oil Belinka 2:1 diluted with a solvent for artistic paints. One layer, but maybe 2 (if I want a semi-matte coating). And there will be bitumen varnish on top.
2. Nagel - birch. The glue on the CA is very liquid, but only at the tip, so as not to heavily impregnate the slats.
3. Of the wood species will be: 2 (3) types of dark pear, light pear, black and blue hornbeam, boxwood. I will not use paints.
4. I will redo the probes. The following will be as similar as possible to the final version, but for now - this is approximately what I plan according to the color scheme on the sides (the deck will be made of a light pear and maybe with several belts of a dark pear).
View attachment 528411
How do you like the result and color scheme?


