HMS ALERT 1777 cutter POF by shota70 [COMPLETED BUILD]

good evening dear friends
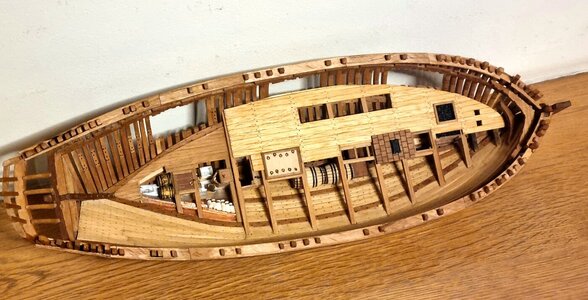
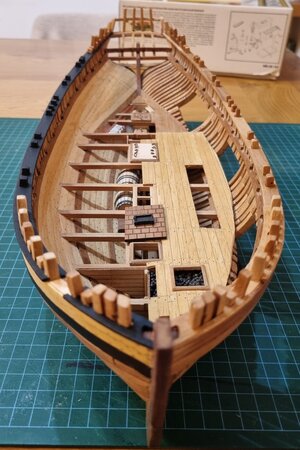
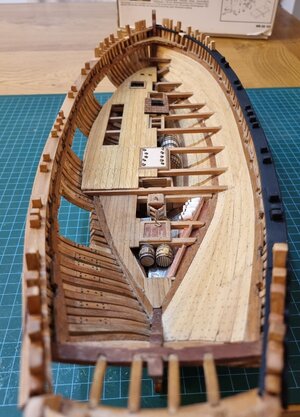
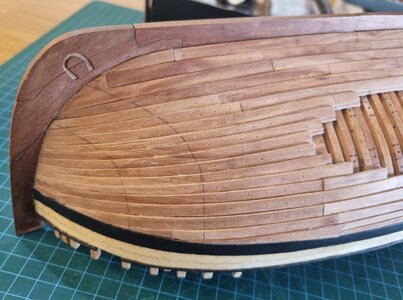
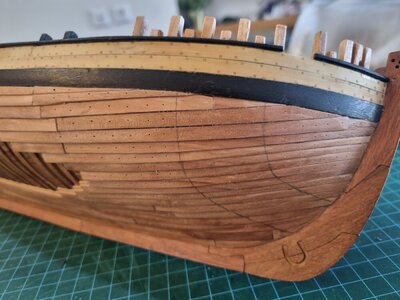
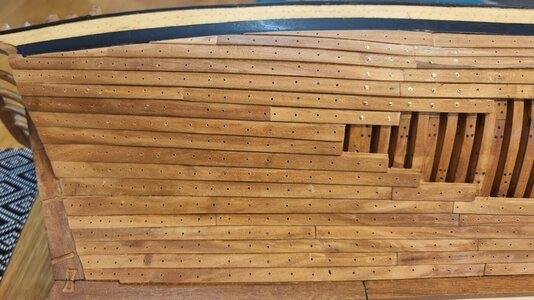
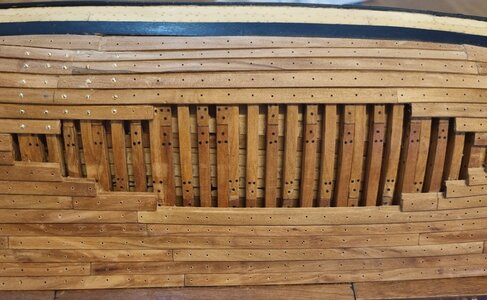
today I finished fitting and gluing the gunwale parts on the first side. Before doing the adhesive, I made/engraved a nice cant along the entire length of the gunwale.
After the glue dried I did some fine final sanding and then applied a layer of oil which gave the gunwale a deeper and more beautiful color in my eyes. Now I'm in the middle of working on the other side
I'm attaching pictures of the work
View attachment 356042View attachment 356043View attachment 356044
That cap railing looks fantastic my friend! It encloses the frame extensions beautifully and you are right about the oil which gives the wood a much deeper luster. Excellent work, Shota!
 
That cap railing looks fantastic my friend! It encloses the frame extensions beautifully and you are right about the oil which gives the wood a much deeper luster. Excellent work, Shota!
thank you very much my dear friend for your kind words and compliments :D
 
good evening dear friends
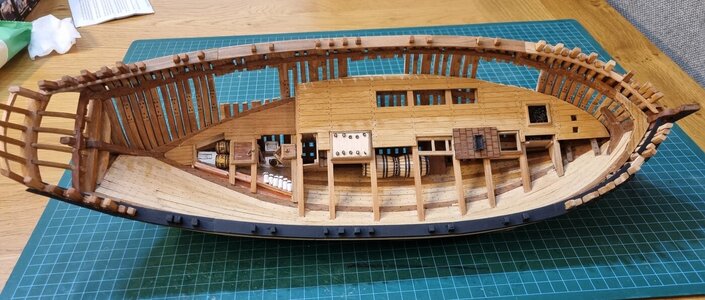
After several working days of sanding and fine adjustments, today I finished fitting and gluing the gunwale parts on the Both sides including oil coating.
20230212_222242.jpg20230212_222115.jpg20230212_222308.jpg20230212_222319.jpg

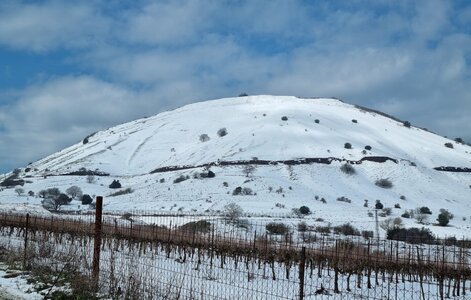
And for dessert a photo from a trip to the north of my country as part of a trip with friends at the beginning of last weekend. Obviously in Europe this is not a unique event or landscape, but for us it is magical . good night dear friends
20230210_114252.jpg
 
good evening dear friends
After several working days of sanding and fine adjustments, today I finished fitting and gluing the gunwale parts on the Both sides including oil coating.
View attachment 357022View attachment 357023View attachment 357024View attachment 357025

And for dessert a photo from a trip to the north of my country as part of a trip with friends at the beginning of last weekend. Obviously in Europe this is not a unique event or landscape, but for us it is magical . good night dear friends
View attachment 357026
The oil gives her a nice warm look, Shota.
Regards, Peter
 
good evening dear friends
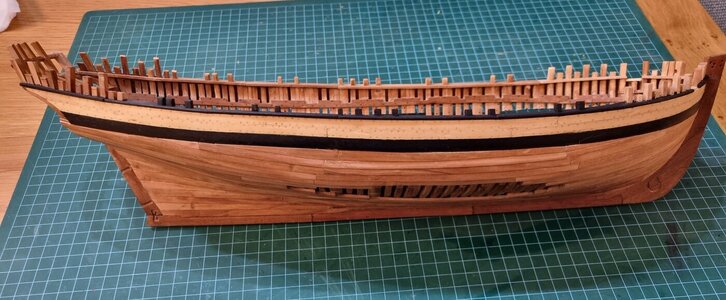
Today I took another small step that seals the process of creating the gunwale for now. I painted the right side with several layers of black paint. It's all I could do with the little time I had.
Good night everyone and enjoy from the pictures
20230214_221957.jpg20230214_221941.jpg20230214_222254.jpg20230214_222228.jpg
 
good evening dear friends
Today I took another small step that seals the process of creating the gunwale for now. I painted the right side with several layers of black paint. It's all I could do with the little time I had.
Good night everyone and enjoy from the pictures
View attachment 357352View attachment 357353View attachment 357354View attachment 357355
Good morning Shota. Wonderful. I love your detail and hull openings so this is visible. You can be proud of this build. A question - the stove floor (I think that’s what it is) seems off the horizontal ? I’m not sure if photo or if it is meant to be like this? Cheers Grant
 
Good morning Shota. Wonderful. I love your detail and hull openings so this is visible. You can be proud of this build. A question - the stove floor (I think that’s what it is) seems off the horizontal ? I’m not sure if photo or if it is meant to be like this? Cheers Grant
thank you very much for your kind words :) :cool:
the stove floor is not horizontal because the that the photographer is not talented in photography:D
 
good evening dear friends
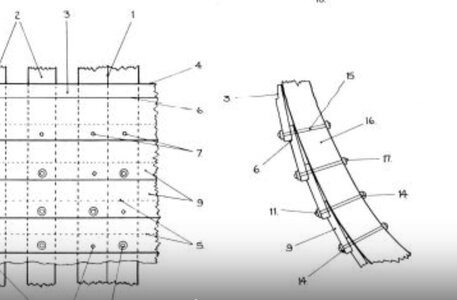
Today I approached the examiner of my program for creating the external screws of the planking. As you remember, these are screws that have a round disk at the bottom of the head.
Screenshot_20230215_211649_Chrome.jpg
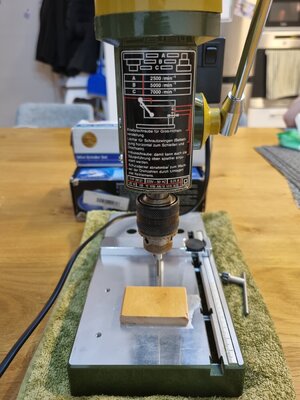
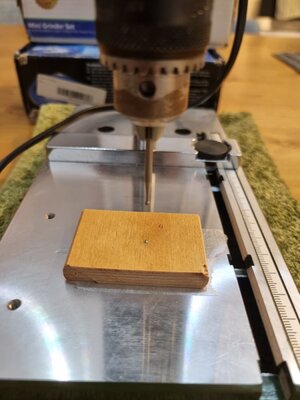
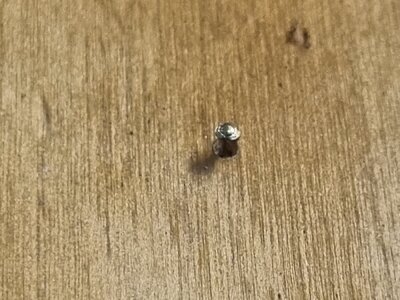
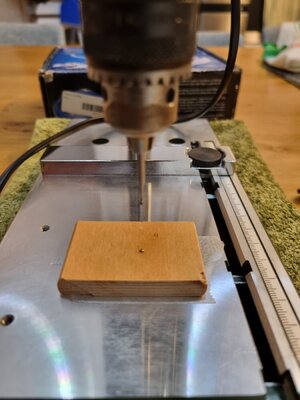
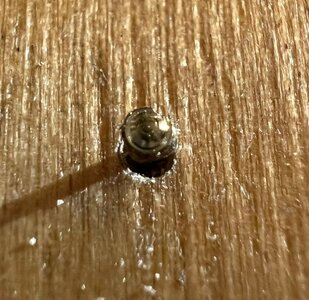
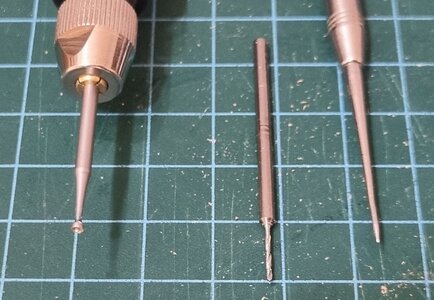
I decided to take brass nails with a thickness of 0.6 mm and a head width of 1.4 mm and insert them into a wooden board with a hole 0.7 mm wide. After that I lowered a cup drill on the head of the brass nail, thus producing a round head with a width of 0.4 mm and an outer disc with a width of 0.4 mm. At the end of the experiment I realized that I need to replace the wooden jig with an aluminum board, because the wood wears out and the nail sinks in, making it difficult to create the required result. We will continue in the coming days to improve the process and the result. good night
20230215_203307.jpg20230215_203452.jpg20230215_203900.jpg20230215_204023.jpgIMG-20230215-WA0004.jpgIMG-20230215-WA0005.jpgIMG-20230215-WA0006.jpg
 
good evening dear friends
After several working days of sanding and fine adjustments, today I finished fitting and gluing the gunwale parts on the Both sides including oil coating.
View attachment 357022View attachment 357023View attachment 357024View attachment 357025

And for dessert a photo from a trip to the north of my country as part of a trip with friends at the beginning of last weekend. Obviously in Europe this is not a unique event or landscape, but for us it is magical . good night dear friends
View attachment 357026
The snowscape is looking great, almost as great as your build.
 
Your Alert is looking beautiful, my friend. Good luck with the "bolt" experiments!
 
Hi Dear friends
today I continued the work on the nails of the planking.
First I marked the area of the anchor which will be covered with a layer of wood that will create a cover on the midgrade and an area in the form of a quarter ellipse.
20230218_144643.jpg20230218_144721.jpg

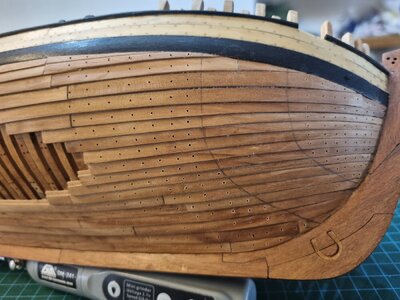
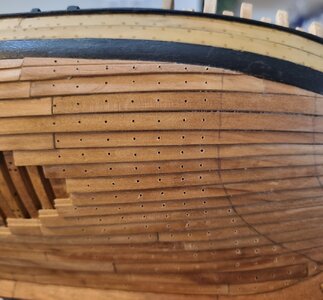
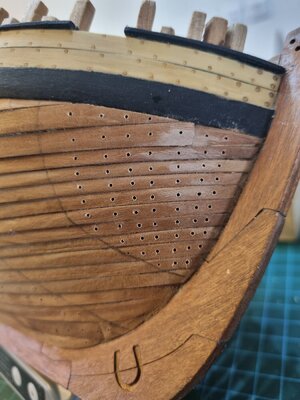
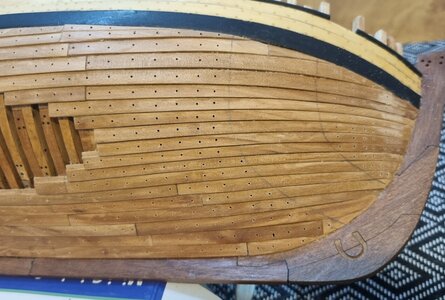
After that, I marked with a kind of chisel whose head is pointed like a pin the locations where the nail/screw gun worked.
20230218_150938.jpg20230218_150950.jpg20230218_151037.jpg20230218_161124.jpg
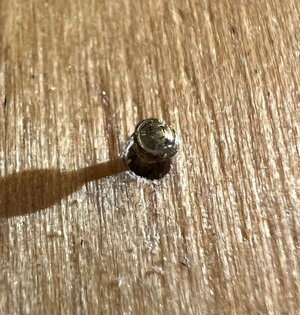
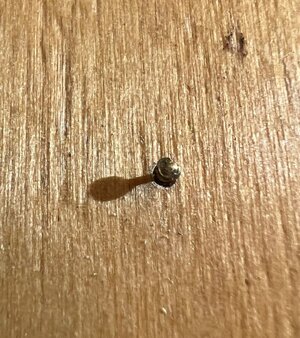
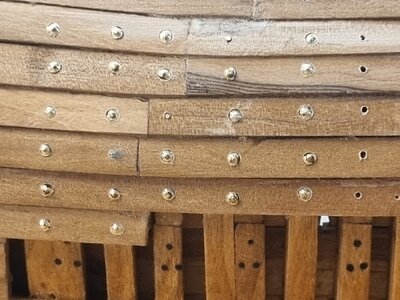
In the next step I drilled with a 0.6 mm drill hundreds of holes (I broke after counting after 143) for nails that are about 0.6 mm thick as I showed you in the last updates. After I finished the drilling, I inserted the nail with its head sticking out about 0.2 mm above the height of the board.
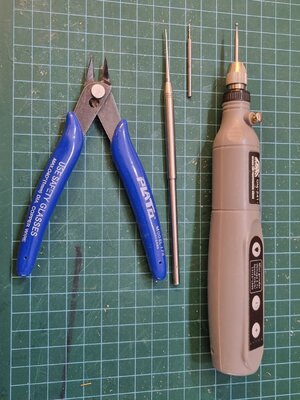
I inserted the pin with a 1.5 mm cup drill at medium speed and I found that this way it drives the pin nicely into the board and creates the special screw head of The ship (internally rounded and slightly protruding head with a width of 1 mm and below it a disk with a width of about a 0.35 mm).
I can say that I am satisfied with the way and the result, I would love to hear your comments.

wish you all happy weekend :D
20230218_160901.jpg20230218_160935.jpg20230218_161007.jpg20230218_161101.jpg20230218_161112.jpg20230218_161124.jpg20230218_161511.jpg20230218_161531.jpg
 
Back
Top