HMS ALERT 1777 cutter POF by shota70 [COMPLETED BUILD]

Dear Friends
I just take advantage of the free time for the benefit of enjoying the construction process of this beautiful model. Also the last few days I am on sick leave as a result of a mild cold, so I have free time and a lot of it.
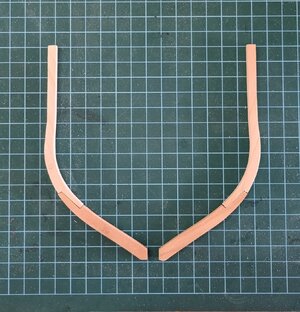
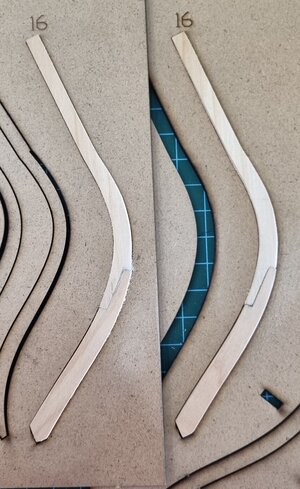
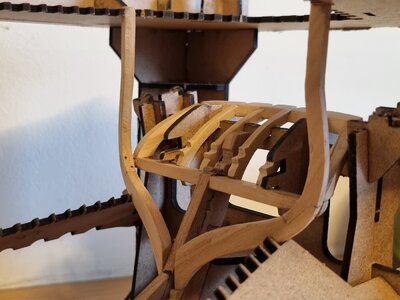
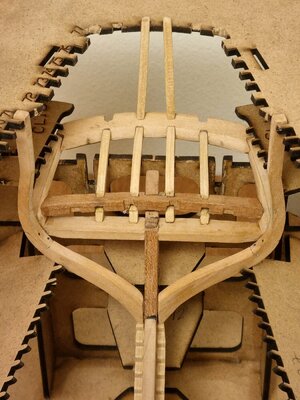
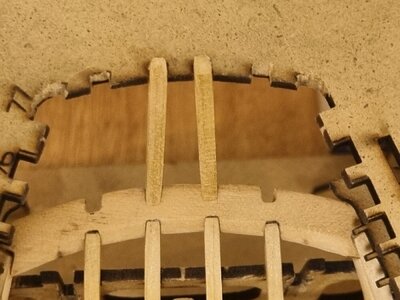
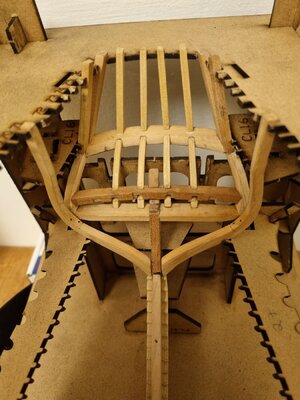
So in the last day I made and installed the frames 16 .
20220102_140456.jpg
20220102_114622.jpg
20220102_115853.jpg20220102_143749.jpg

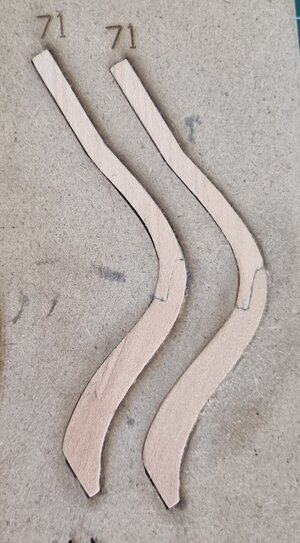
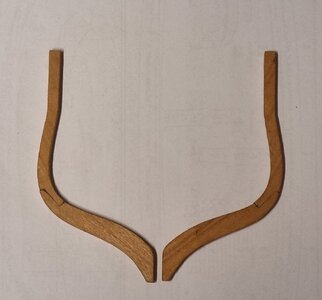
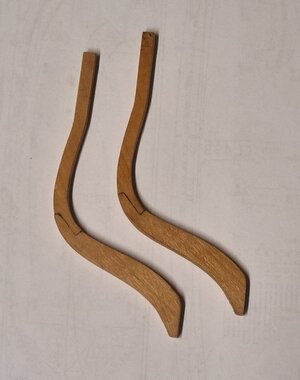
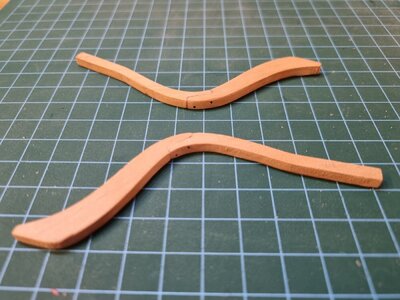
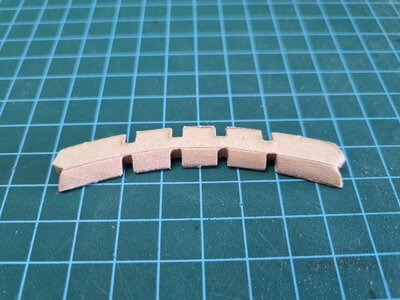
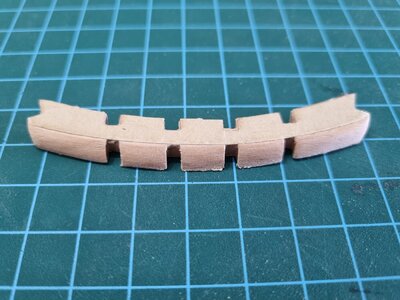
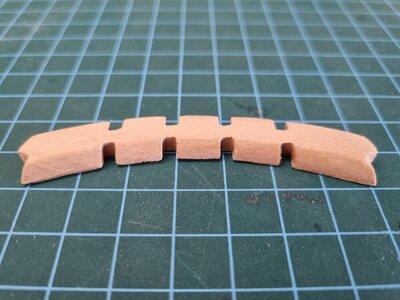
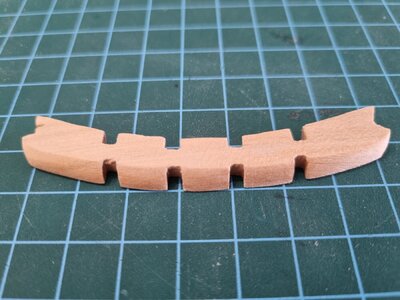
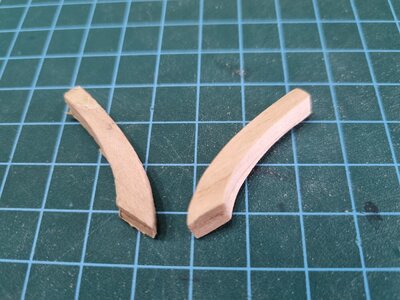
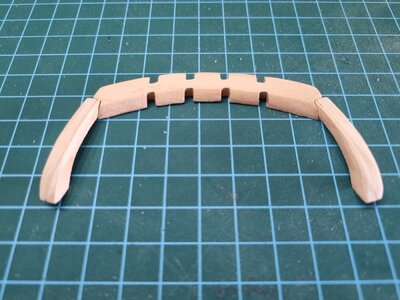
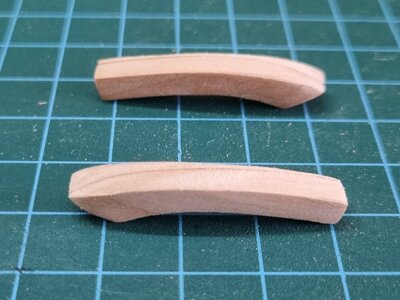
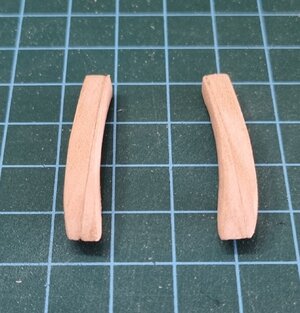
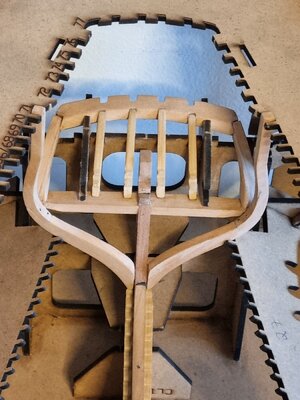
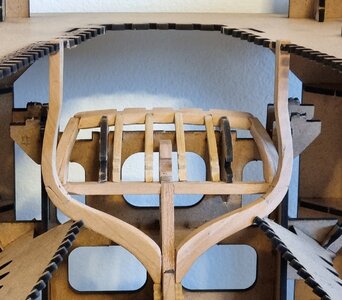
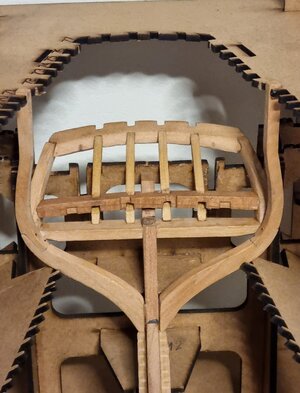
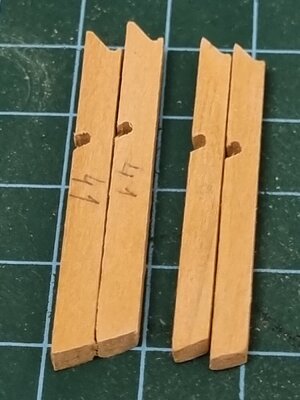
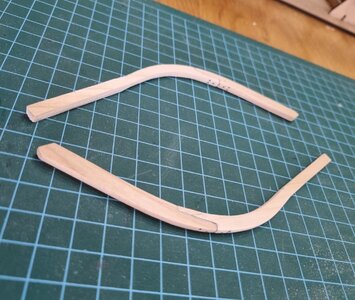
Plus I started the process of preparing the many parts that make up the stern. Indeed, the preparation and assembly of these parts requires great patience and precision. So today I made frames 71.
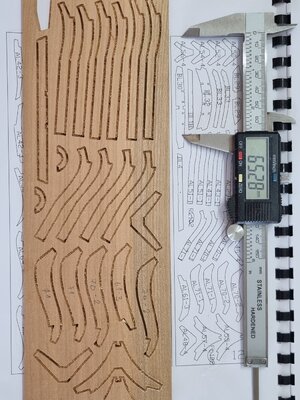
Please note that there is a gap / difference between the drawings in the instruction booklet and Table 12 where frames 71. are located. Attach a picture, what I did I simply measured and found the right frames.
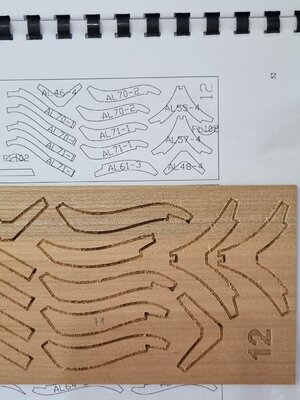
20220102_120455.jpg20220102_121017.jpg20220102_131000.jpg
Wishing you a happy and healthy new year
 
By the way, I have a question for friends who have already built the stern and especially when frames 71, did you insert nails (I do not care if it is made of wood or brass)?
20220102_184002.jpg20220102_183930.jpg
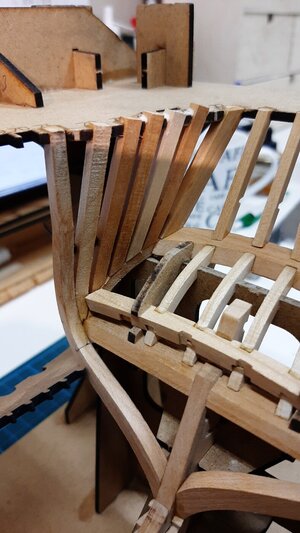
I installed nails in the frames of the bow as most of you have done and see in the pictures of the previous posts. Thanks for the help
 
By the way, I have a question for friends who have already built the stern and especially when frames 71, did you insert nails (I do not care if it is made of wood or brass)?
View attachment 280119View attachment 280120
I installed nails in the frames of the bow as most of you have done and see in the pictures of the previous posts. Thanks for the help
Yes the frame joints I have bolted with two bolts.
This is also mentioned in the AotS book of Alert.
20201030_194239.jpg
 
Dear Friends
I need your help, I can not find the wooden board where parts Al 77 of the stern are located. 20220103_114409.jpg
I checked the guidebook more than three times and found none, probably under my nose:D:p:cool: Thank you
 
Hello dear friends
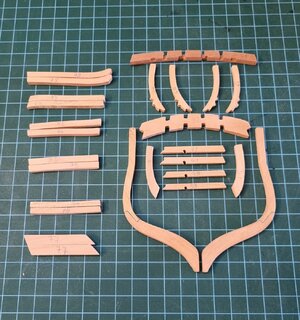
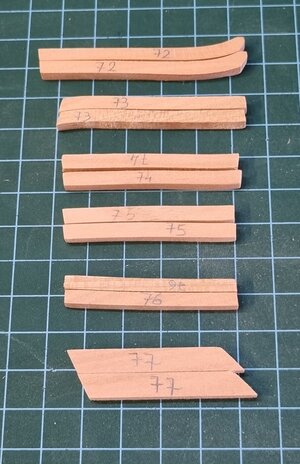
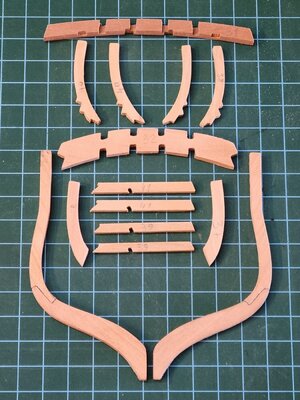
Today I removed the many pieces that would make up the stern and the wood scraps left over from the board to which they were attached. A bit of seductive work.
I have another job of sanding to the required angles of parts 37, 31 and 32 and more
20220103_153346.jpg20220103_153506.jpg20220103_153558.jpg
 
Hello Shota, You will find parts 37 more than 2. Actually, you will have to glue 2 pieces together before affixing providing templates, and preparing for shaping.
Dear Jim
do you have a picture that will help me to understand and do it right :):)
 
Hello dear friends
Returns to you in the last update for today, I first installed black wood nails in frames 71 following the example our friend Maarten attached in one of the latest updates.
20220103_201345.jpg
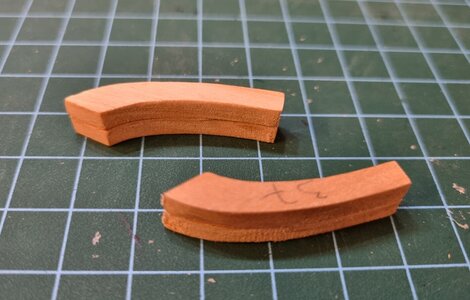
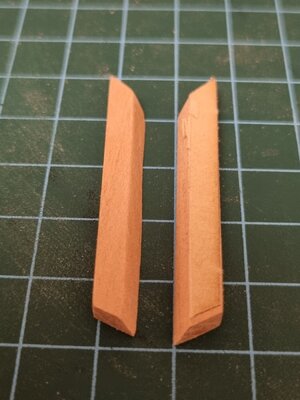
Then I glued the 37 parts two together and another two together. I then glued to them the stickers the kit gives for them I am supposed to polish / sand the areas with the stripes at an angle.
20220103_195807.jpg
20220103_212052.jpg

20220103_212115.jpg
I also glued the appropriate stickers on part 31, when the parts with the drawn stripes were not glued because they were torn off the large / main part, but that should be fine since I am supposed to sand the angle that has no stickers on it.
20220103_221915.jpg20220103_221856.jpg
Before doing the sanding / polishing work, I would be happy to make sure with the friends who have already done
this step, did I glued correctly and what are the areas that need to be sanded in parts 37 and 31?
Thank you very much and good night everyone Sleep:)
 
Last edited:
Hello friends
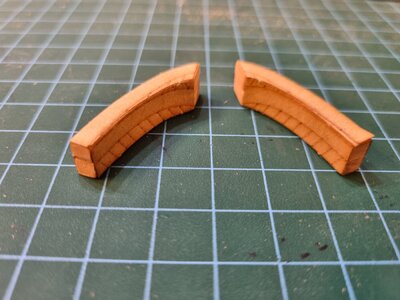
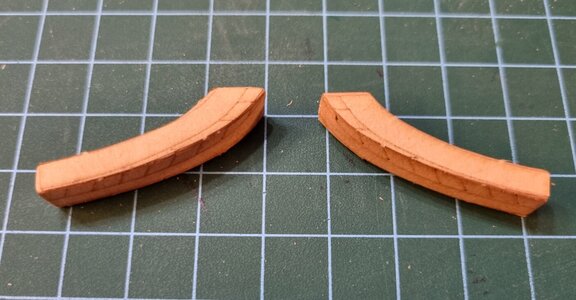
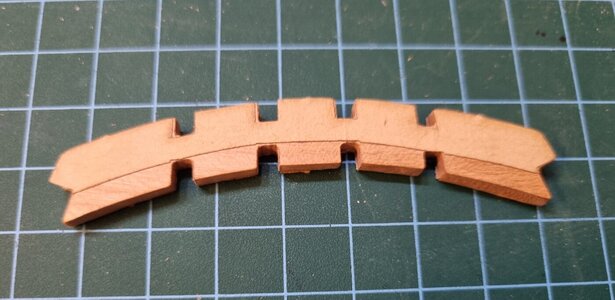
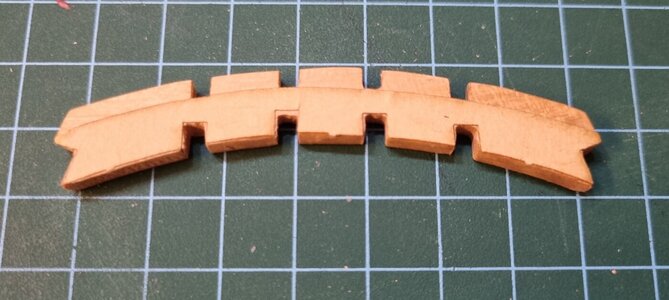
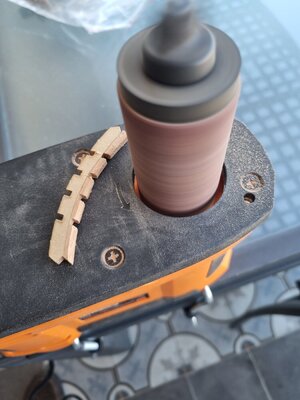
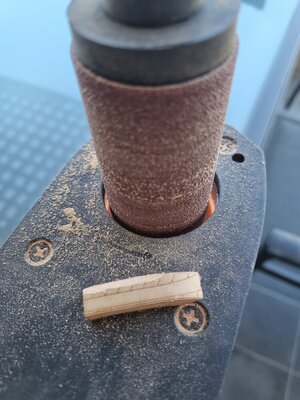
Today I started sanding parts 37 and 32 according to the stickers and to my delight despite concerns in the king of work the result came out well and as required. I am attaching pictures of the work process and the result in order to be used by the other members who have not yet arrived or will arrive in time for this stage.
20220104_111714.jpg20220104_112516.jpg20220104_115652.jpg20220104_115706.jpg20220104_120238.jpg20220104_120315.jpg20220104_121623.jpg20220104_122152.jpg20220104_122327.jpg20220104_122349.jpg
Believe that During the current day I will start working on the assembly of the. stern .
I will keep updating and until then we will have a lovely day
 
Hello dear friends

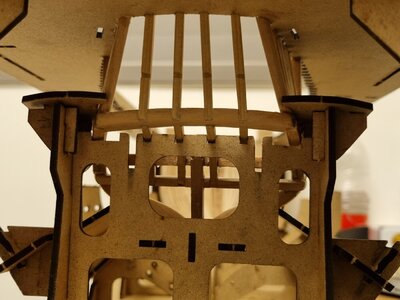
For the past few hours I have been assembling some of the stern parts, that have been prepared in recent days.
Please note that at the first, I assembled parts BL40, BL38 and BL37 and only after that I installed frames 71.

20220104_161400.jpg20220104_161524.jpg20220104_161605.jpg
This is because if I were the opposite as the instruction booklet shows it would have been quite difficult to install the parts with our non-thin fingers.
The truth is that the most complex and challenging part was with the Deck transom part. In our kit, this is part BL31
good night 20220104_201902.jpg
 
hello dear friends
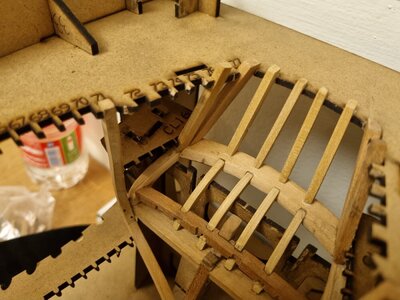
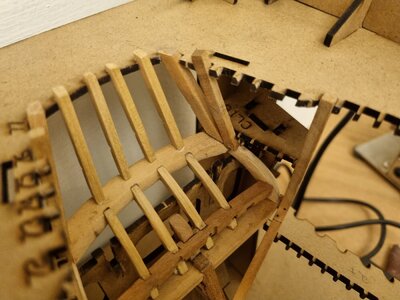
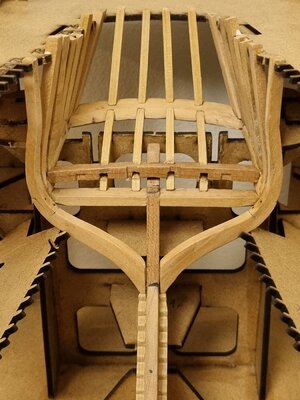
Today I'm finished with the side counter timbers and the Stern cant frames.
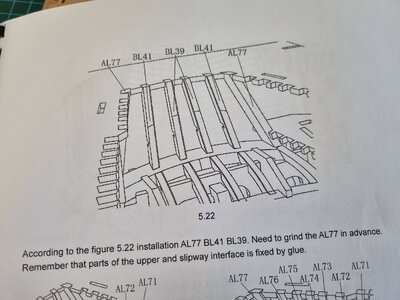
first I started by installing parts 39 and 41 of the counter-frames (if you notice 39 are shorter). 20220105_185203.jpg
I started by installing the 39 frames, and until they dried I installed the 77-76 frames (I realized that the installation of 41 convenient access counter at work on 77).
20220105_190118.jpg20220105_190147.jpg
Please note that frames 77 should be sanded and shaped with the help of the stickers included in the kit as they give the corner counter of the stern.

20220105_185006.jpg
Also in the jig there is laser marking between the ribs 39-41 as well as between the 77-73 of a line that requires grinding at an angle to allow the frames to be installed at the required angle.
20220105_210133.jpg
after that I installed frames 41,
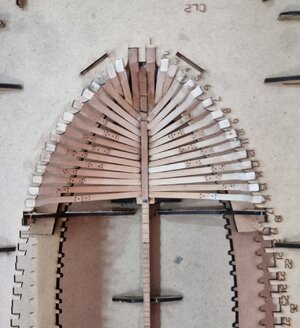
20220105_210142.jpg20220105_210146.jpg20220105_233027.jpg later I went to work on installing frames 75-72. The installation should be carried out according to the outline of frames 71, meaning that the concave / rounded part is laid down. The pictures will help you understand clearly.20220105_233115.jpg

Have a good day /noon/ night for all of us
 
I cannot believe how fast you are building Shota! You are really immersing yourself in this build. Well done!
 
I cannot believe how fast you are building Shota! You are really immersing yourself in this build. Well done!
The reason why I accelerated the pace of construction of the model for day-to-day work is that about a week ago I fell ill with the flu and on Sunday this week I went into isolation, this is because my daughter and now my wife also fell ill in Corona.
I'm waiting for the answers of the pcr test, probably I'm also going to come out positive. That means I will continue to be in solitary confinement for another week.
the process of building the ship gives me peace and enjoyment.

The disease passes over me in a not difficult way.
Wishing us all health and happiness
 
My friend I am obviously very sorry to hear that your daughter and wife contracted Corona and now you possibly too. We are fortunate to have something to keep us busy with during these trying times. That is why my New Year's wish for 2022 is only for it to be a healthy year to us all. Look after yourself - I will be thinking of you and your family.
 
Back
Top