HMS Alert by DST

Trying to get new momentum to continue this build, too. After a year of practically no spare time for hobbies things are looking good, so...

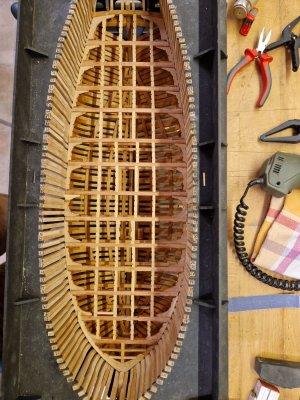
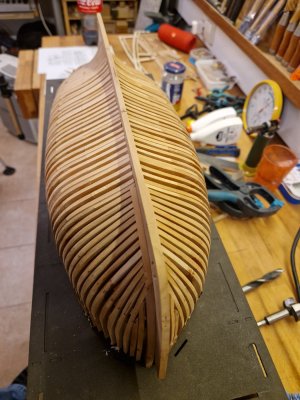
I decided to work on the frames in batches. Cutting out, cleaning, glueing, marking and shaping of the frames 8 to 16.

20231124_222447.jpg

Frames glued and ready for marking and shaping:

20231124_231628.jpg

Dryfitting:

20231127_202831.jpg

I "messed up" the base of frame 8, have to reshape it somehow to close the gap to 7 and 9...

20231127_202859.jpg
 
you did not loose your skills in modeling in the last year - looking very good
 
Thank You

The parts for the stern assembly are prepared, except for the shaping of the number 37

20231128_203016.jpg

To shape the transom I found it to be easier to hold the piece close to the edge of the table and pull a sanding stick with 80 grit sandpaper downwards to about 1 mm from the line. Then switching to finer grits to the final shape.

20231128_192909.jpg

20231128_193538.jpg

20231128_193929.jpg

The finished part. Turned out quite nice

20231128_194759.jpg

Test fitting, all good for now...

20231128_193234.jpg
 
Not much to show, here's todays work. 2,5 hours of sanding and testfitting

Shaping the side pieces (37, still haven't searched for the correct term) isn't that easy...

20231129_184313.jpg

But slowly I'm getting there

20231129_184338.jpg

And sanding the first aft cant frame. Another use for the templates is to hold them while sanding the faces

20231129_193201.jpg
 
Last edited:
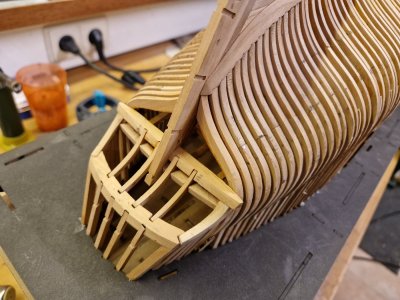
First cant frame of the stern installed

20231130_070208.jpg

I have some difficulties to fit the upper transom correctly:

20231130_070602.jpg

The transom has to come forward 1mm or 2... The side pieces are cut exactly to the shape of the templates and I didn't alter the notches of the transom. I tried filing the notches of the holder bit it still isn't enough.
Did someone else have this same issue?

The transom is sitting firmly in the holder though:

20231130_070626.jpg
 
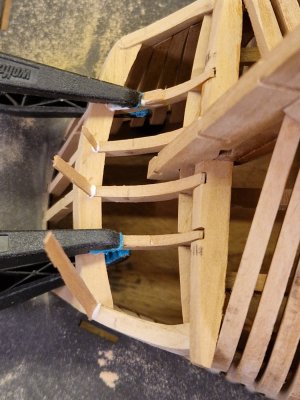
After lots of sanding and trying I got the pieces to fit properly. The notches of the jig have to be shaped in the corresonding angle of the part in this case for the transom (right next to the clamp)

20231130_184800.jpg

While sanding the notches the deck transom broke...

20231130_192140.jpg

I realised that it's easier to fit that part in two pieces, first the right side and then the left. Of course I had to swear like a world champion first

20231130_200048.jpg

Preparing the next parts for the stern and frame 69

20231130_204733.jpg

And this is the current state


20231130_210547.jpg
 
Last edited:
The progress of yesterday's work...

20231202_135702.jpg

20231202_154038.jpg

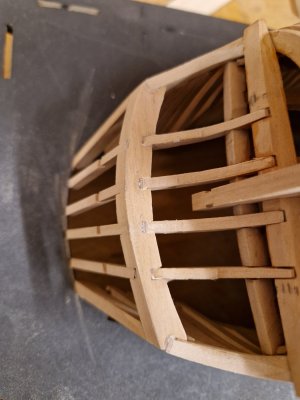
And here I realised the mistake after the glue has already set. Toptimber 72 is positioned the wrong way. I interpreted the curved part to go along the length of the ship instead of across... ‍

20231202_154042.jpg

The following toptimbers are also all wrong. Plus I forgot to reinstall the template which I removed to have better access. Maybe then I could have seen the error sooner.

I will have to disassemble those pieces and cut new ones...
 
So here goes...
With IPA and heat and I disassembled the cant frame, deck transom and the two first toptimbers.

20231203_101755.jpg

It is messy though.

20231203_105113.jpg


20231203_105122.jpg

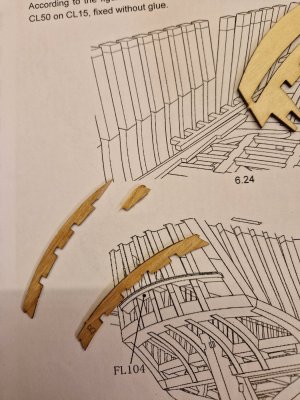
But after careful cleanup and testfitting it is ready to be reinstalled. This time without glue until everything is correct.

20231203_113158.jpg

And now the fit is better as before...

20231203_113225.jpg

With the help of the old part I traced teh contour on the stock

20231203_114124.jpg

And cut out. I decided to just correct the two first timbers as the curvature of the others is negligible and will be created while fairing.
I hope to be able to shape them this afternoon and maybe do some more frames...

20231203_115345.jpg
 
Back
Top