HMS Alert by DST

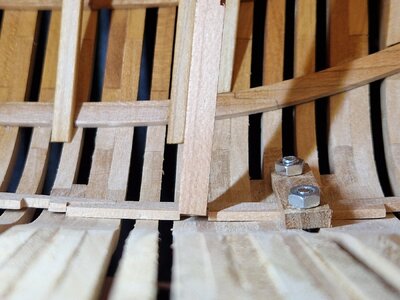
I was wrong about the notches in the beam. They are not for the legs of the windlass but for the bitts and should face forwards. The drawing in the instructions is wrong as it depicts the nothes facing aft.

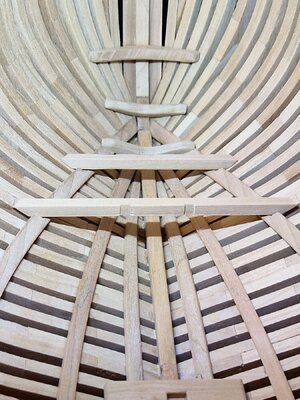
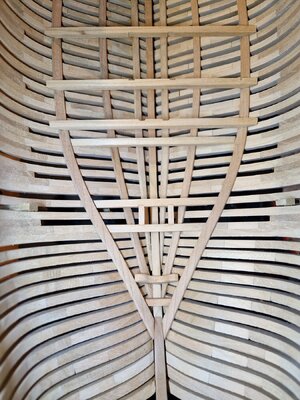
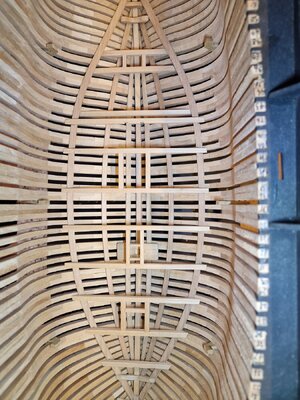
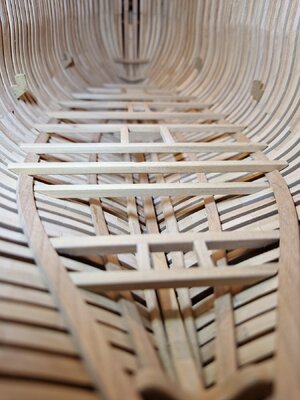
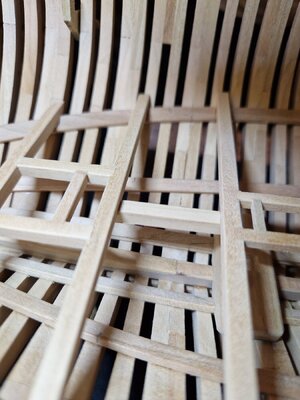
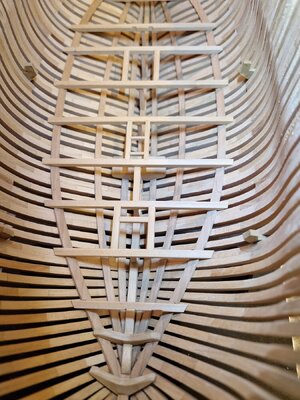
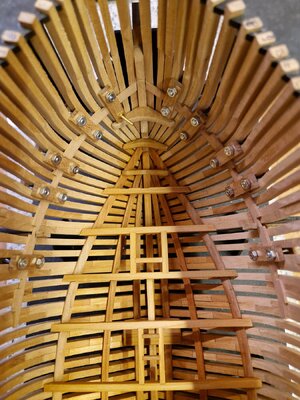
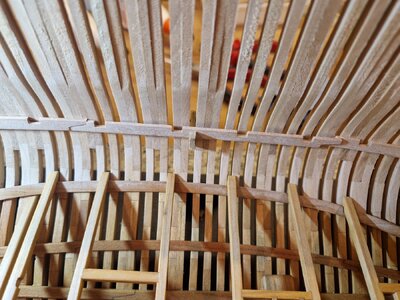
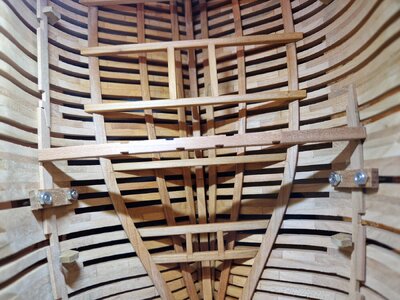
I started shaping and dryfitting the lower deck beams.

20240714_170746.jpg

20240714_170802.jpg

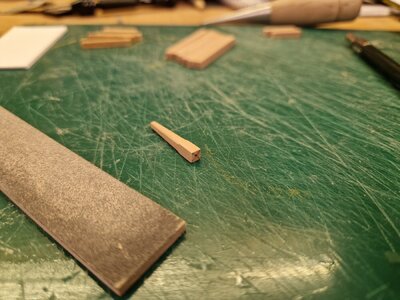
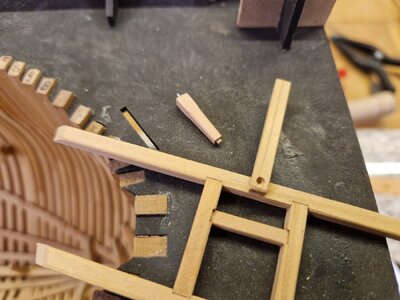
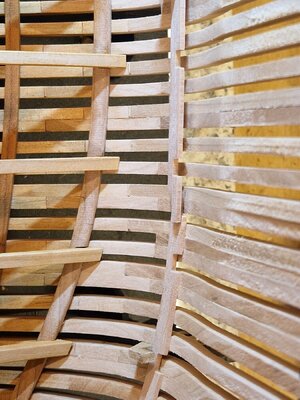
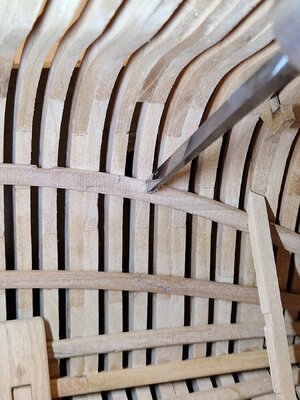
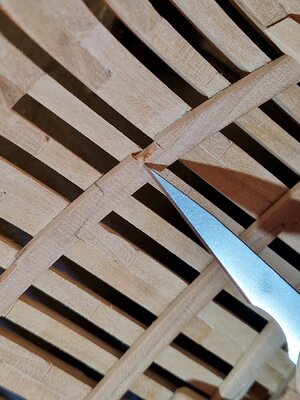
Cutting the deck clamps is challenging due to the restricted space. Witch chisels and the blade removed from the scalpel it was doable.
20240714_171006.jpg

20240714_171052.jpg

20240714_171403.jpg

Testfitting the beam

20240714_171807.jpg

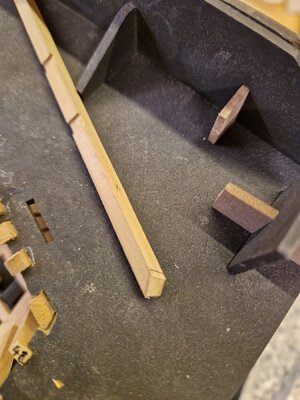
Marking the ends according tho the dimensions in the instructions and slicing with the chisel, leaving about 1mm to fine tune...
20240714_172127.jpg

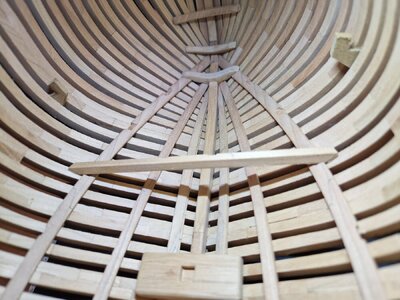
...until it fits. The beam should sit level (obviously) and perpendicular to the length of the keel. For that it is necessary to fine tune the notches of the deck clamp until it sits correctly in the 2 planes (adjusting slightly fore and aft and well as the depth).
20240714_172209.jpg

And I had to make sure that all beams are on the same level as the one next to it. 5 beams are done with some minor adjustments needed once they are all in place.

20240714_180511.jpg

I am still not sure if I want to do treenails. I will not be doing copper or brass bolts.
Although I'm really impressed by what some modellers are creating with shoemakers nails or cupped burrs I personally like the overall "clean" look of a framed model. So if I'm doing "bolts" it will all be treenails. And for the same reason I will not do the full interior, only the beams for the lower deck.
 
Fantastic work my friend. Notching the clamp is (of course) the proper construction. But if access is tight you could also notch the bottom of the beam - it would look the same...

I love your clean and precise work!
 
Thank You all.
Cutting the beams on the underside... can't explain how this idea would NOT be the first thing that came to my mind when I asked myself how to cut the deck clamp in that tight space ROTF I will remember that tip however for the future.
I just recently read Your post in Your build log about the beams, page 1944 if I remember correctly (and yes I always remember on what page and book I read something, just like Captain Aubrey did when he handed Blakeney his book about Nelson -> Battle of the nile, page 138, see? :p)
As You showed in that post it has not only the advantage of being easier to do but also having the possibilty to move the beam in position, to some degree as the notches are predefined by the kit maker.

And back to the beams of Alert. Those for the aft platform, which sits lower than the other, is cut to short. The markings visible on the beam are made according to instructions and I left material on either side, still is too short. I suppose either the deck clamp sits too high in this area or I sanded too much when fairing the hull...

Either way I learned something: measure before cutting. Guess I have to make a new one...

20240717_072927.jpg
 
Wonderful joinery even while dry-fit!
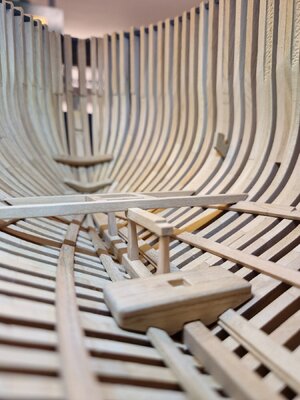
Thank You Doc and of course everybody else stopping by and "like", but I have to correct myself: in the last 3 pics the ledges and carlings are glued to the beams. The beams themselves are not as I have to install the pillars first and apply a coat of oil to the hold...
Yesterday I started shaping the pillars, pics will follow
 
Good morning Dan. Wow, This is so good. Your joinery and construction is spot on and neat. I came in late here, but I will certainly follow. A pleasure to view. Cheers Grant
 
Thank You all.
Not much to show, I glued the pillars in place and applied a coat of linseed oil / turpentine mix to the hold.

I decided against treenailing :)
I simply do not want to invest the time to do them as I think You wouldn't see much of them. At least on the inside. Maybe I will add them on the outside once the hull is free an faired...

20240729_165914.jpg
 
I decided against treenailing
When in doubt, leave them out. :) It seems that on most models we see these days they are oversized and stark, looking like a bad case of the measles or chickenpox. But with, subtle color and proper size they can look really good on the outside of the hull and I am sure with your skills you would make a masterpiece of it.
Allan
 
The lower deck beams are installed and I started working on the main deck clamps.

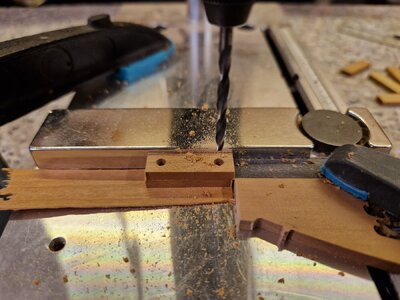
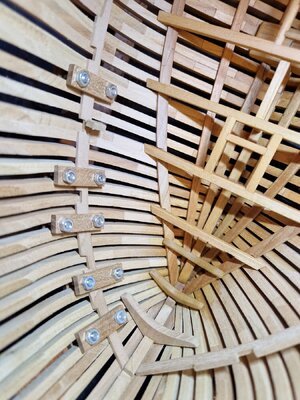
First I had to make some screw clamps. I cut a strip of wood roughly 25mm x 6mm wide

20240808_175020.jpg

20240808_182246.jpg

This is for sure not the best method as it takes quite a long time to install all the screws. I have to use slow curing glue on the next piece.

20240808_184401.jpg

But it seems to work fine:

20240808_185346.jpg

Thanks everyone who is interested and following.
 
I love your last photo, the position of your model is divided in half by the sun and natural shades. The shades illusion made the starboard look like from pearwood and the port side from boxwood. WOW
 
Awesome! How did you establish the vertical position? I agonized over that for days...

I "eyeballed" it by looking from the top down aligning the main deck beam notch with the lower deck beam, taking the frame as a reference. By sanding the end of the deck clamp near the stem I could adjust the position.

20240815_182709.jpg

I love your last photo, the position of your model is divided in half by the sun and natural shades. The shades illusion made the starboard look like from pearwood and the port side from boxwood. WOW

That was by chance I guess :D.
Didn't pay much attention, although I try to light the interior of the hull with a LED torch to get somewhat acceptable pictures... seems I forgot that time.

I tried to dryfit the center piece of the deck clamp and it is too long. I guess this is done intentionally to be able to adjust?

20240815_182717.jpg

And I dryfitted a main deck beam and this doesn't fit either. It is too short...

20240815_192652.jpg

The starboard side sits against the frame and the port side is too short by about the thickness of the deck clamp... .

20240815_192656.jpg

Have I sanded the interior too much while fairing? Did I make a mistake while assembling the frames?

I think I could center the beam by leaving 1mm gap at either side, which will be hidden by the waterway. I will try the other deckbeams once I get to that stage. If they are all too short I must have made a mistake.

Thanks for Your likes and comments
 
This sometimes happens that there is some 1mm maybe missing - I can not imagine, that you made a mistake with the frames, could happened only during the internal sanding
I like it more, when the kit designer is making the beams on both sides maybe 1mm longer, (with the info in the manual that the modeler has to make the length adjustments equal on both sides.... but Life is not a wish concertIf the beams will be covered it will be absolutely no problem.....
Very good work on your Alert
 
Back
Top