-

Win a Free Custom Engraved Brass Coin!!!
As a way to introduce our brass coins to the community, we will raffle off a free coin during the month of August. Follow link ABOVE for instructions for entering.
-

PRE-ORDER SHIPS IN SCALE TODAY!
The beloved Ships in Scale Magazine is back and charting a new course for 2026!
Discover new skills, new techniques, and new inspirations in every issue.
NOTE THAT OUR FIRST ISSUE WILL BE JAN/FEB 2026
- Home
- Forums
- Ships of Scale Group Builds and Projects
- HMS Alert 1777 1:48 PoF Group Build
- HMS Alert 1777 1:48 Group Build Logs
You are using an out of date browser. It may not display this or other websites correctly.
You should upgrade or use an alternative browser.
You should upgrade or use an alternative browser.
Nice clean work Dan. Impressed.
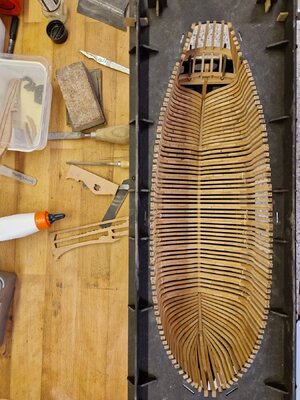
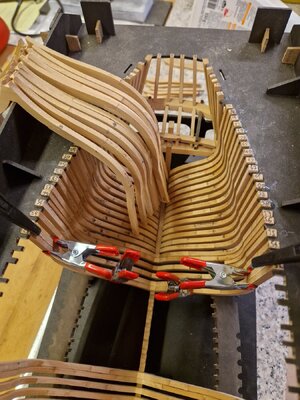
I forgot to shape the aft cant frames before installing them, so as a reward I had to sand all that surplus material by hand... nice.
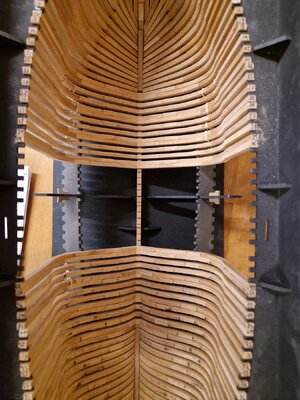
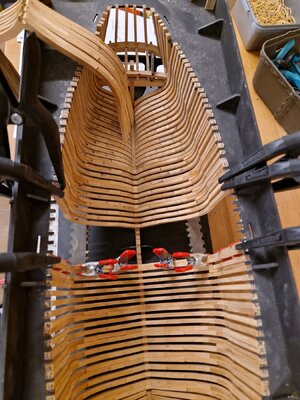
It is one thing to fair the ouside of the hull but completely different thing on the inside. It took me about 7 hours and 15 litres of sweat to finish fairing
I used a strip of wood to check for high or low spots:
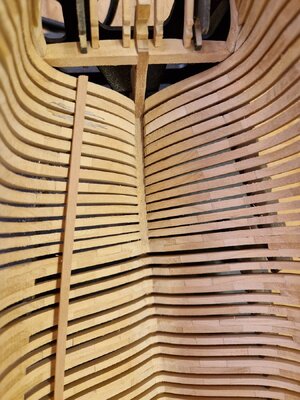
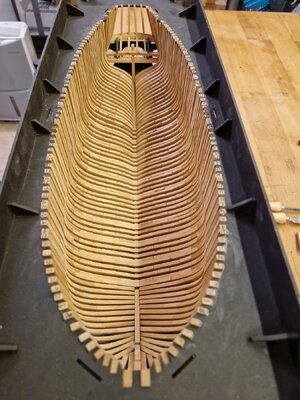
This is after 80 and 120 grit:
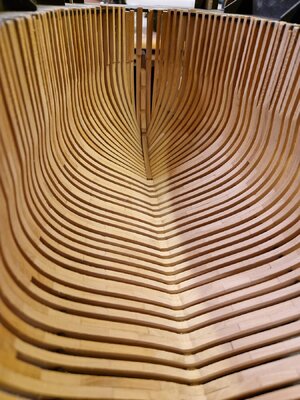
It is one thing to fair the ouside of the hull but completely different thing on the inside. It took me about 7 hours and 15 litres of sweat to finish fairing
I used a strip of wood to check for high or low spots:

This is after 80 and 120 grit:

Looking very good (with still more to do)! I recall spending several days on my patio just sanding the interior hull. It will all be worth the effort!
Yep, this evening I invested another 2 hours on sanding the frames smooth. I find it less of a chore now that the frames are all faired and this is kind of fun, checking again and again to find some imperfections.Looking very good (with still more to do)! I recall spending several days on my patio just sanding the interior hull. It will all be worth the effort!
I am now at the stage of passing to 220 grit and then 360. Should make a fine surface for the oil finish. And I have to clean up all this fuzzy edges once I'm at 360 grit
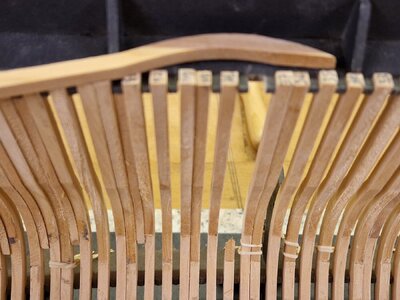
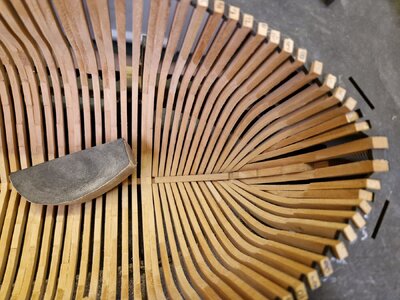
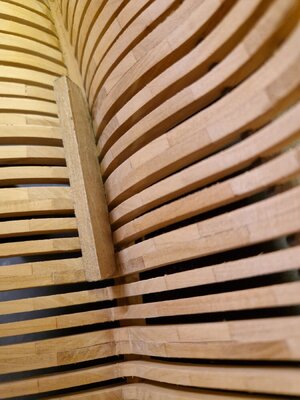
I also started "fairing" the tops of the floor futtocks to have a nice base for the keelson. The sanding stick is a piece of MDF with a slight curve and sanded to the right thickness to pass between the frames
Congratulations for reaching this working step - for me it is everytime a great feeling starting with the sanding of the structure
The next highlight will be, when you are able to remove the hull out of the jig
BTW: Your work is looking very good
The next highlight will be, when you are able to remove the hull out of the jig
BTW: Your work is looking very good
Thank You all and here's the update for now:
While sanding the inside to 360 grit I found a few spots that needed further treatment. I hope i didn't alter the thickness of the frames too much and get into trouble later on as I had to sand quite a lot...
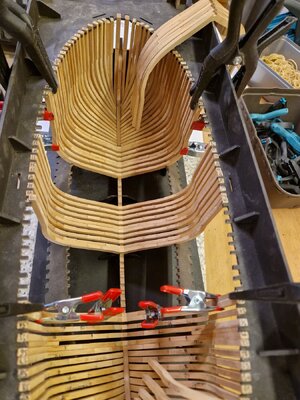
The keelson was next. I opted to glue it outside the model and dryfitting each part carefully before assembly:
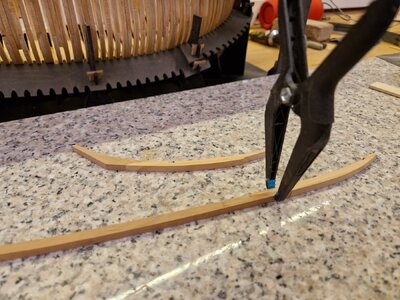
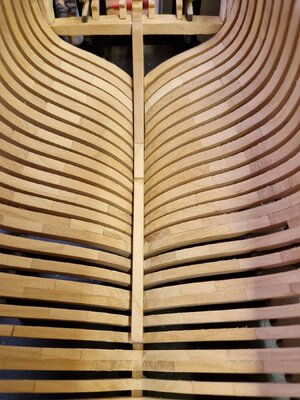
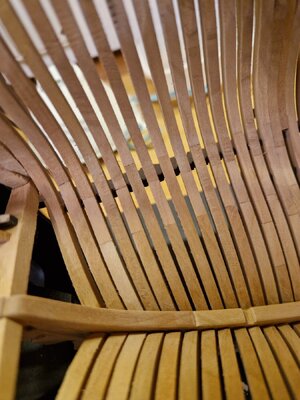
This is a test to check if my highly sophisticated method of clamping would work
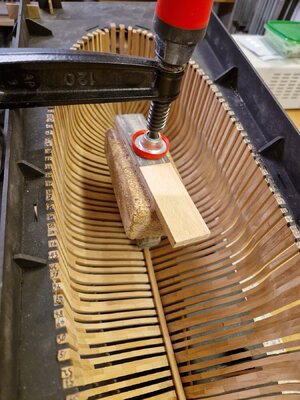
And I started with shaping the mast step and adapting the notches for the planks:
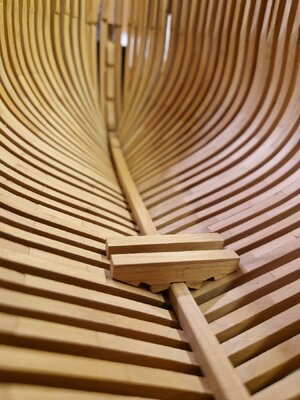
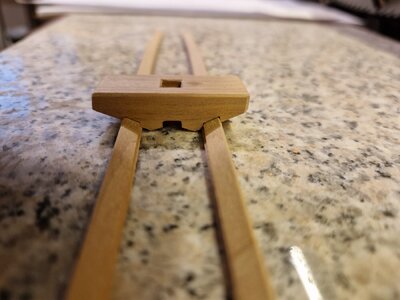
Nothing is glued yet and I'm happy to see that the keelson lies nearly perfectly on the frames. Just needs a little clamping pressure in the stern and bow area
While sanding the inside to 360 grit I found a few spots that needed further treatment. I hope i didn't alter the thickness of the frames too much and get into trouble later on as I had to sand quite a lot...
The keelson was next. I opted to glue it outside the model and dryfitting each part carefully before assembly:


This is a test to check if my highly sophisticated method of clamping would work

And I started with shaping the mast step and adapting the notches for the planks:


Nothing is glued yet and I'm happy to see that the keelson lies nearly perfectly on the frames. Just needs a little clamping pressure in the stern and bow area
Ooh! Your work continues to impress! I had some of those same concerns about over-sanding, but it never really became an issue...
Limber strakes are being fitted against the installed keelson:
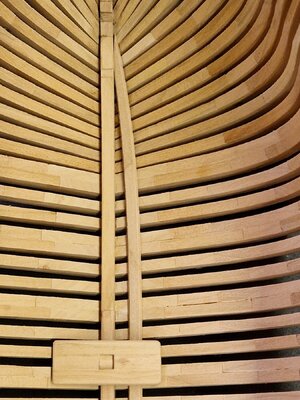
It is quite difficult to determine the exact position of the plank from the instructions so I eyeballed it, for now. There's still a little room to correct it
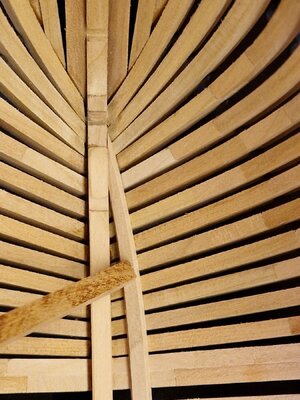
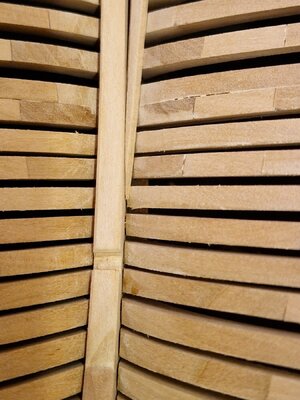
After fitting the two planks I secured them in place temporarily without glue. I found the "squeeze with a file or similar" method worked quite well (I think I saw this in Maartens or Jimskys blog, so thank You for saving time)
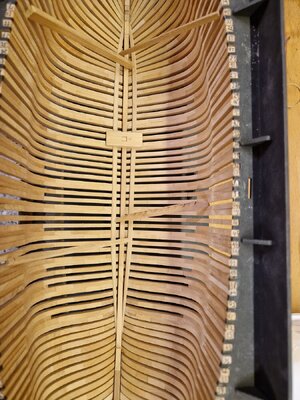
After a little adjusting the mast step sits well in place on the planks:
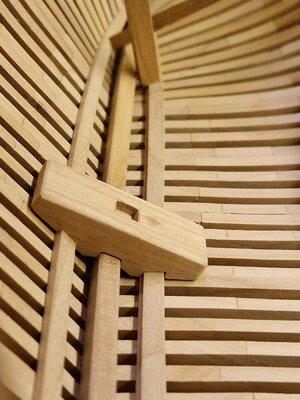
Next is the thickstuff plank. Adjusting the angle against the keel, again it is hard tp determine the position. How far ahead of the notch for the knee should the plank go??
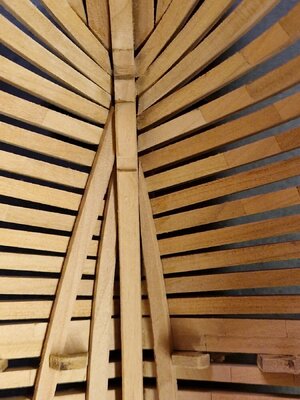
It just about touches the notch for the stern knee. Seems about right according to instructions, which aren't clear at all:
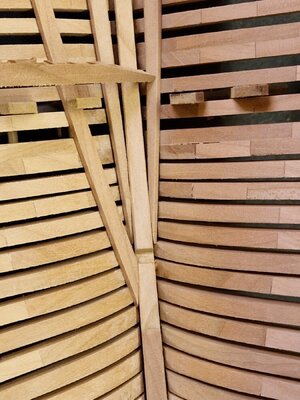
An overall view of the actual state:
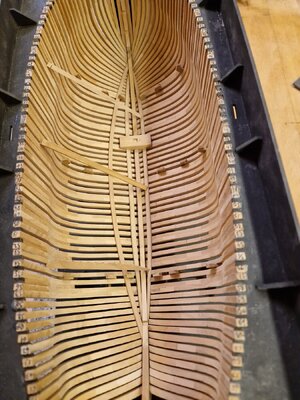
Both thickstuff planks are dryfitted:
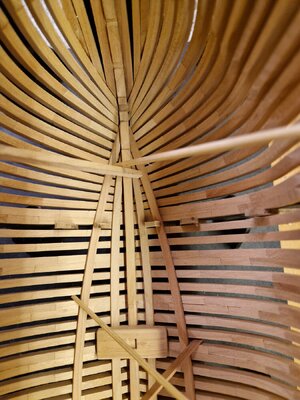
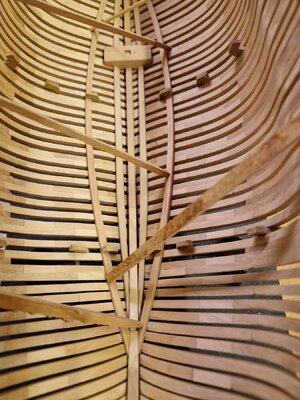
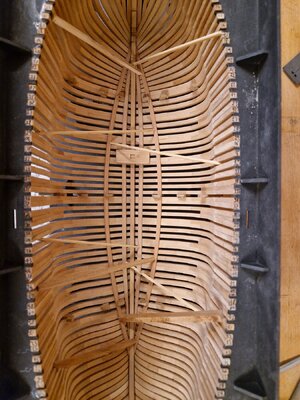
And now I have to adjust the knees to the actual position of the planks...

It is quite difficult to determine the exact position of the plank from the instructions so I eyeballed it, for now. There's still a little room to correct it


After fitting the two planks I secured them in place temporarily without glue. I found the "squeeze with a file or similar" method worked quite well (I think I saw this in Maartens or Jimskys blog, so thank You for saving time)

After a little adjusting the mast step sits well in place on the planks:

Next is the thickstuff plank. Adjusting the angle against the keel, again it is hard tp determine the position. How far ahead of the notch for the knee should the plank go??

It just about touches the notch for the stern knee. Seems about right according to instructions, which aren't clear at all:

An overall view of the actual state:

Both thickstuff planks are dryfitted:


And now I have to adjust the knees to the actual position of the planks...
Last edited:
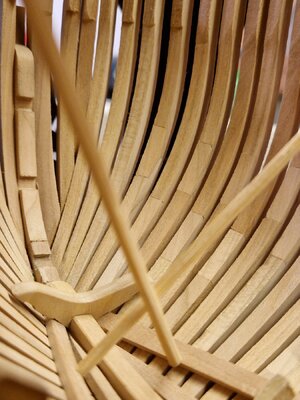
The first knee in the bow is being adjusted to the stem and the thickstuff planks. Still needs a little touchup and should be good:
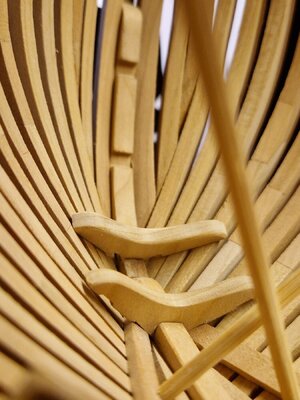
The second one is just sanded to fit in the notch of the stem, the sides are left as is for now:
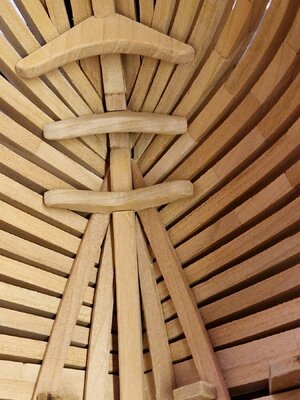
And the third one is also dryfitted. It is satisfying to adjust those pieces in small steps untill they just fall in place, without glue

The second one is just sanded to fit in the notch of the stem, the sides are left as is for now:

And the third one is also dryfitted. It is satisfying to adjust those pieces in small steps untill they just fall in place, without glue

Very nice job fitting the breast hooks. Not so easy to do it this well!
Thank You
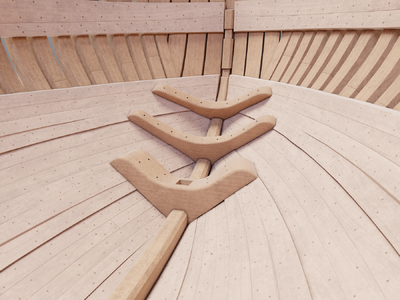
I wonder if the breasthooks were attached to the frames (before ceiling planks are installed) or on top of the ceiling planks?
In case they were attached on top of the planks I would have to leave a space between the breast hook and the frames...
I have to look through my books or does anyone know this?
On top of the ceiling planks... See this image from a digital model of a swan class ship (1770-1780):Thank You
I wonder if the breasthooks were attached to the frames (before ceiling planks are installed) or on top of the ceiling planks?
In case they were attached on top of the planks I would have to leave a space between the breast hook and the frames...
I have to look through my books or does anyone know this?
Thank You @dockattner and everybody else taking a look and giving likes
I continued with shaping the rear breasthook (have to lookup the name for that thing) and found it to be rather different to what it should be. I suppose I shortened the thickstuff too much and it can't extend past the knee...
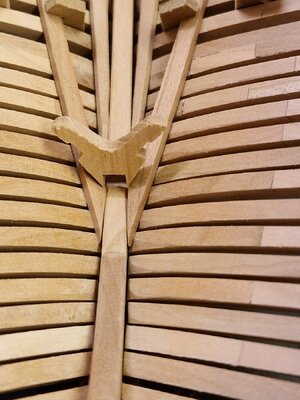
So I have 2 possibilities: reshape the piece or make new thickstuff planks. I have cherry in my stash but it's a lot lighter than that of the kit and I don't want to have 2 planks only in a completely different shade.
To spare the original piece and have a master "template" I retraced the shape to paper first. Then again to some thick cardboard (passepartout cutoffs, works really well for templates as its 2-3mm thick and cuts and sands just like a softwood)
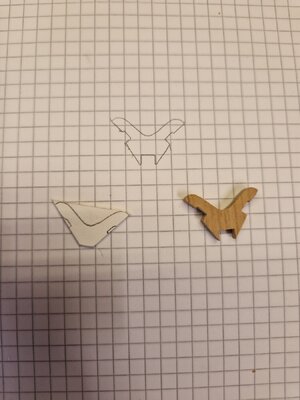
After fitting the cardboard template to the keel and planks, fore side and aft side for the diagonal notch for the planks I could then transfer it to the stock. In the picture is the side facing the stern...
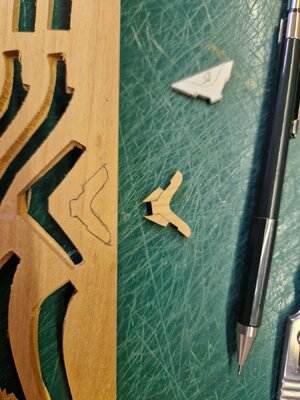
And cut it out. In this picture is the mark on the template for the upper flank of the notch facing the bow. Hope that makes sense...
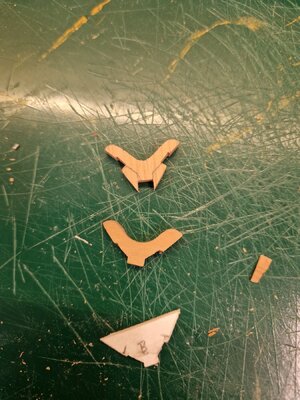
And after trimming, testing, rinse and repeat the thing sits snug against the planks and the notch in the keelson:
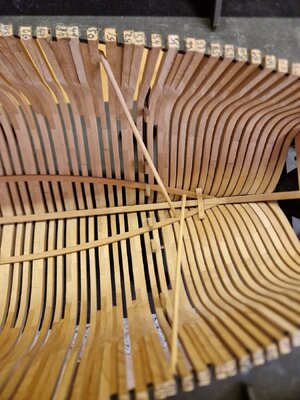
Does this count as a semi-scratch build now?
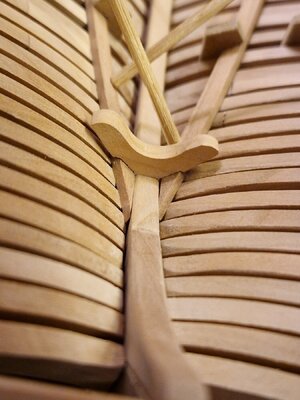
I continued with shaping the rear breasthook (have to lookup the name for that thing) and found it to be rather different to what it should be. I suppose I shortened the thickstuff too much and it can't extend past the knee...

So I have 2 possibilities: reshape the piece or make new thickstuff planks. I have cherry in my stash but it's a lot lighter than that of the kit and I don't want to have 2 planks only in a completely different shade.
To spare the original piece and have a master "template" I retraced the shape to paper first. Then again to some thick cardboard (passepartout cutoffs, works really well for templates as its 2-3mm thick and cuts and sands just like a softwood)

After fitting the cardboard template to the keel and planks, fore side and aft side for the diagonal notch for the planks I could then transfer it to the stock. In the picture is the side facing the stern...

And cut it out. In this picture is the mark on the template for the upper flank of the notch facing the bow. Hope that makes sense...

And after trimming, testing, rinse and repeat the thing sits snug against the planks and the notch in the keelson:

Does this count as a semi-scratch build now?

Last edited:
Not semi - this part is scratch building par excellence 
Thank You all
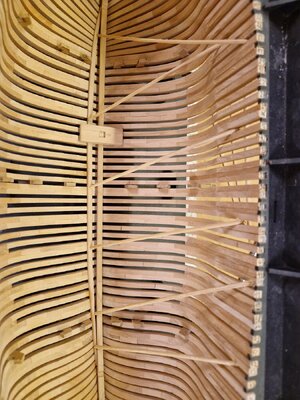
The actual state of the model as of today:
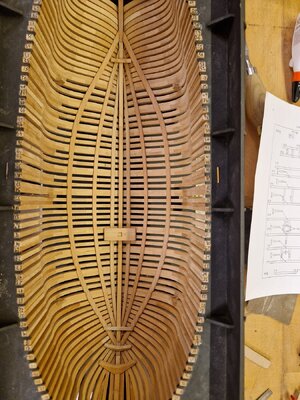
Clamping pressure was applied with bamboo kebab sticks. This turned out to be working rather well since You can bend them. I should have placed cardboard under them all from the start... they sanded out quite easy so no problem there
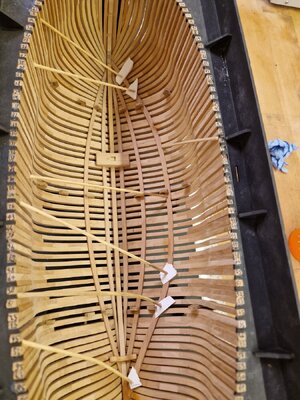
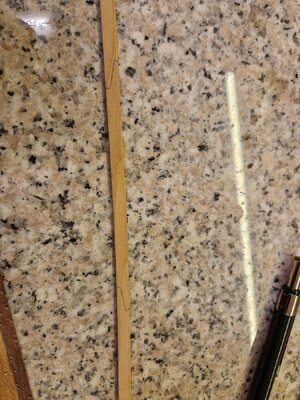
The scarf joints are simulated by scoring them and darkening a bit with pencil:
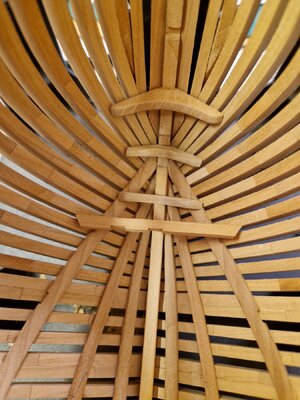
I have a question about the foremost lower deck beam. There are two notches for the legs of the winch. On the side elevation plan I see that they would need to face towards the stern. But then the ends of the beam are cut the wrong way, which isn't a problem though since they are too long anyways.
I'm just unsure now and before cutting and sanding I need to be sure which way to turn it.
I'm looking through the other build logs this evening but I'm sure someone dies have an answer for this, so thank You in advance
The actual state of the model as of today:

Clamping pressure was applied with bamboo kebab sticks. This turned out to be working rather well since You can bend them. I should have placed cardboard under them all from the start... they sanded out quite easy so no problem there


The scarf joints are simulated by scoring them and darkening a bit with pencil:

I have a question about the foremost lower deck beam. There are two notches for the legs of the winch. On the side elevation plan I see that they would need to face towards the stern. But then the ends of the beam are cut the wrong way, which isn't a problem though since they are too long anyways.
I'm just unsure now and before cutting and sanding I need to be sure which way to turn it.

I'm looking through the other build logs this evening but I'm sure someone dies have an answer for this, so thank You in advance


