-

Win a Free Custom Engraved Brass Coin!!!
As a way to introduce our brass coins to the community, we will raffle off a free coin during the month of August. Follow link ABOVE for instructions for entering.
-

PRE-ORDER SHIPS IN SCALE TODAY!
The beloved Ships in Scale Magazine is back and charting a new course for 2026!
Discover new skills, new techniques, and new inspirations in every issue.
NOTE THAT OUR FIRST ISSUE WILL BE JAN/FEB 2026
- Home
- Forums
- Ships of Scale Group Builds and Projects
- HMS Alert 1777 1:48 PoF Group Build
- HMS Alert 1777 1:48 Group Build Logs
You are using an out of date browser. It may not display this or other websites correctly.
You should upgrade or use an alternative browser.
You should upgrade or use an alternative browser.
Trying to get new momentum to continue this build, too. After a year of practically no spare time for hobbies things are looking good, so...
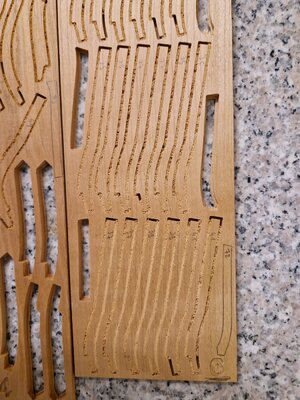
I decided to work on the frames in batches. Cutting out, cleaning, glueing, marking and shaping of the frames 8 to 16.
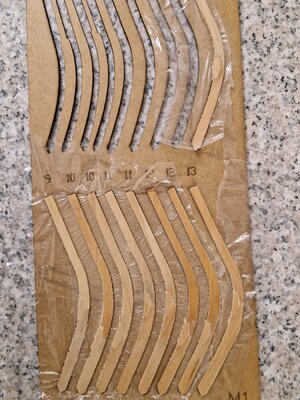
Frames glued and ready for marking and shaping:
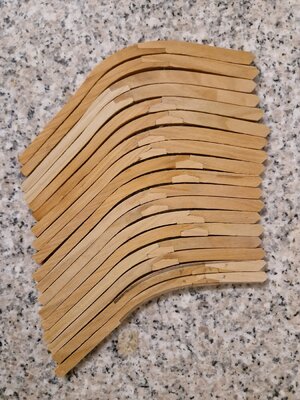
Dryfitting:
I "messed up" the base of frame 8, have to reshape it somehow to close the gap to 7 and 9...
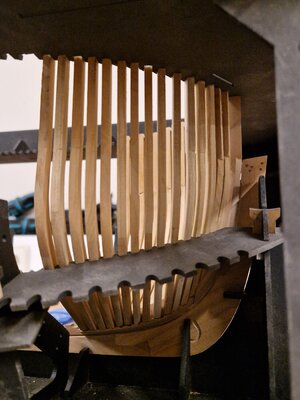
I decided to work on the frames in batches. Cutting out, cleaning, glueing, marking and shaping of the frames 8 to 16.

Frames glued and ready for marking and shaping:

Dryfitting:

I "messed up" the base of frame 8, have to reshape it somehow to close the gap to 7 and 9...

you did not loose your skills in modeling in the last year - looking very good
Thank You
The parts for the stern assembly are prepared, except for the shaping of the number 37
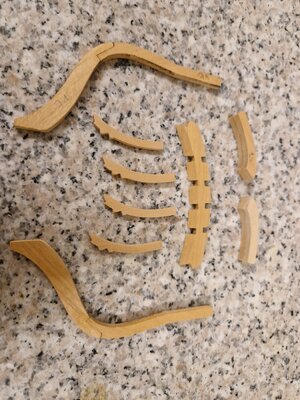
To shape the transom I found it to be easier to hold the piece close to the edge of the table and pull a sanding stick with 80 grit sandpaper downwards to about 1 mm from the line. Then switching to finer grits to the final shape.
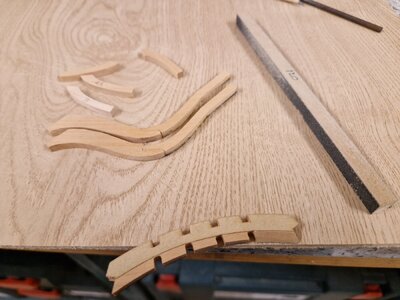

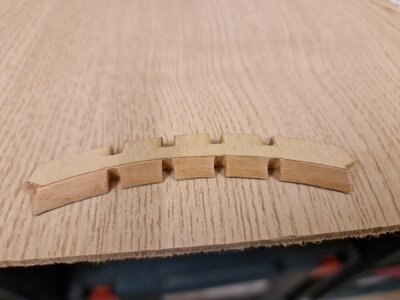
The finished part. Turned out quite nice
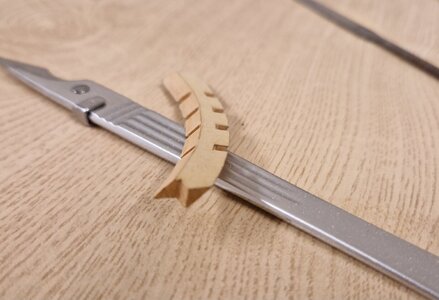
Test fitting, all good for now...
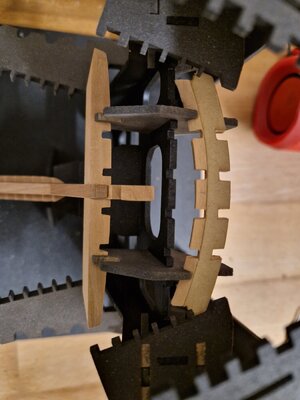
The parts for the stern assembly are prepared, except for the shaping of the number 37

To shape the transom I found it to be easier to hold the piece close to the edge of the table and pull a sanding stick with 80 grit sandpaper downwards to about 1 mm from the line. Then switching to finer grits to the final shape.


The finished part. Turned out quite nice

Test fitting, all good for now...

Not much to show, here's todays work. 2,5 hours of sanding and testfitting
Shaping the side pieces (37, still haven't searched for the correct term) isn't that easy...
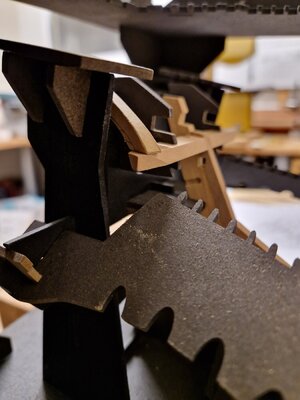
But slowly I'm getting there
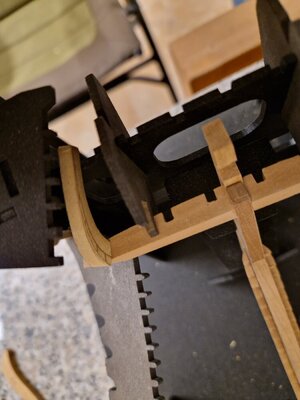
And sanding the first aft cant frame. Another use for the templates is to hold them while sanding the faces
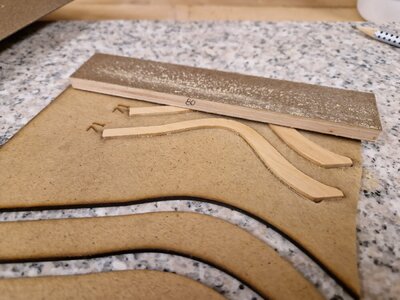
Shaping the side pieces (37, still haven't searched for the correct term) isn't that easy...

But slowly I'm getting there

And sanding the first aft cant frame. Another use for the templates is to hold them while sanding the faces

Last edited:
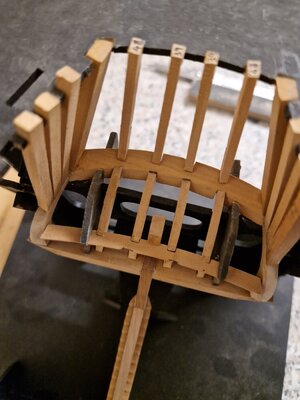
First cant frame of the stern installed
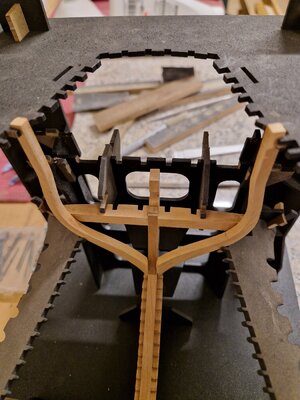
I have some difficulties to fit the upper transom correctly:
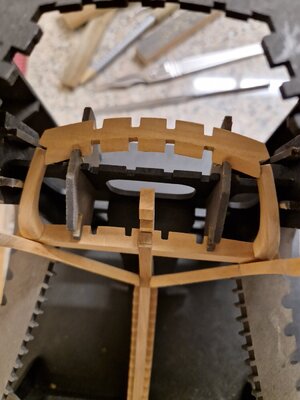
The transom has to come forward 1mm or 2... The side pieces are cut exactly to the shape of the templates and I didn't alter the notches of the transom. I tried filing the notches of the holder bit it still isn't enough.
Did someone else have this same issue?
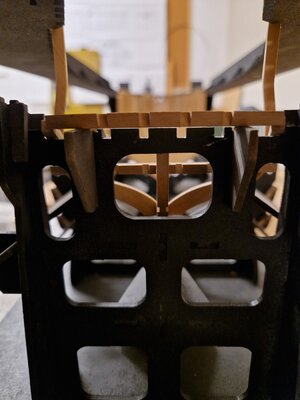
The transom is sitting firmly in the holder though:

I have some difficulties to fit the upper transom correctly:

The transom has to come forward 1mm or 2... The side pieces are cut exactly to the shape of the templates and I didn't alter the notches of the transom. I tried filing the notches of the holder bit it still isn't enough.
Did someone else have this same issue?
The transom is sitting firmly in the holder though:

Great progress!
After lots of sanding and trying I got the pieces to fit properly. The notches of the jig have to be shaped in the corresonding angle of the part in this case for the transom (right next to the clamp)
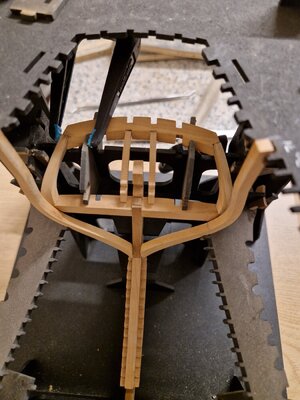
While sanding the notches the deck transom broke...
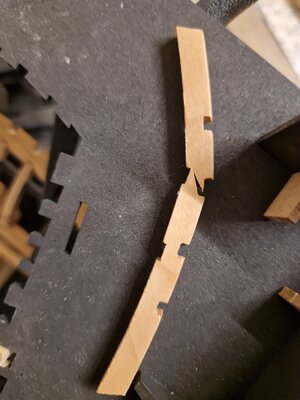
I realised that it's easier to fit that part in two pieces, first the right side and then the left. Of course I had to swear like a world champion first
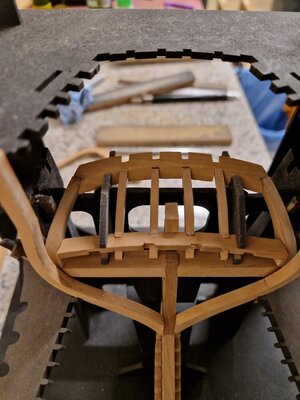
Preparing the next parts for the stern and frame 69
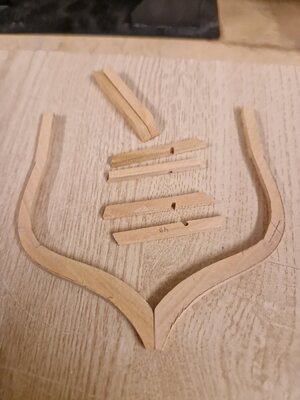
And this is the current state
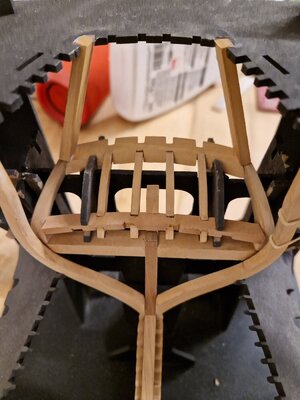

While sanding the notches the deck transom broke...

I realised that it's easier to fit that part in two pieces, first the right side and then the left. Of course I had to swear like a world champion first

Preparing the next parts for the stern and frame 69

And this is the current state

Last edited:
The progress of yesterday's work...
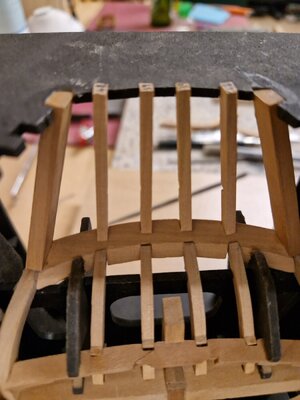
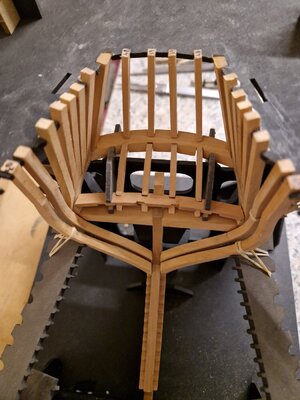
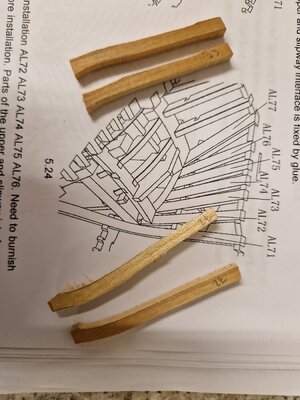
And here I realised the mistake after the glue has already set. Toptimber 72 is positioned the wrong way. I interpreted the curved part to go along the length of the ship instead of across...
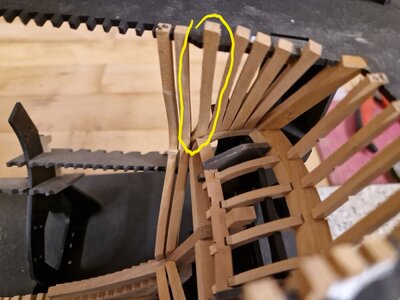
The following toptimbers are also all wrong. Plus I forgot to reinstall the template which I removed to have better access. Maybe then I could have seen the error sooner.
I will have to disassemble those pieces and cut new ones...


And here I realised the mistake after the glue has already set. Toptimber 72 is positioned the wrong way. I interpreted the curved part to go along the length of the ship instead of across...

The following toptimbers are also all wrong. Plus I forgot to reinstall the template which I removed to have better access. Maybe then I could have seen the error sooner.
I will have to disassemble those pieces and cut new ones...
So here goes...
With IPA and heat and I disassembled the cant frame, deck transom and the two first toptimbers.
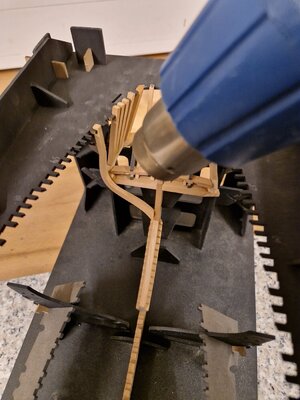
It is messy though.
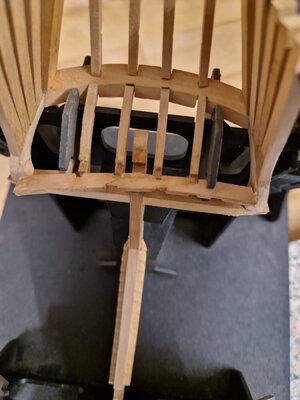
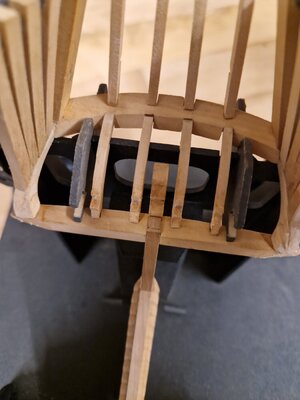
But after careful cleanup and testfitting it is ready to be reinstalled. This time without glue until everything is correct.
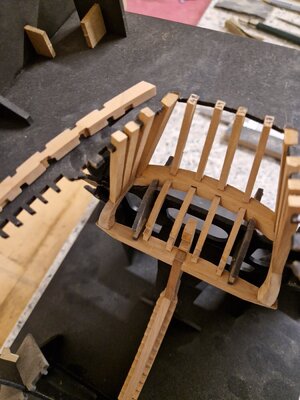
And now the fit is better as before...
With the help of the old part I traced teh contour on the stock
And cut out. I decided to just correct the two first timbers as the curvature of the others is negligible and will be created while fairing.
I hope to be able to shape them this afternoon and maybe do some more frames...
With IPA and heat and I disassembled the cant frame, deck transom and the two first toptimbers.

It is messy though.


But after careful cleanup and testfitting it is ready to be reinstalled. This time without glue until everything is correct.

And now the fit is better as before...

With the help of the old part I traced teh contour on the stock

And cut out. I decided to just correct the two first timbers as the curvature of the others is negligible and will be created while fairing.
I hope to be able to shape them this afternoon and maybe do some more frames...

At the moment I´m trying to keep going, although only in very small steps but we are not in a hurry, so...
I try to do something every day, however small the steps are, You have to keep going to actually achieve something
Most of the time I only have about 10-15 minutes before leaving for work and maybe late in the evening. Even organizing the tools takes forever :
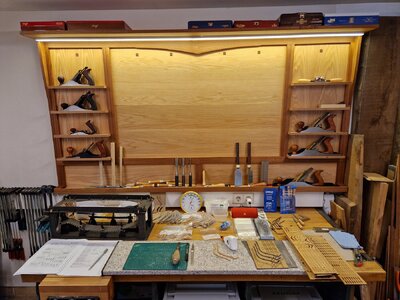
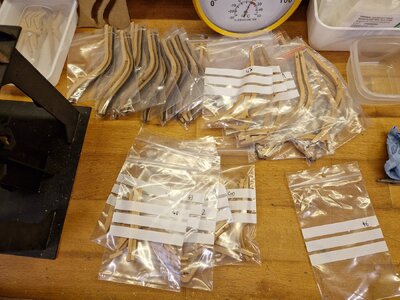
One day I cut the parts, clean them up an store them in bags:
The next day I start glueing frames:
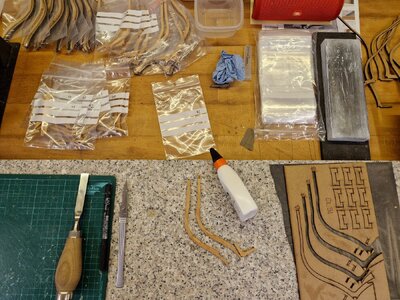
I found that I don´t really need plastic wrap to prevent glueing the frame to the MDF template. The little amount of squeezeout glue can be snapped easily by turning the template with the frame in it upside down and press the template down near the chock. This breaks the glue and I can simply push the frame trough.
While the glue is still wet I scrape the squeezed out glue with the back of the blade.
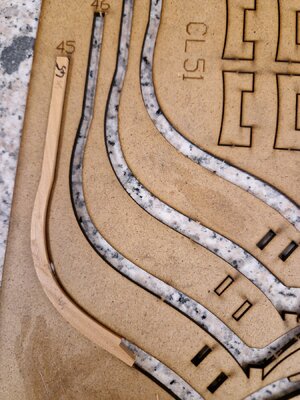
I am at frame 36 as of today, 22 more to go. Then on to final assembly and and cleaning up.
I try to do something every day, however small the steps are, You have to keep going to actually achieve something
Most of the time I only have about 10-15 minutes before leaving for work and maybe late in the evening. Even organizing the tools takes forever :

One day I cut the parts, clean them up an store them in bags:

The next day I start glueing frames:

I found that I don´t really need plastic wrap to prevent glueing the frame to the MDF template. The little amount of squeezeout glue can be snapped easily by turning the template with the frame in it upside down and press the template down near the chock. This breaks the glue and I can simply push the frame trough.
While the glue is still wet I scrape the squeezed out glue with the back of the blade.

I am at frame 36 as of today, 22 more to go. Then on to final assembly and and cleaning up.
This is a great build log. Very well explained and documented with photos but also showing both the successes and the small errors. This method gives great encouragement to us lurkers who would be too intimidated to do a build log.
Congratulations and please continue when you are able.
Congratulations and please continue when you are able.
Thank You, I will keep on going for sure.
I'm done cutting out the parts for the frames. Everything is prepared for the final assembly and fitting to the keel. I will not glue them yet so as to avoid any further mistakes.
Speaking of mishaps and staying true not hiding them : I knocked over a half full bottle of Cola, of course without the cap. Thankfully I had already packed all the parts in bags so I "only" had to clean almost 40 plastic bags one by one and my workbench.
And thankfully that it was only Cola and not some other "more precious beverage".
Lesson learned: No food or drinks or cigars near the model or parts of it!
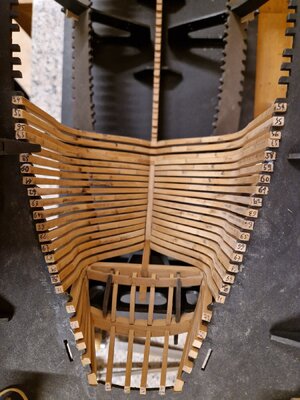
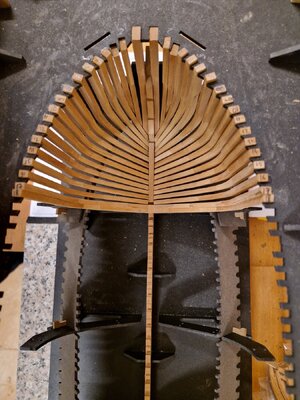
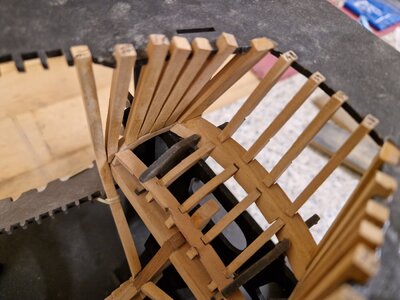
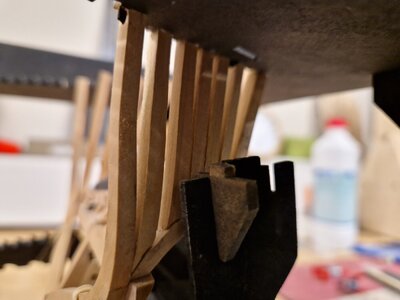
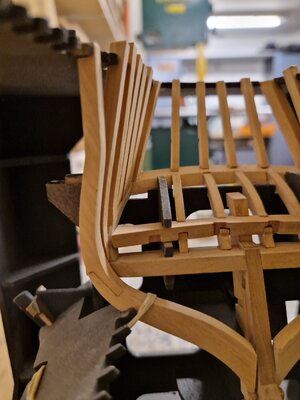
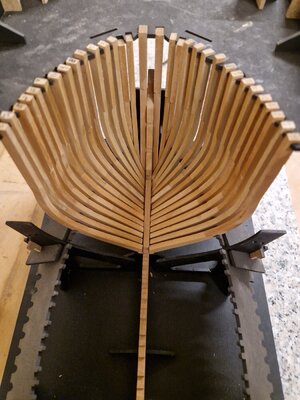
On to the progress. I started glueing the cant frames in the stern. Those were already dryfitted before.
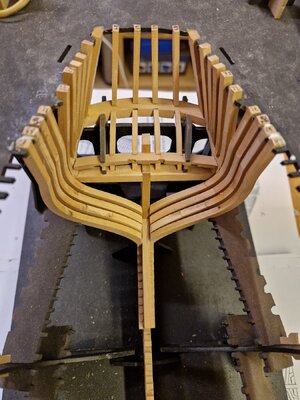
As for the cant frames in the bow section, they are shaped to fit and now glued in place.
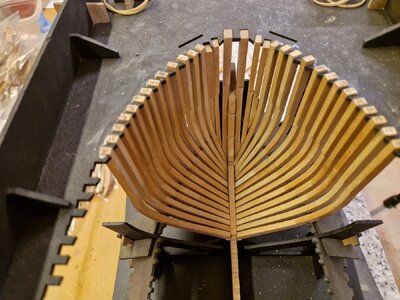
Starting to see some shiplike shapes
I'm done cutting out the parts for the frames. Everything is prepared for the final assembly and fitting to the keel. I will not glue them yet so as to avoid any further mistakes.
Speaking of mishaps and staying true not hiding them : I knocked over a half full bottle of Cola, of course without the cap. Thankfully I had already packed all the parts in bags so I "only" had to clean almost 40 plastic bags one by one and my workbench.
And thankfully that it was only Cola and not some other "more precious beverage".
Lesson learned: No food or drinks or cigars near the model or parts of it!
On to the progress. I started glueing the cant frames in the stern. Those were already dryfitted before.

As for the cant frames in the bow section, they are shaped to fit and now glued in place.

Starting to see some shiplike shapes
Thank You, I'm sorry but I'm not sure I understand the question. Do You mean the thickness of the stock they are cut from? I think they are 4 or 5 mm.Hi Dan,
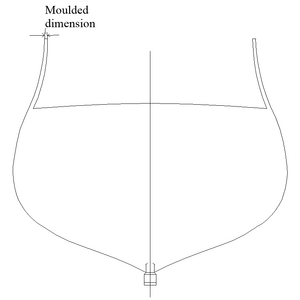
Very neatly done framing! Hope you do not mind my asking, but what is the moulded dimension of the tops of the frames?
Thank you very much.
Allan
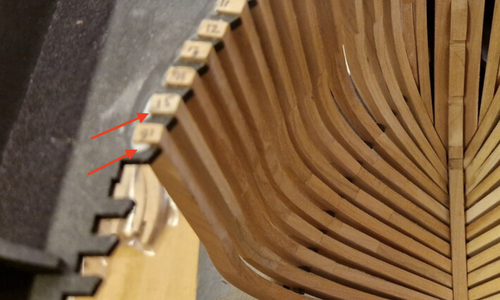
Bonjour, félicitations pour votre travail. J'ai cependant une question. Les traces de colle que l'on voit sur la photo sont-elles destinées à maintenir temporairement le cadre à son emplacement ?
View attachment 453381
Merci pour votre appréciation. Exactement, les cadres sont fixés avec de la colle uniquement au gabarit supérieure. Après avoir renforcé la coque à l'intérieure avec les planches les cadres seront coupés à leur hauteur finale.
Bonjour Daniel
The moulded dimension is the in and out dimension. Hope the sketch below helps.
Allan
View attachment 453425
It is 5mm at the top.
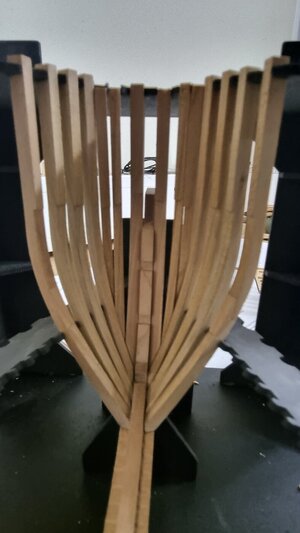
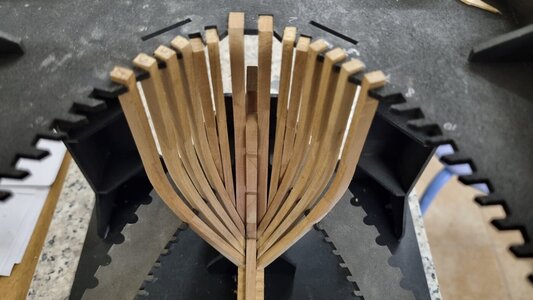
A small Update on the current state. The cant frames are all glued and I started on the first full frames.
