-

Win a Free Custom Engraved Brass Coin!!!
As a way to introduce our brass coins to the community, we will raffle off a free coin during the month of August. Follow link ABOVE for instructions for entering.
-

PRE-ORDER SHIPS IN SCALE TODAY!
The beloved Ships in Scale Magazine is back and charting a new course for 2026!
Discover new skills, new techniques, and new inspirations in every issue.
NOTE THAT OUR FIRST ISSUE WILL BE JAN/FEB 2026
- Home
- Forums
- Ships of Scale Group Builds and Projects
- HMS Alert 1777 1:48 PoF Group Build
- HMS Alert 1777 1:48 Group Build Logs
You are using an out of date browser. It may not display this or other websites correctly.
You should upgrade or use an alternative browser.
You should upgrade or use an alternative browser.
- Joined
- Apr 20, 2020
- Messages
- 6,234
- Points
- 738

Dear MaartenThx gents. I finished the lion with some finall detailing.
View attachment 339987View attachment 339988
Then cleaned it with a tooth brush to remove loose dust.
View attachment 339990
View attachment 339989
Zoomed in
View attachment 339986
Compared to his full size brother
View attachment 339997
Now with a Japanese saw I cut of a small slice with the carving and sanded it flat to glue it to the cat head.
View attachment 339991
View attachment 339992
Around the joint I fitted an iron belt of heat shrink.
Now another one for the other cat head.
As someone who is experimenting with wood and boxwood carving, I must say that you have done an impressive and beautiful job and this is also because of the scale and size of the lion's face.
Well done dear friend


I see the light at the end of the tunnel, mon ami!! You are getting close to completion. 
I see the beginning of my new project on the horizonI see the light at the end of the tunnel, mon ami!! You are getting close to completion.
Hi Uwe,Very good work - I love it
and I hope to see this model once also in real life
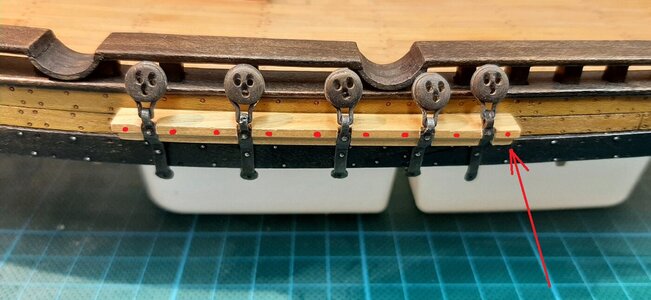
As I know, that you are also a big fan of bolts, wouldn´t there be also some? Or will be there a cover board?
View attachment 340641
You would expect it but in the drawings of the AotS book there are no bolts and no frieze drawn.

Maybe the top bolts of the dead eye chains are going all the way through the hull frames.
If you have more clarity in your extensive library that would be great.
Yesterday and today I worked on the cannon ball racks, allthough not too complicated quite some work.
These are laser cut parts with a pewter strip and a lot of bolts and eye bolts.
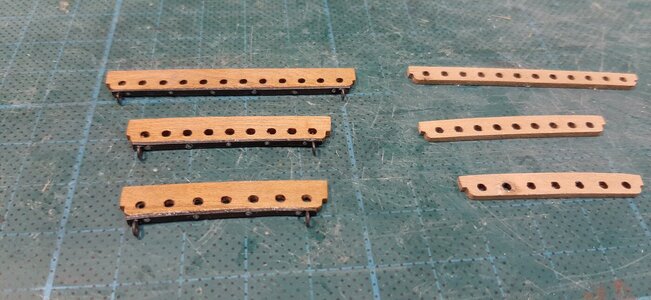
For the cannon balls I used 2mm ball bearings burnished black.
Fitting the first one.
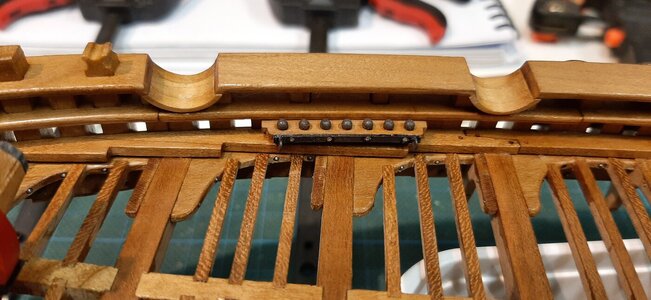
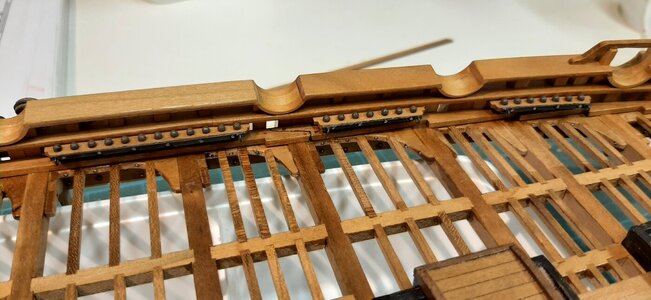
And the other.
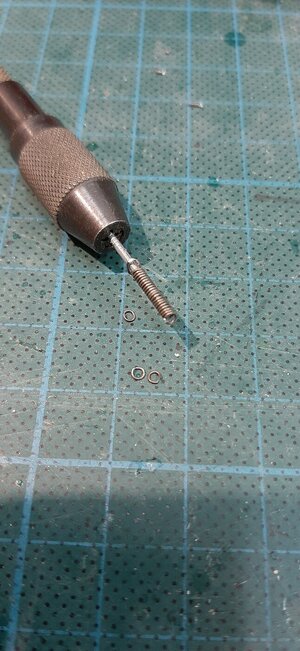
Making rings for the breaching line eye bolts.
And fitting the eye bolts and rings. The eye bolts on the racks are for the gun tackle.
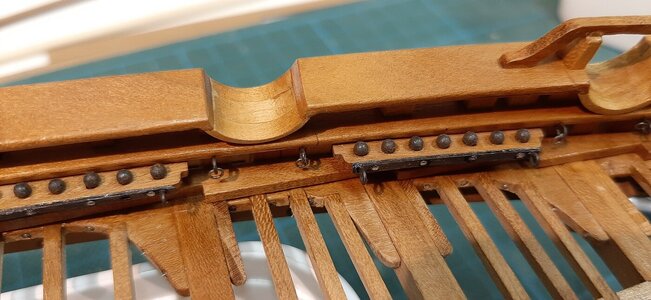
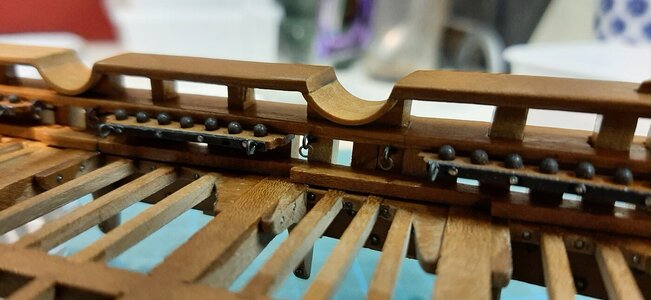
Also fitted the racks on the other side. Here the breaching rope bolts are fitted together with the gun carriages at a later stage.
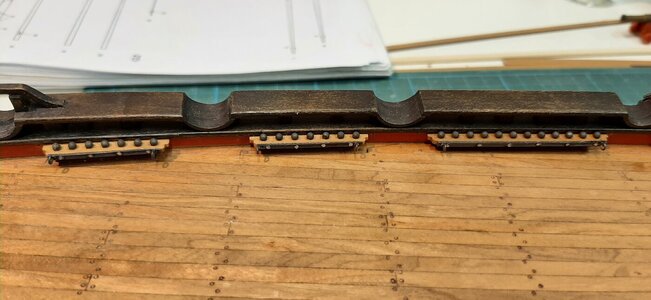
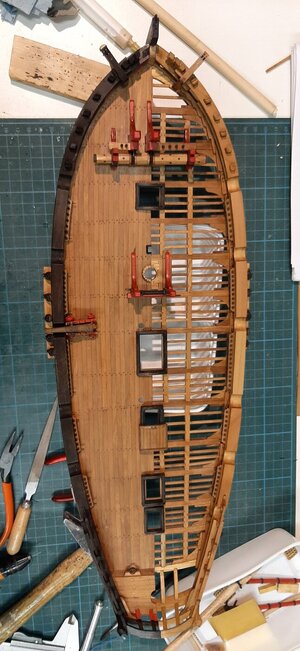
Finally an overview.
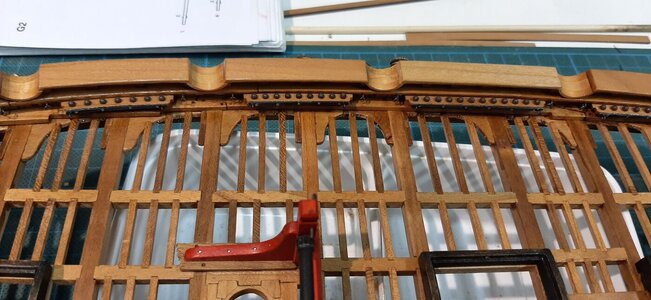
These are laser cut parts with a pewter strip and a lot of bolts and eye bolts.

For the cannon balls I used 2mm ball bearings burnished black.
Fitting the first one.

And the other.

Making rings for the breaching line eye bolts.

And fitting the eye bolts and rings. The eye bolts on the racks are for the gun tackle.


Also fitted the racks on the other side. Here the breaching rope bolts are fitted together with the gun carriages at a later stage.

Finally an overview.


Hi Martin I love your alert, it all looks so clean and it's always nice to see you perfecting everything.
Nice work, Maarten. A lot of new details and a very expressive Lion head.Yesterday and today I worked on the cannon ball racks, allthough not too complicated quite some work.
These are laser cut parts with a pewter strip and a lot of bolts and eye bolts.
View attachment 341706
For the cannon balls I used 2mm ball bearings burnished black.
Fitting the first one.
View attachment 341707
And the other.
View attachment 341708
Making rings for the breaching line eye bolts.
View attachment 341709
And fitting the eye bolts and rings. The eye bolts on the racks are for the gun tackle.
View attachment 341710
View attachment 341712
Also fitted the racks on the other side. Here the breaching rope bolts are fitted together with the gun carriages at a later stage.
View attachment 341711
Finally an overview.
View attachment 341713
View attachment 341715
Regards, Peter.
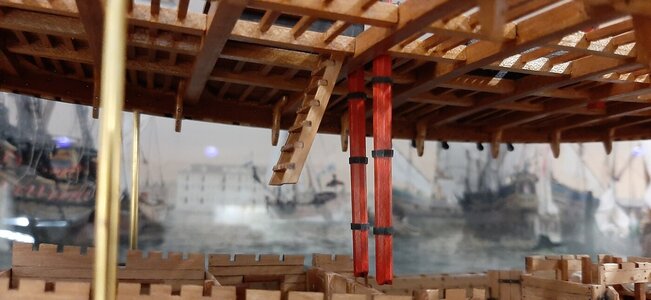
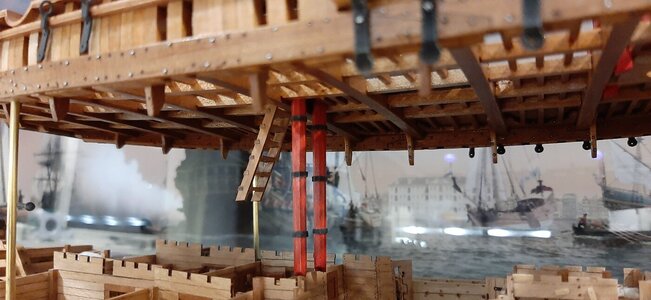
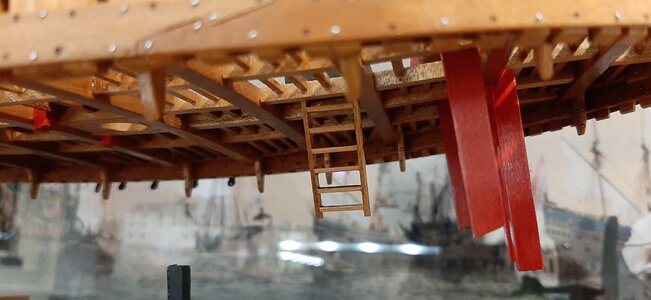
A while ago I posted but in the meantime I did a lot of nitty gritty.
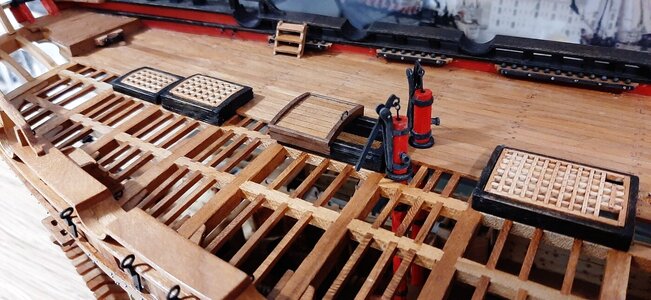
Starting with the pumps, these are assembled from a lot of milled strips which need a lot of fine tuning.
The pump details are pewter.
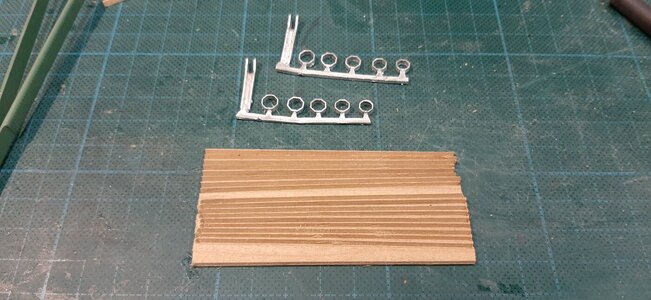
First I prepare two halves finally fitting together as one pump.
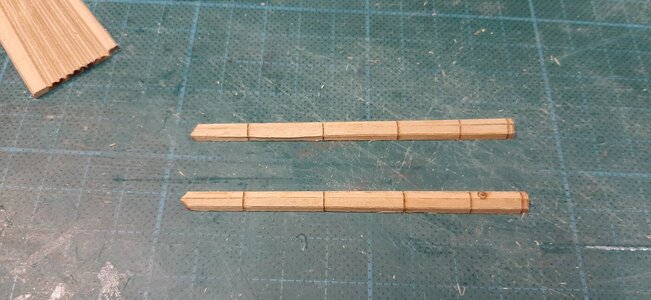
The pump I coloured red with Schmincke pigmented ink and the pewter parts are burnished black.
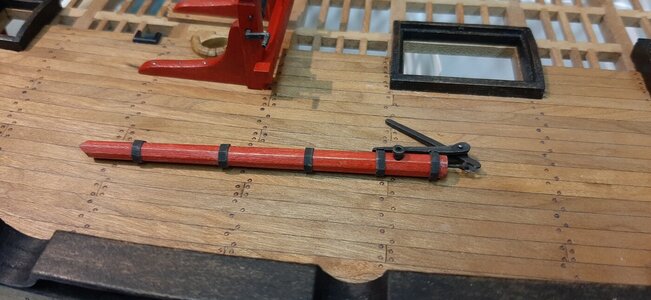
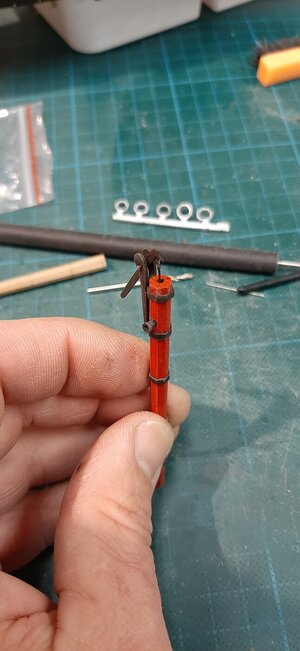
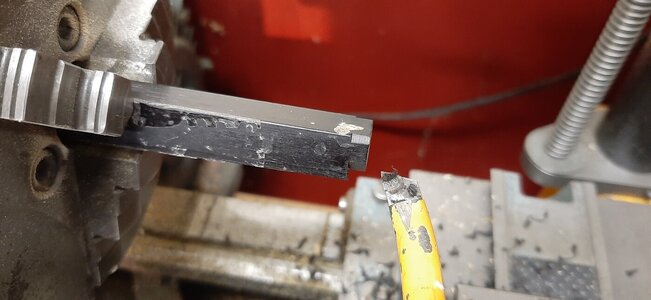
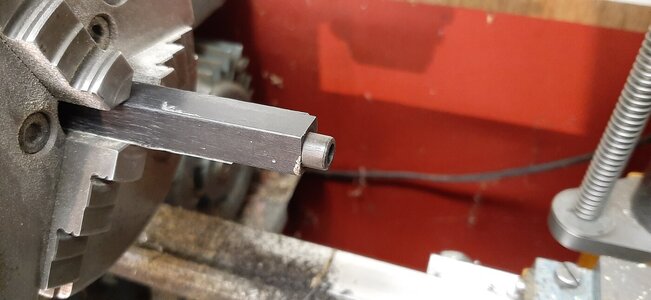
From ebony of old piano keys I made some rings for deck fitting of the pumps.
Both pumps fitted.
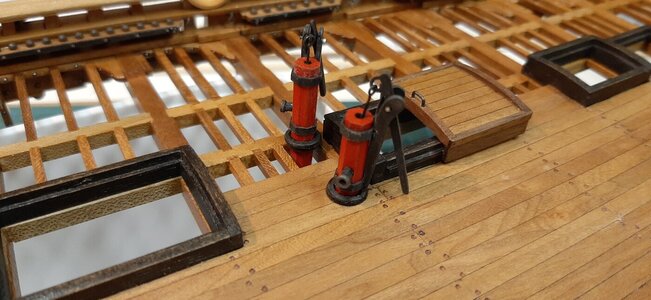
The SB pump I fitted with a pin into the carling as this one is more or less floating in thin air. The ebony ring is clearly visible.
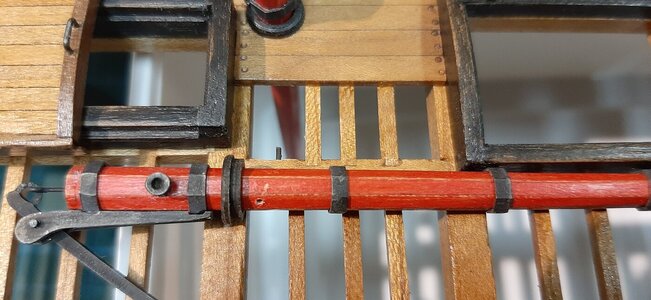
Starting with the pumps, these are assembled from a lot of milled strips which need a lot of fine tuning.
The pump details are pewter.

First I prepare two halves finally fitting together as one pump.

The pump I coloured red with Schmincke pigmented ink and the pewter parts are burnished black.


From ebony of old piano keys I made some rings for deck fitting of the pumps.


Both pumps fitted.

The SB pump I fitted with a pin into the carling as this one is more or less floating in thin air. The ebony ring is clearly visible.

Just so much to look at! Love your work Maarten!
Thx gents.
Steef,
Love your thinking and actually it should be possible with a lot of modifications to the pump to show the working of the pump.
Steef,
Love your thinking and actually it should be possible with a lot of modifications to the pump to show the working of the pump.
It looks so perfect, Martin. You have such a great view inside. Impressive work
The new added items and the parts you scratch fitted to them, looks very nice, Maarten. The ‘hanging pumps’ gives the model a typical point of view.
Regards, Peter
Regards, Peter
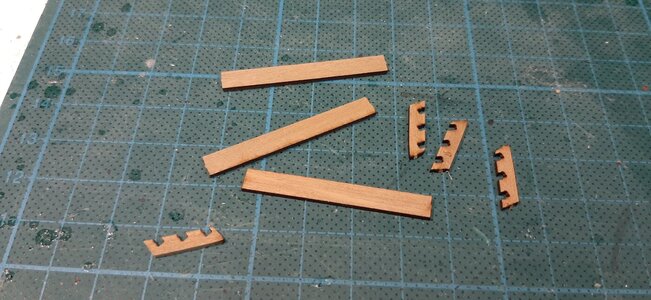
Good morning Maarten. Your modeling is at another level. I never know how to comment on such work, other than it is perfect. Cheers GrantI also prepared all the remaining stairs.
View attachment 343606
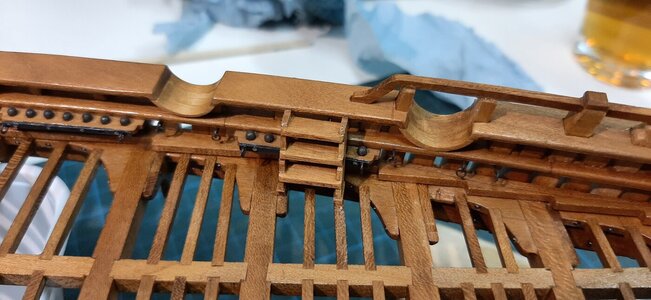
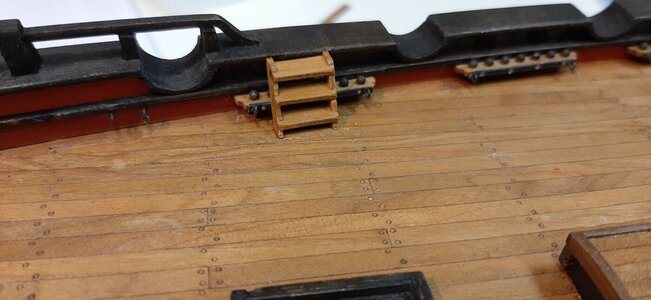
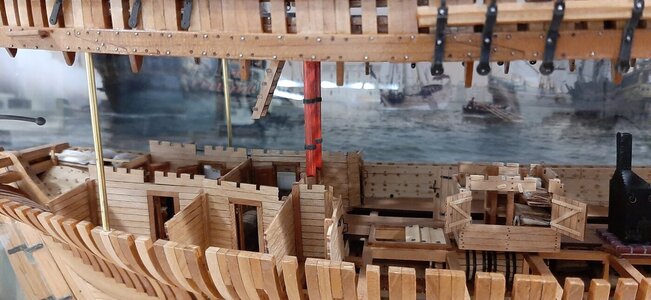
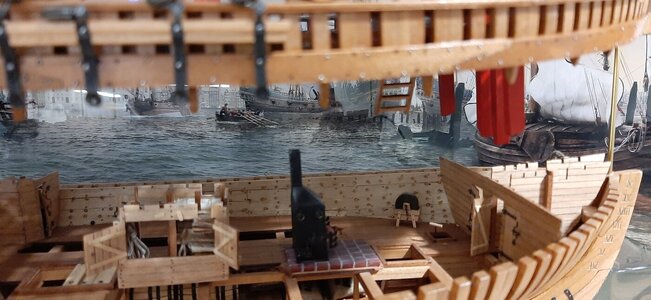
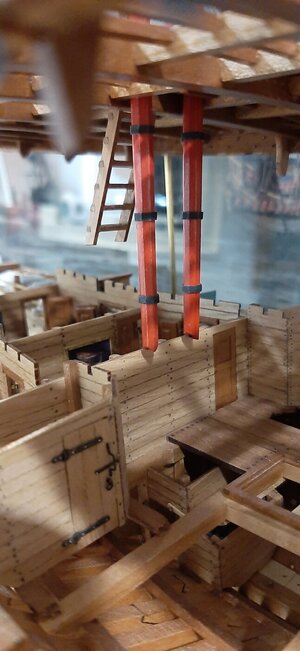
Finished them and fitted.
View attachment 343607
View attachment 343608
View attachment 343609View attachment 343610
View attachment 343611
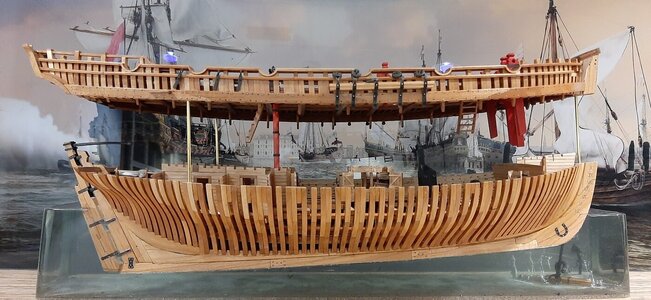
And an overview of the current status.
View attachment 343612
View attachment 343613
View attachment 343614
View attachment 343615
View attachment 343616
Next time cathead blocks and gun carriages.


