-

Win a Free Custom Engraved Brass Coin!!!
As a way to introduce our brass coins to the community, we will raffle off a free coin during the month of August. Follow link ABOVE for instructions for entering.
-

PRE-ORDER SHIPS IN SCALE TODAY!
The beloved Ships in Scale Magazine is back and charting a new course for 2026!
Discover new skills, new techniques, and new inspirations in every issue.
NOTE THAT OUR FIRST ISSUE WILL BE JAN/FEB 2026
- Home
- Forums
- Ships of Scale Group Builds and Projects
- HMS Alert 1777 1:48 PoF Group Build
- HMS Alert 1777 1:48 Group Build Logs
You are using an out of date browser. It may not display this or other websites correctly.
You should upgrade or use an alternative browser.
You should upgrade or use an alternative browser.
I love those carvings, and they look great!
I have only one purely aesthetic input, which has no bearing on historical accuracy. It may just be the angle from which the photo was taken, but there seems to be a lot of empty blue at the top of the lower transon. Since there is fancy work (leaves of some kind) below the carvings on the upper transom, and fancy work (more leaves) below the windows, perhaps and band of leaves at the bottom of the lower transom (below your superb carvings) would fill in some of that space and tie all the carvings together visually. Again speaking only from an artictic perspective...
I have only one purely aesthetic input, which has no bearing on historical accuracy. It may just be the angle from which the photo was taken, but there seems to be a lot of empty blue at the top of the lower transon. Since there is fancy work (leaves of some kind) below the carvings on the upper transom, and fancy work (more leaves) below the windows, perhaps and band of leaves at the bottom of the lower transom (below your superb carvings) would fill in some of that space and tie all the carvings together visually. Again speaking only from an artictic perspective...
Thx gents for your input.I love those carvings, and they look great!
I have only one purely aesthetic input, which has no bearing on historical accuracy. It may just be the angle from which the photo was taken, but there seems to be a lot of empty blue at the top of the lower transon. Since there is fancy work (leaves of some kind) below the carvings on the upper transom, and fancy work (more leaves) below the windows, perhaps and band of leaves at the bottom of the lower transom (below your superb carvings) would fill in some of that space and tie all the carvings together visually. Again speaking only from an artictic perspective...
The space above the carving is now visible due to the angle of the picture. Normally this is not disturbing.
Indeed the carvings are too thick but due to the curvature of the lower transome they can't be sanded thinner without losing details.
Back to Alert, via the stern we climb back on deck to start with the small winch behind the main mast.
Sorry no build foto's.
The black parts are burnished pewter casts all cherry wood I coloured with Schminke red pigmented ink.
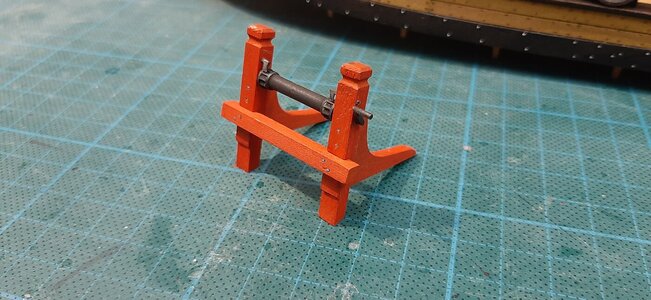
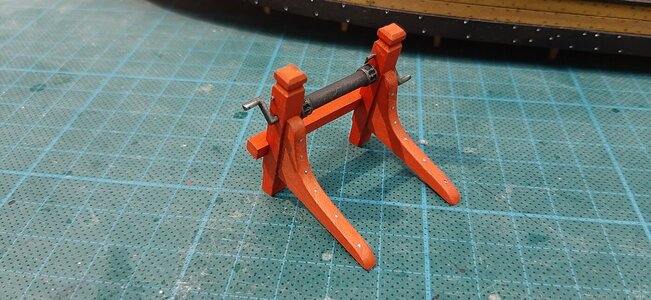
Fitting on deck.
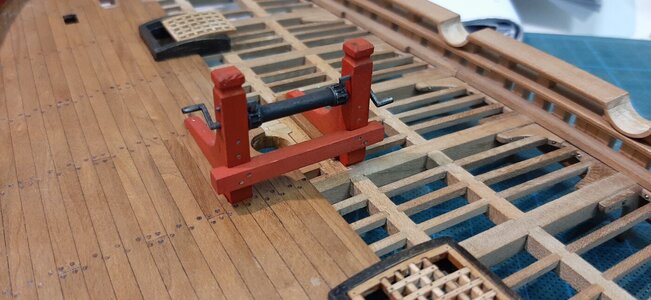
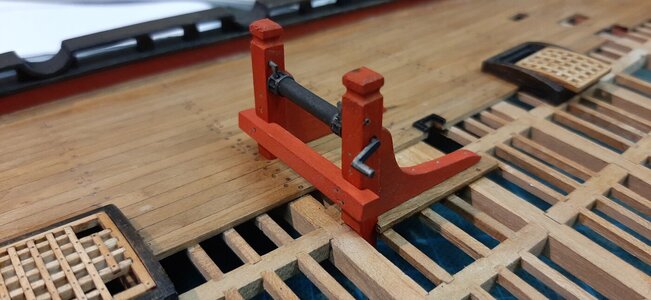
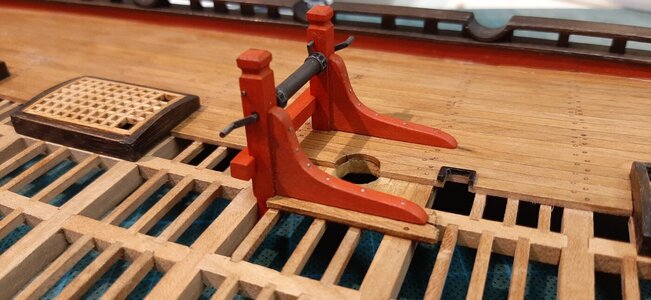
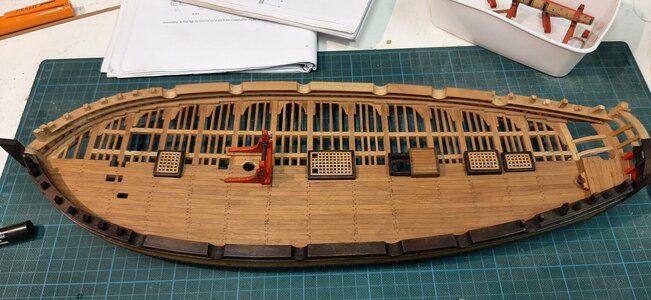
She receives a layer of clou or schellack when permanently fitted.
Sorry no build foto's.
The black parts are burnished pewter casts all cherry wood I coloured with Schminke red pigmented ink.


Fitting on deck.


She receives a layer of clou or schellack when permanently fitted.
So beautifully done Maarten. I've become a believer in these inks. Have you tried mixing them to create custom colors? I suspect the line of available stock colors is not extensive...
Thx Paul,So beautifully done Maarten. I've become a believer in these inks. Have you tried mixing them to create custom colors? I suspect the line of available stock colors is not extensive...
The one I used here is Schmincke Aqua drop in the colour Red Vermillion. There are 24 colours available and yes you can mix them to create your own.
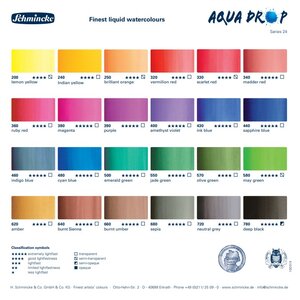
Aqua Drop is a pigmented UV resistant liquid transparant water colour available in brush pen and pipet bottle.
AQUA DROP
Seit vier Generationen ist Traditionsziel des Hauses Schmincke die Herstellung von bestmöglichen, feinsten Künstlerfarben.
Secondly you have the Schmincke Aero colour which is an pigmented water based airbrush ink, also these you can mix.
The aero colour is more an opaque series of colours.
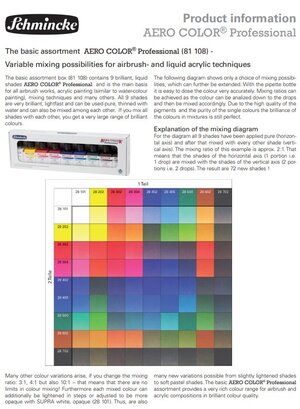
Products
I now use both products of Schminke and also Talens Ecoline. The ecoline is purely an ink and is fully penetrating into the wood but is not very UV resistant so you have to seal it. Schminke Aqua drop is the second option colouring and slightly filling pores of the wood with a very fine layer of pigment, it is UV resistant but needs a layer of lacquer as it is water soluble. Schminke Aero colour is giving a very fine layer of water based paint giving more a painted surface, but is still very thin. All these product are giving a very scale look as you don't have the thicker layers of paint like with a lot of enamel paints.
My Alert is nearing it s completion, so working on a lot of small details. Today it is the railing on the stern section.
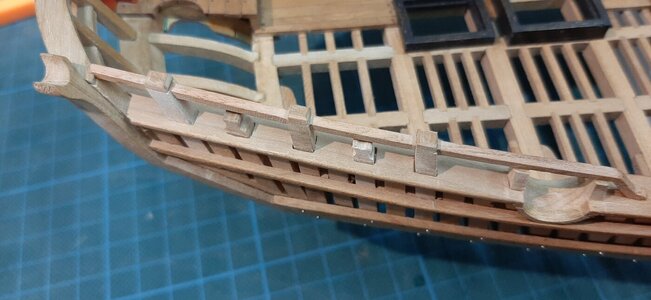
On top of the frame timbers there is a small railing fitted.
To fit these into the frames I have filed some slots into the top of these frame tmbers.
The railing itself is a laser cut part.
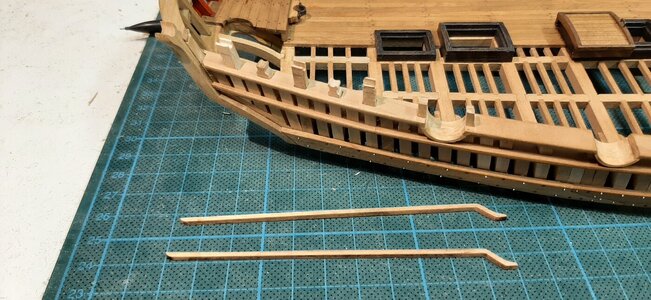
Fitting the railing into the slots with pva and clamping them.
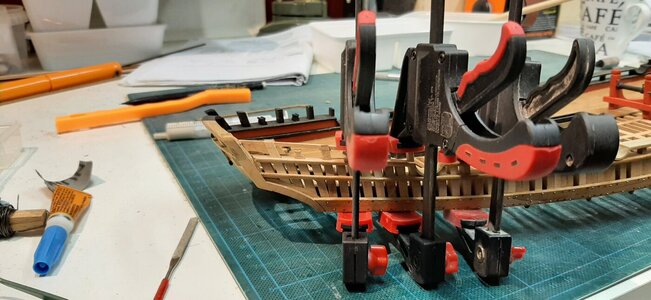
After drying I sanded the frame timbers flush with the railing and fitted a cap of some scrap cherry.
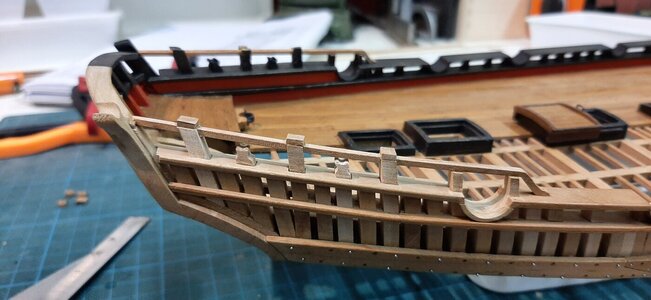
After some filing and sanding the caps are one piece with the frame timbers giving the impression the railing is enclosed by the frame timber.
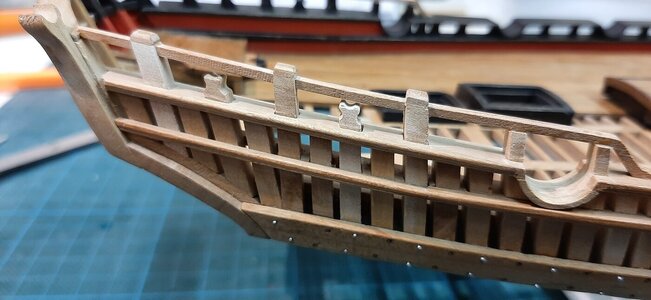
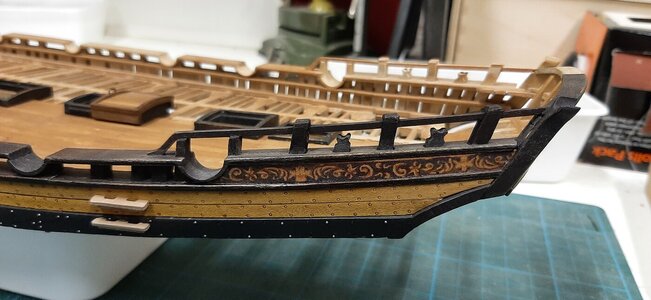
On the PS side the same procedure only afterwards coloured black with ecoline.
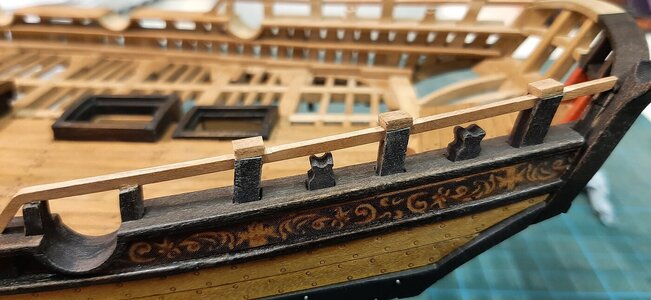
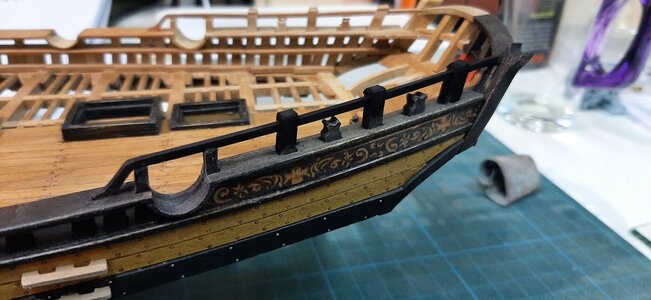
And the result after some steelwool sanding.
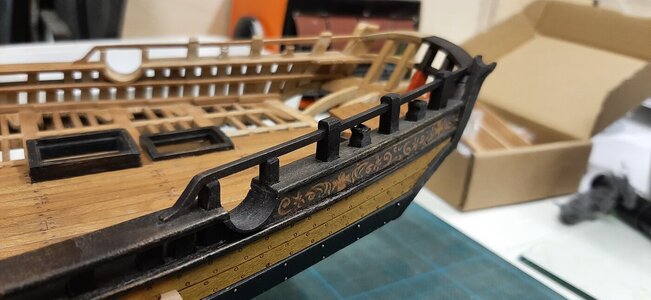
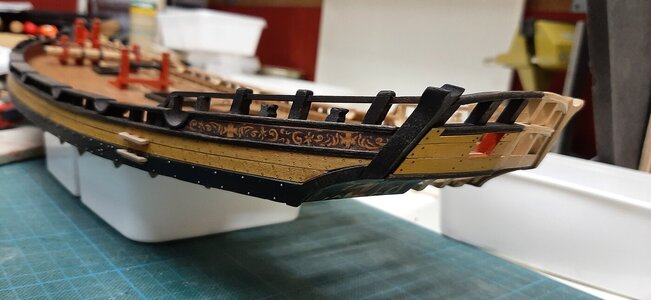
On top of the frame timbers there is a small railing fitted.
To fit these into the frames I have filed some slots into the top of these frame tmbers.
The railing itself is a laser cut part.

Fitting the railing into the slots with pva and clamping them.

After drying I sanded the frame timbers flush with the railing and fitted a cap of some scrap cherry.

After some filing and sanding the caps are one piece with the frame timbers giving the impression the railing is enclosed by the frame timber.


On the PS side the same procedure only afterwards coloured black with ecoline.


And the result after some steelwool sanding.


A nice tight version of the railing, Maarten.My Alert is nearing it s completion, so working on a lot of small details. Today it is the railing on the stern section.
On top of the frame timbers there is a small railing fitted.
To fit these into the frames I have filed some slots into the top of these frame tmbers.
The railing itself is a laser cut part.
View attachment 338949
Fitting the railing into the slots with pva and clamping them.
View attachment 338950
After drying I sanded the frame timbers flush with the railing and fitted a cap of some scrap cherry.
View attachment 338951
After some filing and sanding the caps are one piece with the frame timbers giving the impression the railing is enclosed by the frame timber.
View attachment 338952
View attachment 338953
On the PS side the same procedure only afterwards coloured black with ecoline.
View attachment 338954
View attachment 338955
And the result after some steelwool sanding.
View attachment 338956
View attachment 338957
View attachment 338958
Regards, Peter
Thx Peter and for all other likes.
Work on the chain wale, the parts are cnc milled cherry.
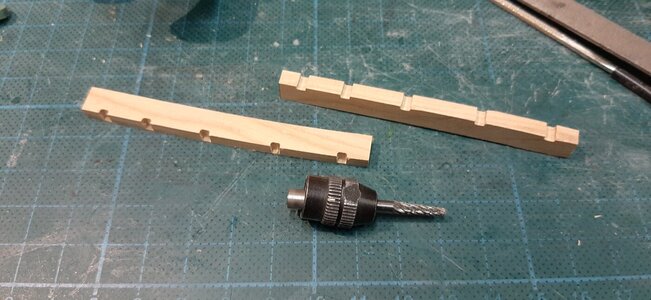
According the aots book there is a profile to the outer edges of the chain wale.
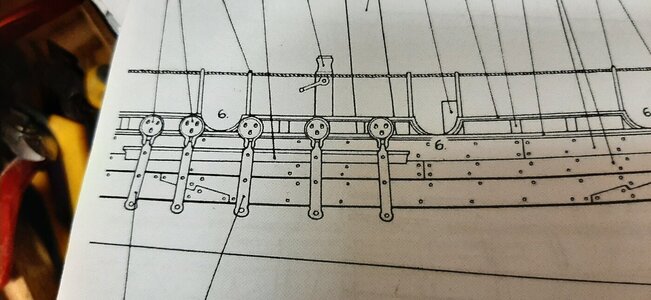
This profile I mill with a bollow mill bit.
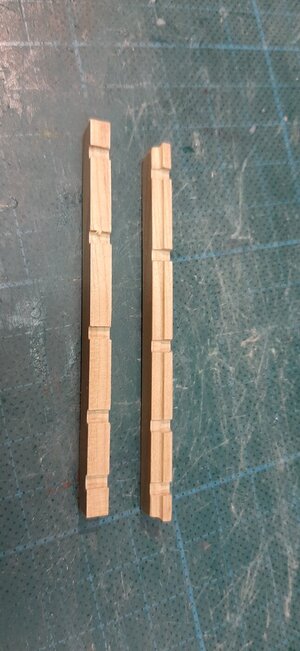
The slots in the chain wale need some more space for the chain plates of the dead eyes.
This I remove with a small chisel.
Dry fitting the chain wale and chain plate.
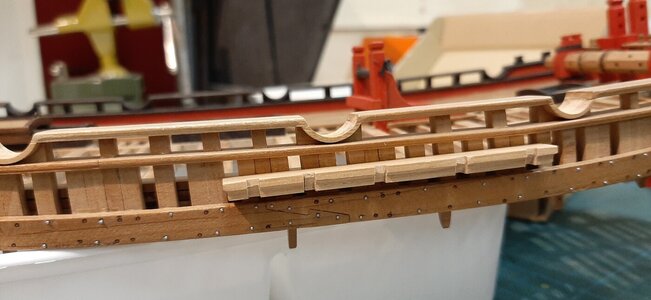
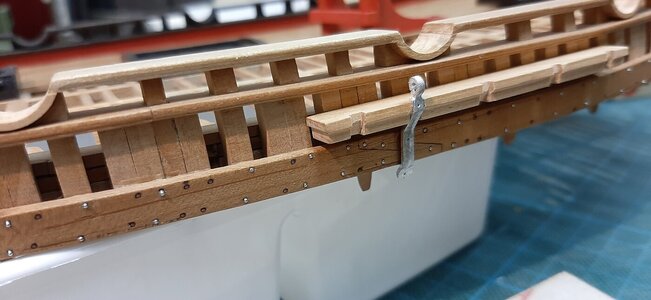
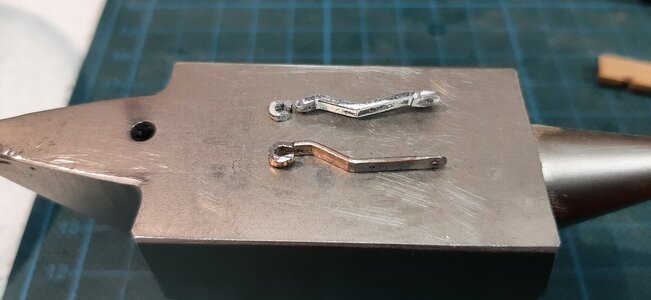
One of the chain plates was broken so I made a new one from a large staple.
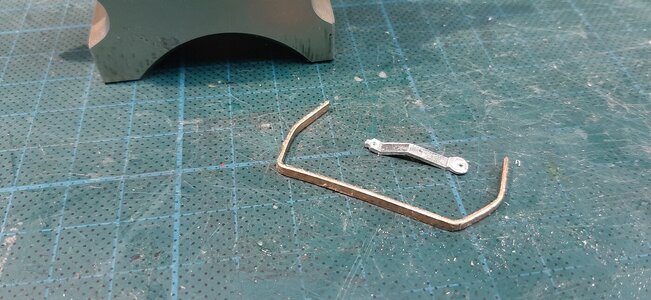
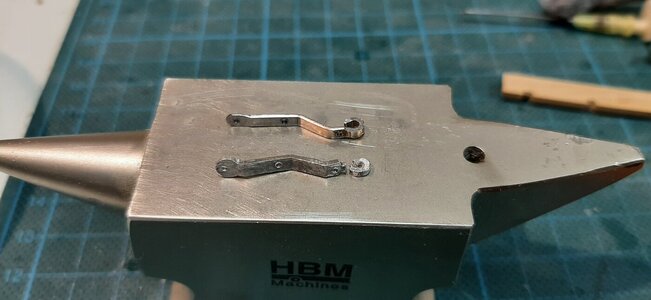
After a layer of schellack and burnishing the chain plates the result sofar.
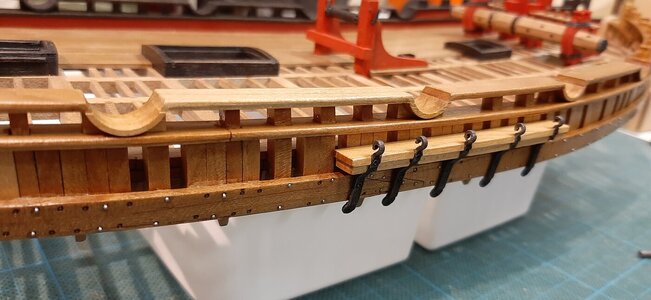
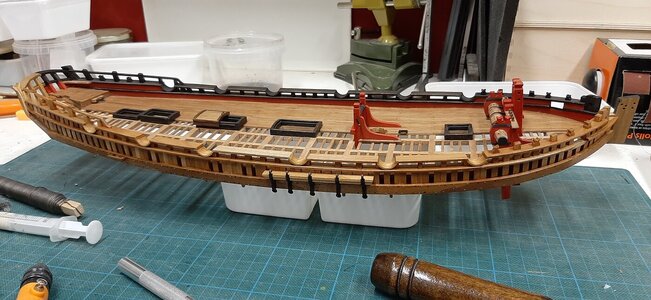
Next time bolts in the chain plates and preparing the dead eyes.
Work on the chain wale, the parts are cnc milled cherry.

According the aots book there is a profile to the outer edges of the chain wale.

This profile I mill with a bollow mill bit.

The slots in the chain wale need some more space for the chain plates of the dead eyes.
This I remove with a small chisel.
Dry fitting the chain wale and chain plate.


One of the chain plates was broken so I made a new one from a large staple.


After a layer of schellack and burnishing the chain plates the result sofar.


Next time bolts in the chain plates and preparing the dead eyes.

Last edited:
Always impressive, Maarten. A staple?  Brilliant!
 Brilliant!
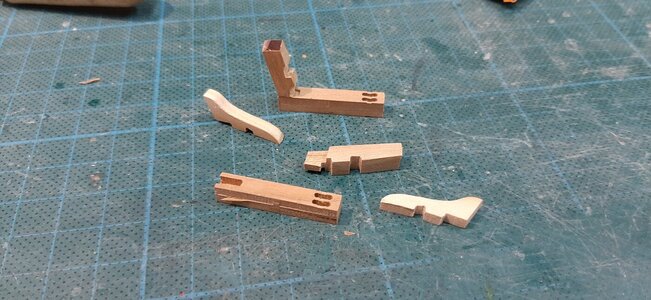
The next part is the cat head. Assembled from various cnc cherry parts.
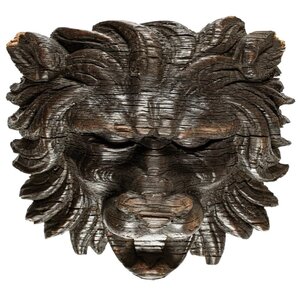
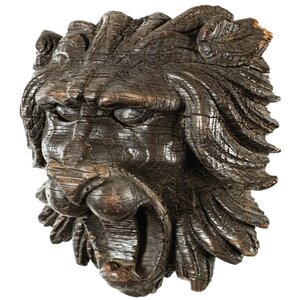
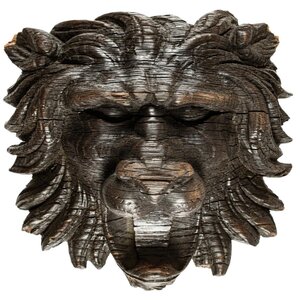
At the end of the davit beam of the cat head in a lot of cases a carving of a lion, leopard or a similar type of cat was carved.
See below a contemporary carving from around 1770, just the same era as my Alert.
That is what this makes fun, I wil carve a lion for the cat head in boxwood. Size is 5 x 5 mm so it will not make a lot of dust.
I have sawn a small strip of boxwood at the same diameters as the cathead davit.
At the edges I will make the carving and when finished I will saw it off in a thin slice to fit it on the cathead.
First the rough outside contours.
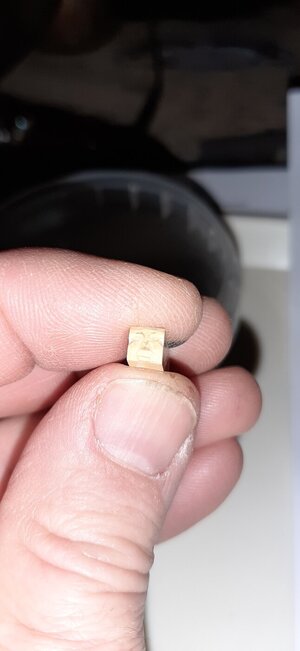
It starts looking like a moai an Easter Island statue.
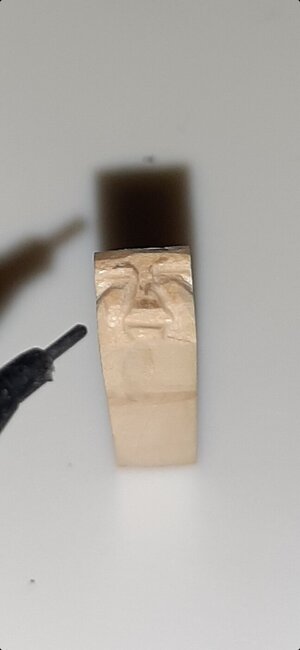
But with some tender love and care it appears to look like a lion.
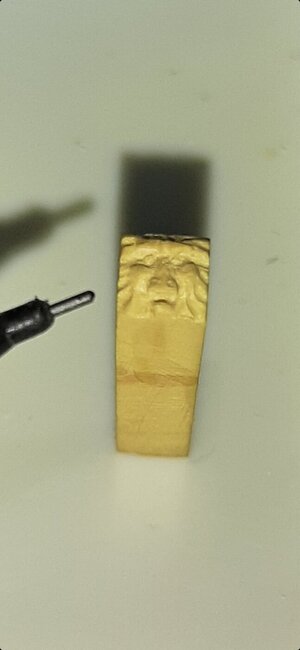
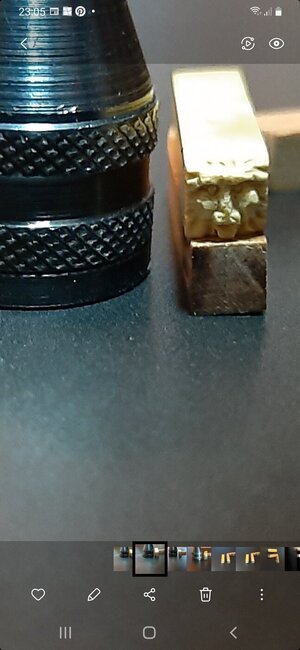
It is not finished yet the face and certainly the hair of the lion takes another few hours to finish and then a second one.

At the end of the davit beam of the cat head in a lot of cases a carving of a lion, leopard or a similar type of cat was carved.
See below a contemporary carving from around 1770, just the same era as my Alert.


That is what this makes fun, I wil carve a lion for the cat head in boxwood. Size is 5 x 5 mm so it will not make a lot of dust.
I have sawn a small strip of boxwood at the same diameters as the cathead davit.
At the edges I will make the carving and when finished I will saw it off in a thin slice to fit it on the cathead.
First the rough outside contours.

It starts looking like a moai an Easter Island statue.

But with some tender love and care it appears to look like a lion.


It is not finished yet the face and certainly the hair of the lion takes another few hours to finish and then a second one.
Oh, I'm thrilled.
Looking very good - a small interesting detail - Really worth the time it needs
Bravo
Bravo
Thx gents. I finished the lion with some finall detailing.
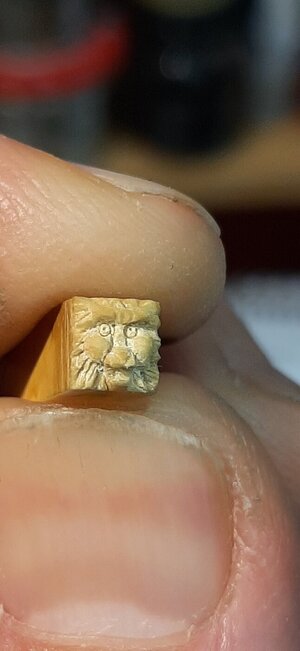
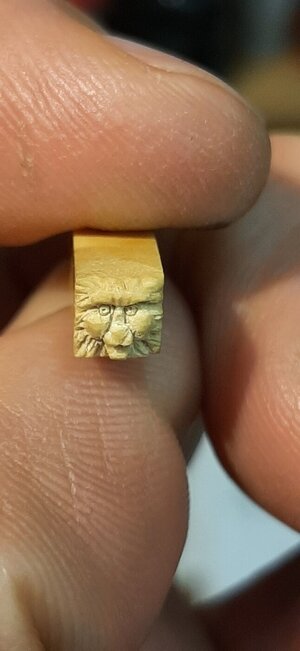
Then cleaned it with a tooth brush to remove loose dust.
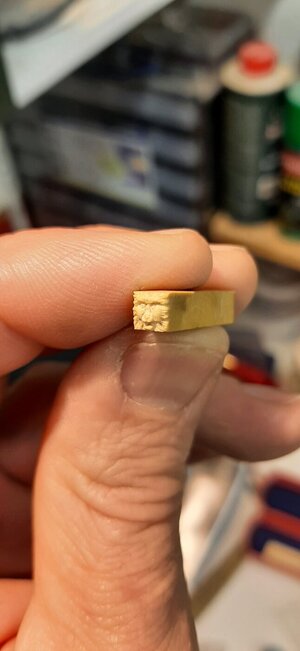
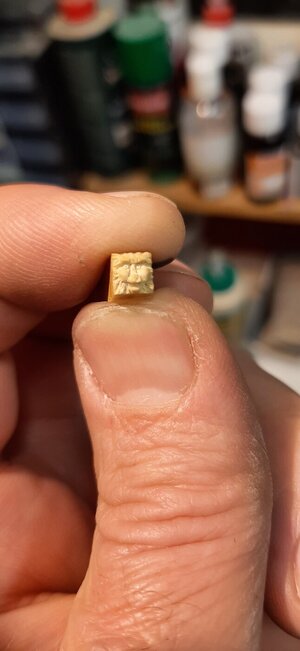
Zoomed in
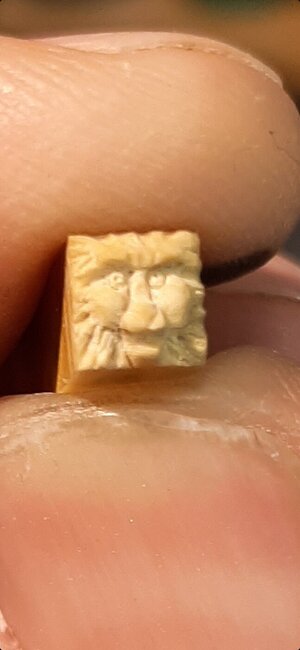
Compared to his full size brother
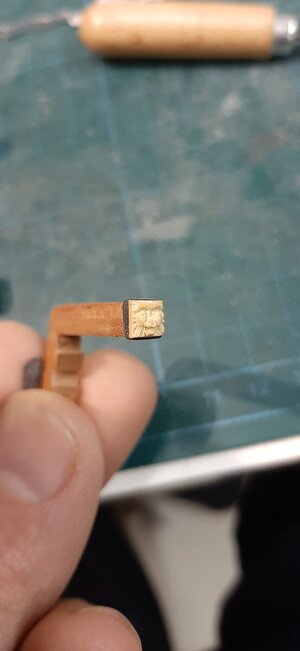
Now with a Japanese saw I cut of a small slice with the carving and sanded it flat to glue it to the cat head.
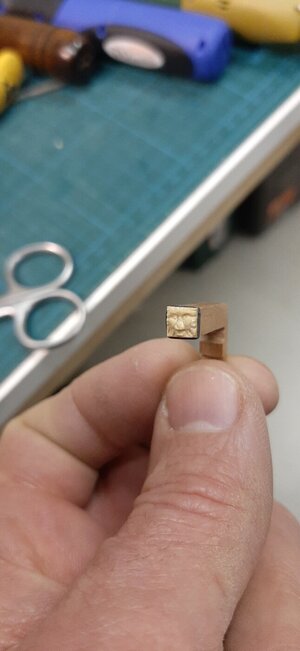
Around the joint I fitted an iron belt of heat shrink.
Now another one for the other cat head.


Then cleaned it with a tooth brush to remove loose dust.


Zoomed in

Compared to his full size brother

Now with a Japanese saw I cut of a small slice with the carving and sanded it flat to glue it to the cat head.


Around the joint I fitted an iron belt of heat shrink.
Now another one for the other cat head.
Great work, I am thrilled, respect.
Thx Tobias, you will have some carving to do on your Amaranthe.
You said it Martin. That means a lot of practice.Thx Tobias, you will have some carving to do on your Amaranthe.


