HMS Blandford 1:48 POF Modelship Dockyard [COMPLETED BUILD]

Hello. Today’s post is as much about success as yesterdays was about failure, so much so that I've been walking around the house with a big grin on my face, my wife thinks that I have finally lost the plot.

First to make me happy with Blandford again I gave the hull and ribs a coat of oil, it brought all the surfaces together in a harmonious way and seemingly somehow brought the wood alive. I hadn’t thought it possible but the oiled pear is the best finish that I have achieved on my many models to date, mmm, love it.

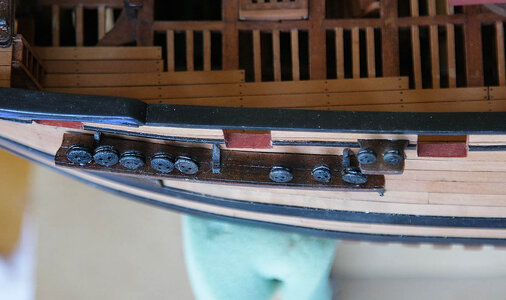
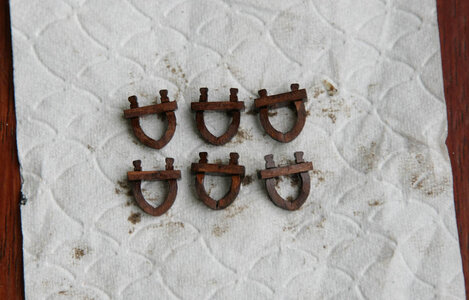
My next success was with the deadeyes and strops. I’ve had my best results by just keeping things as simple as I could so with that in mind I set about making them up. Blandford had single iron strops rather than links so this made things easier for me, they were only going to be for show and wouldn't need to be strong enough to hold the shrouds under tension which again made things easier. I had some 1.25 brass wire which I cut up into oversize lengths, I hammered the ends flat, drilled out an eyelet and filed it round, when done I blackened them in a solution. I put them into the channels, aligned them using the lower eyelet for their position before nailing them into place. I then cut off the excess above the channel leaving about 4mm protruding ready to receive the deadeyes. I stained all the deadeyes to get them a uniform black colour, I drilled a hole in the edge of the deadeyes then slid them onto the strop ends secured with a touch of cyno, job done in very short time. I was initially going to put some wire around the deadeye but found that you couldn’t see that any was missing, even close up, probably due to it being a deep black, so I thought just leave well alone. This turned out eventually to be a very easy and effective solution that I couldn’t improve on.


View attachment 419944

View attachment 419945

View attachment 419946

View attachment 419947

View attachment 419948
Very nice Ken. It looks beautiful
 
Hello. Don’t you just hate it when someone else is right. After yesterdays post Daniel posted a reply regarding hoops around the deadeyes, I didn’t think them necessary so had omitted them. Now every time that I look at the model my eyes focus immediately on the deadeyes and I can feel Daniel looking over my shoulder saying “ Ken you need hoops around those to fill in the recess”, it’s difficult to ignore because of course he’s right. I’ve begun to include them, making the hoops from .8 black jeweller’s wire, as it’s a semi gloss it is noticeable, but only just. Thank you Daniel for the extra work you have obliged me to do.
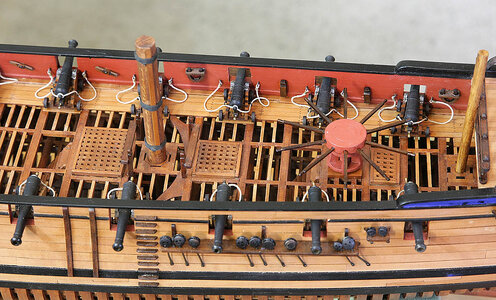
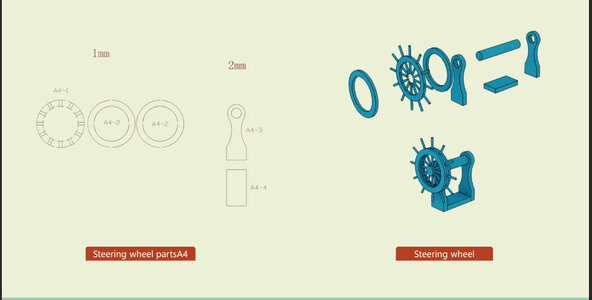
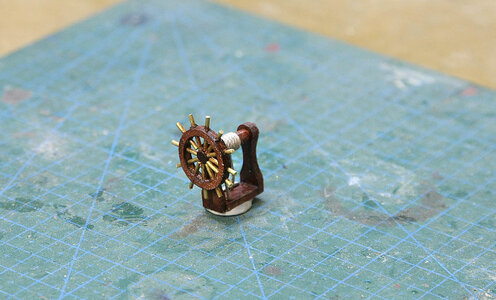
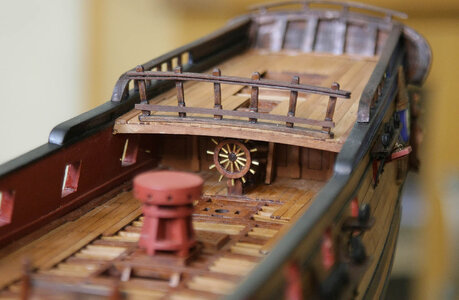
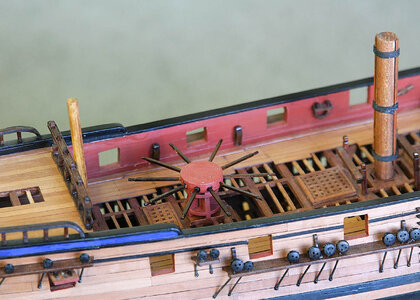
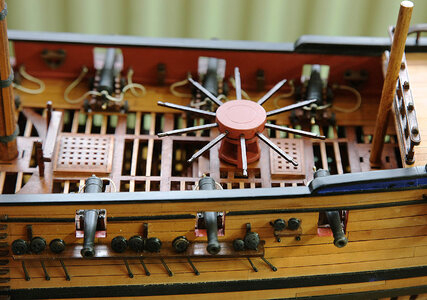
I have also made up and fitted the ships wheel. The plan shows the parts supplied, the wheel is made up of three rings, the middle one has the position for the spokes in, when the parts are glued you remove the centre from the middle ring which leaves the spoke positioning in place. I chose to use brass rods for the spokes because the wheel being under the quarter deck wouldn’t be noticed but a little bit of bling should catch the eye. This part was very fiddly to make, especially fitting and aligning the spokes but it turned out ok.

448.jpg


449.jpg


450.jpg


452.jpg
 
Good morning and welcome. Thanks for your continuing likes and comments.

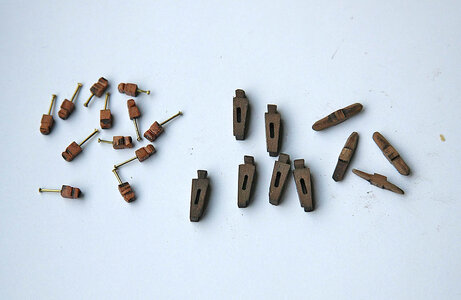
Today’s update is the cutting out cleaning up, staining, painting and fitting various sheaves, cleats and bollards. First I finished off putting hoops around the rest of the deadeyes before tackling the above. None of these are mentioned or shown in the instructions or finished model, you need to find their position from another source.

I’m now at a stage when I must seriously consider how I’m going to display the model, until now I’ve always sorted that out at the start of the build but with this POF I hadn’t known what to expect so just ignored it, head in the sand approach, I’ll need think of something soon though.


453.jpg


454.jpg


455.jpg


456.jpg


457.jpg


458.jpg
 
Last edited:
So you're not the only one who has encountered this problem. Supporting once again my theory that the designers of these kits must never have actually tried to put what they produce into practice. I have the very identical system of PE strops and chain plates in my Mamoli "Flying Cloud" kit. They look really cool and shiny in the box:p but I was wondering how I was gonna fit the deadeyes into those nice tight brass loops. Answer: Clearly, I'm not! Guess I'll just use my usual work-around and use black line. Not perfect but close enough to trick the eye and neater and easier to use than wire! My solution seems to have slipped past many a critical eye so far!
My advice: trust your own eye and imagination, get out the wire cutters and start over. Like money, don't throw good work time after bad! ;)

Pete
 
I finally noticed that I had never hit "post reply" on my last comment! So if it's a little late, like Spring, well there it is.
I am a big fan of this (and all your other models I've seen, including the airplanes (aero planes?) And you in general. I look forward to your posts and ongoing inginuity!

Pete:D
 
So you're not the only one who has encountered this problem. Supporting once again my theory that the designers of these kits must never have actually tried to put what they produce into practice. I have the very identical system of PE strops and chain plates in my Mamoli "Flying Cloud" kit. They look really cool and shiny in the box:p but I was wondering how I was gonna fit the deadeyes into those nice tight brass loops. Answer: Clearly, I'm not! Guess I'll just use my usual work-around and use black line. Not perfect but close enough to trick the eye and neater and easier to use than wire! My solution seems to have slipped past many a critical eye so far!
My advice: trust your own eye and imagination, get out the wire cutters and start over. Like money, don't throw good work time after bad! ;)

Pete
Hi Peter, I couldn’t agree with you more, the eye is complex, it can be fooled into believing what it wants, if it thinks that what its seeing is what it should see that’s the message it sends, to my simple mind anyway. You’re right about some parts, they’re designed by computers without regard to the fact that they will be assembled by humans who of course are of lower intelligence
 
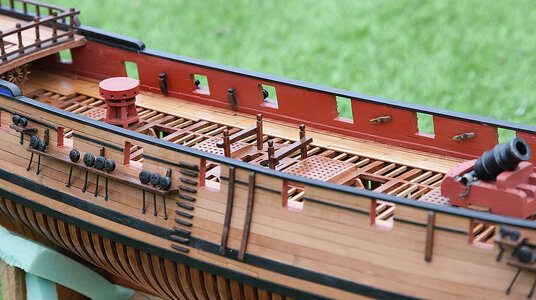
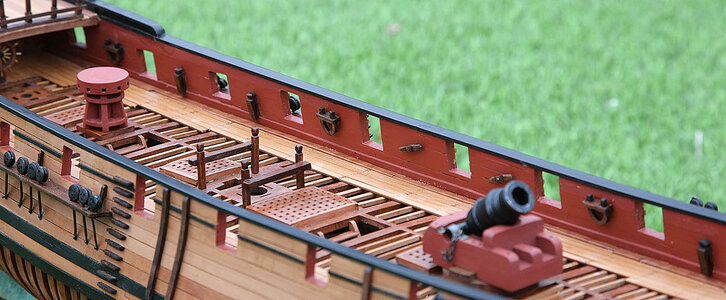
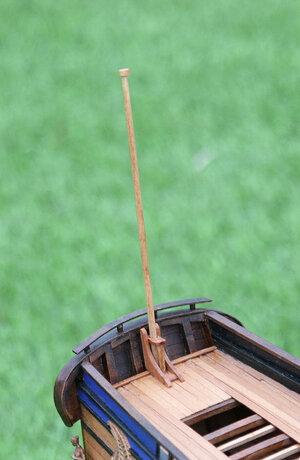
Good morning friends. Today I am showing you the kevel cleats, there are six of them, they were quite delicate to make but ended up ok you will now see all of the cleats fitted to the inner walls. I decided to add a flagstaff, this wasn’t included in the kit but like the bowsprit I thought it was necessary for a balanced look. I couldn’t find much reference to one so I just used the type that I made for my HMS Ajax and guessed at the size, I think it looks about right. I have in my stash a very nice silk flag which I might use, I’ll have to see if it suits this type of model though.

I’m now up to the cannons, I think that I’ll be busy for a while cutting out and cleaning up the parts so until I have something to show I wont be posting for a bit.


460.jpg


461.jpg


462.jpg


463.jpg
 
Hello a welcome. Thanks for your continued support for my build.

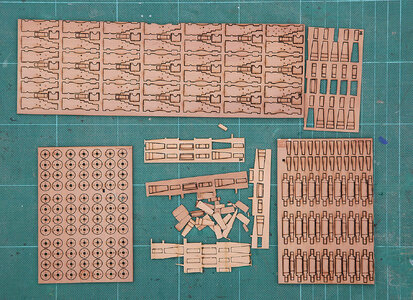
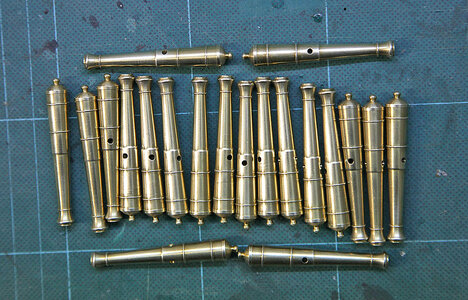
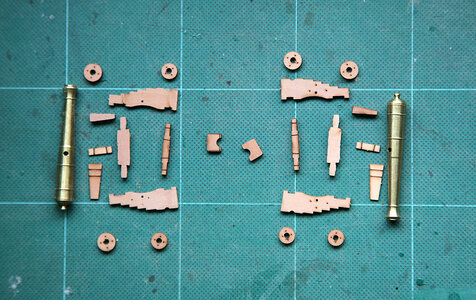
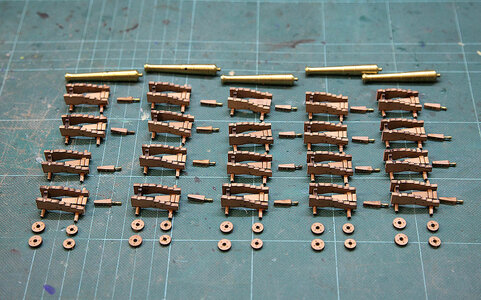
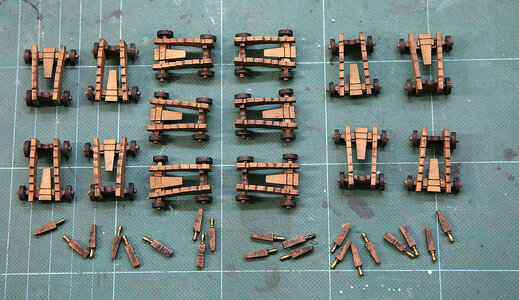
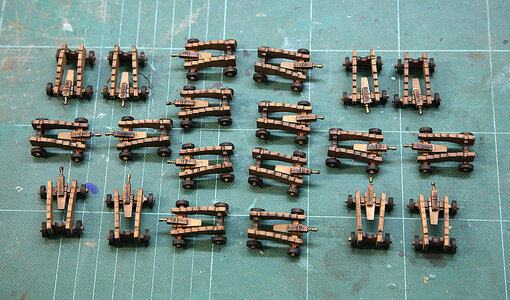
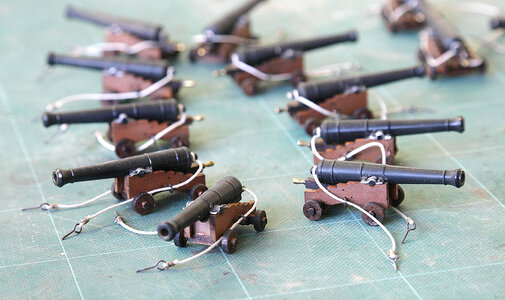
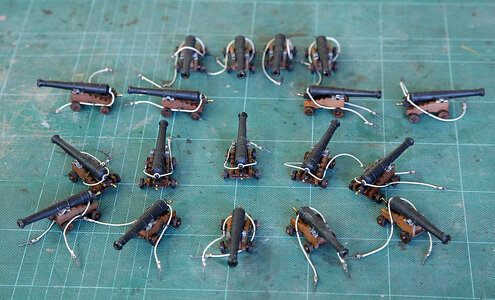
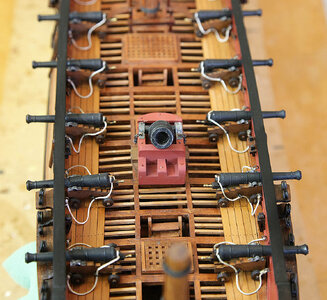
I’ve been working on the cannons for a few days, I think with a fair amount of success, so here’s what I’ve done so far. The barrels are turned brass and would be difficult to fault, they are excellent. The pear parts, 240 of them, were accurately cut and a perfect fit, chamfer and alignment marks were spot on and after cleaning up and rounding the axle spindles everything went together well. I stained the chassis medium oak with the wheels and quoin a dark oak. I used small brass belaying pins as handles for the quoin. I’m only going to rig them with breech ropes so I’ve just fitted an eyelet and ring in their sides.

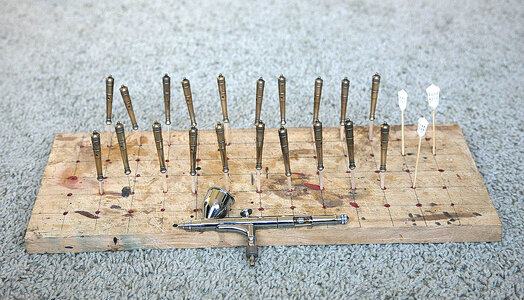
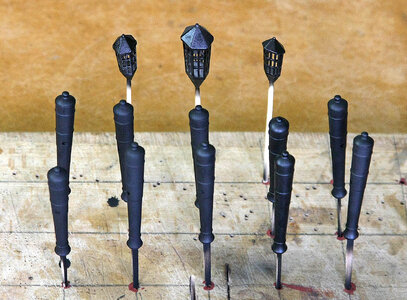
The barrels didn’t go so well, I wanted to blacken them, I buffed them with fine wire wool and cleaned them with alcohol before immersing in my usual solution. When done the surface came out not quite right, a rather uneven colour and finish, not good enough to use so plan B was activated. I again cleaned and prepared the surface and using Tamiya acrylic matt sprayed them and also took the opportunity to spray the ships lanterns. This time the results were very good so I’m a happy boy.


463a.jpg


464.jpg


465.jpg


467.jpg


468.jpg


469.jpg


470.jpg
 
Hi everyone, As you can see it's a bit frosty today, nothing bad but enough to keep me inside at my bench. Not much to report today, some chains on the rudder and the stub masts completed, they're only dry fitted at the moment as I might need to invert it to make up the base when I've decided how to display it. Now on to the anchors.


471.jpg


472.jpg
 
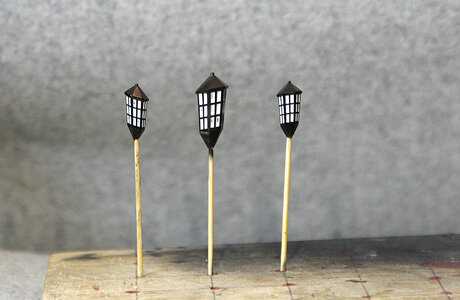
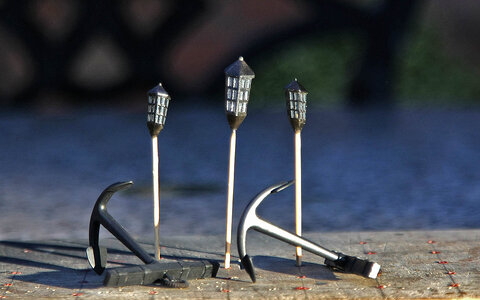
Good Morning. Todays small update is showing my progress with the anchor and lanterns. I glazed the lanterns using the white glue that I used on the windows, just a little on a toothpick rubbed into the framing quickly fills the glazed area and when dry gives a good glass effect, it's easy and very quick to do. I've also made up the anchors which were very well cast, for the banding I used heat shrink tubing, again a quick and easy method. I found that the matt paint I'd used on the cannon barrels scratched off too easily so I've given them a coat of varnish to give the a more resilient finish.

473.jpg


474.jpg
 
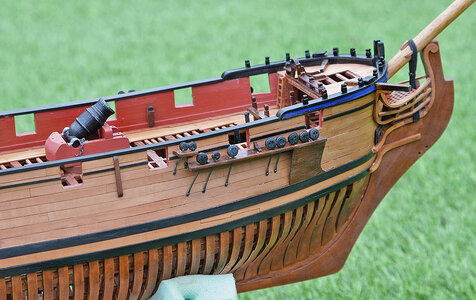
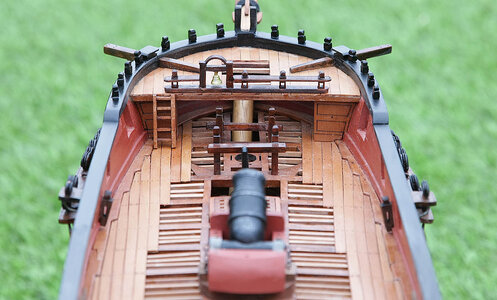
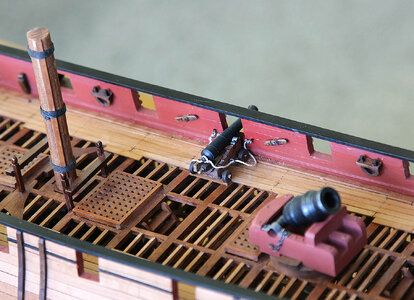
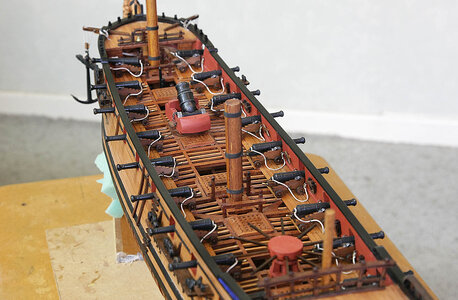
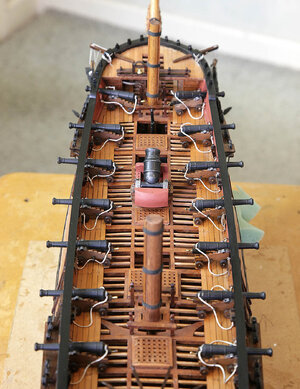
Good morning modellers. The build continues but sadly it’s getting towards the end. Today I am showing the completion of the ships teeth, the cannons. They are now all rigged and ready for fitting. The brackets that hold the barrel down I’ve made from lead, I flattened a piece to wafer thin with a hammer and cut it into small strips, being soft it was easy to bend to shape, they match the ones on the mortar and I like the metal appearance, I also like the brass quoin handles so I’m also keeping these natural, more textures. I’ve added a small piece of decking, a sort of platform behind each gun so that the rear wheels sit properly, they looked odd sitting on the batons and because of the way the deck was planked in steps this looks ok. I’ve also made and fitted the capstan bars, both those and the gun carriages are oiled. So only the anchor to rig and it’s finished.


476.jpg


477.jpg


478.jpg


475.jpg
 
Hello. Again thanks for showing an interest in my build and for all your likes and welcome comments, you’ve all kept my enthusiasm going’

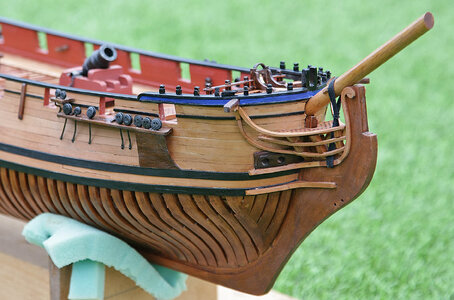
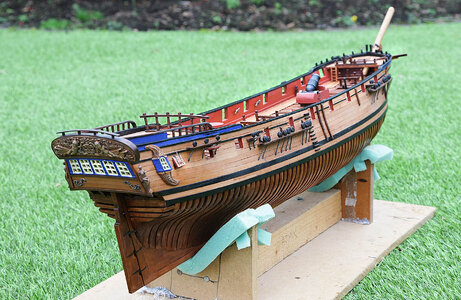
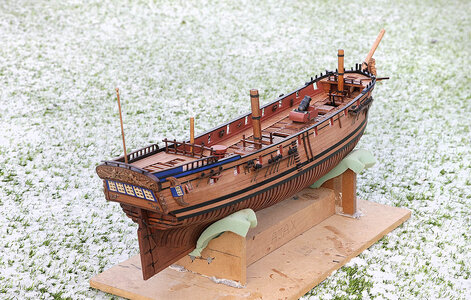
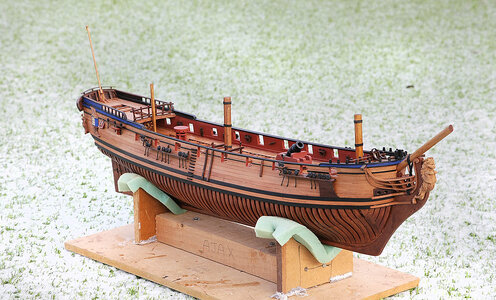
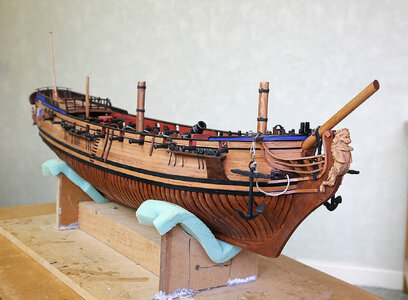
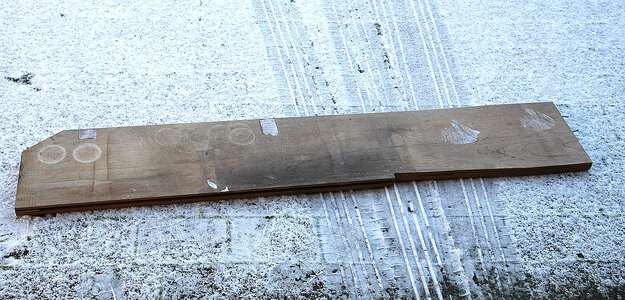
It’s Finished, well at least I think it is, I’ll leave it around for a bit to see if anything needs doing, it really needs a good clean as it’s gathered quite a bit of dust during the build. It needs a nice display base to show it off, luckily I found a large very tired old piece of oak in a skip which I think will do nicely, it needs a lot of work to revive but it looks promising. When it’s all presentable I’ll do my usual final photo shoot and give my thoughts on the kit. I realize that it has only taken four months to make, I think that I need to slow down a little.


480.jpg


481.jpg


482.jpg


483.jpg


485.jpg


486.jpg

The proposed base, a little sanding required

479.jpg
 
Congratulations are certainly in order for completing the construction of your beautiful Blandford. Well done.

4 months... you must have achieved a record!
If you want to slow down a bit maybe the next one will be scratch built?
 
Very well done Ken on completing this kit and in such a short time too!! It looks great and will be a very nice addition to all the other beautiful kits in your collection. So . . . What's next or is it too early to decide? l'm dying to know. Have you got the POF bug or will it be a fully rigged POB kit
 
Very well done Ken on completing this kit and in such a short time too!! It looks great and will be a very nice addition to all the other beautiful kits in your collection. So . . . What's next or is it too early to decide? l'm dying to know. Have you got the POF bug or will it be a fully rigged POB kit
Hi Keith, Thanks, it’s a bit early knowing what’s next, until I actually start a build I don’t really know, I keep changing my mind, I have a ZHL Mystique but changed my mind about that, and am unlikely to build it after trying a POF model. I like the look of a few of the CAF kits, La Renommee looks pretty awesome. In the meantime I’ve the Sopwith Camel that my wife bought me for Xmas to build, I’ll be thankful that there’s no dust with this build, watch this space.
 
Last edited:
Back
Top