HMS Diana by Caldercraft

This makes no sense to me either :( . This following may have nothing to do with their instructions, but just a thought..... The quarter deck bulwark planking is attached to the top timbers which these bulkhead extensions seem to replicate. Why take them off? Then again there may be a good reason. For Diana (38) 1794 these top timbers should be moulded about 5" (in and out thickness) in the range of the quarterdeck (Scantlings of Royal Navy Ships pages 90-91) so maybe you can just sand them down to 2mm (at 1:64) if they are too thick now. The thickness of the spirketting is 3" thick and the quickwork between the spirketting and rail is 2" thick (Scantlings of Royal Navy Ships pages 200-201). The upper works outboard planking (including both layers for a double planked model) for a fifth rate was the depth of the keel divided by 9 (The Construction and Fitting of English Ships of War). In the case of Diana this is 18"/9 = 2 inches (less than 1mm for both outboard planking layers total.) I checked a couple original contracts for fifth rates contemporary to Diana and they give very similar scantlings.

In the end this might be why they recommend removing the bulkhead extensions. To leave them as is, will the total thickness with the planking they supply be too thick? The total thickness with inboard and outboard planking needs to be 9.5" (about 3.75mm) otherwise the sheer rail will be extraordinarily wide.

Allan
Dear Allan,

Thx for your feedback: I fully agree with you.
I have no choice but to saw off the Bulkheads...
The Kit includes Quarter deck bulwarks : 1,5 mm and with additional planking (eg inside = 1,5 mm + outside 1 mm Wallnut = already 2,5 mm + 1,5 mm =3,5 mm...

Thx

Marc
 
So, again an update:
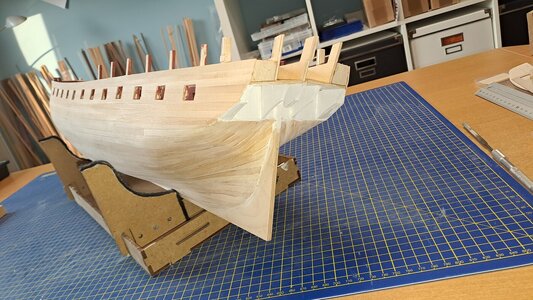
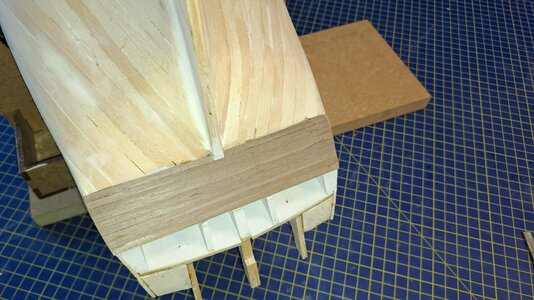
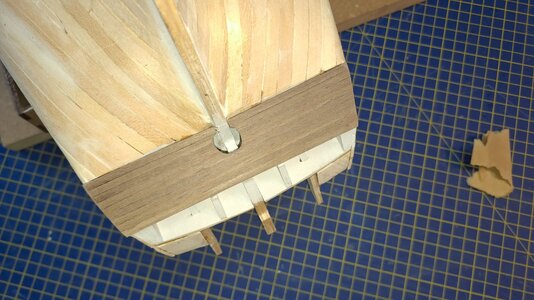
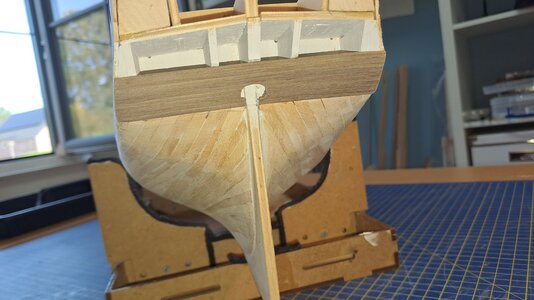
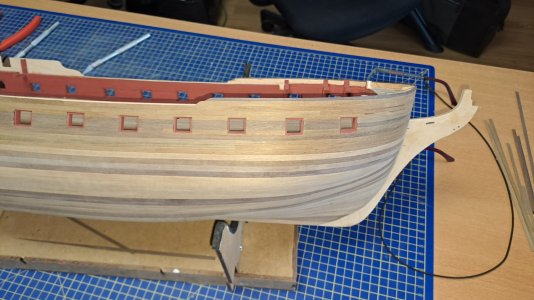
- first I planked the Stern Counter with 1 x 3 mm Walnut strips. Was very easy as the dimensions of the Hull are very accurate. So everything fits. The only problem: making the opening for the rudder: the diameter was not specified anywhere. The rudder itself is 7 mm wide so I estimated the diameter based on this.

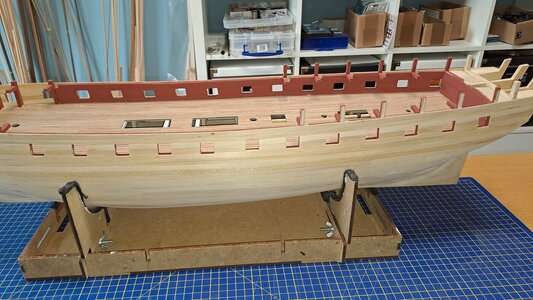
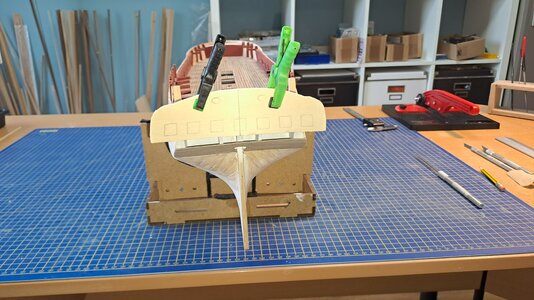
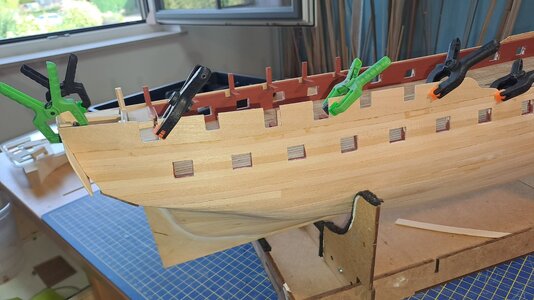
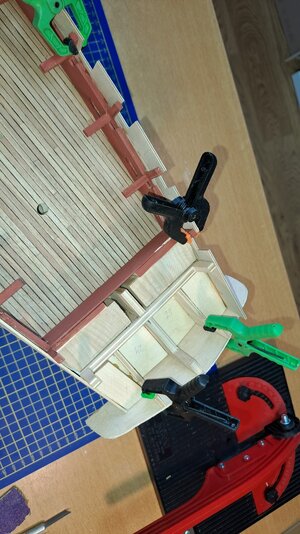
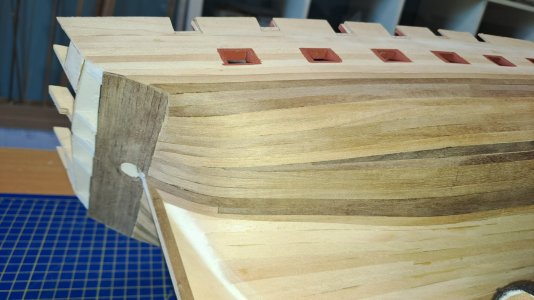
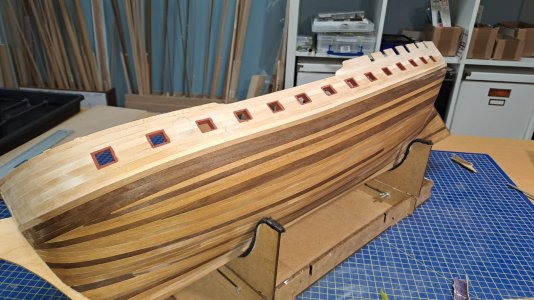
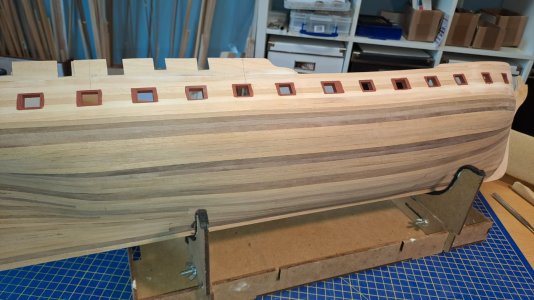
- Then the more delicate work: gluing the quarter deck bulk heads. To avoid making any mistakes, I first placed the dummy tern (which I made myself). This allows you to seamlessly adjust the ends of the deck bulkheads to the stern (see photo). Note that I did NOT glue the whole thing to the top of the Bulkheads: they have to be sawed off later and they now only ensure that the whole thing cannot break during the 2nd planking. I used CA and only glued on the top part of the strip.

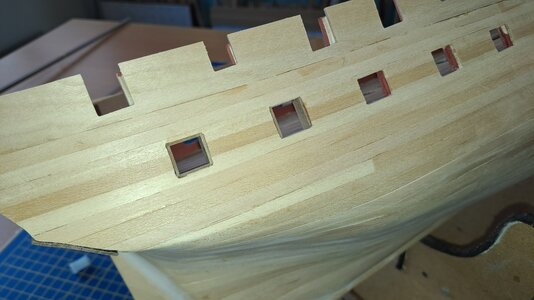
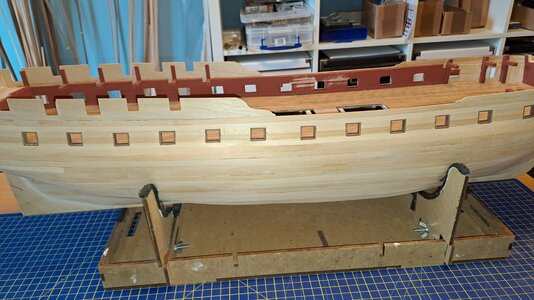
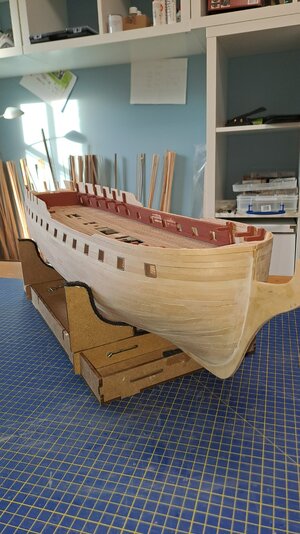
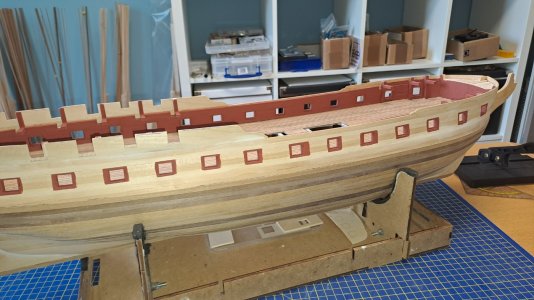
-And last but not least: the placement of the GUN Lids. Make sure that they protrude a little from the outer strips: afterwards you can sand them flush with the outer strips. One more side to go.

To be honest, this all went very smoothly. I thought it would take a lot more time, but everything fit perfectly...
;) ;)

Diana122.jpg

Diana123.jpg

Diana124.jpg

Diana135.jpg

Diana125.jpg

Diana134.jpg

Diana133.jpg
 
Surprise Surprise !!!!

While determining the position of the Main Wale on the Hull I was faced with another surprise.
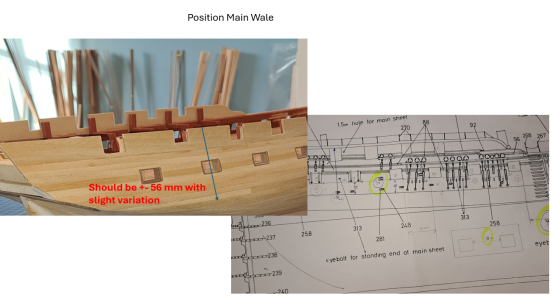
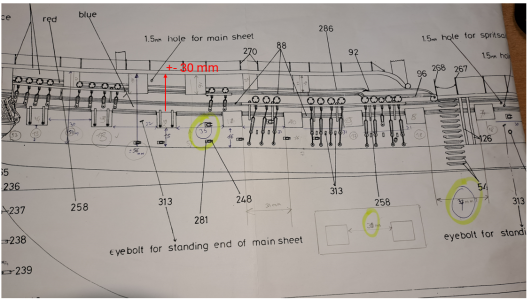
The instruction booklet states that it is best to determine the position if you always determine the distance from the lower gun sill positions. How much is not described anywhere: so measure on the plan.... ROTF ROTF ROTF ROTF
depending the Gun Port (back = 13 mm) and front = 17 mm in my case.

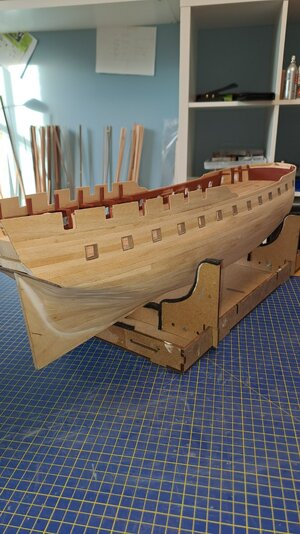
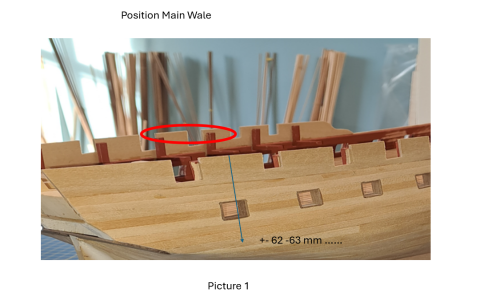
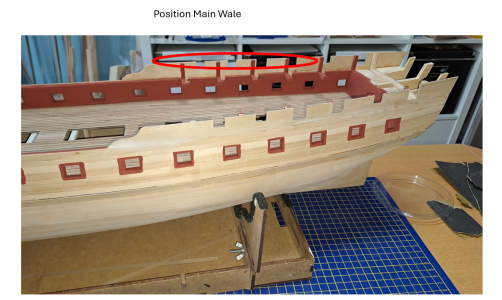
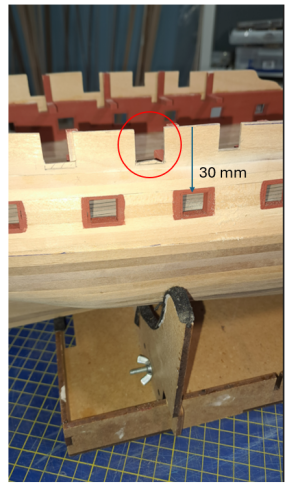
But I did a double check: I measured the distance from the top of the quarter deck bulwarks (first photo) to what was supposed to be the position of the main whale. But never came true!
To make a long story short (and apart from my mistake it is not mentioned anywhere) you need to make the tops of the quarter deck bulwarks equal to the top of the Bulkheads: in my case saw off 3 mm. If you do that and then measure the distance from the main position, it is correct....
Also the plans are also NOT clear....
thanks to the double check, I avoided placing the 2nd planking too high....

1724599186757.png

1724599224144.png

1724599278755.png
 
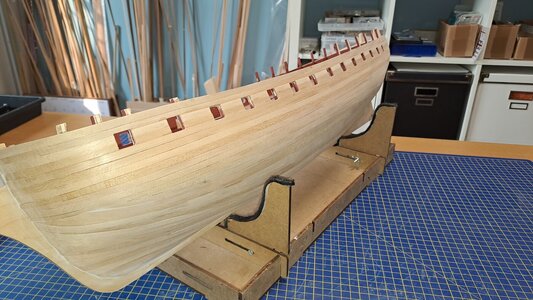
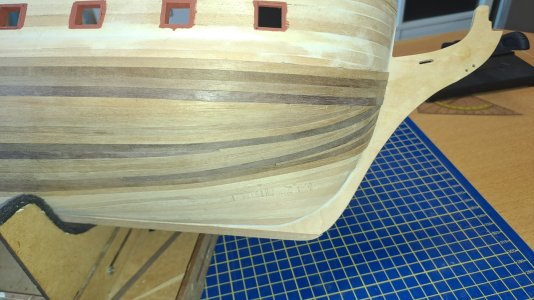
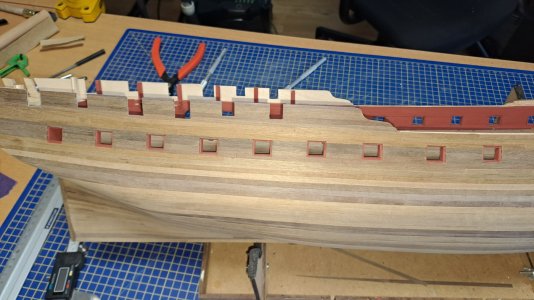
I started with the 2nd planking.
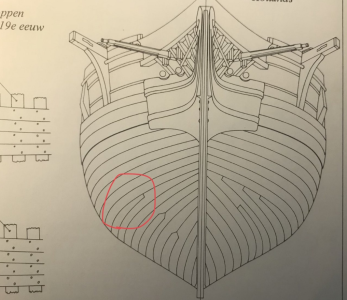
To allow the strips to fall into their natural "fold", there were apparently 2 methods used in the past :
English on the left and Dutch on the right... The Dutch seems to me to be the easiest (in my case).
Sanding after completion....

P.S
Won't be active on the blog for the next 2 weeks.... My wife asked to paint some rooms... I can't refuse.,,, :) :) :) :)


1724948623732.png

Diana141.jpg

Diana142.jpg

Diana143.jpg
 
I started with the 2nd planking.
To allow the strips to fall into their natural "fold", there were apparently 2 methods used in the past :
English on the left and Dutch on the right... The Dutch seems to me to be the easiest (in my case).
Sanding after completion....

P.S
Won't be active on the blog for the next 2 weeks.... My wife asked to paint some rooms... I can't refuse.,,, :) :) :) :)


View attachment 468015

View attachment 468017

View attachment 468018

View attachment 468019
Lol, She's asked me begin with the Idea of one Room, finally, all the first Floor was completely renovated. My Belem suffered somme delay calculated in months.
 
Hi Marc, even though the right one is easier, the correct one is the left one. If it were me, I'd choose the one on the left cause it's an unpainted hull and everything will be visible.
 
Last edited:
Hi Marc, even though the right one is easier, the correct one is the left one. If it were me, I'd choose the one on the left cause it's an unpainted hull and everything will be visible.
Hi Mustafa,

Yes, you are right. But the hull must be completely covered with copper plates, so the effect of the correct method is negated.
So I've chosen the easiest way.... :)

Cheers

Marc
 
Hello friends,

I'm back in Business!!!!!!!!
After a hellish 2 weeks of painting and wallpapering...continuously going up and down the ladder...and after 2 weeks of detoxing from this platform it's high time to get back to it.

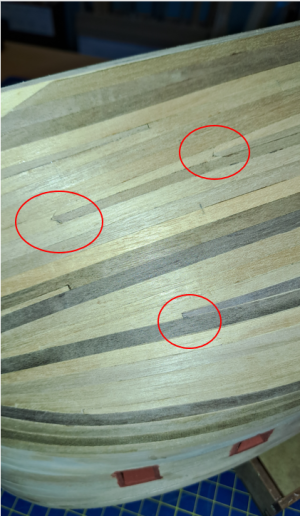
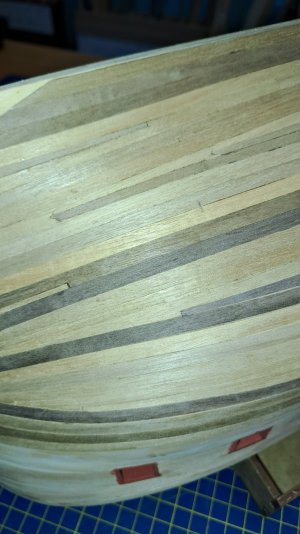
The last 2 days I have provided the lower part of the hull with the 1 x 5 mm strips. And, especially for Mustafa, applied the "real" technique to fit the planks neatly together 'see photo'.
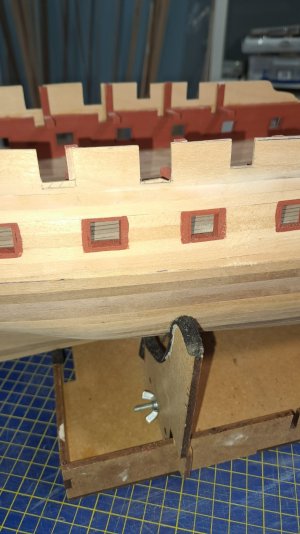
As you remember, it was necessary to shorten the quarter deck bulwarks. After all, the distance between the upper part and the gunport must be 30 mm.
But that also shortens the quarter deck bulwarks gunports...and you have to adjust them to the dimensions as shown on the plan. Otherwise the proportions are no longer correct, i.e. you get problems with attaching the trim strips etc. later...

So comments are always welcome !!!!!!!!!!! :) :) :) :) :) :) :)

1726485097842.png
1726485212602.png

Diana 146.jpg

Diana 148.jpg

Diana 149.jpg

Diana 150.jpg
 
The instruction booklet states that it is best to determine the position if you always determine the distance from the lower gun sill positions.
Sorry for the late reply. Their instructions may be confusing as written. The wales location can indeed be measured from the sills but that distance is different at every gun port as the planking (and wales) are not parallel to the line of the gun ports. This can be seen on planking expansion drawings and models. It is most evident aft. Can you post a photo of the drawing they provide showing the sheer of the wales?

Allan

1726486738974.png
 
Hi Allan,

Nice to hear from you. You really have to pay attention. I decided earlier to follow the dimensions shown on the enclosed plans. I measure everything at least 5 times... compared to the Main deck etc....
There are very few blogs about the Diana... so finding other references is not easy. See attachment.... :)

1726588145999.png
 
I decided earlier to follow the dimensions shown on the enclosed plans.

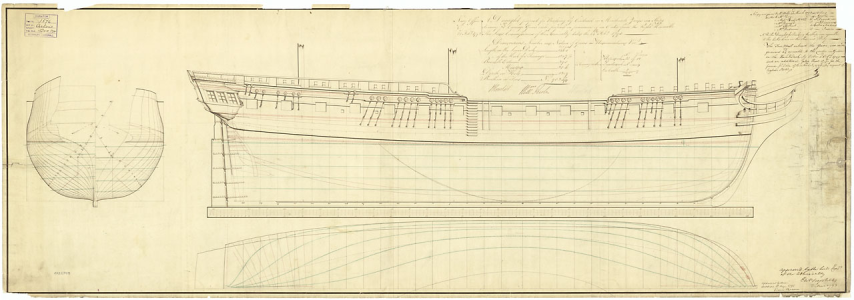
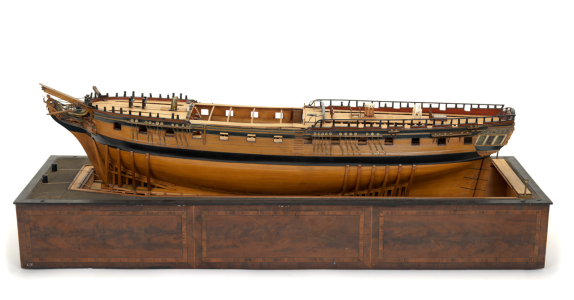
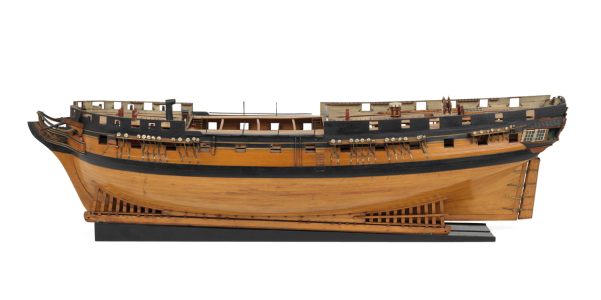
I would have done the same as well as the drawing you posted definitely shows the sheer of the wales is different than the sheer line of the deck/ports pretty much like the contemporary profile plan of Diana at RMG (below) There appear to be some differences between the original drawings and the one you posted such as the deadeyes on the mizen channel and the top of the hull at the quarter deck. See below drawing from 1793 and the Diana model from 1794 at RMG. Even the contemporary drawing and model below have some differences between them so as seems often to be the case, nothing was set in stone and we have the opportunity to make choices. :)
Allan
1726621209307.png
1726621117345.png
 
Hello Everybody,

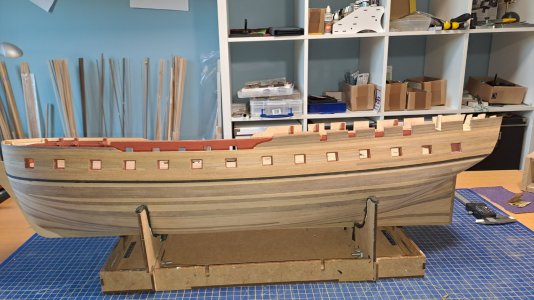
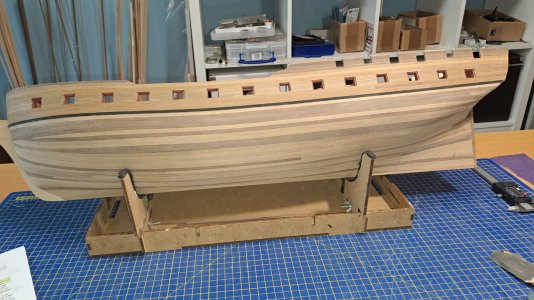
I meanwhile finished the second planking.... ;)
In the meantime, I have sanded thoroughly for the first time to remove as many irregularities as possible.
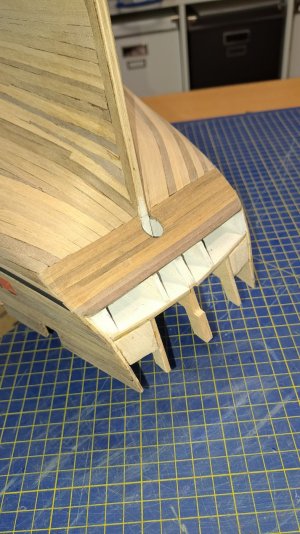
Then I have provided the Stern with a 2nd layer of planks: this gives a better result after sanding, i.e. the planks can blend in better.
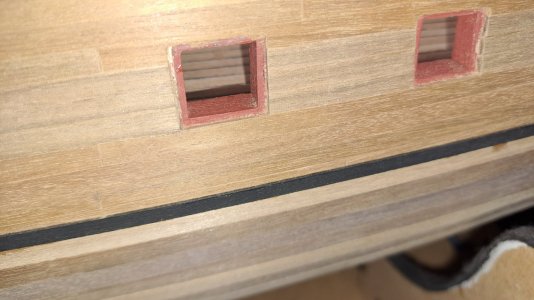
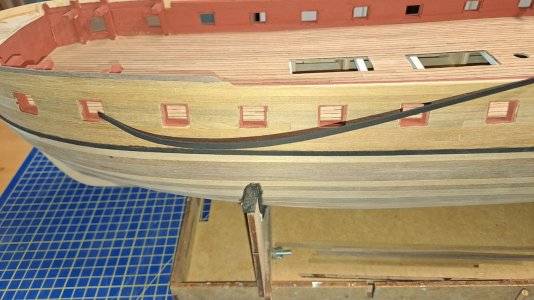
Then the Main Whale... To prevent paint from ending up on the Hull, I painted the upper (eg the Black Strike) and lower strip of the Main Whale black in advance. (after I bent them into the right shape)....the result is perfect...

Now I will finish the main whale and starting with the Stern.....

Diana151.jpg

Diana154.jpg

Diana152.jpg

Diana150.jpg

Diana155.jpg
 
Back
Top