• LUCZORAMA SHIPWRECK SCAVENGER HUNT GIVEAWAY. 4 Weeks of Fun • 1 Legendary Prize ((OcCre’s Fram Ship)) • Global Crew Welcome!
    **VIEW THREAD HERE**

HMS ENTERPRISE 1774 by RichardJJS 1:48 scale. New Kit from M.D

Useful but is anyone doing it
Hi Richard,

Some builders would not consider this important, others do, but it is your model, so go with what you want. The keel is tapered forward and aft with the dimensions you show above. Keep in mind that if you ignore the actual dimensions of the keel but the knee of the head is properly tapered it will not match up with the boxing joint, and if you taper the stern post properly but not the keel, there will be a shelf on top of the keel at the post.

Your model, your call.

Allan
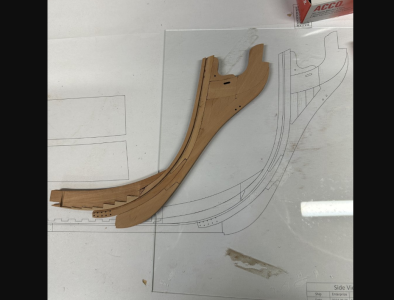
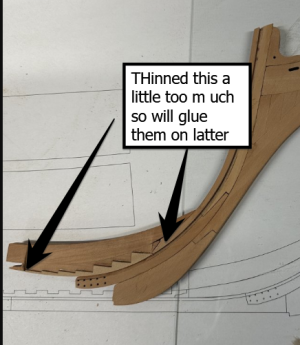
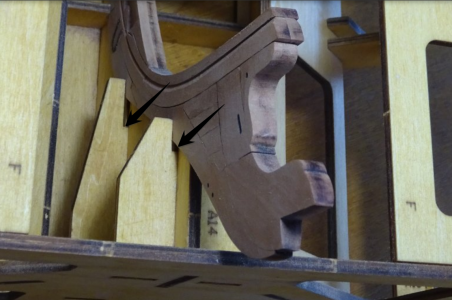
Totally Agree Ive Not tapered the Keel at the stern - still waiting for replacement parts for Knee
Photo shows Stern Keel where it does have a shelf but told not too worry
Might just taper the stern of the Keel before i finally fix te Ribs
THanks

IMG_20250722_101727[1].jpg
 
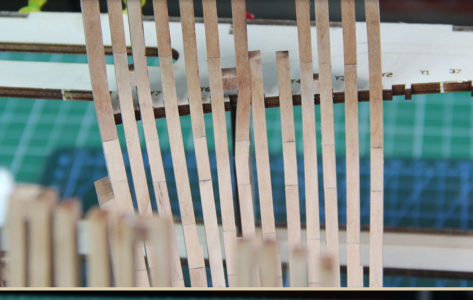
Really getting on with the Ribs
By weekend 1 - 17 will be completed (except 15 Waiting for new upper Futtock
Hopefully ive got over the problem of joint snapping - really strange as ive use Titebond Ultimate ! (Always 24 hours before the next stage)
Will drop 15 in to make sure it all fits before building 18 - 37
It is much easier on the middle ribd with little or not much to remove other than the chard (Waiting for the stern ones!!

For those following my build make sure you remove the Black chard on the slot that goes into the keel BEFORE fixing them together
I know my learned colleagues will do that but just a suggestion

Again ive found very thin Tamiya type tape holds the lower section of the front and back frame together while it set allow a little adjusting of the upper frames
 
Last edited:
Not at that stage yet but a iasked Victor about Fillers at the top of the completed Frames and this was his anthis was his answer
Hi Richard,

The fillers should be 1mm and 2mm strips from the laser cut sheets. You can cut them to appropriate length and place them between the frames. They are not like the fully filled type that we had on Blandford.

Kind regards

Victor

I am wondering how far from the top of the frames they would go

My Gut is to where the THe Gun Ports are cut

Any thoughts please as it wil finish the tops of the Futtocks
Lots of help on this but it appears to be about a cube if that makes sense Thanks to Arbon and others
 
Back
Top