• Win a Free Custom Engraved Brass Coin!!!
    As a way to introduce our brass coins to the community, we will raffle off a free coin during the month of August. Follow link ABOVE for instructions for entering.

HMS ENTERPRISE 1774 by RichardJJS 1:48 scale. New Kit from M.D

Latest Update
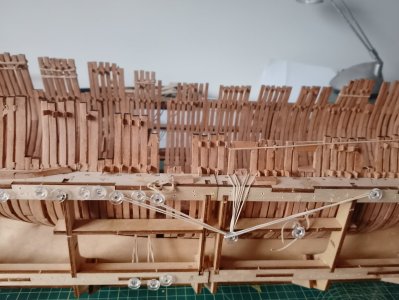
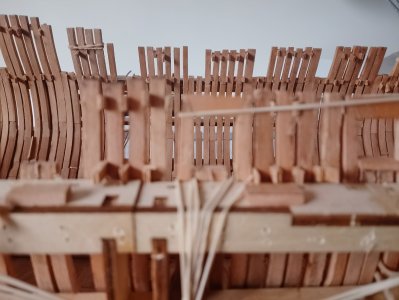
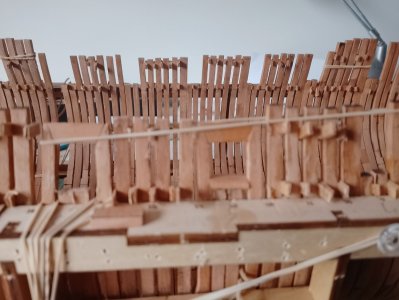
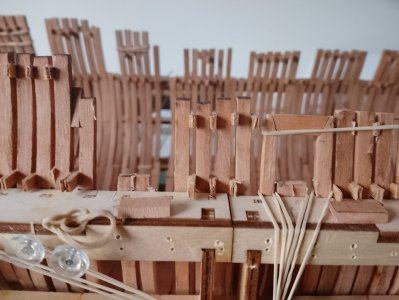
To cut and fit the GunPorts i am doing the Following

Marking each set (ie 4 frames ) from the JIG (Having marked the Upper Part of the JIG on the 1:1 Plan
Both Side with the top
Both Lower inner frames with the bottom
Removing both sides (Using heat bun at 250 degrees (Very easy)
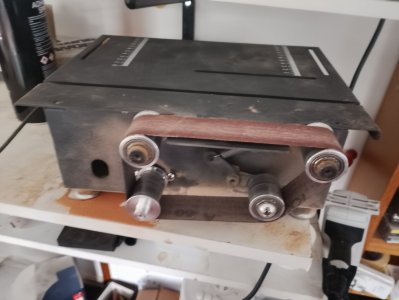
Using my Finger sander to cut the lower ones
Shaping the Rear frame and cutting Diagonal shape
Cutting the Fore Frame t match
Reassembling both outer Frames and once set The Top of the Port
Once set shape and fix lower port
Temporary Fix all the Frames
Remove say Port 6 Frames (4 )
Cut these to size as above
Refit and glue as above and the Fix and glue the frames working For'ard each side

Hope this helps
 
can you post some pictures of your gun ports please I need to remove somestuff from the for part of the frame aft of the gun port
They are not wide enough
Its an azazing kit
Sorry, just saw this.
FWIW I think your issue might be ties to frame spacers you're using.
I have found my sp[acing required a few sizes to fit frame tops while in jig. Given this I have had zero frames altered for proper width, all checked from main plan sheet with inside calipers transferred to frames, virtually all of them have come out almost exact. Couple of them off maybe a few thousandths, evened up after planking by sanding.
Lastly, since my experience has been less than ideal as far as leaving planking short on the ports to allow lids to seal, I've planked right to the sill edges and will take some thin stock to lay in side , top/bottom in relief to give proper effect which looks nice and neat, especially when, likely, I will paint them red ocre.

Tim
 
Back
Top