


Shimsham!
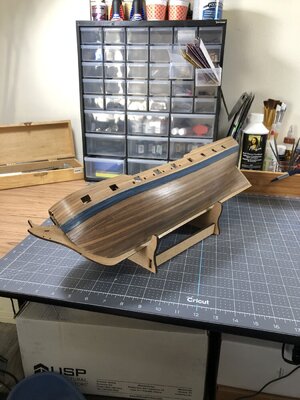
Absolutely beautiful. I was hoping to see the hull in a natural finish as opposed to the white hull shown on the cover. Thanks for the photo.
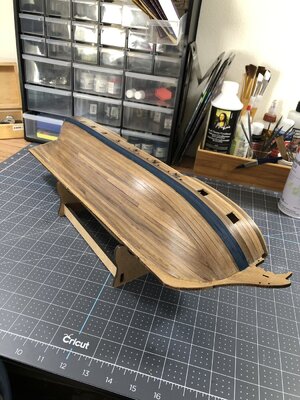
Absolutely beautiful. I was hoping to see the hull in a natural finish as opposed to the white hull shown on the cover. Thanks for the photo.


")


