• LUCZORAMA SHIPWRECK SCAVENGER HUNT GIVEAWAY. 4 Weeks of Fun • 1 Legendary Prize ((OcCre’s Fram Ship)) • Global Crew Welcome!
    **VIEW THREAD HERE**

HMS Fly Build (Amati) 1:64 by Nomad

Hi Korsan,

Wow great eyesight to pick that one up! :)

I re-checked my ship plans and sure enough, the instructions call for a deadeye at either end of the spritsail yard...

View attachment 511043

Mind you, there is a normal block next to the deadeye on either end of the yard as well, which is visible in the diagram above but not in the photo that I took. Perhaps the confusion lay there...

Cheers,
Mark
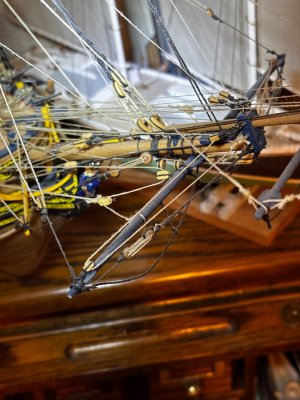
Here is my HMS Fly rigging Mark. Wow, very dusty though.

IMG_0999.jpg
 
When I noticed barnacles forming under the hull of my much-neglected HMS Fly I knew that I'd been away from the shipyard too long, and I was relieved to pick up where I'd left off a couple of months ago and continue with the rigging of this fine vessel.

Of course, I thought that the completion of the hull was the starting point for all things rigging, and that I'd be laying all manner of lines and ropes that make up the cobweb of rigging on this ship, little thinking of all the numerous blocks that first need to be fitted to the yards and masts :oops:

View attachment 511015

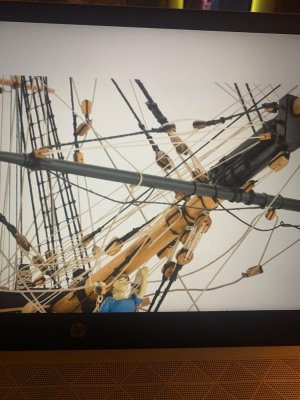
Rigging the blocks to the yards and masts was reasonably straightforward. I discovered various techniques for fastening a block to a spar, most of which attempt to do two things: to minimise the size of the knot or seizing around the block so that it does not look ungainly, and to ensure that the block aligns appropriately with the rope to which it is seized.

The same applied to the footropes installed under the yards. The trick here being to give each footrope a reasonable amount of slack to make it look authentic, and to ensure that the same amount of slack is applied to each footrope on either side of the yard.

View attachment 511016

All of the masts and spars are still very loosely attached at this stage; one good shake and it'll look like a game of pick-up-sticks :)

Each yard has been fitted with a brass pin in the centre to connect it to its mast. This was done to confirm the arrangement and positioning of the yards, although I suspect they will become a permanent feature later on to provide stability during the rigging process.

View attachment 511017

Thanks for checking in :)
Mark
Good morning stranger. Glad to see you still alive and kicking. It is also good to see you play with your Fly (not recommended out of the house ROTF ) again. All looking great Marc, although I too find the deadeye on the bowsprit yard unusual. Cheers Grant
 
Is it possible to attach a picture of that mentioned assembly
There are no pictures of these in The Elements and Practice of Rigging and Seamanship but the treatise is a good one to have handy depending on nation and era. It is available on line at the San Francisco Maritime Museum website. There are no pictures of this in Lees work either but the text descriptions of both are pretty clear.
Note there is no mention of any eye bolt at the bowsprit in either description. If this kind of thing is of any importance to you it is sometimes helpful to check modern plans against well researched resources that pertain to the nationality and era of your project.
Allan
 
Hi Allan
İt is not confusing for me , it is unusual for me to use a dead eye assembly to fix the bowsailyard to the bowsprit because the yard is already bound to the bowsprit. I think it is a suplamentery detail to secure the yard in case if the middle rope bound is totaly damaged and so preventing the fall of the bowsailyard into the water and loosing it.
Thank you for your helpfullness and kindregards

IMG_7127.jpeg
 
Hi Korsan,

Wow great eyesight to pick that one up! :)

I re-checked my ship plans and sure enough, the instructions call for a deadeye at either end of the spritsail yard...

View attachment 511043

Mind you, there is a normal block next to the deadeye on either end of the yard as well, which is visible in the diagram above but not in the photo that I took. Perhaps the confusion lay there...

Cheers,
Mark
Happy birthday Mark !!
I hope you have a great day and I hope you are healthy and happy !
 
Thank you all for the kind birthday wishes, much appreciated. I am visiting my dear old Mom in South Africa at the moment and my poor HMS Fly has been sitting idle half a world away for the past couple of months. I hope to rejoin the land of the ship-modelling living again very soon ...
 
And so the rigging begins. I decided to start with the Mizzen mast and work my way forward, for no other reason than working forwards sounds better than working backwards, and also that the Mizzen mast looks a bit easier to do than the rest of them :p

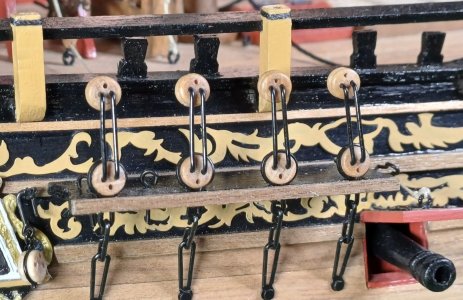
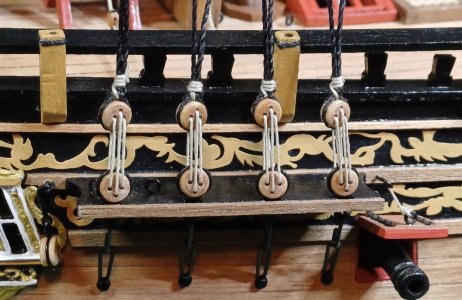
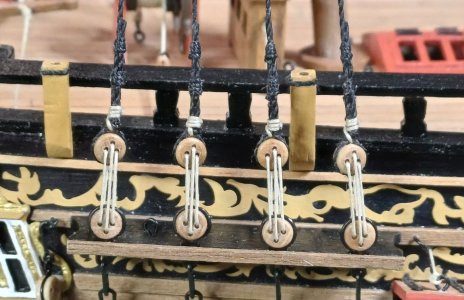
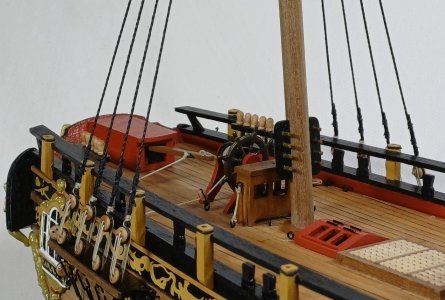
The mast is stepped by applying a small amount of wood glue to the base and housing it into position through the stern decks. The mast is supported by four sets of shrouds which is where the rigging really begins. I created staple-shape brackets from 24-gauge wire to hold the upper deadeyes in place and equidistant from the lower row of deadeyes on the channels. This is purely for aesthetic reasons, of course. I understand there are all sorts of reasons why this is not necessarily realistic in practice.

1345_20250731_hms_fly.jpg

The kit instructions recommend 1mm rope for the lower Mizzen shrouds, although the plans indicate .75 mm instead which, to my eye, looks more to scale especially when wrapped around 3 mm deadeyes. Each shroud-pair loops around the mast top and is seized to two of the upper deadeyes with .25 mm line. I did not serve the central section of the shroud rope as there is not enough room in the lubber hole to accommodate the thickened rope. It may work on the other, larger mast tops.

1350_20250731_hms_fly.jpg

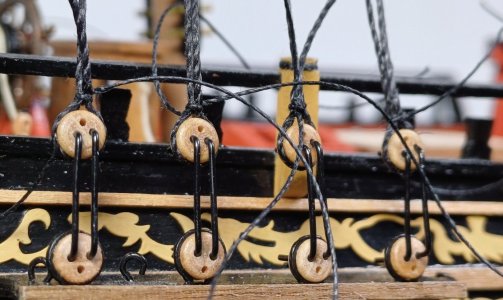
The wire brackets are removed and .5 mm natural thread is reeved as a lanyard through the upper and lower sets of deadeyes. The lanyards are used to tension up the shroud lines and then seized just above the upper deadeye.

1355_20250731_hms_fly.jpg

Finally, the loose ends of the shroud lines are seized in a couple of places above the lanyard seizing. I experimented with various knots off-model to find those that gave a reasonable look of authenticity and did not leave too many of those pesky stray ends. The knots were secured with a mild fabric glue that dries clear and does not freeze the rope in the way that superglue does.

1360_20250731_hms_fly.jpg

That's the lower Mizzen shrouds done! I installed the shroud lines in the order of starboard-fore, port-fore, starboard-aft, port-aft, and will stick to that pattern with the other shroud rigging as well. The process is not as daunting as it first seems and gets easier once you get into the zone. Keeping the two rows of deadeyes equidistant and maintaining a fair bit of tension in the shroud lines are the two variables that can make the exercise quite challenging, and I'm sure that I'll have forgotten all the lessons learnt by the time I get to setting up the shrouds on the Main and Foremast :rolleyes:

1365_20250731_hms_fly.jpg

Thanks for checking in :)

Mark
 
Back
Top