• Win a Free Custom Engraved Brass Coin!!!
    As a way to introduce our brass coins to the community, we will raffle off a free coin during the month of August. Follow link ABOVE for instructions for entering.

HMS Fly Build (Amati) 1:64 by Nomad

Hi Nomad, thank you for this thread with images which show your progress in such a detail. I am working on my first model (Pegasus) and your images concerning the construction of tha bow helped me. In my kit the manual states that part 288 is white metal, but I could not find it. It seems, you made it from spare wood. Very helpful, thanks again!
Hi Robert, you are most welcome, I am glad to hear that I have been of some help given that I have received so much help from this forum myself. Part 288 was a mystery to me as well. It arrived in the kit wrapped in a plastic sleeve like this:

eking rail.jpg

It is quite a solid piece of metal and it didn't make much sense to try and massage it into the shape required for the Eking Rail, which is why I opted for a wooden replacement that, even for me, was not that difficult to manufacture :)

I am also glad to hear of another Pegasus build in progress. Will you be creating a blog for it?
 
Hi Robert, you are most welcome, I am glad to hear that I have been of some help given that I have received so much help from this forum myself. Part 288 was a mystery to me as well. It arrived in the kit wrapped in a plastic sleeve like this:

View attachment 539207

It is quite a solid piece of metal and it didn't make much sense to try and massage it into the shape required for the Eking Rail, which is why I opted for a wooden replacement that, even for me, was not that difficult to manufacture :)

I am also glad to hear of another Pegasus build in progress. Will you be creating a blog for it?
Hi Nomad, kind of you to post the picture. I simply cannot find it - either it got forgotten at Amati's or I have unknowingly lost it. Never mind, with your images it seems to be possible even for me.
Pegasus is my first ship and contains a great many blunders on my part - so no blog about her. It is very dangerous to make a mistake and not to correct it. In many cases it means one has to fight it till the end. It may get bigger with consecutive steps... ;-) I did not take photos until now, so it is too late too. I own lots of cameras, so perhaps in the future. I certainly plan to stay with the ships - so many more materials, necessary research etc. Interesting fun. And rekindles old stories about sailing ships and history in general from old times.
 
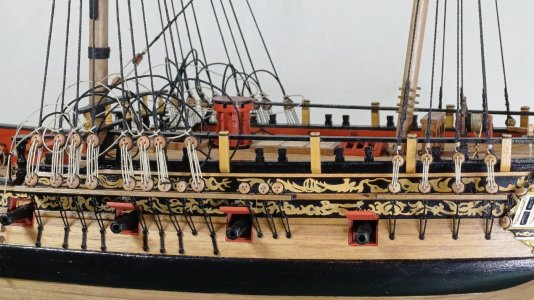
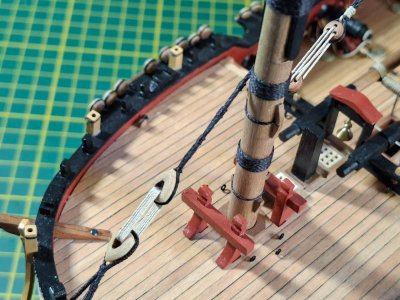
The construction of the Main shrouds is much like that of the Mizzen shrouds, only there is more of them and everything is a little bit bigger, such as the diameter of the deadeyes, shroud ropes and lanyards, as well as the gap between the upper and lower sets of deadeyes.

1410_20250829_hms_fly.jpg

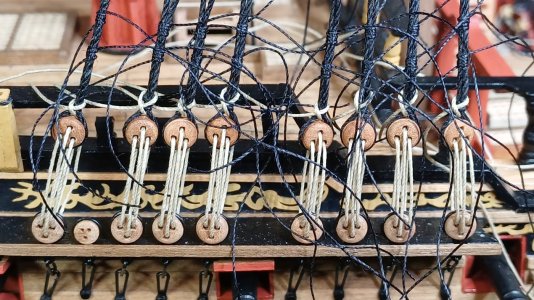
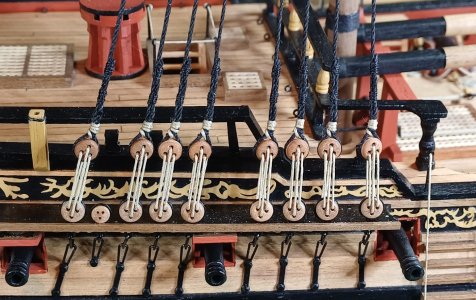
I used a similar spacing jig I'd used for the Mizzen shrouds to keep the deadeyes equidistant, and the lanyards are only tied off at the very end to adjust the shroud tension on either side of the Main mast. Seems the trick is to try and achieve a consistent tension across all the shroud lines without disturbing the symmetry of the rows of deadeyes. Like trying to sneeze without blinking.

1415_20250829_hms_fly.jpg

The disarray of ropes and lines give the impression of deadeyes throwing a wild party at home (above) .... until the parents walk in (below) ROTF

1420_20250829_hms_fly.jpg

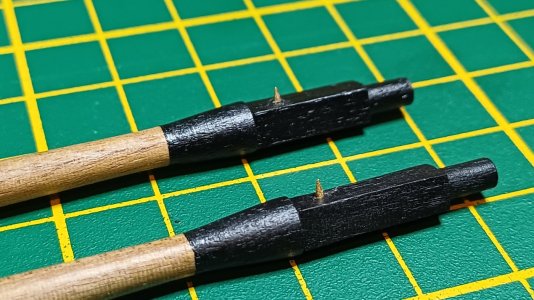
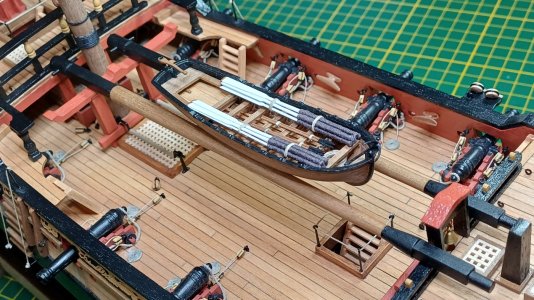
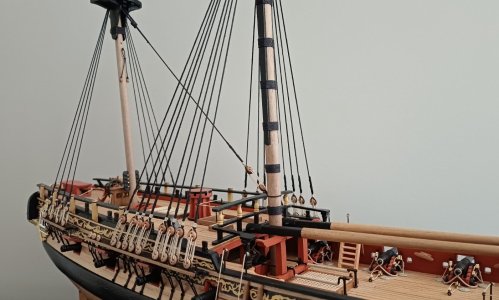
Before progressing with the stays and foremast shrouds, the spare topmasts are temporarily installed across the tops of the gallows and forecastle rails. Small brass pins are used to secure the masts in place, which allows for easy removal if they get in the way of the rigging later on.

1425_20250829_hms_fly.jpg

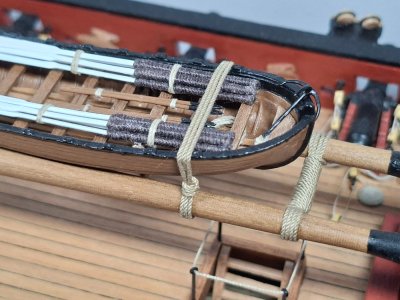
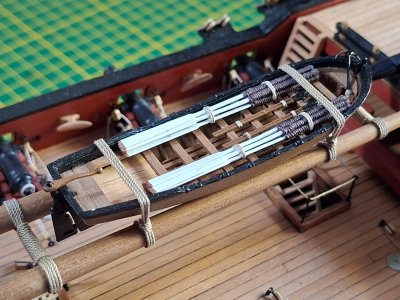
The spare topmasts will eventually be lashed together and serve as a support for the ship's boat, which will in turn be lashed to the masts to hold it in place.

1430_20250829_hms_fly.jpg

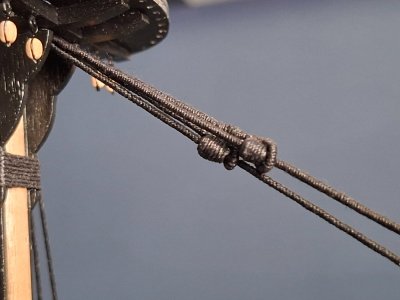
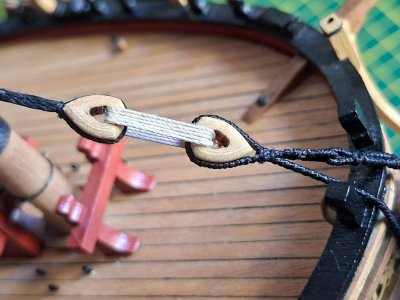
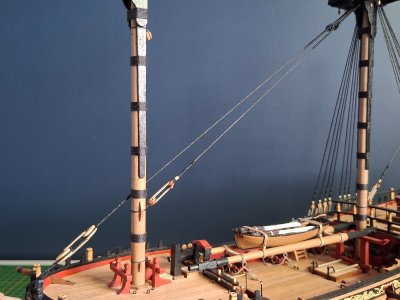
With each new rigging rope added to the ship comes a new snag point as well. With my hands working quicker than my brain I feel I sometimes need to work in slow motion to try and avoid the frustration of destroying a painstaking piece of work by a single and irresponsible hand movement :confused:

1435_20250829_hms_fly.jpg

Thanks for checking in :)

Mark
 
Last edited:
Beautiful work Mark. I don't know what it is with rapid hand movements in and around delicate ship parts, I have the same problem on occasion.
 
The construction of the Main shrouds is much like that of the Mizzen shrouds, only there is more of them and everything is a little bit bigger, such as the diameter of the deadeyes, shroud ropes and lanyards, as well as the gap between the upper and lower sets of deadeyes.

View attachment 540500

I used a similar spacing jig I'd used for the Mizzen shrouds to keep the deadeyes equidistant, and the lanyards are only tied off at the very end to adjust the shroud tension on either side of the Main mast. Seems the trick is to try and achieve a consistent tension across all the shroud lines without disturbing the symmetry of the rows of deadeyes. Like trying to sneeze without blinking.

View attachment 540501

The disarray of ropes and lines give the impression of deadeyes throwing a wild party at home (above) .... until the parents walk in (below) ROTF

View attachment 540502

Before progressing with the stays and foremast shrouds, the spare topmasts are temporarily installed across the tops of the gallows and forecastle rails. Small brass pins are used to secure the masts in place, which allows for easy removal if they get in the way of the rigging later on.

View attachment 540503

The spare topmasts will eventually be lashed together and serve as a support for the ship's boat, which will in turn be lashed to the masts to hold it in place.

View attachment 540504

With each new rigging rope added to the ship comes a new snag point as well. With my hands working quicker than my brain I feel I sometimes need to work in slow motion to try and avoid the frustration of destroying a painstaking piece of work by a single and irresponsible hand movement :confused:

View attachment 540505

Thanks for checking in :)

Mark
That is really nice rigging, Mark. A pleasure for the eyes. :)
Regards, Peter
 
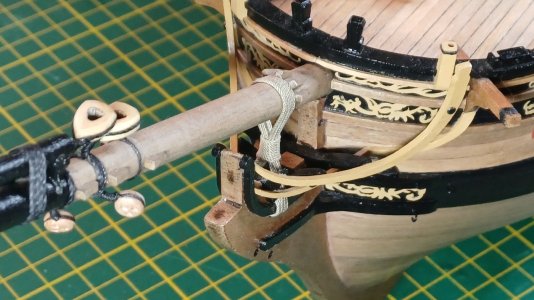
The bowsprit is installed at this point in anticipation of the rigging to come. All the bowsprit hardware was prepared earlier, so it remained only to house the bowsprit at the stem and apply gammoning to lash it securely into place.

1440_20250901_hms_fly.jpg

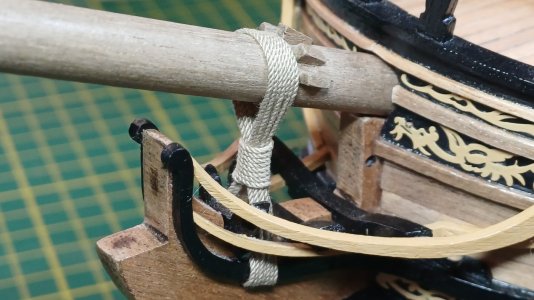
It took several attempts to learn a gammoning technique that hid the knots from the naked eye. I also read somewhere that the number of vertical lashings over the spar should match the number of horizontal wraps around the middle. Mine were 7 and 8 respectively, so close enough :p

1445_20250901_hms_fly.jpg

Thanks for checking in :)
Mark
 
Last edited:
The construction of the Main shrouds is much like that of the Mizzen shrouds, only there is more of them and everything is a little bit bigger, such as the diameter of the deadeyes, shroud ropes and lanyards, as well as the gap between the upper and lower sets of deadeyes.

View attachment 540500

I used a similar spacing jig I'd used for the Mizzen shrouds to keep the deadeyes equidistant, and the lanyards are only tied off at the very end to adjust the shroud tension on either side of the Main mast. Seems the trick is to try and achieve a consistent tension across all the shroud lines without disturbing the symmetry of the rows of deadeyes. Like trying to sneeze without blinking.

View attachment 540501

The disarray of ropes and lines give the impression of deadeyes throwing a wild party at home (above) .... until the parents walk in (below) ROTF

View attachment 540502

Before progressing with the stays and foremast shrouds, the spare topmasts are temporarily installed across the tops of the gallows and forecastle rails. Small brass pins are used to secure the masts in place, which allows for easy removal if they get in the way of the rigging later on.

View attachment 540503

The spare topmasts will eventually be lashed together and serve as a support for the ship's boat, which will in turn be lashed to the masts to hold it in place.

View attachment 540504

With each new rigging rope added to the ship comes a new snag point as well. With my hands working quicker than my brain I feel I sometimes need to work in slow motion to try and avoid the frustration of destroying a painstaking piece of work by a single and irresponsible hand movement :confused:

View attachment 540505

Thanks for checking in :)

Mark
Good morning Mark. Wow my friend those dead eyes, lanyards and knots/whippings are fabulous. Cheers Grant
 
Back
Top