HMS GRANADO - full hull - POF kit by CAF in 1:48 - by Uwe

Beautiful work all round Uwe - and a very informative discussion on the gratings. Looking at the doors in the bulkhead construction, I noticed that they are quite elevated compared to the deck level. Will there be steps that will be added to make the transition more gradual?
 
Many Thanks to all your kind words and all the likes received - highly appreciated and a motivation either for working on the model and making such a detailed building log - great

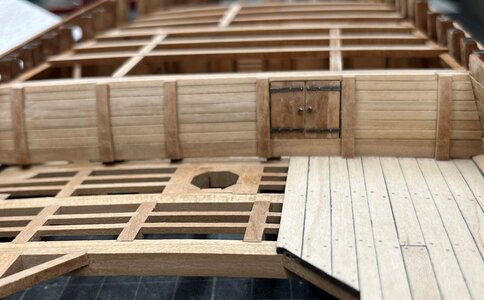
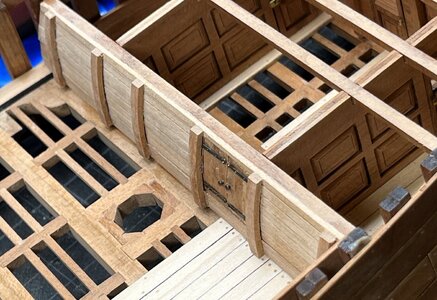
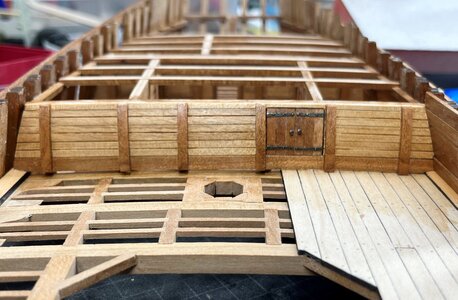
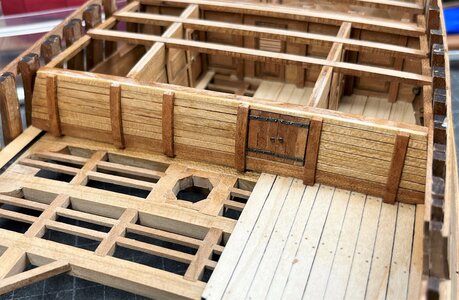
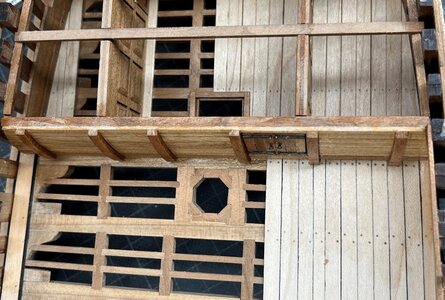
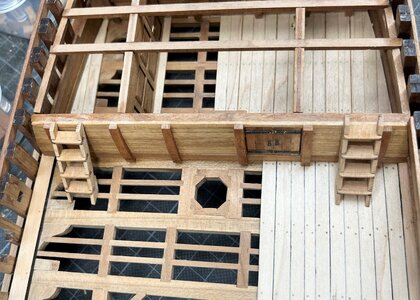
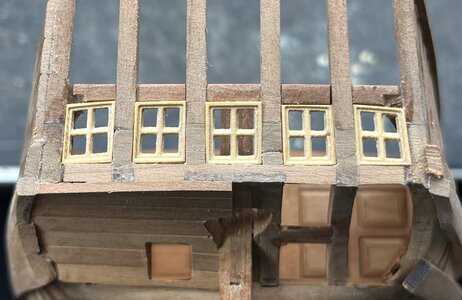
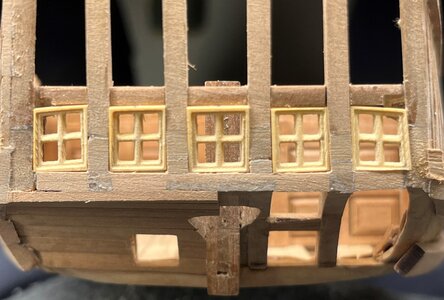
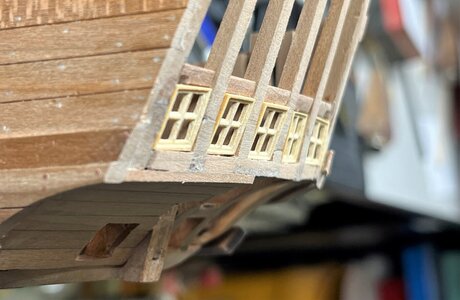
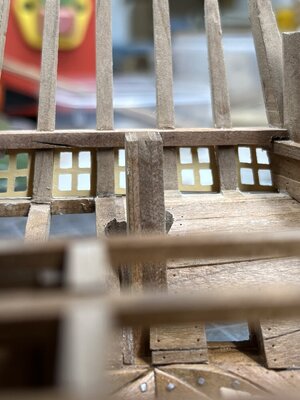
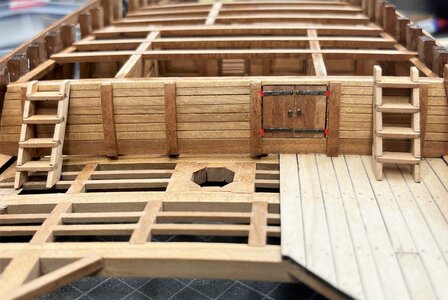
In the meantime, also due to the not so accurate vertical made nailpattern on the bulkhead boards, I decided to make these vertical pillars in front of the bulkhead - I think it is looking better than without them

IMG_3304.jpg

IMG_3305.jpg


IMG_3306.jpg

..... Looking at the doors in the bulkhead construction, I noticed that they are quite elevated compared to the deck level. Will there be steps that will be added to make the transition more gradual?
Dear friend,
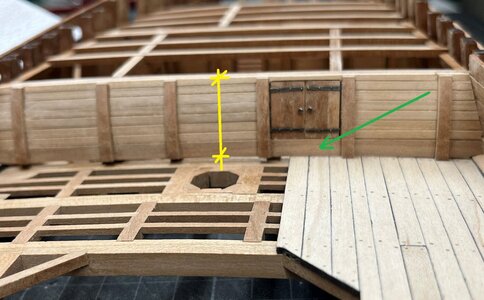
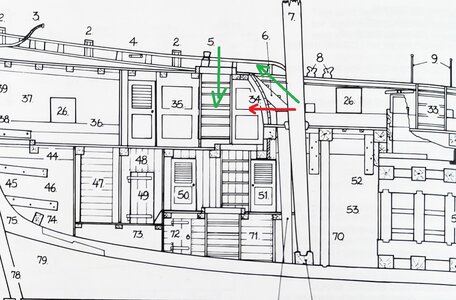
No, there are no needs for additional steps - the complete bulkhead is only 2,7cm high (yellow mark), so in real life in scale 1:48 only 1,3 meter. The lowest board as a waterway (green arrow) has only appr. 4 or 5mm height, so only 20cm in real life.
IMG_3304a.jpg

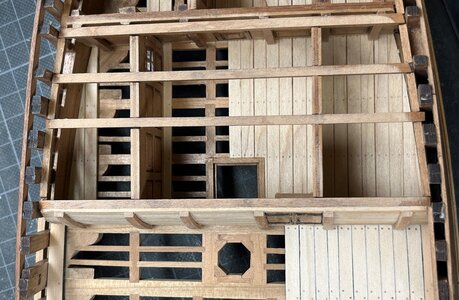
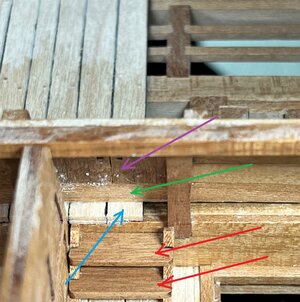
Inside it is slightly different, there we have a small stair with two steps (red arrows) plus the small step of the deck planking (blue arrow) directly behind the waterway board (green arrow). The door is marked with the purple arrow.

IMG_3335a.jpg

So an officer or seaman passing this small door has to take off his hat, bend himself down to enter these rooms, inside he has than some steps to go down - but definitely not very comfortable with very narrow ceiling - they have maybe 1,7 to 1,8 meter height towards the planking and maybe 1,5 meter under the deckbeams

Many Thanks fopr your interest .... to be continued .....
 
That such a little bit of CLOU can make such a big difference!
Oh Ja
CLOU is the modelers best friend - I like it and so easy to handle

Nice progress with those ‘head bumping doors’, Uwe.
Head bumping doors - nice (and correct) description of these small doors

I can imagine, that the captain used another more convinient detour
red arrow: head bumping door
green arrow: stair up on top of quarter deck and down the stairs into the lobby of the after cabin

IMG_3283b.jpg

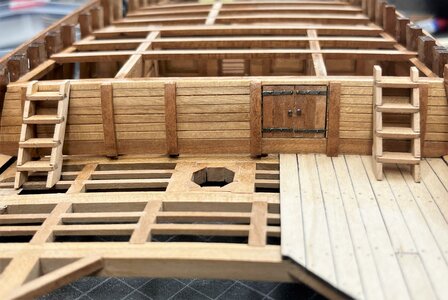
In order to protect the crew from skull fracture I made in between the two small stairs

IMG_3325.jpg

IMG_3326.jpg

To be continued .... many thanks for your interest
 
I guess that CLOU, is something to consider. I have to figure out how to use it and where to get it, but it's certainly made a difference.
Nice progress on your Granado Uwe....
Peter
 
Amazon. But don't use in the house, the admiral will shoot you
It is often good, when the admiral is not on "deck" - my workshop is in the cellar, so I (or my workshop) can smell like it wants

Before I am able to close the quarter deck planking I have to fix the windows of the stern.....

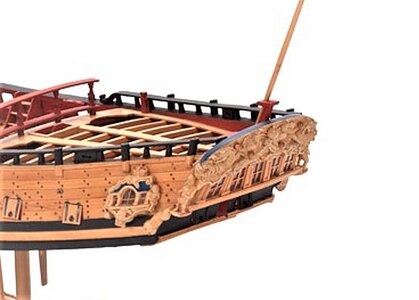
I think you know this photo..... showing the tafarel with the windows
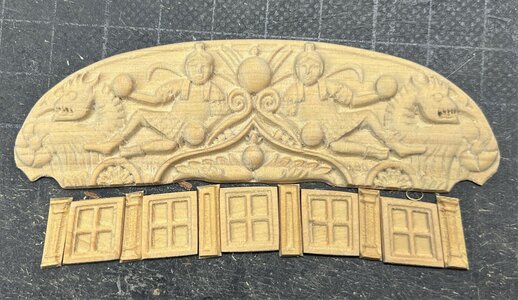
IMG_2469.jpg

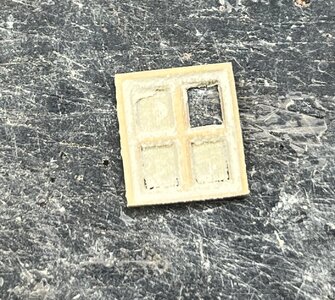
also the windows are cnc pre-milled - the first working step is the removing of the wood where the glass should be
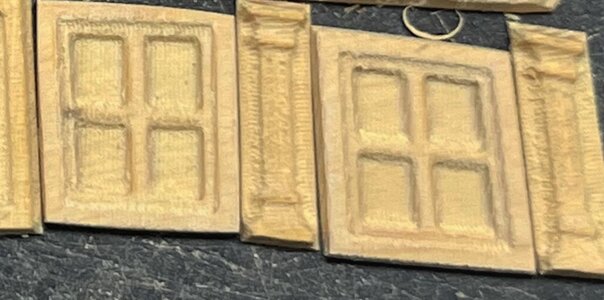
IMG_2469aa.jpg

The first window I tried to remove it with a chisel, but there is a big risk, that due to the forces the window frame could break
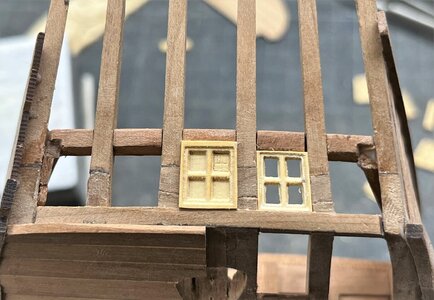
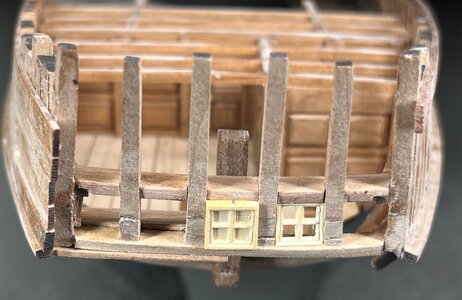
IMG_2470.jpg

IMG_2471.jpg

only for fun - a view inside the captains room
IMG_2472.jpg

because of this risk, I changed the method and sanded down the rear side of the windows

here you can see already, that the wood is getting very thin
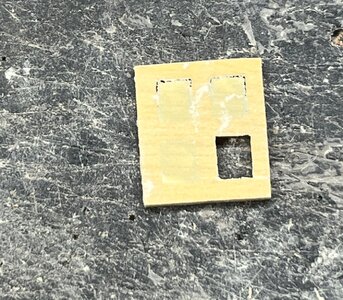
IMG_2477.jpg

IMG_2478.jpg

view against light - now it is much easier to remove the rest with a sharp knife
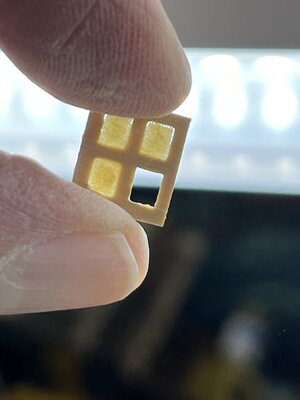
IMG_2479.jpg

here you can see also very good the real size of these small windows
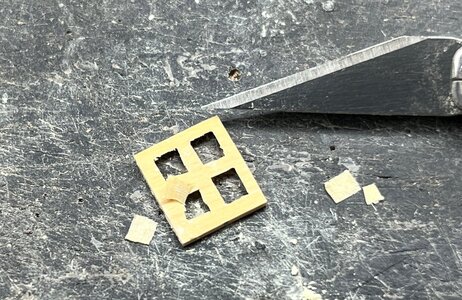
IMG_2480.jpg

I hope to show you soon the windows dry fitted in the stern ..... many thanks for your interest
 
Witaj
Będziesz miał trochę precyzyjnej pracy przy okienkach ,piękna płaskorzeźba na rufę. Pozdrawiam Mirek

Hello
You will have some precise work on the windows, beautiful bas-relief on the stern. Regards, Mirek
 
Last edited by a moderator:
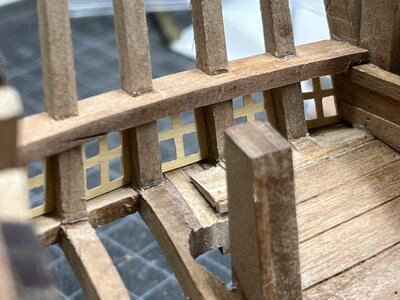
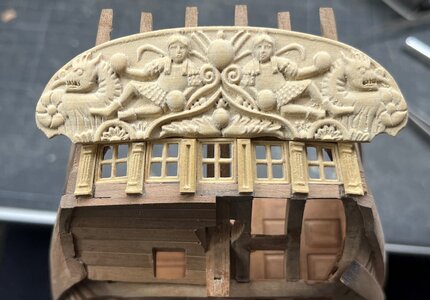
the (window)frames are now prepared and adjusted to fit into the stern structure

IMG_2481.jpg

IMG_2482.jpg

IMG_2483.jpg

IMG_2484.jpg

IMG_2485.jpg

Now I have to plan how to install the tafarel and the pillars between the windows - in moment they seem to be too long, but I will see
step by step

IMG_2486.jpg

Many Thanks for the interest in my building log
 
Last edited:
the (window)frames are now prepared and adjusted to fit into the stern structure

View attachment 387677

View attachment 387678

View attachment 387679

View attachment 387680

View attachment 387681

Now I have to plan how to install the tafarel and the pillars between the windows - in moment they seem to be too long, but I will see
step by step

View attachment 387682

Many Thanks for the interest in my building log
Maybe a piece of trim under the windows that is to the bottom of the pillars? That would tie it all together.
 
the (window)frames are now prepared and adjusted to fit into the stern structure

View attachment 387677

View attachment 387678

View attachment 387679

View attachment 387680

View attachment 387681

Now I have to plan how to install the tafarel and the pillars between the windows - in moment they seem to be too long, but I will see
step by step

View attachment 387682

Many Thanks for the interest in my building log

my dear friend Uwek
I completed the gaps of the last period and as usual you do an excellent and accurate job!!! :)
The windows and the rounded door look wonderful. Thumbsup
A question about the The metal panel installed on the door in continuation of the door hinges are rounded doors?
how are they installed and do they wrap around the back of the door? And is there a hinge for the doors?
 
Maybe a piece of trim under the windows that is to the bottom of the pillars? That would tie it all together.
Yes - this will be the final solution

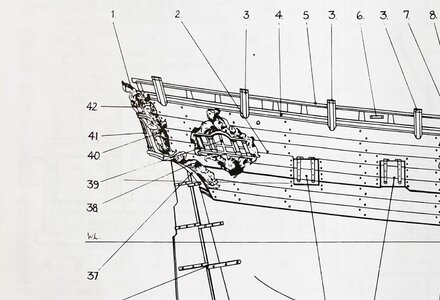
These are the info I found from the existing museum model and the drawing by Goodwin - the pillars between the windows have to be shortened

l5780_004aa.jpg

IMG_3279aa.jpg
 
A question about the The metal panel installed on the door in continuation of the door hinges are rounded doors?
how are they installed and do they wrap around the back of the door? And is there a hinge for the doors?
I fixed the doors as closed - so they are only "fake" and not possible to open.
So therefore the metal panels are only glued to the outside - I do not think, that they would be wrapped to the back in real
In moment there are no "fake-hinches" installed - but maybe I add four small pieces of wire (red marks) to immitate such hinches ...... I am not sure, if this is necessary - maybe "too much"

IMG_3325.jpg
 
The question is will it be visable when on display with the deck over the top of the door?

What we see in very close up detail photos, often is never seen when standing arms length looking at completed model on display. Especially if in fixed case where you can't duck and look under things.
 
Back
Top