- Joined
- Oct 1, 2023
- Messages
- 2,003
- Points
- 488

 |
As a way to introduce our brass coins to the community, we will raffle off a free coin during the month of August. Follow link ABOVE for instructions for entering. |
 |
 |
The beloved Ships in Scale Magazine is back and charting a new course for 2026! Discover new skills, new techniques, and new inspirations in every issue. NOTE THAT OUR FIRST ISSUE WILL BE JAN/FEB 2026 |
 |


Thank you. I'm going to concentrate on learning to make the much more complicated masts and spars.It is what you get, take it or improve it, the choice is the builders.
If it is good with you, then it looks great. I probably couldn't do any better.
OH, have fun with that, like learning to plow a field with no horse or tractor to pull the plow.....Thank you. I'm going to concentrate on learning to make the much more complicated masts and spars.

Good morning Ted. That is a decent bowsprit. Nice one! All the deck fittings are coming along very well. Great progress. Cheers Grant
I think it looks pretty good Ted.A clumsy deck cabin built exactly according to plans

I agree, I think they want to take advantage of the space on the sheet in between the larger parts. I any case it's a conscious decision to place economy over quality. However, these decisions have to be made to generate a profit at a certain price point.I think it looks pretty good Ted.
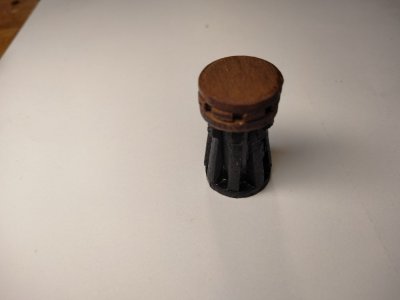
The capstan also looks well done. I wish they would not use plywood for things like the whelps on the capstan though.
Allan

Thank you.Good morning Ted. That is a decent bowsprit. Nice one! All the deck fittings are coming along very well. Great progress. Cheers Grant

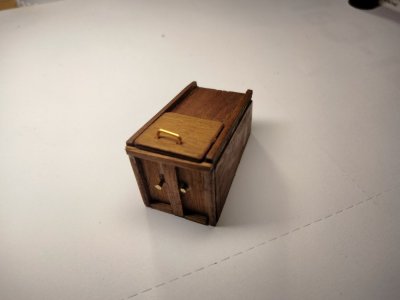

I think it looks pretty good Ted.
The capstan also looks well done. I wish they would not use plywood for things like the whelps on the capstan though.
Allan

I haven't to looked at it that closely but would be sorely disappointed to send that amount of money on a kit and get plywood. The only rationale that come to mind is it might prevent warping on a thin wide part but I would rather take the chance on the warpingI agree, in fact, I wish kit manufacturers didn't use plywood at all! I was a little excited when A.L. made their announcement of the Anatomy version of the Victory, but when I saw how many raw plywood edges were exposed on the cut-away side, I just said, "Nope". Even if you paint the edges, the pattern shows through unless you do a LOT of filling and sanding, often times much more effort than just cutting a new piece from a piece of solid sheet.

 a
a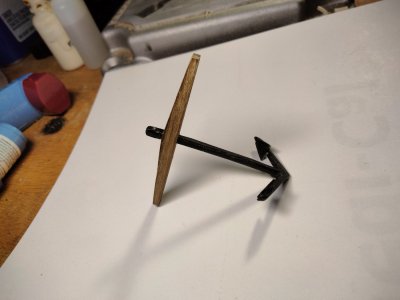
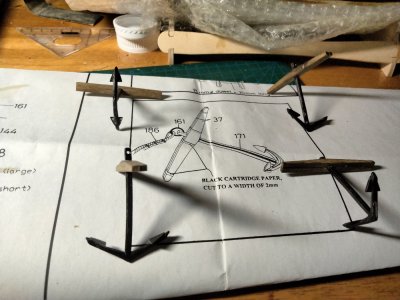
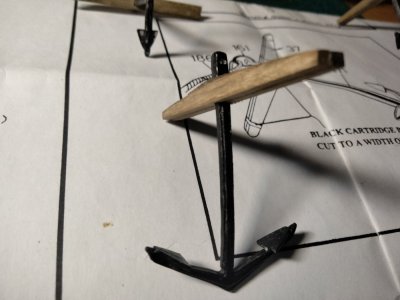
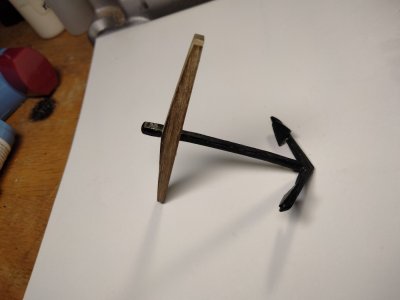
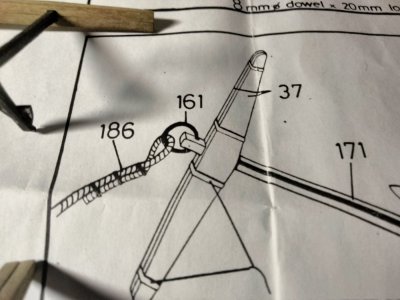
Based on how the hawser is secured with only seizings in the drawing above, I would not use their information as a reference. There were two or sometimes three sets of bands on each side of the stock. The only example I could find is a 39 CWT anchor in Lavery's Arming and Fitting English Ships of War but it might be useful as a guide. All the bands on that anchor stock were 2.5" wide by 5/8" thick. (1mm X0.24mm at a scale of 1:64) They may have been smaller for smaller anchors. I would go with copper instead of brass if you want to use metal as it easier to work and easier to blacken.I have in mind ind to do them in brass.
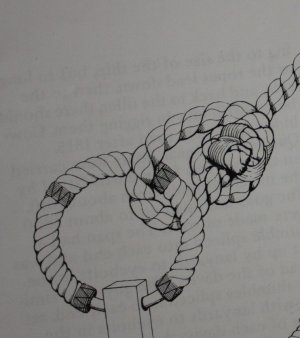


You are correct. Thanks, I'll fix it.Hi, Ted. If I may comment on your anchor, the stock seems to be upside down.
View attachment 521361
View attachment 521362

You are correct. Thanks, I'll fix it.
Thankfully I used pva glue.

The finish of an anchor on a period ship, especially from the Age of Sail, was both functional and, at times, subtly aesthetic.Is the current finish appropriate?
 s were forged from wrought iron. Unpainted anchors would appear dark gray to black, with a slightly rough, hammered texture due to the forging process. Over time, they would naturally develop a protective oxide layer (black rust) that helped prevent deeper corrosion. This gave them a matte, almost soot-black appearance.