HMS Medea (28) (1778) 1/48 scratch build

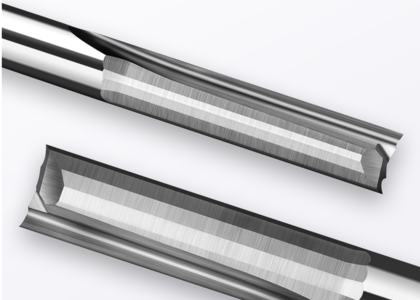
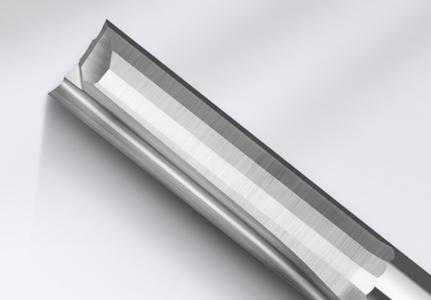
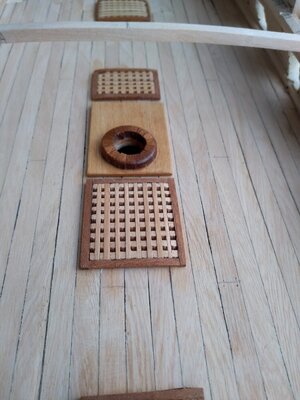
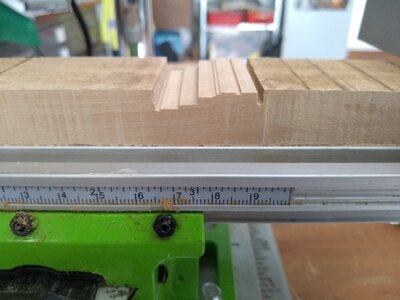
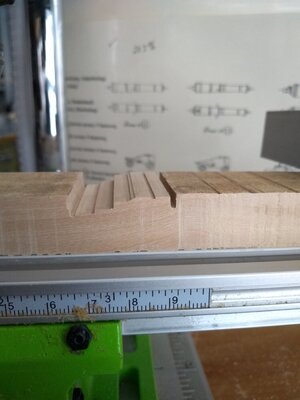
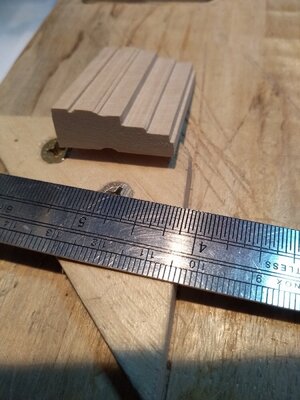
I like your gratings a lot, Ian. Also, I like the idea of using dark-tone timber for coamings, it makes a very nice contrast. What kind of an endmill do you use to mill the grooves? I found that two-flute endmills (mostly used in CNC) are the best for this type of job. Assuming they are sharp, it will make a nice and clean groove.

1650207375891.png 1650207417409.png
IMG_2349.jpeg
 
I like your gratings a lot, Ian. Also, I like the idea of using dark-tone timber for coamings, it makes a very nice contrast. What kind of an endmill do you use to mill the grooves? I found that two-flute endmills (mostly used in CNC) are the best for this type of job. Assuming they are sharp, it will make a nice and clean groove.

View attachment 303798 View attachment 303799
View attachment 303800
Thanks Jim.
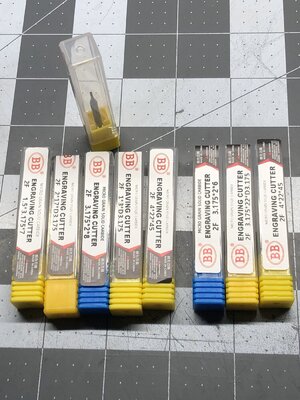
Mine are supposed to be 2 flute down cut but when I look carefully I see I have purchased 1 flute by mistake. (Chasing price and got myself confused....) I'll put in another order because I have all the upper deck's gratings and the gun carriages to do yet.
 
the gratings were getting better and better - very good improvement
 
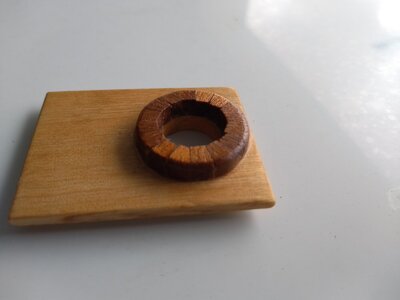
A little more progress for this week. First the gun deck main mast collar was completed and loose fitted.

IMG_20220422_112157953.jpg

IMG_20220422_112244482.jpg

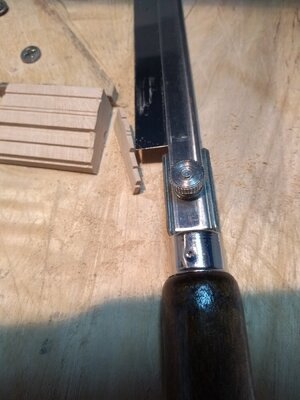
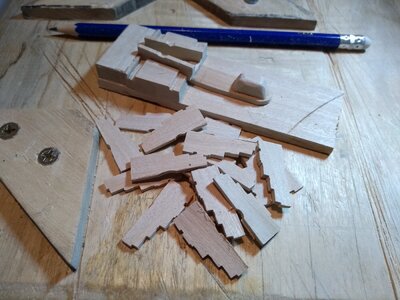
Next has been a start on some 9 pdr gun trucks because I need to fit them before adding the quarter deck.

IMG_20220419_144354428.jpgIMG_20220419_144923100.jpg

I will slice off the correct thickness for each side. I did it this way to retain the wood grain along the length of the truck body. But of course I first saw it demonstrated here on SOS long ago.
 
Looking sharp Ian. Are you planning on tree nailing the deck ?
Thanks Bryian,
Not tree nailing the gun deck. I've pricked holes in the planks where the nails would be and they are close to scale so I'll leave it at that. Still considering how I will do the Quarterdeck and foredeck so that's still on the cards for them. As you know I'm aiming for a particular diorama look so I have skipped a lot of the work which wouldn't be seen in the end.
 
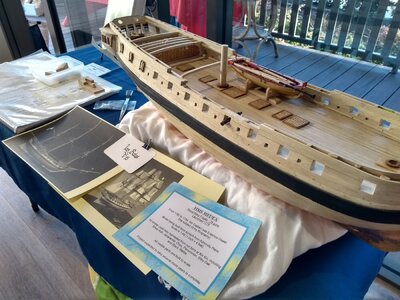
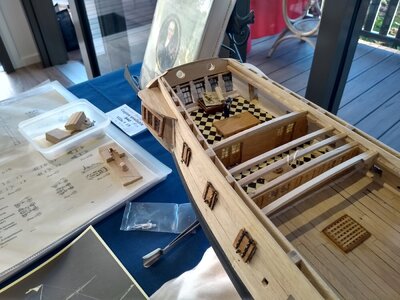
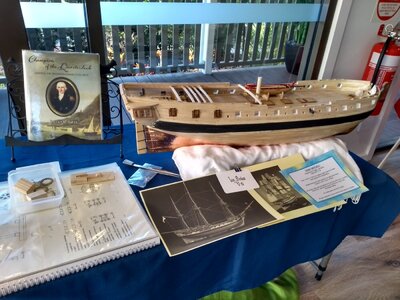
Back from a three week holiday and straight into our local Art and Craft Show. It was good to get some feedback from my fellow residents at our resort. The most asked question was "What is your deadline to finish?" and my answer has been "It's all in the question. When I'm dead!"

IMG_20220529_085446812_HDR.jpg
IMG_20220529_085611128_HDR.jpg
IMG_20220529_085433229_HDR.jpg
IMG_20220529_085650652_HDR.jpg

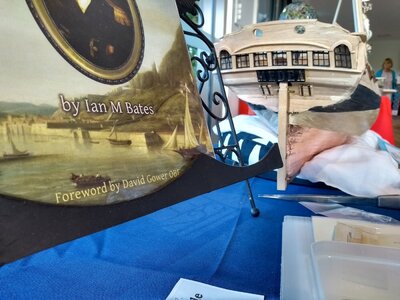
Also an opportunity to sell a few more copies of my Biography of Admiral Gower. Copies are currently available in Australia, UK and Canada (we ship to USA). See https://www.sageoldbooks.com/champion_sale.shtml
 
"What is your deadline to finish?" and my answer has been "It's all in the question. When I'm dead!"

The question that all modelers hear (and the same answer...) ROTF
 
It is great to see you are back to modeling, Ian. :cool: I like the way you are making carriages for the guns. I also mill out the 'sides' and 'slice them after on the tablesaw. This way it is ensured all parts are identical and simplify the manufacturing process.
 
It is great to see you are back to modeling, Ian. :cool: I like the way you are making carriages for the guns. I also mill out the 'sides' and 'slice them after on the tablesaw. This way it is ensured all parts are identical and simplify the manufacturing process.
Thanks Jim
I've gotten myself involved in more research, plus being elected Secretary of our resort Home Owners Committee, so time in the workshop has been reduced.

I've applied for a Fellowship to do a major history project next year so if I am successful I might have to be satisfied with occasional visits to the shipyard. It will be a good break, though, to get away from the computer.
 
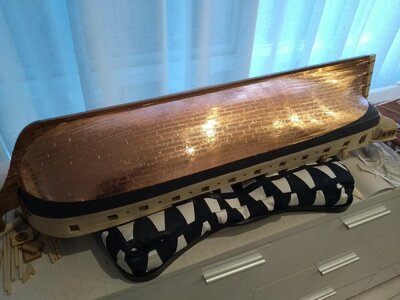
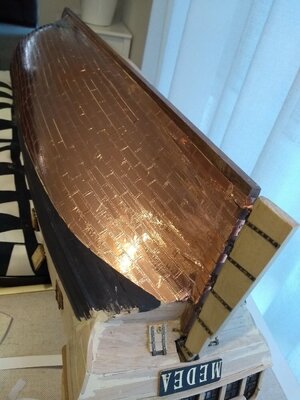
At 1:48 scale, each copper plate should be 5/16” x 1” (8 mm x 25.4 mm).

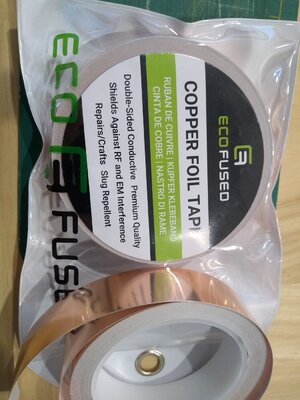
After watching a few videos and PDF's about copper plating and seeing the difficulty some people were having with 8mm wide tape, I opted for 25mm tape which cuts nicely into 3 x 8.3mm strips. This is the tape I chose and I've been very pleased with it.
IMG_20220724_164955208.jpg

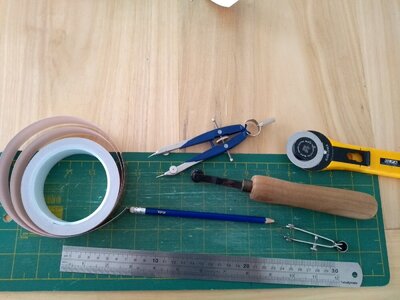
My tools include a bookbinder's Farthing Wheel which has a decorative pattern on the angled face, surrounded by a rim of dots. It serves well for a pounce wheel when held upright so only the rim makes contact with the copper.
IMG_20220724_142604741.jpg

Unlike some modellers, I chose to work from the back of the copper tape, so that the 'nail' heads are raised, as they were in reality.

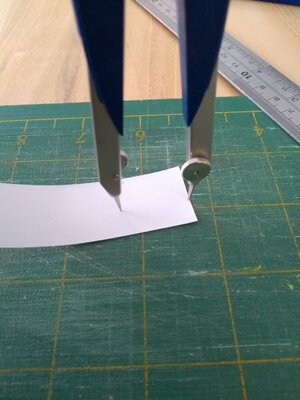
The tape is cut to a 6" length and marked off at 1'' intervals.
IMG_20220724_142721889.jpg

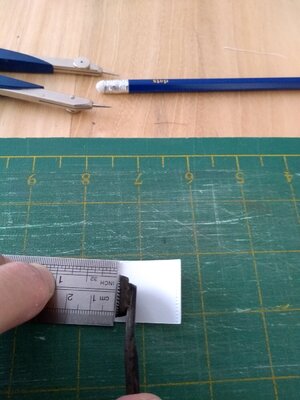
Using the edge of the ruler along the top edge of the tape for alignment, a line of dots is pressed in just to the left of the 1" mark. Continue to the end, then reverse the tape and keep pressing dots to the left of the 1" marks.
IMG_20220724_143007823.jpg

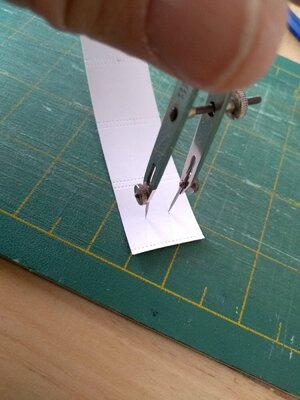
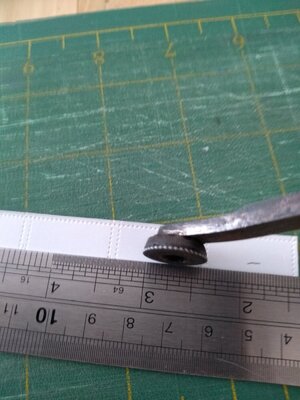
Then mark 3 x 8mm points across the tape near each end and run the wheel lengthwise just below each mark and just below the top edge. Turn it around and do the same again.
IMG_20220724_143228671.jpg
IMG_20220724_143343177.jpg

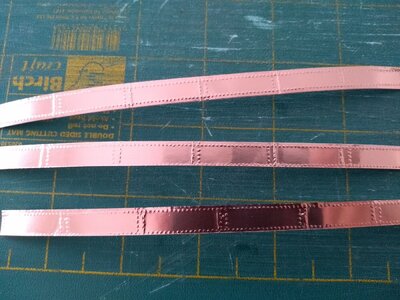
Preferably with a roller cutter, cut the three strips lengthwise between the rows of dots.
IMG_20220724_143747624.jpg

Not perfect but keeping in mind that I am trying to represent a working warship, the result will be satisfactory when I age the copper.
IMG_20220724_163047037.jpgIMG_20220724_163143457.jpg
 
One reason I like specific models is that they don't require coppering. I've never done one on a single model...Perhaps, you tried an excellent way, and it doesn't look too difficult. Maybe I should try one day... Thanks!
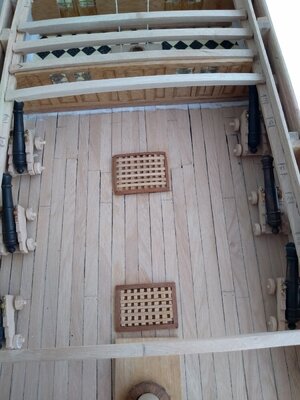
 
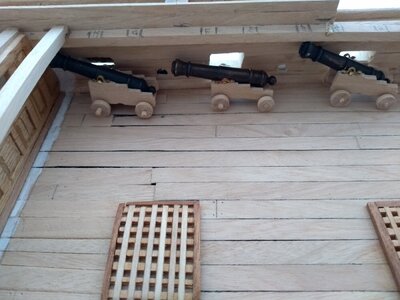
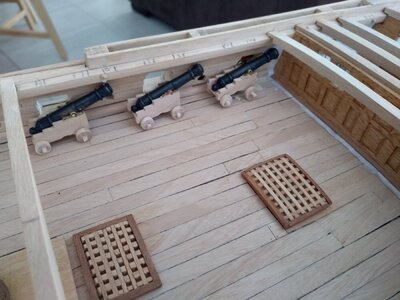
Almost finished six 9 pounder guns which had to be done before I could close in the quarterdeck planking.

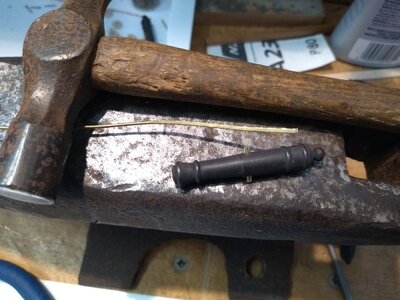
I had no brass or copper strips narrow enough for the trunnion straps so made some out of thin brass wire. After a lot of trial and error I settled on this method for the six guns which will be almost hidden under the quarter deck. Guns on the main deck will have more detail.

All the guns on this deck will be lashed alongside.

IMG_20220802_111826472.jpgIMG_20220802_133646302.jpgIMG_20220802_133654252.jpgIMG_20220802_133704343.jpg
I don't like these trunnion straps. Too high. I'll do better with the next lot.....

I still have to tidy up the wheels, add axle wedges and some rings and lashing. Oh, and some paint!
 
Almost finished six 9 pounder guns which had to be done before I could close in the quarterdeck planking.

I had no brass or copper strips narrow enough for the trunnion straps so made some out of thin brass wire. After a lot of trial and error I settled on this method for the six guns which will be almost hidden under the quarter deck. Guns on the main deck will have more detail.

All the guns on this deck will be lashed alongside.


I don't like these trunnion straps. Too high. I'll do better with the next lot.....

I still have to tidy up the wheels, add axle wedges and some rings and lashing. Oh, and some paint!
Hallo @Masters Mate
we wish you all the BEST and a HAPPY BIRTHDAY
Birthday-Cake
How is your work on your Medea going? Any updates for us?
 
Hallo @Masters Mate
we wish you all the BEST and a HAPPY BIRTHDAY
Birthday-Cake
How is your work on your Medea going? Any updates for us?
Thanks Uwe

I haven't been able to do much but little bits here and there. I've been making a rope walk for a while and will put up some images soon. Also almost finished coppering the port side. Too many things getting in the road as a retiree!!
 
Back
Top