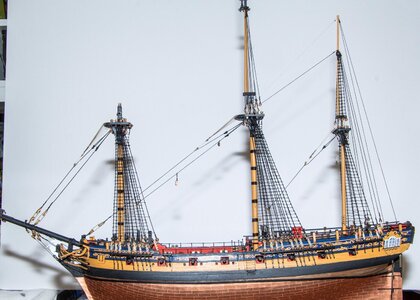
HMS Pegasus - by Amati [COMPLETED BUILD]

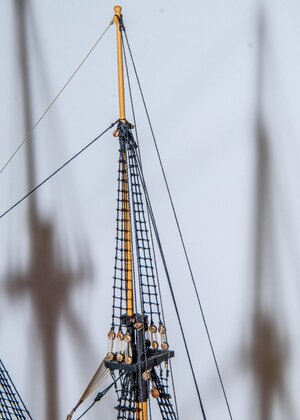
I think your rat lines look fantastic. Much better then my 1st set on the Bluenose. If I can get anything close to this on my Fly I will be over the moon.
I am not criticizing, only try to help to do it a little better. Generally the Ø of the Ratlins. is 4 to 5 times thinner. This will make the knots smaller toO.
El Capi
 
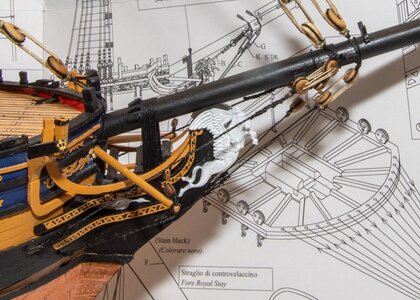
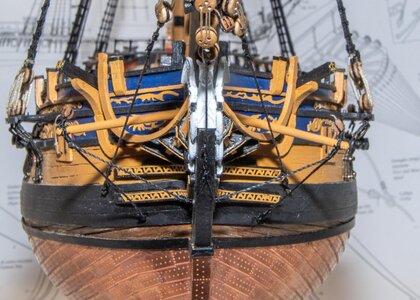
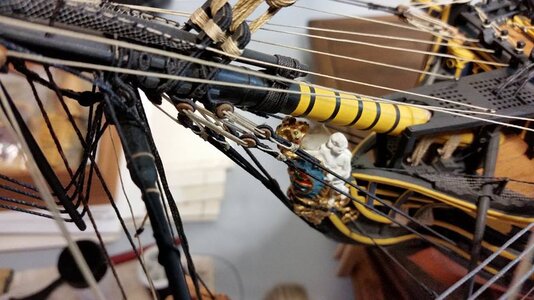
Finished up the standing rigging on the bowsprit this morning. Think I'll work on to the Mizzen topmast next.

View attachment 203769View attachment 203770
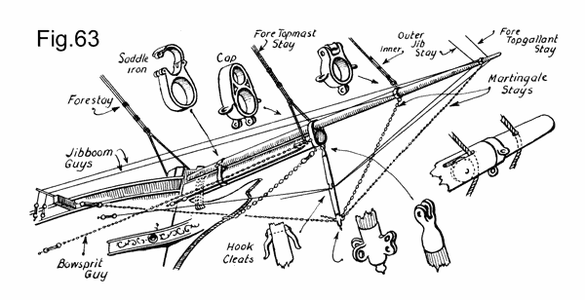
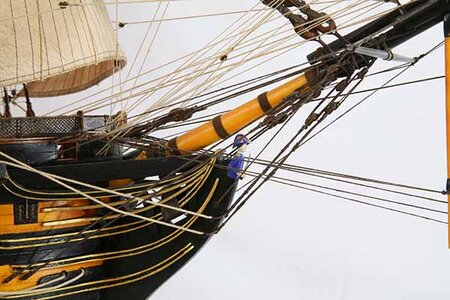
IT looks perfect. It is one of the most difficult parts of the Riggen. If one starts wrong you will latter having a lot of problems. This a stage where you go from A to B and jump over to what looks easier. I have a big amount of materials to Rtg the Bowsprit correctly.
El Capi
 

Attachments

  • 1405-BOWSPRYD.gif
    1405-BOWSPRYD.gif
    19.9 KB · Views: 39
  • 1382--BOWSPRYD MODEL.jpg
    1382--BOWSPRYD MODEL.jpg
    64.3 KB · Views: 39
  • 1450--BOWSPRYD -STANDING RIG.jpg
    1450--BOWSPRYD -STANDING RIG.jpg
    84.6 KB · Views: 39
IT looks perfect. It is one of the most difficult parts of the Riggen. If one starts wrong you will latter having a lot of problems. This a stage where you go from A to B and jump over to what looks easier. I have a big amount of materials to Rtg the Bowsprit correctly.
El Capi
Can't imagine how the crew knew all the ropes and what they did. An awesome period of history.
 
Nice job STGCS! I am at the same stage you are and am going to steal your idea of the horizontal template for my rat lines as well. Seems to me the rat lines should be parallel to the keel which in turn means I can come off my work surface as a reference, I think. What are you using as a reference?

View attachment 202373
What I did on the rat lines is use a board (5-7 mm) for a spacer. I tied the first row, put the board on and leveled, then glued clove hitches to shroud lines. Then put on second row, put board on top of first row, pushed second row down on top of board for spacing. Glued clove hitches. Repeat all the way up.
You can use board to measure to start next row so you’re close enough not to pull the shroud lines when moving the rat line down onto board. It worked for me.
 
Last edited:
Hello Charlie.
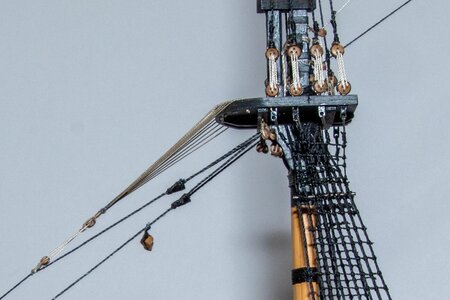
I noticed the cleats at the very top of each mast to secure a hold for the stay lines. Upon close inspection of my plans I actually see them however were it not for your photos I would have completely missed it and probably would have just glued the lines in place resulting in a much inferior solution. Thanks for your build log, I refer to it now as often as I do my plans.
Dan
It is allways good to heve course. I am -over
 
Hello Charlie.
I noticed the cleats at the very top of each mast to secure a hold for the stay lines. Upon close inspection of my plans I actually see them however were it not for your photos I would have completely missed it and probably would have just glued the lines in place resulting in a much inferior solution. Thanks for your build log, I refer to it now as often as I do my plans.
Dan
Hey Dan. Ya, I noticed that at the last minute also and added them to the Mizzen just in time. I'll also add them to the fore and main masts as I get to them.
Charlie
 
I am- free of charge helping for Newcomers -with Big builds- over Messenger. It is more Private. On the other hand, it does not help others. 10 years back I was a very active member of another shipbuilding, where I in the end was ended up as an assesor.
Appreciate the help.
 
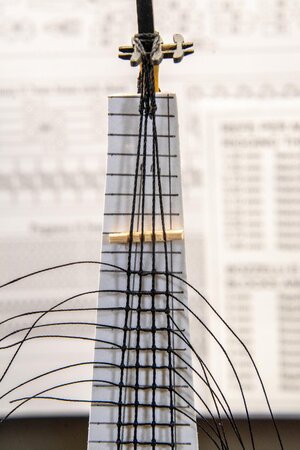
I've always had problems with the spacing on ratlines when nearing the top of the shrouds. They get twisted and overlapped making it hard to keep them looking correct. You can see an overlap still at the top but not as bad as before the jig was inserted. This time I tried a small jig and it made things a little easier. A piece of popsicle stick with equally spaced groves.

Pegasus 169.jpg
 
I've always had problems with the spacing on ratlines when nearing the top of the shrouds. They get twisted and overlapped making it hard to keep them looking correct. You can see an overlap still at the top but not as bad as before the jig was inserted. This time I tried a small jig and it made things a little easier. A piece of popsicle stick with equally spaced groves.

View attachment 204786
I love all these little tricks for doing things. Will all be helpful to me when I try my Fly build.
 
I've always had problems with the spacing on ratlines when nearing the top of the shrouds. They get twisted and overlapped making it hard to keep them looking correct. You can see an overlap still at the top but not as bad as before the jig was inserted. This time I tried a small jig and it made things a little easier. A piece of popsicle stick with equally spaced groves.

View attachment 204786
Hi Steg, I used in my time a piece of a plank (from the Planking) cut into the seize between the ratlines and then a small intersection for the shrouds. The system with this paper in the Backside with its markings was not known to me, until late. Then on either side I used to add a Cloose Pin, to maintaine the distance. El CAPI
Stay safe
 
Back
Top