Very nice work Maarten, gives me some things to think about,
best regards john,
best regards john,
 |
As a way to introduce our brass coins to the community, we will raffle off a free coin during the month of August. Follow link ABOVE for instructions for entering. |
 |
 |
The beloved Ships in Scale Magazine is back and charting a new course for 2026! Discover new skills, new techniques, and new inspirations in every issue. NOTE THAT OUR FIRST ISSUE WILL BE JAN/FEB 2026 |
 |
Thx gents for your nice comments. After a week of skiing last week hopefully this week I can find some time to continue.
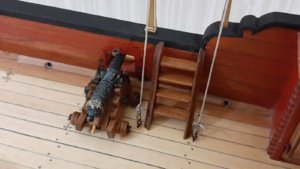
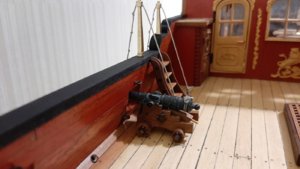
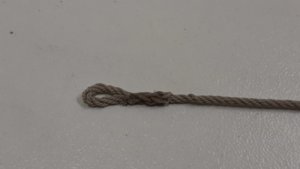
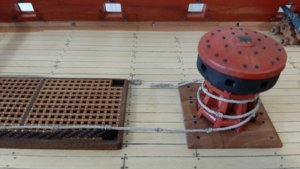
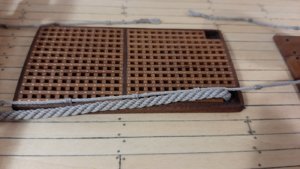
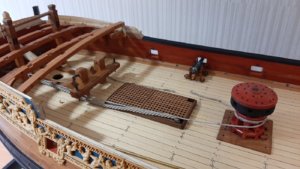
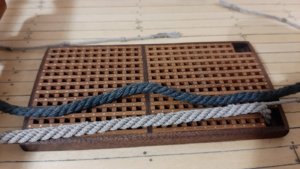
Hi John,G'day Maarten, thats very interesting about the messenger, I've never seen the knots on English ships, would'nt they have a problem going through the pulleys up under the fore deck, I will have to check it out,
best regards John,
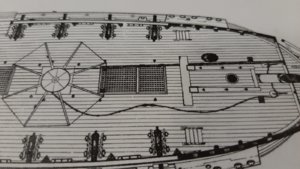
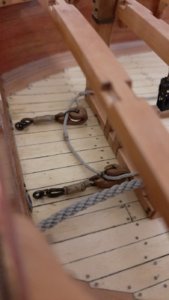
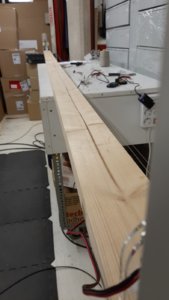
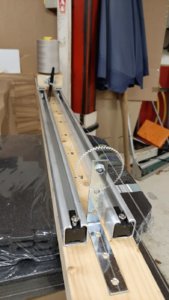
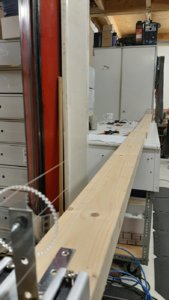
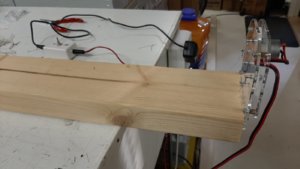
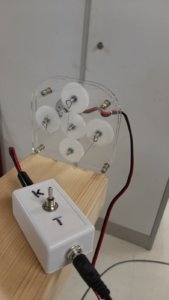
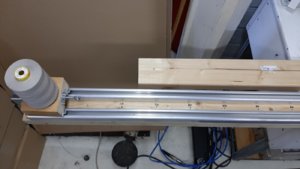
The ropewalk basis is Domanoff s vertical VR ropewalk.Did you have any photos of your rope walk, it looks really good,

 shipworkshop.com
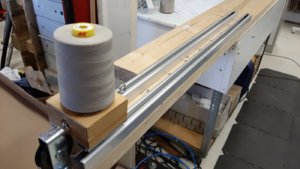
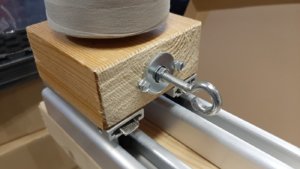
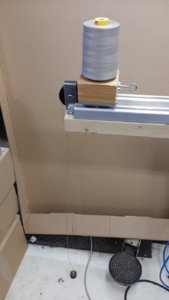
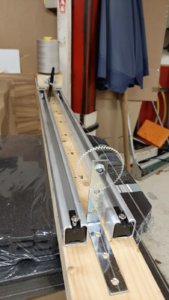
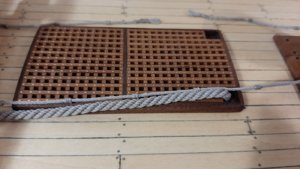
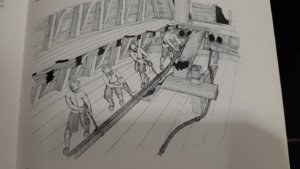
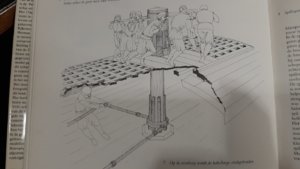
Well, well, well,Yes the second and third picture are from a Dutch book, but tyhe top one is from the Aots book of the Royal Caroline so obvious the Italian writers made a mistake. I will leave it in, see it as an inmprovement of the English design.
WOW. Yes, WOW!Have fun making your own ropes
