HMS Royal Caroline kit ZHL 1/30

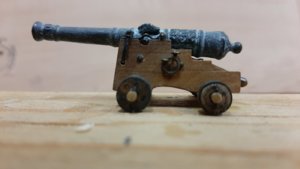
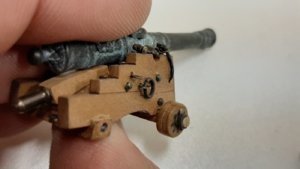
Inspired by the blog of John @neptune I decided to modify my gun carriages and change the wheels for wheels without a steel band.
This was my first gun carriage build as provided by the kit.
20200303_194032.jpg
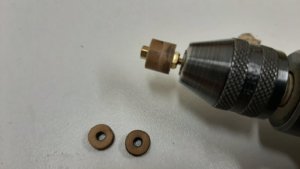
For this first the laser char has to be removed, I do this in my drill using a small m2 bolt and nut fitting two wheels at a time and removing char with a file while running the drill.
20200227_170304.jpg
The wheels bolts are fitted keeping the two halves of the wheel together. The kit provided 1 mm brass, I replaced this with 0.6 mm steel.
20200227_185407.jpg
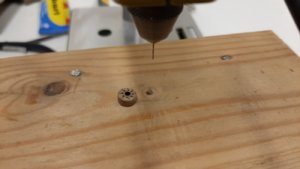
For drilling the holes I prepared a small special tool template on my column drill to have every hole alligned correctly.
20200227_200606.jpg
I also made new axles with new locking pins and a reinforcement iron belt at the end of the axle. The belt is made with shrink sleeve.
20200303_213144.jpg
After fitting the iron pins to the wheel, filing them and burnishing the ends it is time to dry fit the wheel and axle. To simulate the two halves of the wheel I cut a fine line around the wheel.
20200303_213233.jpg
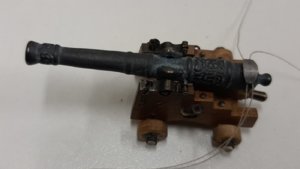
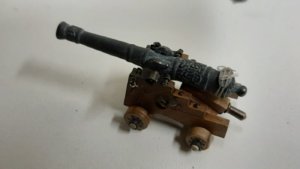
As I want to position the guns in different positions this one will be loaded and the zund hole covered with lead. For the lead I used soldering tin flattened with a plier and shaped around the gun barrel. Glued to the barrel with some rope.
20200303_221304.jpg
The ropes tight to held the lead slap in place
20200303_222442.jpg
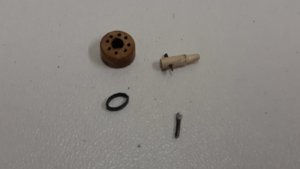
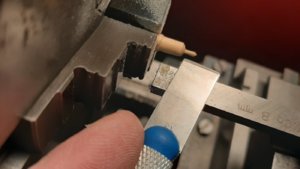
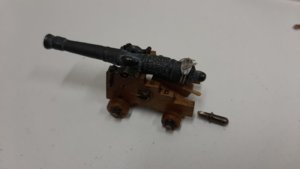
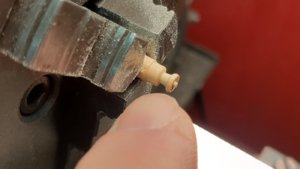
Next is the large pin in the wedge, far to big to my taste so I made a new one from boxwood by turning it on the lathe.
20200305_203458.jpg
A big improvement by making something smaller. The kit supplied handle in front of it.
20200305_212601.jpg
As I represent this as a loaded gun I add a plug to the gun barrel to keep it clean and dry.
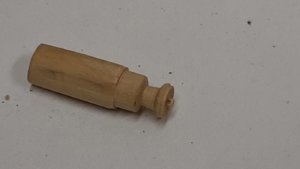
Again on the lathe I turned it from boxwood.
20200305_205821.jpg
And drilled a 0.3 mm hole in it to fit a ring.
20200305_210348.jpg
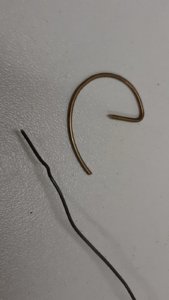
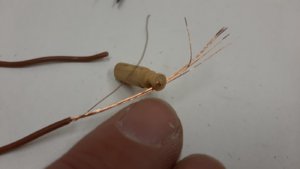
The ring I made from copper wire from an old network cable.
20200305_211535.jpg
After soldering and burnishing the ring I fitted a rope to it and cut it from the remaining boxwood. I cutted it at last because otherwise it is to small to handle.
20200305_213603.jpg
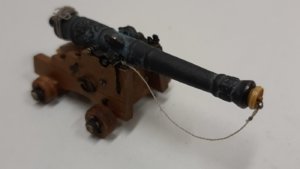
Then fit it into the barrel to keep the charge dry and protected against the elements.
20200305_215045.jpg
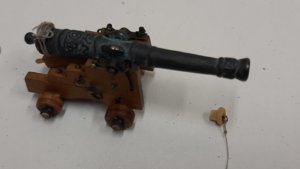
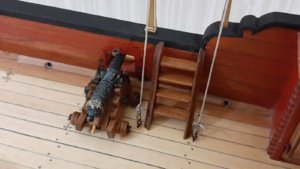
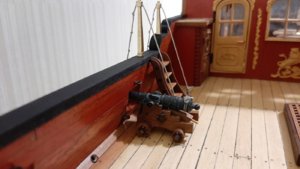
Fitting it on the deck.
20200305_215357.jpg
20200305_215710.jpg
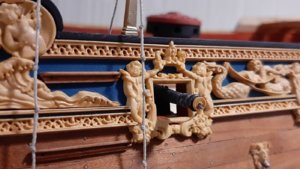
20200305_215753.jpg
7 more to follow including the gun rigging.
 
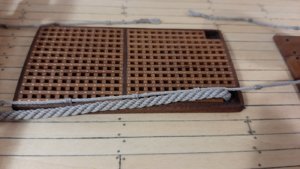
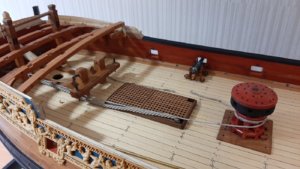
The last week I have been working on the anchor cable and the winch cable.

The winch cable has a circumference of 1/3 of the biggest anchorcable. The biggest anchor cable has a diameter of 3,6 mm, this brings the diameter of the anchor winch cable to 1,2 mm. The winch cable is rope laid.

I make all my ropes with Gutermann Mara threads on a modified Domanoff vertical rope walk.
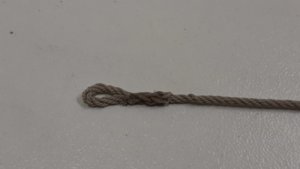
On both ends I spliced an eye.
20200309_213212.jpg

On the winch cable at regular distance small knots are fitted to have better grip on the winch and to tighten the anchor cable to, in Dutch these are called muizen which is translated in English to mice.
20200316_091149.jpg

The next step is the anchor cable. As mentioned the biggest cable is 3,6 mm diameter and cable laid. I made this cable by first twining 4 x Mara 30 to cable, then 3 x 4 x Mara 30 to rope, then finally to 3 x 3 x 4 x Mara 30 to cable which is 3,6 mm.
This is the result.
20200322_184527.jpg
20200322_184537.jpg

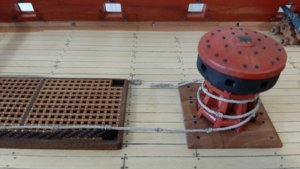
Next is tightening the anchor cable to the winch cable. Make a second anchor cable for the SB side slightly smaller in diameter which will be fitted to the bitt.

The rigging of the finall model will be fitted in a position just before anchoring with the forward mast sails against the wind, braking the vessel to stand still and releasing the sloop.
 
Last edited:
G'day Maarten, thats very interesting about the messenger, I've never seen the knots on English ships, would'nt they have a problem going through the pulleys up under the fore deck, I will have to check it out,

best regards John,
 
G'day Maarten, thats very interesting about the messenger, I've never seen the knots on English ships, would'nt they have a problem going through the pulleys up under the fore deck, I will have to check it out,

best regards John,
Hi John,
Messenger thats the word I was looking for in Dutch it is called kabellarge and yes on the drawings it has the knots on it. Actually they are no knots but same like around a mast it is a winding.
See below the aots drawing showing it.
20200323_213743.jpg

Does it fit through the blocks, yes only if you widen the block sheaves, which needs to be done anyway to get a proper sheave in the block. See my blocks with the messenger cable running through it.
20200323_213855.jpg

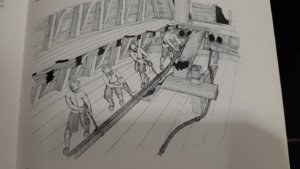
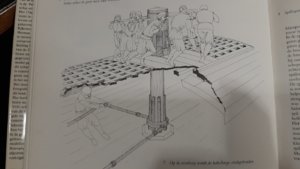
And from other books I have these explaining the use of the mice on the messenger cable.
20200323_213644.jpg
20200323_213659.jpg

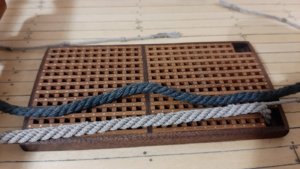
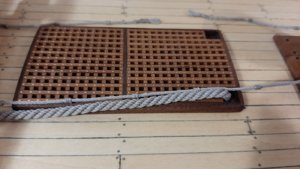
Then my new anchor cable compared to the kit supplied, I decided to go for the none tarred version.
20200323_213942.jpg

And finally my modified ropewalk which enables me to create ropes and cable over 3,6 mm diameter and 5 mtr length, and the which is fully adjustable in length.
20200323_211740.jpg
20200323_214435.jpg
20200323_214447.jpg
 
Last edited:
G'day Maarten, I've checked my English books and there is no mention or pics of the knots, they say the messenger is half the dia of the largest cable and both are left hand laid, the anchor rope is cable laid, and that the anchor cable is just nipped to the messenger, I notice on the pics you posted that it looks like a Dutch book, maybe the Dutch used this system, but I don't think the English did, but seeing as you are Dutch and you are building her, then go for it,
your rope walk looks fabulous, did you post other pics of it when you built it,

best regards John,
 
Hi John,

Coming back to to the messenger cable I found this document about the change from hemp to chain, explaining the anchoring procedures.
And what do I see on the winch? A messenger with knots, see below
Screenshot_20200324-162502_Drive.jpg

I will make some pictures of the rope walk.
 
Did you have any photos of your rope walk, it looks really good,
The ropewalk basis is Domanoff s vertical VR ropewalk.

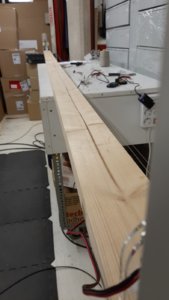
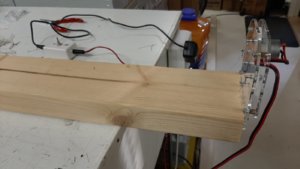
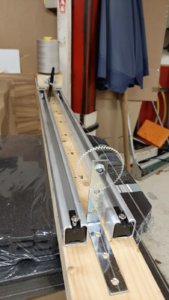
I have modified this in a horizontal ropewalk by fitting this to a 2,75 mtr long beam. The beams can be used to produve every lenght of rope, laid down next to eachother or in lenght of eachother.
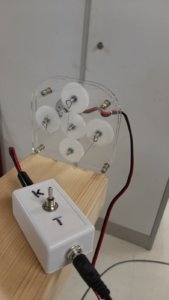
The rope walk can turn left or right enabling to create rope (t = in Dutch touw) or cable (k = in Dutch kabel)
20200324_174053.jpg
20200324_174034.jpg

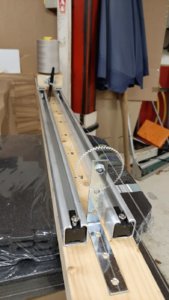
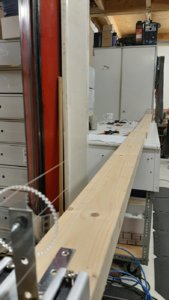
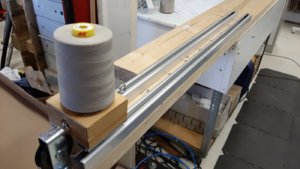
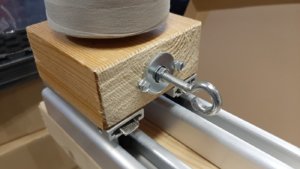
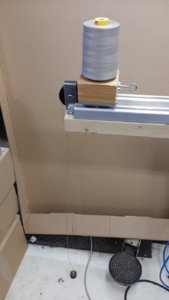
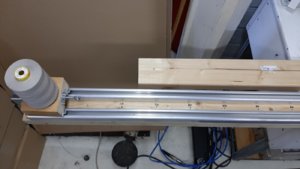
On the other end of the rope walk I have a second 2,75 mtr beam on this I have installed a rail system of some simple sliding doors. On top of this a block of wood with a ball bearing with the outer race mounted in the block and in the inner race a hook to connect the other side of the rope.
20200324_174217.jpg
20200324_174234.jpg
On top of the block the spool with thread is placed.

On the other side of the wooden block a rope is fitted which goes through a block and on which weight is providing tension on block. The tension is depending on the finall rope size, for my 3,6 mm anchor cable I added extra weight.
20200324_174144.jpg

When running the ropewalk the end of the rope on the hook in the ball bearing is blocked from spinning with some simple tweezers, the rope is running over a gearwheel on a standard to separate them from each other.
20200323_214435.jpg

On top of the beam a cm scale is written, when spinning the ropewalk the rope is getting shorter by twisting the individual ropes. When a rope is reduced by 15 to 20% in length then the ropewalk is stopped.
20200324_174154.jpg

At last the tweezers are removed from the hook and the rope starts spinning releasing the provided tension. While spinning the gear wheel is moved towards the other side along the beam creating a rope which is perfectly shaped. When the hook stops spinning you manually rotate it until you have a satifying rope which is not curling when the tension is removed.

With these as a result.
20200322_184527.jpg
As I work with synthetic thread, Gutermann Mara, I use a heatgun to finish my rope. Heating it up makes it softer and less sensitive to untwining after cutting the rope. On the ends I put some CA to seal it.

Have fun making your own ropes
 
Yes the second and third picture are from a Dutch book, but tyhe top one is from the Aots book of the Royal Caroline so obvious the Italian writers made a mistake. I will leave it in, see it as an inmprovement of the English design.
Well, well, well,
Do I get it right that you both agree that the RC did not have this Dutch invention?
I mean that I am thinking what to use/not use in my ship...
 
Back
Top