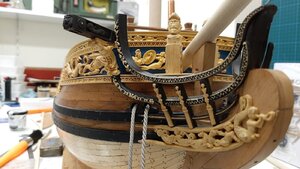
HMS Royal Caroline kit ZHL 1/30

To "burn" the model !!! How hard was really to make this step? Because making a step like this is definitely not reversible !!!! Looking very good
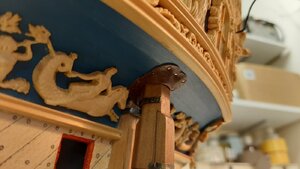
We only live once :).
Many steps in shipmodeling are irriversibel, engraving also. I wanted to try this methode and the difficulty is to get all letters at the same level in one line.
But originally also this was handwork.
 
Last edited:
Finally the rudder is in place and the rudder trunk sealed with a piece of leather to make it watertight.
20200511_203721.jpg
20200511_203649.jpg
The chains to the rudder I will fit in a later stage when the hull is nearly finished.

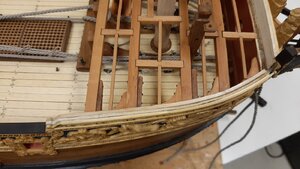
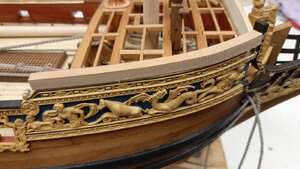
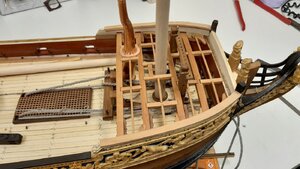
Now back to the fore castle deck and first the railing to be more specific.
20200511_211723.jpg
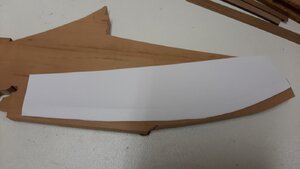
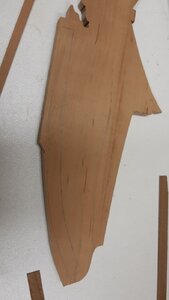
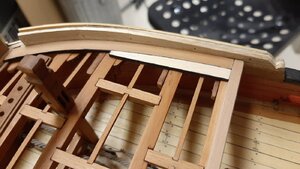
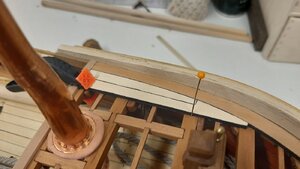
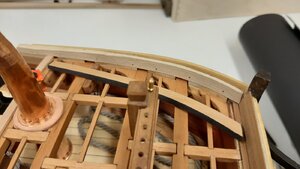
In the kit laser cut strip was provided but that didn t fit properly so I decided to make them myself from a plank of 8 mm pear I had in stock.
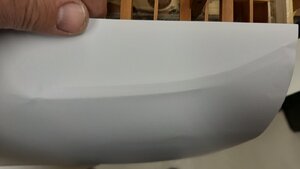
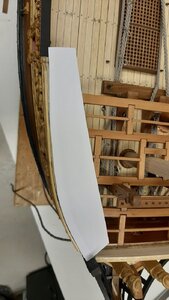
To easily get the correct shape I make a copy be pressing some 160 grams paper on top of it and cut out the shape. This can then be copied to the the wood.
20200511_211736.jpg20200511_212323.jpg20200511_212427.jpg20200511_212647.jpg

After cutting it on the beltsaw I have an 8 mm thick railing to sand to the correct shape
20200511_213011.jpg

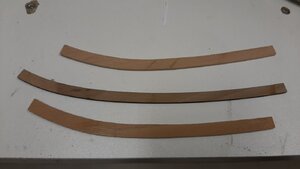
Then I saw it in two pieces of 3 mm on the small circular saw. Finally finish it to 2 mm thicknes on the thicknesser to finalize by sanding it.
20200511_214101.jpg
20200511_214013.jpg
In this way you create two identical railings, one for SB and one for PS side. The middle one is supplied in the kit
 
Excellent workmanship. Thumbs-Up What electric tools would you regard as absolutely essential, Maarten?
Hi Heinrich, in principle nothing then we are most authentic :-).
But living in 2020 I guess we need some.
The thing I use most is my small proxxon drills, I have two of these which are rpm controlable for drilling, sanding, milling engraving etc.
Second my rotary sanding disc table of 125 mm, cheap but excellent tool.
If you go to scratch building at the following, a bandsaw which I prefer above my scroll saw. A circular saw table. Finally a mill, thicknesser and lathe. Now you are fully set.
 
The new railing caps look good! Getting both railings from one cut of wood was great idea.

I guess you just use what you have on hand to fix what is not working.
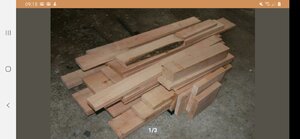
Yes always have some wood on stock like pear, boxwood and ebony.
Today I purchased some really nice pear from a fellow wood hobbyist who is making prints and uses it for carved printing moulds.
He has a contact who sometimes cuts some pear trees and this is a remainder of that. I gues some 40 kg at maximum 1 mtr of 2 years dried pear for a very friendly price. Very happy with it.
Screenshot_20200512-091827_Marktplaats.jpg
I think this will be enough for my next build :-)
 
Maarten, is this chemical better then Casey Brass Black, just wonder, Greetings Knut-
Hi Knut, sorry missed your question.
I guess most of these all contain a similar chemical content but maybe some are less concentrated. I think the pre work like degreasing etc is the most important to get proper results and this degreasing spray works very well.
For the rest I use what I can get hold off.
 
Hello Maarten, Just trying to look your build log on your HMS Royal Caroline as I was not able to do so before because my hands have been tied for much to long now, Now I Am Free. That sure is a very nice looking kit you have there. I am astonished at the very fine detail of the decorations and orpiment's that came with this great kit, far superior to what I have received over the years and that is the greatest reason why I went to scratch building. You are doing a great job of putting things all together, but with such a kit there is very little left to be improved apon, Well Done.
Regards Lawrence
Hi Lawrence, many thanks for your kind words.
It is indeed a fantastic kit but I still do a lot of modifications to it, mainly in the interiors and opening up the deck structures giving it a navy board look. The cnc carvings are really excellent except for the real 3D Carvings like the figure head etc as the kit carvings are 2,5 D instead of full 3D.
It seems the Chineese manufactorers are leading the way with the models of CAF, Shi Cheng, Trident and my Royal Caroline from Lu Hai.
 
Time for the deck, made all those deck beams, carlings etc for nothing as they now are covered with deck planking :).

First the waterways are made in the same manner as the top railing I showed previously. Also from pear to get a nice contrast with the deck planks from basswood.
20200513_200223.jpg
For the caulking of these thicker planks I used 160 grams black paper.
The waterways are simplyfied, the same thickness as the deck planks. On my next model I will fit them as they should.
20200513_205214.jpg

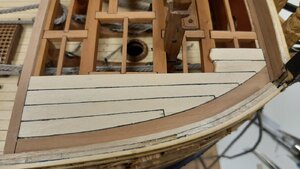
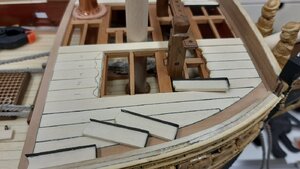
Fitting the first planks, I made these tapered to the fwd side to create a different look then on the straight planks on the main deck where the planks are let into the waterway.
The planks are basswood, again caulked with 160 gr black paper.
20200513_212103.jpg
Building up the deck. The deck will be in navy board style with open spaces in the middle.
20200516_112551.jpg
20200516_153056.jpg
20200517_134504.jpg
After glueing the paper to the edges I cut of the excess with a razor blade.

As it was Saturday evening, time to light up the bbq for a decent T-bone. Modeling makes hungry.
20200517_192953.jpg


20200518_203339.jpg
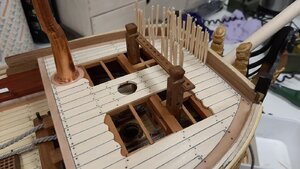
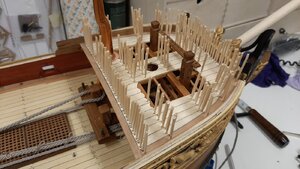
Sunday, all planks fitted and drilled holes for fitting the beechwood tree nails.
20200518_210651.jpg

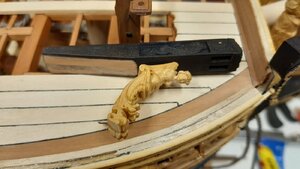
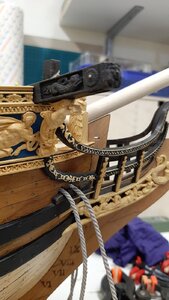
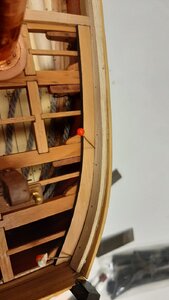
In the meantime I also made the anchor crane davit and knee. I fitted the with brass pins to strengthen the construction.
20200516_185327.jpg
Dry fitting it.
20200516_190236.jpg
20200516_190455.jpg

Next time I will finish the deck and the anchor crane can be fitted, also the PS side.
I am also working on the bell and railing.
 

Attachments

  • 20200518_210651.jpg
    20200518_210651.jpg
    209.2 KB · Views: 16
Back
Top