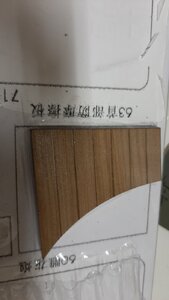
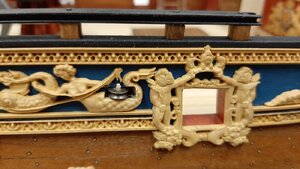
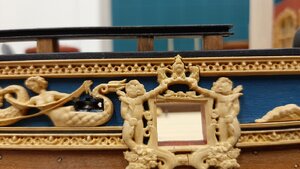
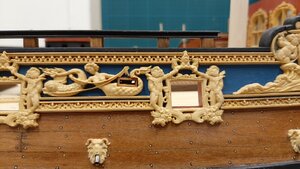
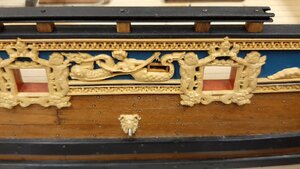
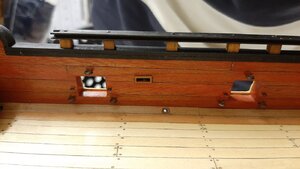
On to the chain wale. The base for this is a laser cut piece of pear. As mention I tapered it and carved the lasered wood connection also in the reverse side of the chain wale. Then I sanded it to fit the hull properly and to have it in a horizontal position.
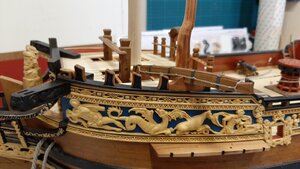
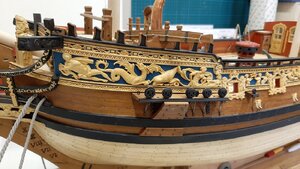
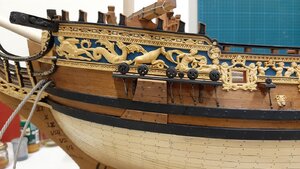
I know I did not fit it on the top wale as it would be but placed it below it as I otherwise had to ruin the nice carved top wale.
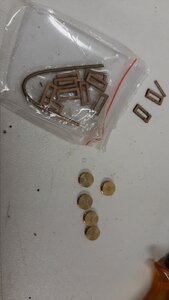
To strengthen the connection of cthe chain wale two iron strips are fitted to the hull, these are made from copper strip, hammered into shape to give them a forged iron appearence.
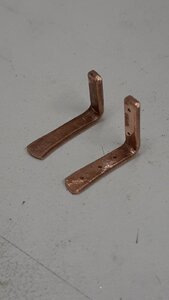
After burnishing them I fitted these to the chain wale with nails.
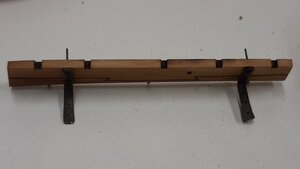
The top of the nails I put burnished brass plates over after which I cut the nail and clinch the connection to lock it on the plate.
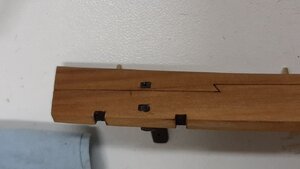
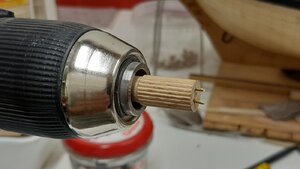
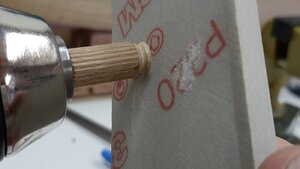
Next are the dead eyes, from a dowel I made a special tool to easilly sand and file the dead eyes into shape in my battery drill.
After finishing them with a steel wool polish and drilling the holes in the correct shape they are colored with black ecoline followed by a finish with oil.
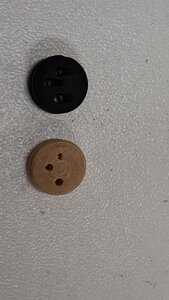
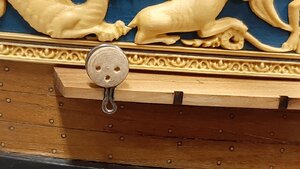
As normal the lower dead eyes are fitted in iron rings which fit through the spaces in the chain wale. These rings are made from brass wire.
For the shape I made a simple template.
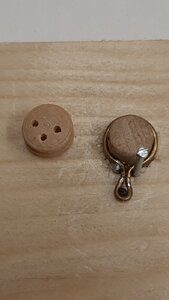
When the shape is correct, the ends of the wire are soldered together with silver solder.
Test fitting of the first one. If it is correct the rest can be directly burnished before fitting the deadeye.
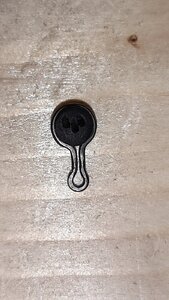
The others are fitted.
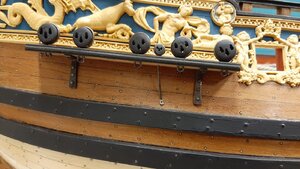
The lower chains on this ship are according the drawing of one piece and not of the three shackles type as normally fitted.
Again I made these of brass wire shaped with plyers and hammered into shape.
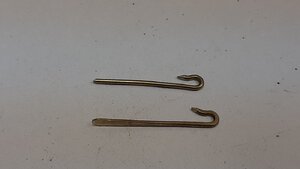
After finishing and burnishing.
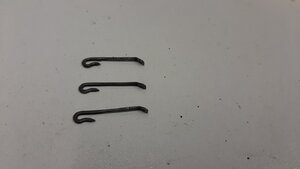
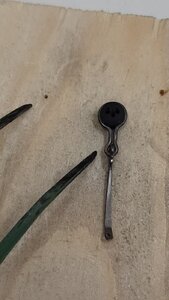
After some hours forging.
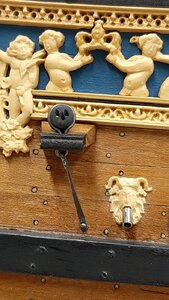
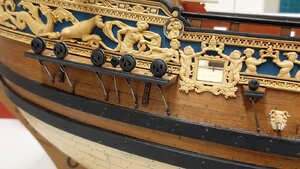
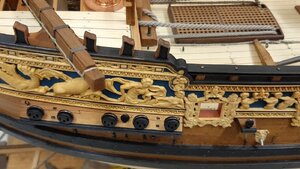
That's it for now.

I know I did not fit it on the top wale as it would be but placed it below it as I otherwise had to ruin the nice carved top wale.
To strengthen the connection of cthe chain wale two iron strips are fitted to the hull, these are made from copper strip, hammered into shape to give them a forged iron appearence.

After burnishing them I fitted these to the chain wale with nails.

The top of the nails I put burnished brass plates over after which I cut the nail and clinch the connection to lock it on the plate.

Next are the dead eyes, from a dowel I made a special tool to easilly sand and file the dead eyes into shape in my battery drill.


After finishing them with a steel wool polish and drilling the holes in the correct shape they are colored with black ecoline followed by a finish with oil.

As normal the lower dead eyes are fitted in iron rings which fit through the spaces in the chain wale. These rings are made from brass wire.
For the shape I made a simple template.

When the shape is correct, the ends of the wire are soldered together with silver solder.
Test fitting of the first one. If it is correct the rest can be directly burnished before fitting the deadeye.


The others are fitted.

The lower chains on this ship are according the drawing of one piece and not of the three shackles type as normally fitted.
Again I made these of brass wire shaped with plyers and hammered into shape.

After finishing and burnishing.


After some hours forging.


That's it for now.


