HMS Royal Caroline kit ZHL 1/30

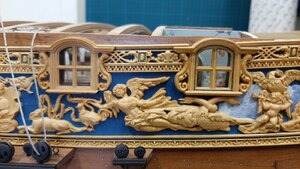
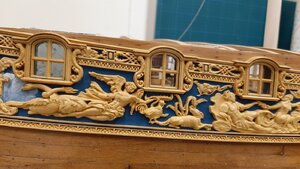
Looking at the side I thought the blank boxwood surfaces were in some spots to massive.
To break this I have added some fine black lines with just a plain soft pencil. If you ask yourselve the question if this stands the time it is yes. I have used this also to simulate lead on my HMS Prince model which I build over 25 years ago.

Here you see the right window frame with the pencil lines, which creates more contrast.
20200821_163546.jpg
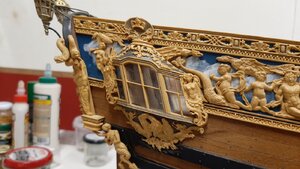
After doing the window frames and window top freeze and the lower end of the top freeze this is the result.
20200823_142230.jpg
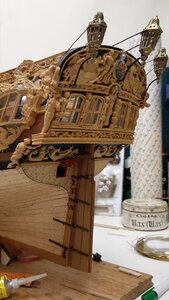
Next was the side gallery. The roof part I already did a while ago.
20200823_142304.jpg
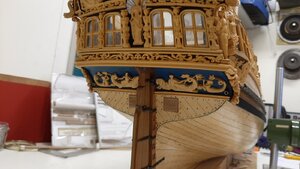
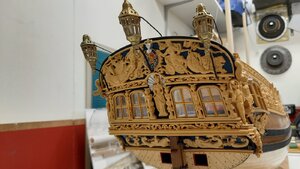
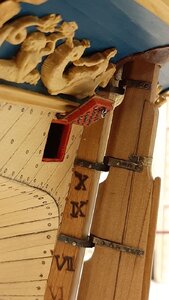
Last is the stern.
20200823_142321.jpg
I think I will add some additional black lines to the two lower freezes.
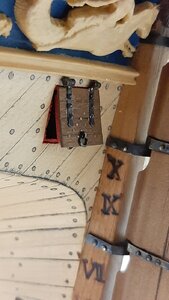
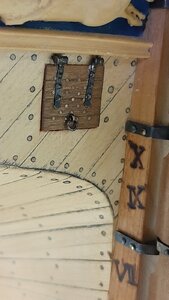
Now I am working on the rear gun port lids.
 
I guess you have quite a few rivals. I'm one for sure. There are 2 Dutch models I'm in love with. One is Maarten's RC, the other is Doutzen Kroes. Can't make up my mind which one I find the most beautiful.
Doutzen Kroesis very beautiful, but the grace and sheer beauty of this Royal Caroline model, is very hard to beat.
Happymodeling
Greg
 
Great work Maarten.Sometimes the smallest things have the biggest impact.I remember the saying "you can't scale light".Shadows that form on the full size vessel would not be present on the model and sometimes you have to cheat to give definition.

Kind Regards

Nigel
 
Great work Maarten.Sometimes the smallest things have the biggest impact.I remember the saying "you can't scale light".Shadows that form on the full size vessel would not be present on the model and sometimes you have to cheat to give definition.

Kind Regards

Nigel
Hi Nigel, you're right, model building is all about cheating
 
Thx all for your comments and likes.
As mentioned I am now working on the gunport lids.
In the kit are only dummy lids provided as they just should be glued on the stern. I opened my stern so I will make full lids for these.
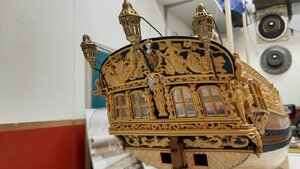
20200823_142321.jpg
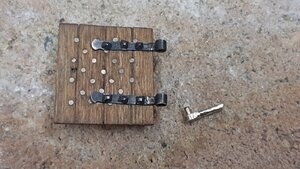
The outside is the kit part. The holes are drilled for the nails which I come back at later.
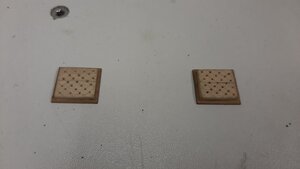
20200823_172013.jpg
The inside is painted matt Red same as the bullwarks.
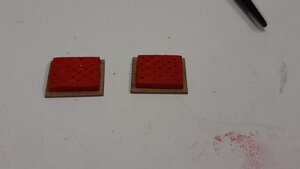
20200823_174120.jpg
Test fitting
20200823_171946.jpg
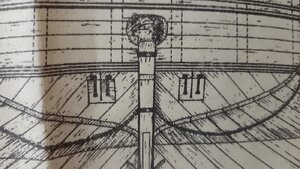
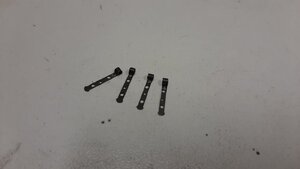
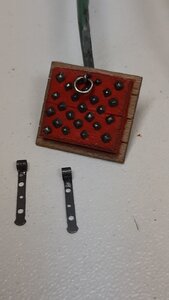
The kit is providing brass etched hinges but too big to my taste compared to the drawing.
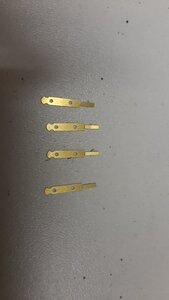
20200824_190519.jpg
20200824_190533.jpg
So these I trimmed down to better proportions.
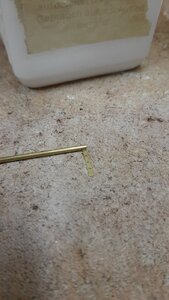
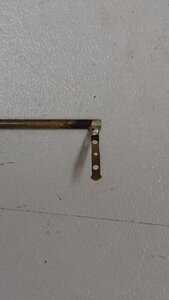
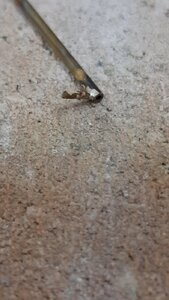
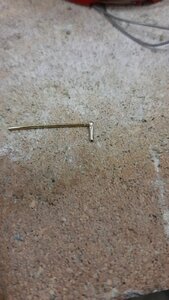
Secondly I solder a different more realistic hinge onto it from 1/16 K&S brass tube with silver solder.20200824_192129.jpg
20200824_192439.jpg
I solder it onto the tube as the tube then provide a good handheld for finishing it, at last I cut it off with a micro cutting disc.
And see the difference below.
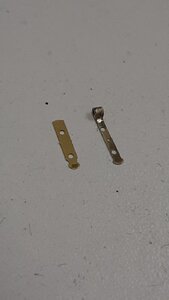
20200824_193028.jpg
After burnishing 4 hinges ready, luckily this is not a 100 gun ship. :).
20200824_204935.jpg

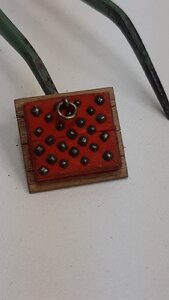
Next is the nails on the inside of the gun port lids. I always love the museum models with their square nailed gun ports lids, so this is the chance to do it.
Square nails in this size you have to make yourselve, 30 for each lid. I made these by sanding simple 0.6 mm nails square on my sanding disk.
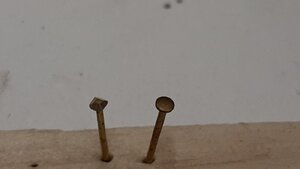
20200824_202255.jpg
Tried to make it more simple to do 10 at one go.
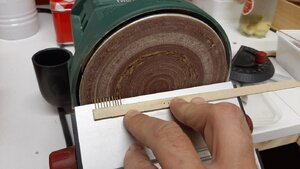
20200824_202922.jpg
Burnishing them gives a great look and feel.
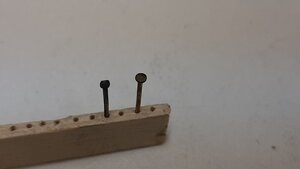
20200824_210453.jpg
After fitting them the inside is nearly finished.
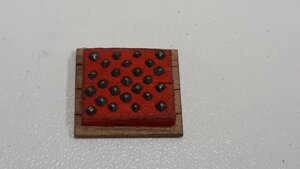
20200824_212536.jpg
Except the ring for fitting the rope to, for fitting this I made a mini clamp And ring of 0.6 mm wire.
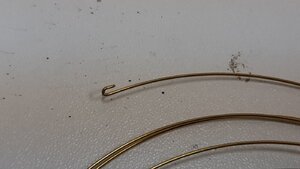
20200824_213013.jpg
Both fitted finishes the inside.
20200824_214315.jpg
20200824_214346.jpg
Next time the outside and installing them.
 
Last edited:
G'day Maarten
Your attention to details are pure Maartiffic in all aspects. These very tiny additions is what makes your Royal Caroline a beautiful museum piece.
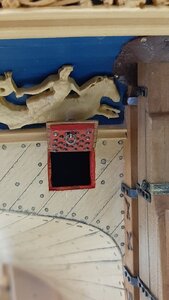
SmartSelect_20200825-120156_Messages.jpg
It's mind blowing to me!
I hope you don't mind, I'll be putting some of your gems in my model.:p
Absolutely brilliant mate.
Happymodeling
Greg.
 
Some extra baby steps on the stern port hatches.
Time for some hinges.
As said I skipped the kit hinges and made my own.
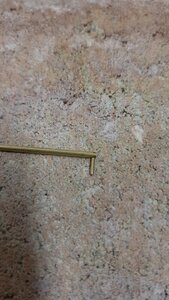
The second part of the hinge is again made from 1/16 k&s tube on which I silver soldered a 1 mm brass wire to fit the it to the hull.
20200828_160005.jpg
20200828_160240.jpg
If the wire is soldered I cut of the pipe end and solder with tin a 0,8 mm brass wire into the hollow part of the tube. I use tin for this solder joint to avoid desoldering the 1mm silver solder joint, this as silver solder has a higher melting point then tin. This way enables you to solder in two steps instead of all in one go.
20200828_165754.jpg
After trimming it this is the hinge section made.
20200828_170014.jpg
Then finishing and burnishing followed by fitting it by drilling a 1 mm hole and make a second one.
With both hinges fitted, the stern port lid is glued in place.
20200828_174009.jpg
20200828_174018.jpg
It can move, open and close. Only the rope has to be installed.
20200828_174116.jpg
20200828_174208.jpg
20200828_174317.jpg
 
Hi Marten,
I've followed your build log, yet to comment, but still admiring. I can no longer hold back. I truly am amazed at your creative imagination. But this is only surpassed by your ability to execute fabrication at such a miniature level. Trust me sir, your build log truly inspires me to focus on the quality of my own work.
Thank you for sharing your talent, your work and your love of the hobby.
Cheers!
Ken.
 
Back
Top