HMS Royal Caroline kit ZHL 1/30

Today paid a short visit to the ship model builder candy store for some boxwood and ebony.
Stock enough to choose from in the fijnhouthandel in Amsterdam.
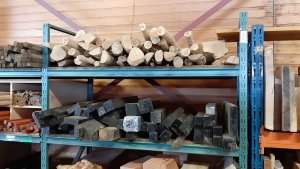
20190503_152641.jpg
The boxwood I will use for some alterations to the carving of the figure head. As the cnc parts in the kit are 2,5D instead of full 3D. I will make a full 3D figure head to test and improve my carving skills.
 
They are supplying a lot to yacht builders which we have a lot in the Netherlands.

G'day Maarten, they may be supplying a lot of yacht builders, but there is only one Royal Yacht builder and you are doing an excellent job,


in my younger days when I was in the Merchant Navy we used to dock at Rotterdam, I was amazed at how friendly the folk were and helpful, and nearly everyone spoke English, I used to like the little paper cones of fries with the creamy dressing on top, and the hot dogs they used to serve with a green relish that was lovely, any way I divert from things, thou the memories are great,

best regards John,
Thx for the comments and good to hear you liked it here. I have been sailing in the mercant navy myself as an engineer in the past, but unfortunately haven t been to Australia, so still on my list.
 
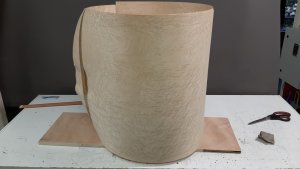
During my visit to the Amsterdamse fijnhouthandel I also bought birds eye maple veneer which I am going to use for the mounting board instead of the kit supplied blue velour. I felt in love with this veneer very much after seeing it when @DocBlake was using this (thx dave).
20190506_194935.jpg
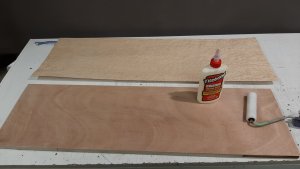
I glue the veneer with standard pva glue applying a thin layer with a roller.
20190506_204429.jpg
Then I cover it with a piece of veneer which is 1 cm bigger then the multiplex board. To avoid bubbles and to get a goid airless fixing to the board I iron the veneer onto the board at medium heat. The heat accelerates the drying of the pva glue creating a nice and tight fit of the veneer.
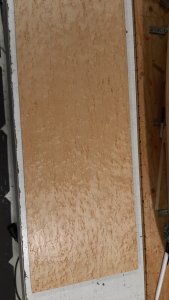
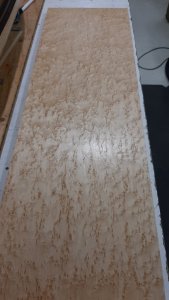
After this I kept it drying for a week ( had a bussines travel to China so could not do anything anyway) and finally today it was time for sanding, oiling, sanding with steel wool, oiling etc.
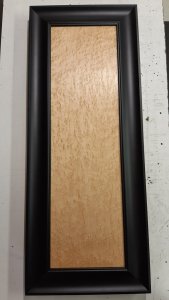
This is the result.
20190516_185612.jpg
20190516_185626.jpg
The last step is to finish the edges, for this I will use an ebony look picture frame to enclose the board, but thatcis for next time.
 
Hi gents, many thx for your comments.
The picture frame has been ordered, so now 10 days waiting before I can finish the mounting board.
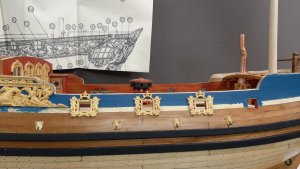
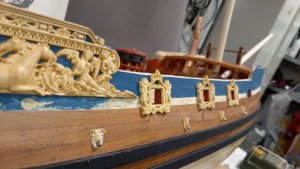
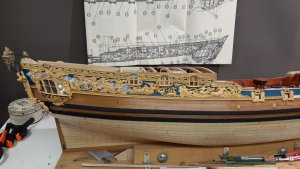
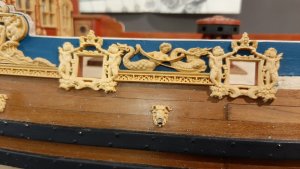
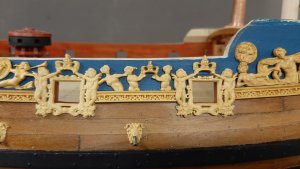
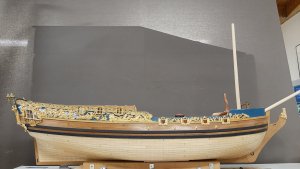
In the meantime back to finishing the outside of the hull. The temporary top wale is removed so the gunport carvings can be installed.
20190516_204426.jpg
20190516_204447.jpg
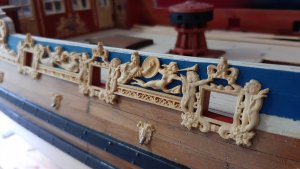
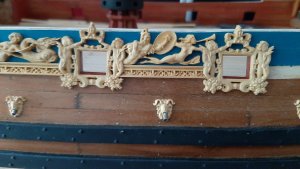
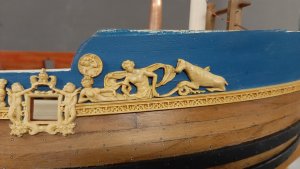
Next step is the carved top wale. First I sanded the wale back to 2/3 of the original thickness as all original carvings in the kit are to thick.
Then it is a lot of grinding, filing and trimming to get a proper fit to the other carvings.
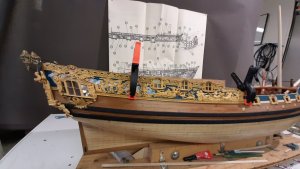
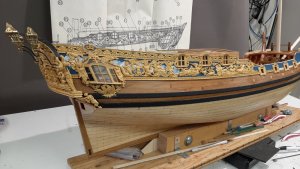
Finally waxing with beewax and glueing in place with ca.
20190517_165338.jpg
20190517_171604.jpg
20190517_171623.jpg
The same proces for the smaller pieces of wale and the carvings place above the top wale.
20190517_173649.jpg
 
Gents many thx again for your comments.
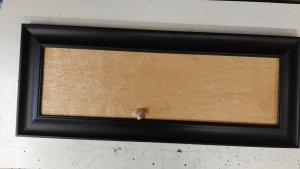
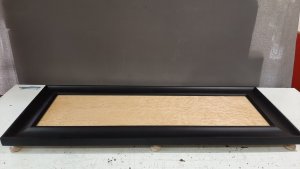
Yesterday my picture frame came in so time to finish my display stand.
The display will be fitted on 6 pedestals for which I use small beech wood door knobs.
20190523_190840.jpg
After fitting everything this is the final result.
20190524_150545.jpg
20190524_150639.jpg
The pedestals for mounting the hull I do when the hull is finished and I fit the hull on top.
 
Back
Top