HMS Sovereign of the Seas - Bashing DeAgostini Beyond Believable Boundaries

Hi Kurt,

Just had my morning coffee while working my way through your log. Very glad to see you are recovering from that terrible virus. I’m looking forward to more posts.

Jan
 
Hi Kurt,

Just had my morning coffee while working my way through your log. Very glad to see you are recovering from that terrible virus. I’m looking forward to more posts.

Jan
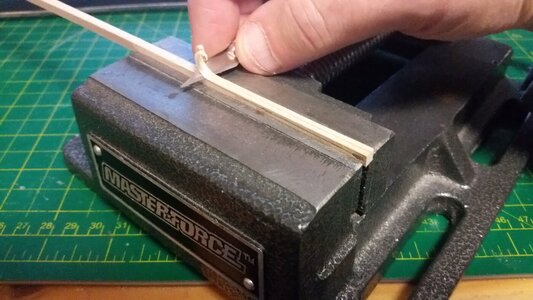
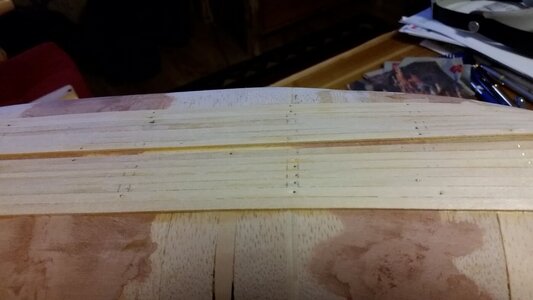
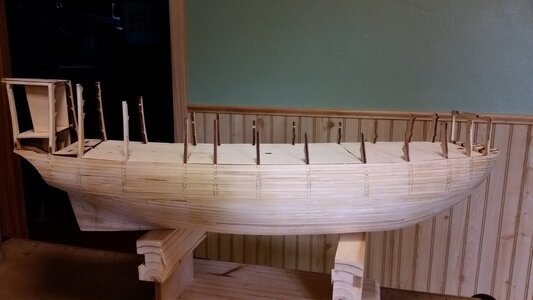
Thanks, Jan. Things are looking up. I get fatigued easily, but work on the model is a great diversion. I just added the fifth plank strake on the hull. This strake is tapered at the bow according to the DeAgostini instructions. The work is slow and steady.

147 Tapering Planks.jpg

148 Fifth Plank Strake Added.jpg
 
Hi Kurt,
I had much similar symptoms, but more like the Flu. Fortunately other than still tiring quickly I’ve gotten the best of it. I’ve found it hard to get things done. The mind goes a hundred miles an hour and the body is in the slow lane.:)
What is your method for bending the planks? Soaking, heating, steaming,etc? How did you decide where to end the planks and add the short pieces? (I ask a lot of questions, eh):p

Jan
 
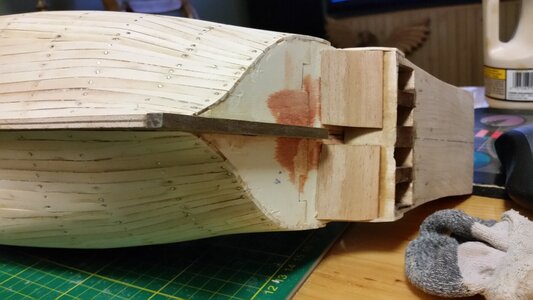
Those fillers at the bow seem to be really serving you well. I wasn't smart enough to do that when I crossed this horizon and made things harder on myself than necessary.
Whether you add filler to low spots over the top of the first planking layer or fill the frames with balsa to try to keep the curves for the planking, there's a lot of extra work to be done in order to get the hull shape you want. Adding the balsa will save me the filler steps later. It all comes out the same in the end.
 
Hi Kurt,
I had much similar symptoms, but more like the Flu. Fortunately other than still tiring quickly I’ve gotten the best of it. I’ve found it hard to get things done. The mind goes a hundred miles an hour and the body is in the slow lane.:)
What is your method for bending the planks? Soaking, heating, steaming,etc? How did you decide where to end the planks and add the short pieces? (I ask a lot of questions, eh):p

Jan
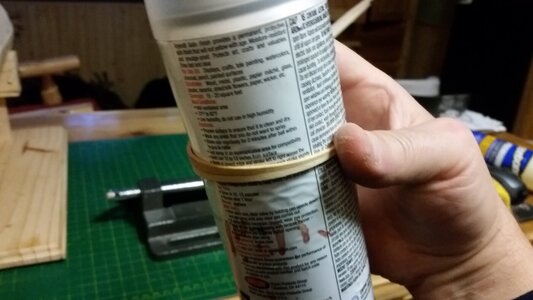
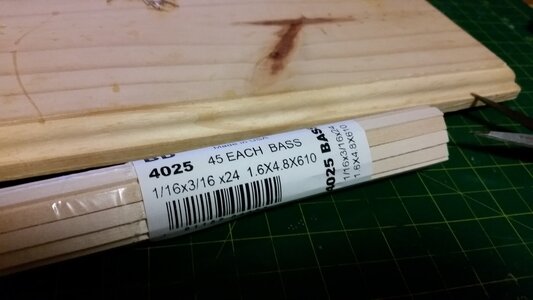
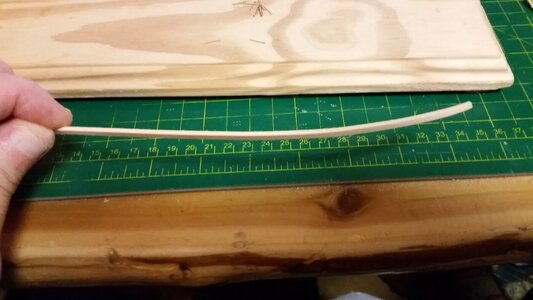
On the model of La Couronne, limewood was soaked and a electric hot iron was used to boil the water into steam while each strip was bent around a can. I don't have very much limewood left over from that build. Basswood is used on this model and it is rather soft and porous. I just throw the sticks of wood in the bathtub with warm water and pull them out one at a time to glue to the hull, starting at the bow. Before gluing and pinning a strip, I carefully curve the strip around a spray paint can for the first 15cm or so with my fingers while the wood is still wet, being careful not to snap it by bending it too fast or not supporting it properly. I use the Amati 10mm fine brass pins # 4136/10 because they will not split wood. These pins are awesome.

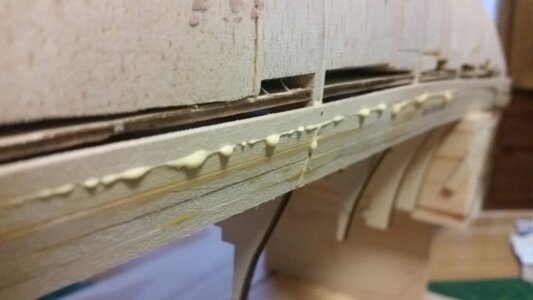
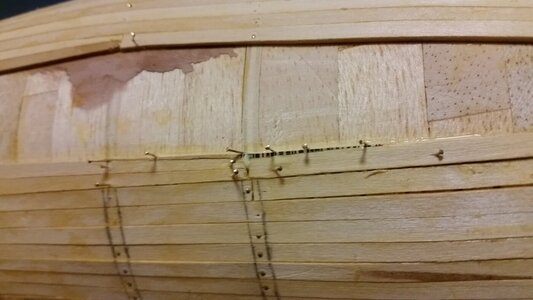
Now, because the wood is soaked, you may note some shrinkage and gaps appearing between the planks, no matter how tightly you jam them together while gluing and pinning them. The gaps are not large, and you can just fill them with glue or filler, or leave them since they won't affect the final layer of planking. Usually the gaps show up on the bow curve. As for the pins, some of them are pulled and re-used, but most are lightly tapped with a hammer to submerge the heads into the wood, trying not to drive them in too hard or a local dent will appear in the plank.

It's important that you use lots of PVA glue to join the planks edge to edge, especially since the frames for this model will be removed one at a time later in the build. The shell formed by all the planks needs to be pretty solid before excavating the framework inside in order to build the internal decks and bulwarks.

As for where the ends of each plank are placed on which frame, you don't want to have a joint on an area where the hull curves a lot. So, there are about three to four frames near the middle of the hull where you want to have the end joints placed. Just don't place two of these butt joints next to each other or you may have a pucker or high spot in the hull shape, and the strength of the joints is reduced as well. I match the location of these joints from port to starboard. This method means you'll use more sticks of wood and you'll have more wasted pieces, so if you are building from a kit, you will likely run out of wood because kits typically provide just enough material to cover the hull and nothing left over. In fact, if you build from a kit, plan on buying some extra wood to finish the model unless you are very careful to use every scrap.
 
Last edited:
Hi Kurt,

Thank you for the excellent explanations. It is great to learn how others approach the planking method. My first planking try was a disaster, but I managed to muddle through it.

Jan
 
Hi Kurt,

Thank you for the excellent explanations. It is great to learn how others approach the planking method. My first planking try was a disaster, but I managed to muddle through it.

Jan
Remember that you can patch up the first layer of planking with scraps and glue, and even if you are really good at planking, the first layer will always look like crap until you invest a couple hours sanding the surface to perfection and using filler for low spots. Once the hull form has been inspected and adjusted by you several times, the top hardwood final planking layer will look very smooth and clean. It's all in the prep work. Spend the time tuning the first layer.
 
Oh Boy, one plank at a time and sand. Looks like you are countersinking the nails??

Jan
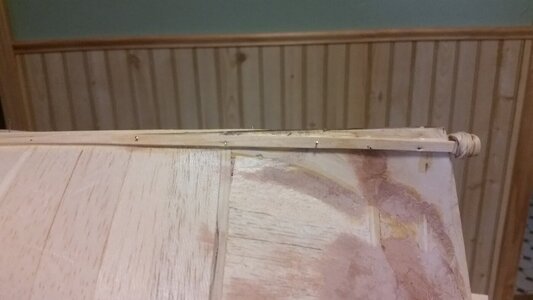
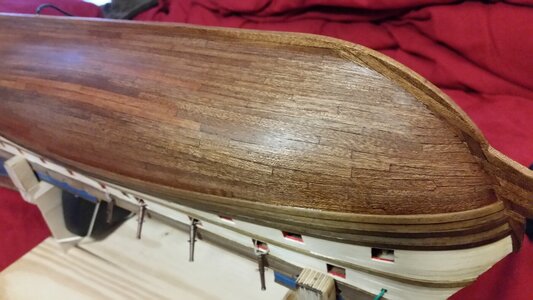
I just rough sanded the batch of planks at the bottom to see how smooth the basswood would be. Many pins are countersunk, but I pried out as many as I could with the edge of a razor knife after the glue dried so I could re-use them. If you sink the pins in to the proper depth with the pin pushing tool, you can leave them in the model if you like. I only have about 100 pins left, with more on order, so I have to re-use as many as I can if I want to keep working. On La Couronne below, I countersank all the pins. The heads sand off easily if you sand down to them. At this stage in construction, the photos make the hull planks look rough and uneven, due to the raggedness of the pin holes and small gaps between planks, but the hull actually feels smooth and uniform to your hands. Final planking on La Couronne looked as smooth as glass when finished.

063 Hull Planking 8.jpg

215 Removed Excess Spray Lacquer Using Denatured Alcohol.jpg
 
Last edited:
Plank.. plank.. plank...

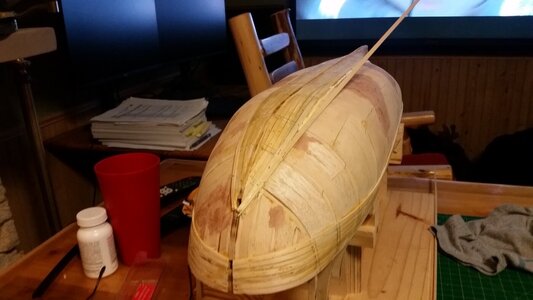
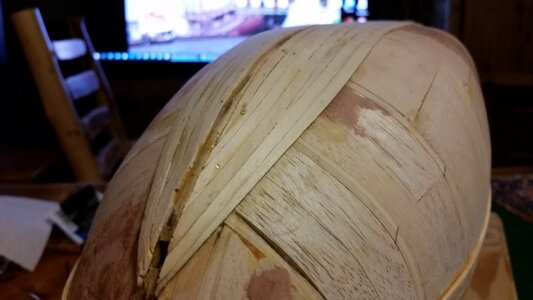
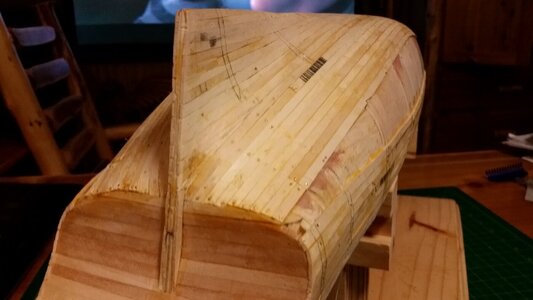
The gaps are narrowing. The kit instructions make lots of use of dagger planks toward the bow to fill the gap evenly, but I'm switching back to the practice of using drop planks because the narrow planks at the bow are hard to keep even and are a pain to pin down. Proper planking pattern is superior and easier to do.
161 More  Planking.jpg

162 More  Planking.jpg

163 More  Planking.jpg

164 More  Planking.jpg
 
Plank.. plank.. plank....

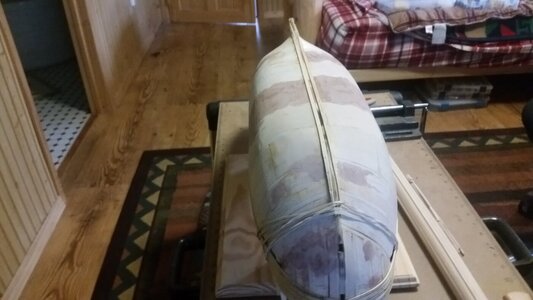
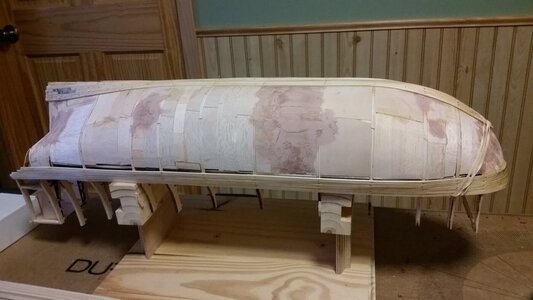
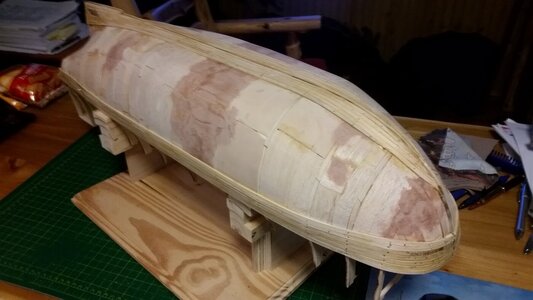
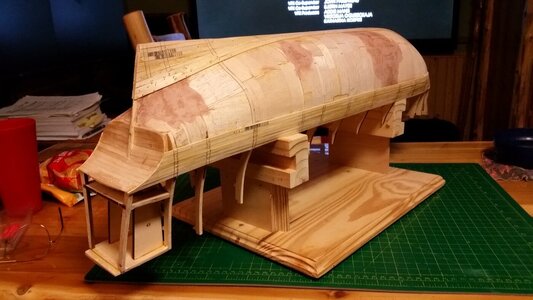
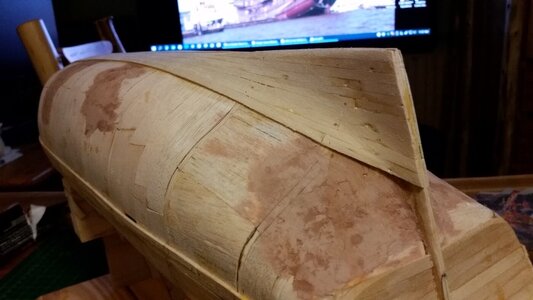
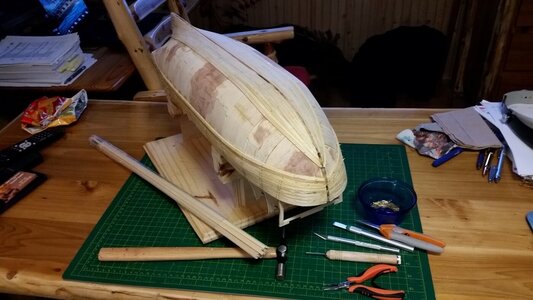
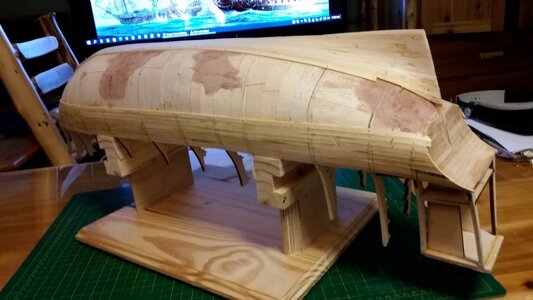
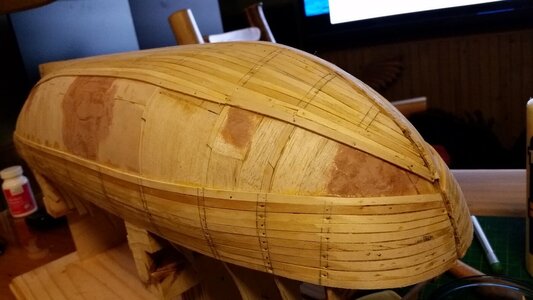
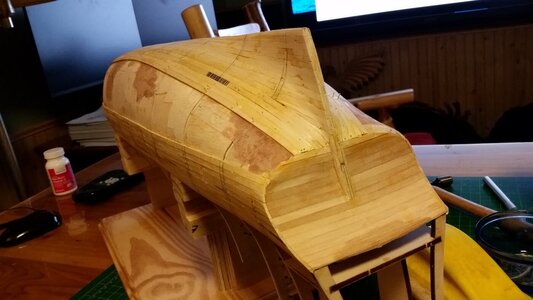
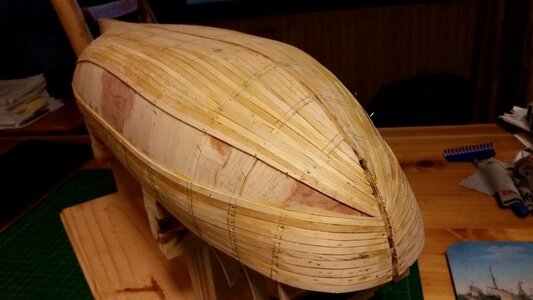
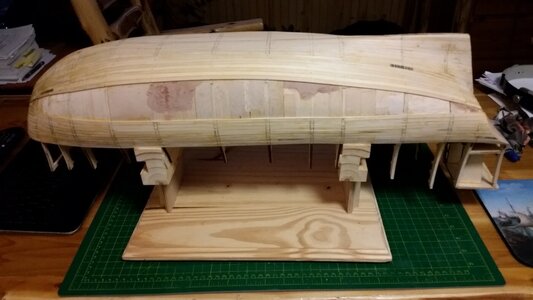
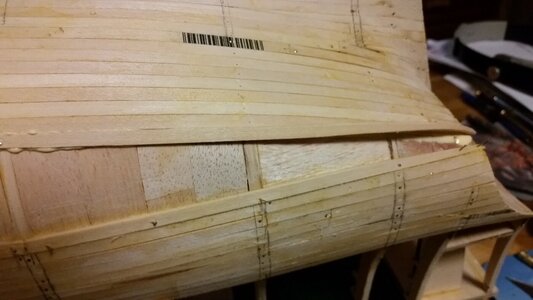
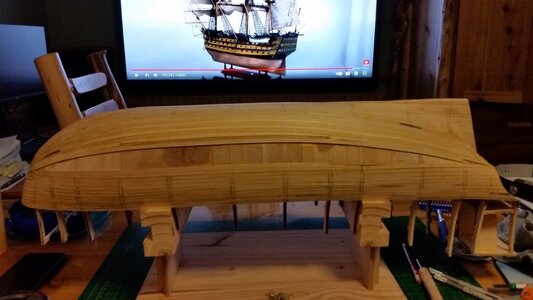
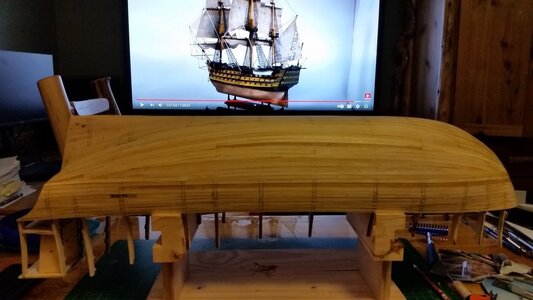
The lower hull planking is complete for the port side, and the starboard side still has a gap to fill. Planking always looks uneven, rough, and sloppy at this stage. Sanding will make it look a lot better.

171 Basswood Used for Planking.jpg

After soaking a basswood strip in water for five minutes, you can easily shape the wood by hand, as shown in the picture below. You may even glue and pin the wood to the model with Titebond II while moist and the glue will hold just fine. The downside is that wet basswood may shrink and leave slim gaps between planks, which doesn't matter on the first planking layer.
168 Bending Wet Basswood Planking Strip by Hand.jpg

The pre-shaped plank required fewer pins to hold it in place, and it's easier to get the plank to stay in place at the sharp turn of the round tuck.
169 Gluing and Pinning Planks.jpg

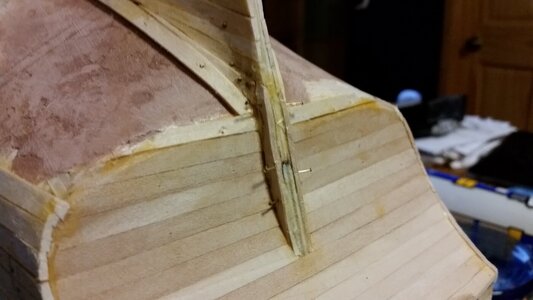
Sharp angles between butted planks are fixed with adding a sliver of wood to even out he curve of the edge of the plank.
170 Filling a Sharp Bend With a Wood Sliver.jpg

Progress so far on the starboard side.
171 Stbd Side Planking Progress.jpg

Lower hull planking is complete on the port side.
172 Port Lower Hull Planking Complete.jpg

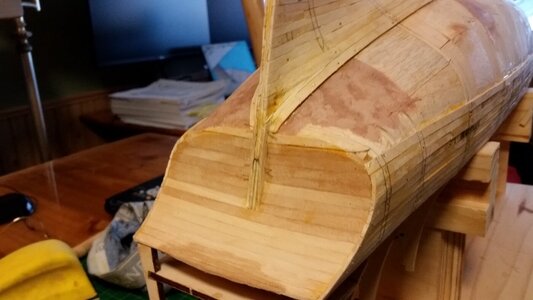
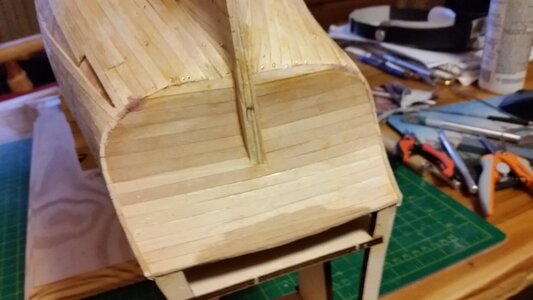
A bit of filler to fill a depression on the round tuck.
173 Stern Tuck Progress.jpg

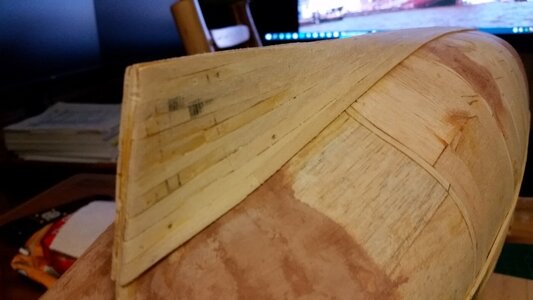
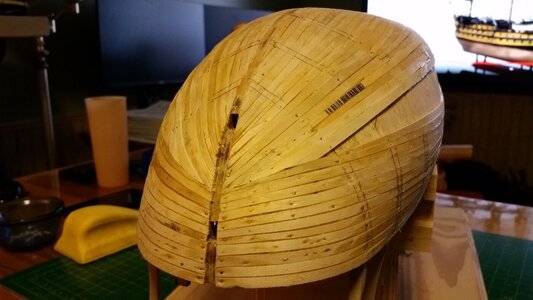
Progress on the bow.
174 Bow Planking Progress.jpg
 
Last edited:
Back
Top