-

Win a Free Custom Engraved Brass Coin!!!
As a way to introduce our brass coins to the community, we will raffle off a free coin during the month of August. Follow link ABOVE for instructions for entering.
-

PRE-ORDER SHIPS IN SCALE TODAY!
The beloved Ships in Scale Magazine is back and charting a new course for 2026!
Discover new skills, new techniques, and new inspirations in every issue.
NOTE THAT OUR FIRST ISSUE WILL BE JAN/FEB 2026
You are using an out of date browser. It may not display this or other websites correctly.
You should upgrade or use an alternative browser.
You should upgrade or use an alternative browser.
HMS Sovereign of the Seas - Bashing DeAgostini Beyond Believable Boundaries
- Thread starter DARIVS ARCHITECTVS
- Start date
- Watchers 105
Nothing to say other than that looks SO COOL! You have accomplished your mission of building out a proper lower deck. Next up: 100 hours to build the ceiling...(200 hours?)...What do you think, everyone? Can a gun carriage be squeezed in the stern corner or not?
View attachment 270453
Well, Paul, the next thing it to add the knees, hanging knees, and overhead beams supported by stanchions. Before that, I need to determine whether or not to squeeze these two carriages in the stern corners. Any gun deck experts out there? I need opinions here, guys!
I have nothing intelligent to say about guns; I just make teeth straight...Well, Paul, the next thing it to add the knees, hanging knees, and overhead beams supported by stanchions. Before that, I need to determine whether or not to squeeze these two carriages in the stern corners. Any gun deck experts out there? I need opinions here, guys!
Last edited:
Not an expert by any means, but I'd take into consideration the mechanics of reloading. The gun needs to come back far enough to get the ramrod in and the gunners to be able to use it to properly compact the powder and seat the projectile.
- Joined
- Sep 3, 2021
- Messages
- 5,199
- Points
- 738

If your space allocation is accurate, there's no way the gunners would have been able to handle both cannons, especially the most outboard, aft facing cannons. The room on the outboard side is simply not there to perform any cannon related activity. Even when the aft most sideways pointing cannon was moved to face aft, one would still have had a hard time handling this cannon.
I think @Steef66 has it right.
I think @Steef66 has it right.
I

Just from appearance point if view it would look better without it. In my non expert view.Well, Paul, the next thing it to add the knees, hanging knees, and overhead beams supported by stanchions. Before that, I need to determine whether or not to squeeze these two carriages in the stern corners. Any gun deck experts out there? I need opinions here, guys!

- Joined
- Aug 30, 2020
- Messages
- 676
- Points
- 353

Looking fantastic overall. My uneducated opinion it looks a bit tight to have the rear cannon in that position, but as it will be mostly covered up perhaps it's acceptable.What do you think, everyone? Can a gun carriage be squeezed in the stern corner or not?
View attachment 270453
I would not add the outboard cannons, just the two inboard cannons. Raise those doors and leave the other two closed. That’s my opinion, for what it’s worth.What do you think, everyone? Can a gun carriage be squeezed in the stern corner or not?
View attachment 270453
Thanks guys! This issues has been plaguing me because I am two guns short of what Sephton stated was the number of guns on the lower gun deck. I'll have to live with that, I guess. It's obvious that there is no room to operate that chase gun in the corner. The central chase guns will be installed, but not the outboard ones. Steelf66, when you say the "line for the sloop", are you talking about the painter for towing the ships boat? if so, I should tie a piece of line to some place inside the ship, probably a deck ring, route it through the port side stern port in the corner, and mount the pinnace I made on a stick outside the ship, attached to that tow line. The observer gets to see TWO models, the ship, and the pinnace!
I'm going with that plan, Dean. Thanks. And thanks to all of you for helping me past this hang-up so I can get back to building!I would not add the outboard cannons, just the two inboard cannons. Raise those doors and leave the other two closed. That’s my opinion, for what it’s worth.

Pinnace on a Stick. Excellent band name...Thanks guys! This issues has been plaguing me because I am two guns short of what Sephton stated was the number of guns on the lower gun deck. I'll have to live with that, I guess. It's obvious that there is no room to operate that chase gun in the corner. The central chase guns will be installed, but not the outboard ones. Steelf66, when you say the "line for the sloop", are you talking about the painter for towing the ships boat? if so, I should tie a piece of line to some place inside the ship, probably a deck ring, route it through the port side stern port in the corner, and mount the pinnace I made on a stick outside the ship, attached to that tow line. The observer gets to see TWO models, the ship, and the pinnace!
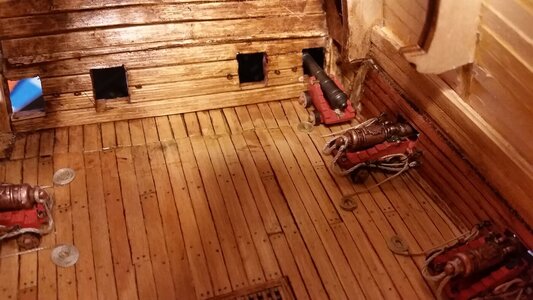
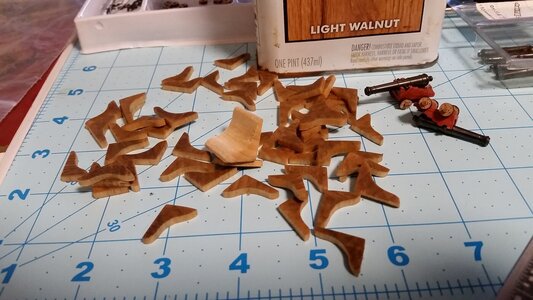
The deck knees were made by routering out a long block of wood in the profile of a typical knee. The shape was sanded and cut into sections to make individual knees. The knees were then stained. The vertical edge of each knee will be sanded to the shape and angle of the bulwark as they are installed one by one. But first the positions of the overhead beams need to be determined and marked, and the beams made and bent to the proper camber. Work on the stern guns was completed and the guns were installed like all the other guns on this deck.
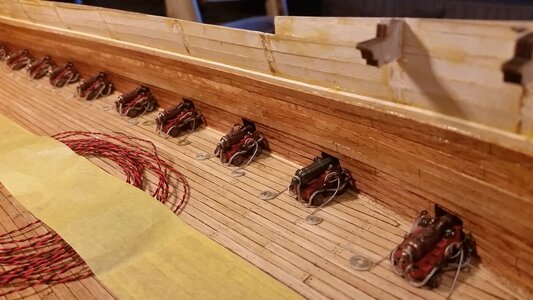
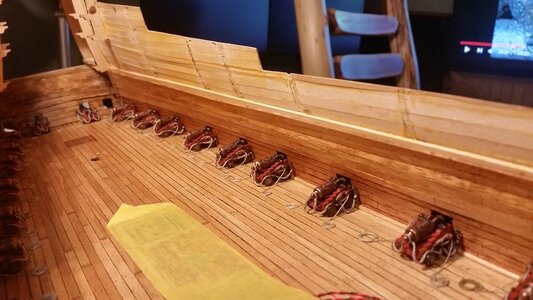
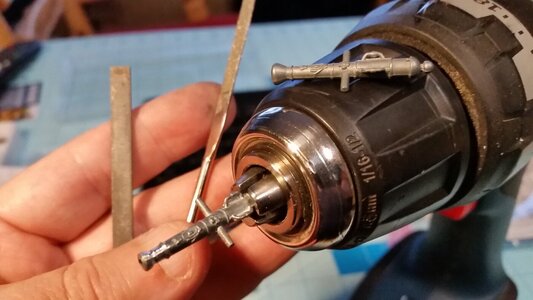
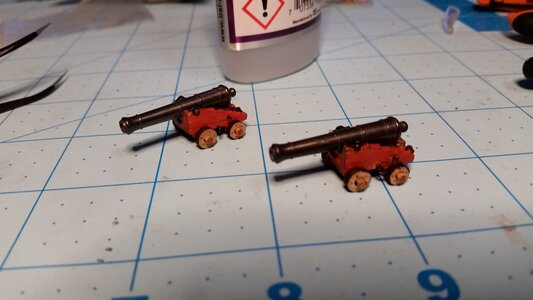
Something had to be done about the silly cone shaped muzzles on the gun barrels provided with the kit. Several gun barrels were placed in a drill chuck and the muzzle cones cut down to a reasonable size using a mill file and a diamond file. The barrels will be painted bronze later in the build.
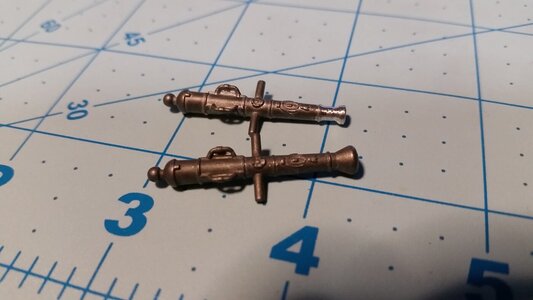
Assembling breaching line rings, gun tackle rigs, train tackle rings, barrels, and trunnion caps for the two stern chasers.
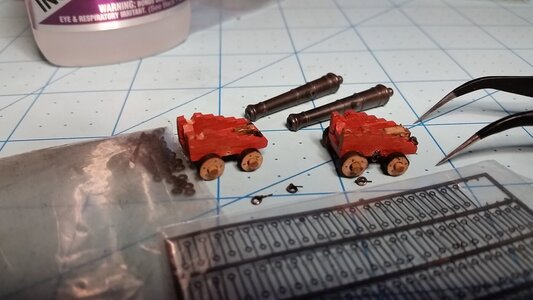
Stern chasers ready for installation and rigging.
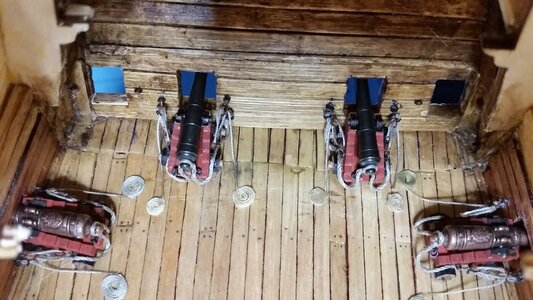
Stern chase guns installed and rigged. Not every spot is detailed on the inner surfaces but those areas won't be visible.

Something had to be done about the silly cone shaped muzzles on the gun barrels provided with the kit. Several gun barrels were placed in a drill chuck and the muzzle cones cut down to a reasonable size using a mill file and a diamond file. The barrels will be painted bronze later in the build.


Assembling breaching line rings, gun tackle rigs, train tackle rings, barrels, and trunnion caps for the two stern chasers.

Stern chasers ready for installation and rigging.

Stern chase guns installed and rigged. Not every spot is detailed on the inner surfaces but those areas won't be visible.

You sorted those cannons out really well. For a non visible installation your dedication for authenticity is applauded. Brilliant.The deck knees were made by routering out a long block of wood in the profile of a typical knee. The shape was sanded and cut into sections to make individual knees. The knees were then stained. The vertical edge of each knee will be sanded to the shape and angle of the bulwark as they are installed one by one. But first the positions of the overhead beams need to be determined and marked, and the beams made and bent to the proper camber. Work on the stern guns was completed and the guns were installed like all the other guns on this deck.
View attachment 270603
Something had to be done about the silly cone shaped muzzles on the gun barrels provided with the kit. Several gun barrels were placed in a drill chuck and the muzzle cones cut down to a reasonable size using a mill file and a diamond file. The barrels will be painted bronze later in the build.
View attachment 270604
View attachment 270605
Assembling breaching line rings, gun tackle rigs, train tackle rings, barrels, and trunnion caps for the two stern chasers.
View attachment 270606
Stern chasers ready for installation and rigging.
View attachment 270607
Stern chase guns installed and rigged. Not every spot is detailed on the inner surfaces but those areas won't be visible.
View attachment 270608
- Joined
- Aug 8, 2019
- Messages
- 5,580
- Points
- 738

During a fight or upcomming fight. They clean the decks. And that means they lower the sloops. Fill them with food, water and other supplies. And drag them behind the ship. On this way the deck is clean during fight and they don"t lost the sloops during fight. They even sometime leave them behind to harvest later.
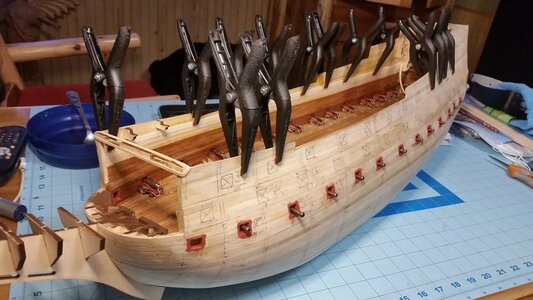
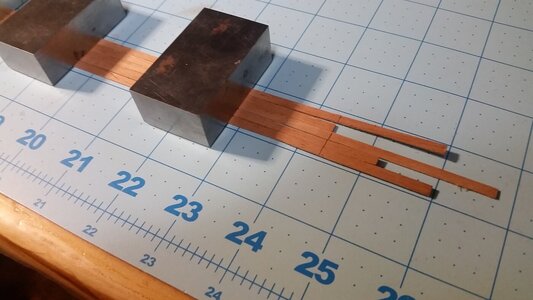
More demolition and construction. Most of the interior frames were removed. Hopefully the dry winter will not cause warping of the hull sides which are a thin shell. The interior surfaces of the bulwarks were smoothed to remove steps in the first layer of bamboo and basswood strips. Basswood strips are layered onto the interior of the hull to provide thickness. Thin mahogany planking strips were cut on the band saw, and marked every 80mm with a mechanical pencil to simulate the plank ends. To achieve staggered placement of the ends, the four step deck planking pattern was used. The strips were offset by 20mm or 40mm steps, and then straight lines were drawn across the strips. When all the strips are aligned side-by-side, the markings are offset in the desired pattern. Each strip is glued over the bamboo or basswood on the bulwark above the previous ones. Only two strips on each side were added today. More to follow.
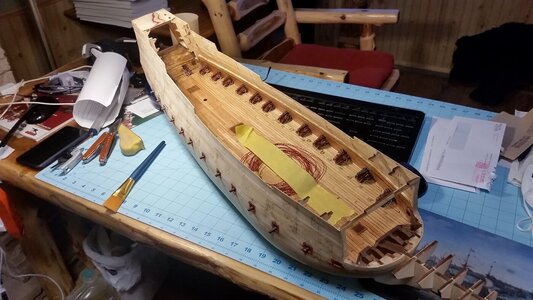
The next mahogany strips will be layer over the two wider bamboo strips, located at about the middle gun deck.
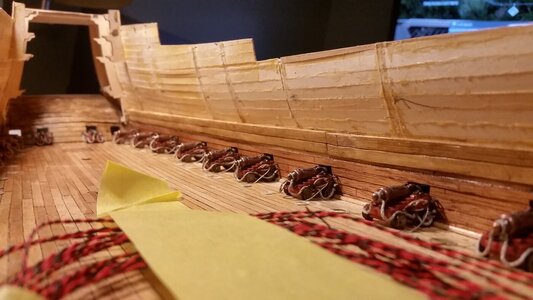
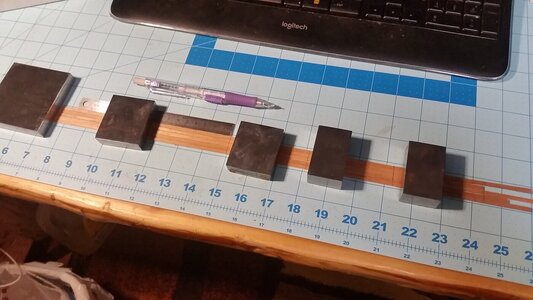
Four step pattern. Draw a line across all the strips every 80mm.
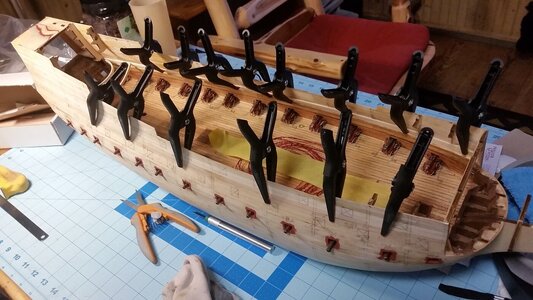
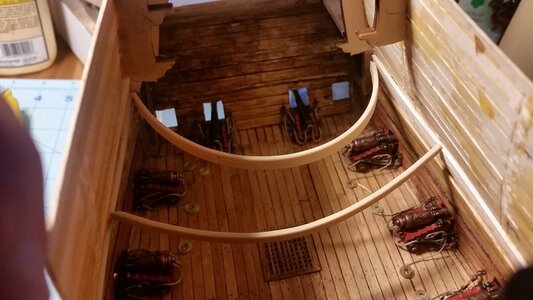
Bent bamboo acting as clamps for areas too deep for clamps to reach.
Lots of clamps.
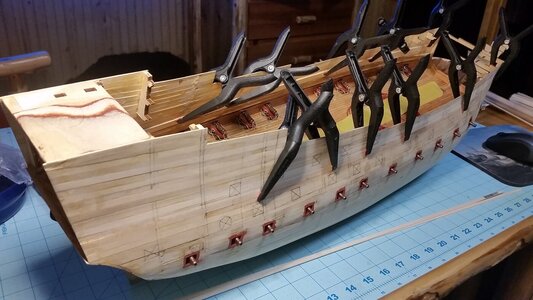
View after two more strips of bulwark planking were installed. The bulwark is constructed thinner as you move upward.
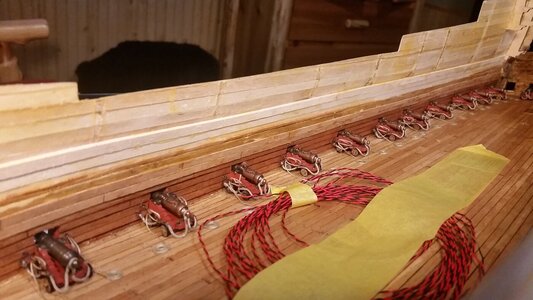

The next mahogany strips will be layer over the two wider bamboo strips, located at about the middle gun deck.


Four step pattern. Draw a line across all the strips every 80mm.


Bent bamboo acting as clamps for areas too deep for clamps to reach.

Lots of clamps.

View after two more strips of bulwark planking were installed. The bulwark is constructed thinner as you move upward.


