HMS Sovereign of the Seas - Bashing DeAgostini Beyond Believable Boundaries - by DARIVS ARCHITECTVS
Well, I just finished La Couronne and its display case a few hours ago, and swore that I would take a break before starting another project.
That didn't happen. On to Ship #2.
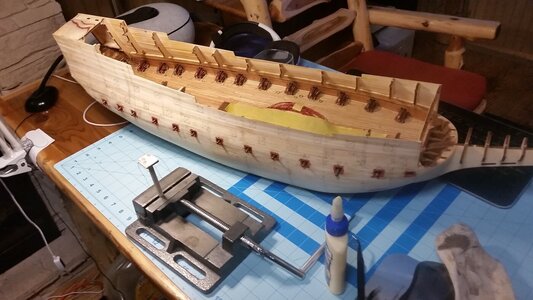
Research on building HMS Sovereign of the Seas started almost immediately. I opened Issues 1-15 of the kit and started pouring through their contents, eager to work on the one ship which is the greatest inspiration above all others. The first problem reared its ugly head immediately. The false keel assembly does not include the keel itself, ending at the garboard strake of planking. I could not use my multi-position keel vice that served my so well while building La Couronne! That meant that the base jig in the DeAgostini instructions has to be built and used. The keel is attached later in assembly, and I'm afraid that it won't be strong enough to use the keel vice, and one accidental bump on the hull will break the keel off, leaving the wrecked hull rolling on the floor. I guess I'll have to be careful.
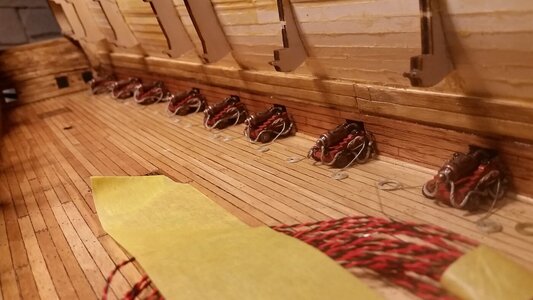
Some more observations. This model has a complete lower gun deck, unlike Corel's La Couronne, so it will be easy to replace the false half-barrel cannons with complete carriages. (Don't look at me like that, Dockattner... You may take ALL the shortcuts you want! Not THIS sailor.) Because the kit instructions are scattered across 135 packages in magazines, the steps for assembling multiple similar items like cannons are also scattered, and there are no blueprints or rigging drawings to refer to that give you the complete picture of how elements like lines, decorations and other landmarks used in measuring are positioned, relative to each other and the hull overall. This is quite different than working from the two general arrangement drawings and seven rigging drawings that helps you classify and keep track of what you are working on, and where something goes.
Just to get something done, the first frame pieces of the bow were glued together, and some wood metal "L" brackets for making the base jig were purchased. There is still one more piece of wood to purchase before the base jig can be completed and the false keel assembled. Since I wanted to use those GORGEOUS Amati cast decorations on this model, the problem remains whether or not they would fit because the scales between the Amati and DeAgostini models are slightly different. Laying the false keel bulkheads on the Amati plans shows that they may actually be close enough to allow use of most of the Amati decorations. Each decoration, Amati or DeAgostini, will have to be chose based on how close to the Payne description of the decorations they are. Perhaps in some cases neither will work, and scratch built decorations will have to be made, which I do not have the patience, tools or talent to do. Carving is a slow, high risk task for me. Too much can go wrong. After all, I'm an engineer (Architectus in Latin), not an artist.
Many things will be replaced in this white metal casting, plywood ridden, arguably accurate DeAgostini kit. LET THE BASHING BEGIN.
It looks like somebody broke the sprit topmast, or it that just he camera lens effect?
This is NOT what the kit build would look like. This is the scratch built Italian made model that the simplified kit approximates, and falls short of
