- Joined
- Aug 30, 2020
- Messages
- 676
- Points
- 353

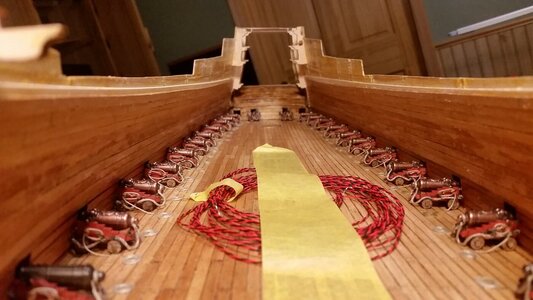
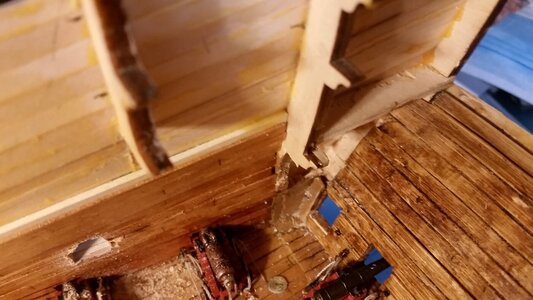
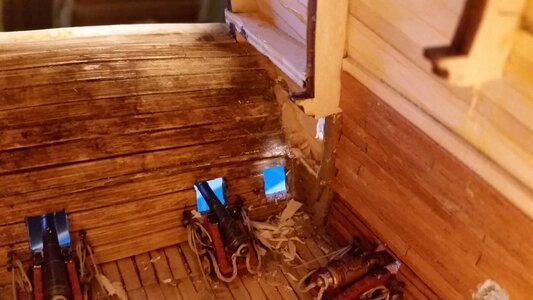
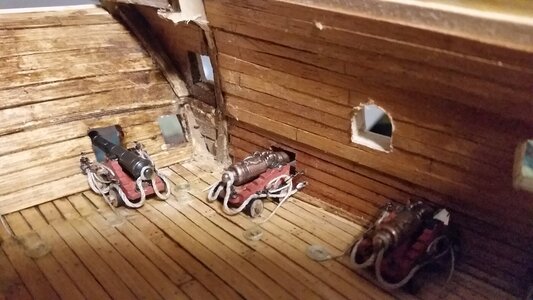
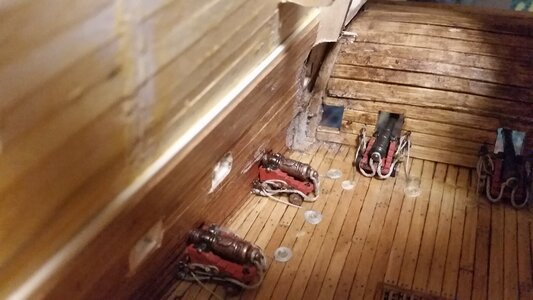
I would be sad to see it all covered up, looks so good.Added more mahogany and basswood planks to the bulwarks.
View attachment 272101
View attachment 272102
View attachment 272103
 |
As a way to introduce our brass coins to the community, we will raffle off a free coin during the month of August. Follow link ABOVE for instructions for entering. |
 |
 |
The beloved Ships in Scale Magazine is back and charting a new course for 2026! Discover new skills, new techniques, and new inspirations in every issue. NOTE THAT OUR FIRST ISSUE WILL BE JAN/FEB 2026 |
 |

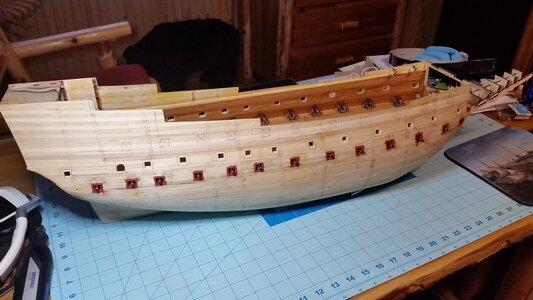
I would be sad to see it all covered up, looks so good.Added more mahogany and basswood planks to the bulwarks.
View attachment 272101
View attachment 272102
View attachment 272103




The camera concept is outstanding. Fine build and demolition work done. I think you enjoy the art of demolishing
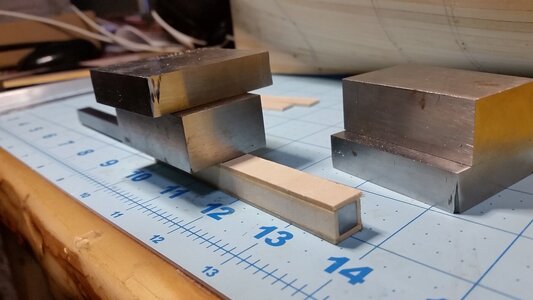
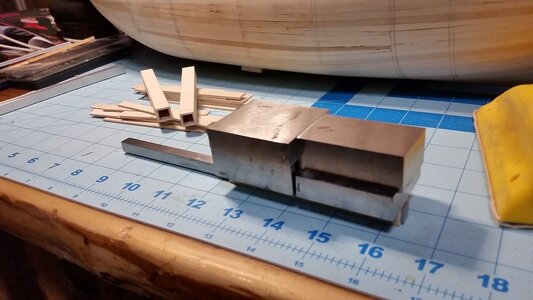
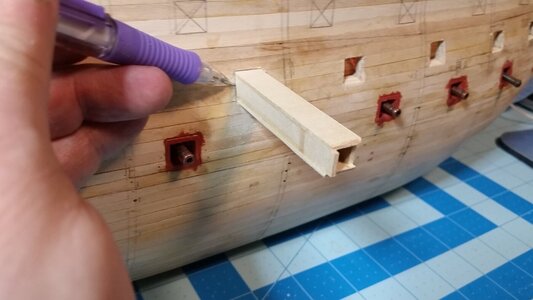
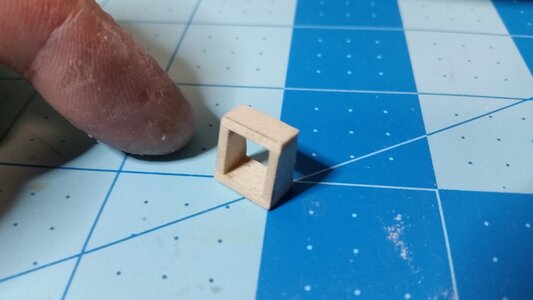
Your idea and execution of making wooden tubes is ingenious to say the least. Never would have thought of it. . . one of those gems in plain sight but not seen until you showed it. The installation and finishing shows the value of your method. Rich (PT-2)The frames which line the middle and upper deck gun portals are fabricated from square wood tubes made from 2mm basswood cut into strips and glued around a steel bar. Thre bar was waxed and removed from the wooden tube just before the glue dries, so the wood won't stick to the bar.
View attachment 272509
View attachment 272510
View attachment 272511
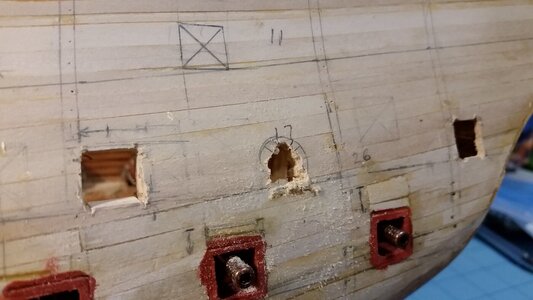
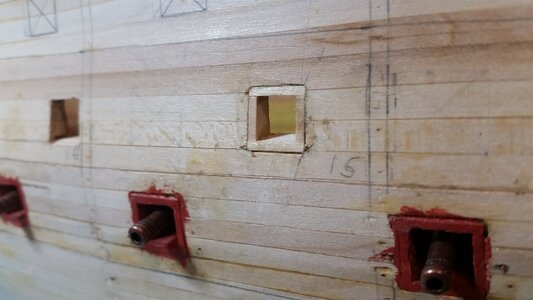
MORE demolition! The arched gun ports under the side galleries need to be cut out by drilling and filing.
View attachment 272512
The inside corners at the stern look like crap. Let's improve their appearance.
View attachment 272513
MORE demolition! Using a needle nosed pliers on my Leatherman tool, I reached in and crushed and tore all the offending remnants of the hull supports.
View attachment 272514
A drum sander on the battery powered Dremel tool Completes the removal of the supports, maximizing the amount of mess I can make.
View attachment 272515
Added some wood to fill each corner.
View attachment 272529
View attachment 272530
The wood tube in inserted into the gun portal until it is flush with the bulkhead on the interior. The tube is marked where it will be cut flush with the hull.
View attachment 272516
Remove the tube and cut on the pencil line using a band saw.
View attachment 272517
Glue the finished portal frame into the portal.
View attachment 272518
All starboard side portals on the middle gun deck were installed today.
View attachment 272519
Looks good. These will be painted red ochre later on the outside edges and inner surfaces. The interior edges will be stained brown.
View attachment 272520
Lookes like Parmesan cheese to me, but that s maybe just my stomage speaking.Already snowing in Minnesota...

Nice. I think I saw @Mr.Deep do the boxes the same way. Was it a lot of work? Did it take a long time?Ok guys, back to work! The middle gun deck gun portal frames were installed on the port side and painted red ochre, with the inside edges stained brown with dark walnut Danish Oil.
View attachment 273061
View attachment 273062
View attachment 273063
It's actually a great shortcut that creates perfectly square portals of equal size. What takes the longest is using a diamond file to open up the portal openings large enough to allow the tube sections to fit in. A sanding strip works at about the same cutting rate as a diamond file. Cutting the sections off the tube at the pencil mark takes literally 6 seconds with the band saw. I think this method is far more consistent and easier than trying to cut and fit four tiny wood strips into each portal whole. It the angles are off, the portal would look terrible. Later, you would cut the final planking strips at precise lengths to leave most of the red painted frame visible, yet cover the seam where the frame meets the edges of the first layer of planks.Nice. I think I saw @Mr.Deep do the boxes the same way. Was it a lot of work? Did it take a long time?
I have set the over/under for snapped off barrels at 42 before the end of this build. PM me your wagers...Oh, and the number of cannon barrels I've snapped loose from clumsy bumps and handling is up to 7. No damage to the gun tackles. Occasionally a trunnion cap needed to be recovered and glued back on. It's a problem you just have to live with because there is no way to install rigged guns and carriages after the deck is covered over later in the build.
 . House takes 3%.
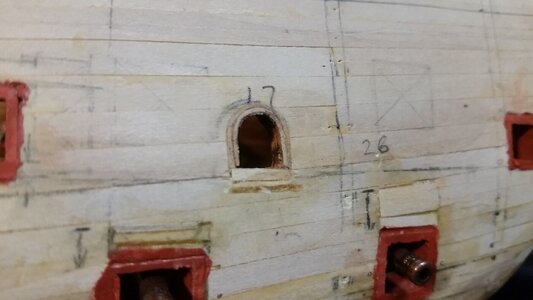
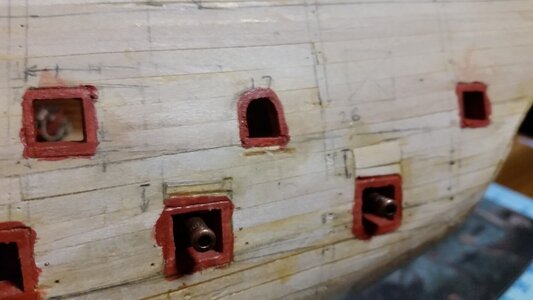
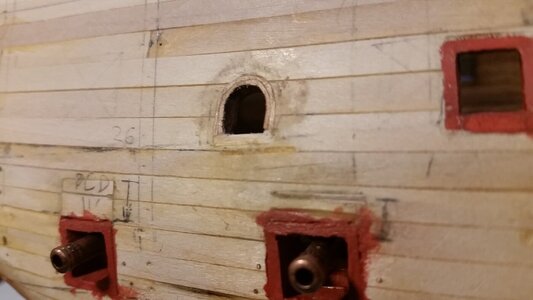
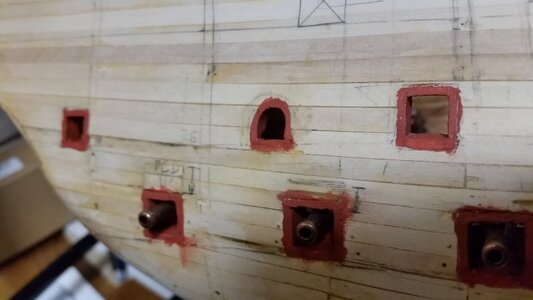
The count just went up to 8 today. The aftermost gun barrel on the port side was knocked loose and re-glued back in place. I will continue to keep count in order to allay our boredom.I have set the over/under for snapped off barrels at 42 before the end of this build. PM me your wagers.... House takes 3%.

Added more mahogany and basswood planks to the bulwarks.
View attachment 272101
View attachment 272102
That is going to be a nice looking ship. The hull looks very well shaped. Was wondering what you think of your oscillating cutter?More demolition! The middle gun deck gun ports were roughly cut out with the oscillating cutter. When these are trimmed up and lined, they will establish the vertical location of the middle gun deck at the sides.
View attachment 272334View attachment 272335
I’m thinking of using epoxy to keep the guns stuck on the carriages.The count just went up to 8 today. The aftermost gun barrel on the port side was knocked loose and re-glued back in place. I will continue to keep count in order to allay our boredom.
