HMS Sovereign of the Seas - Bashing DeAgostini Beyond Believable Boundaries

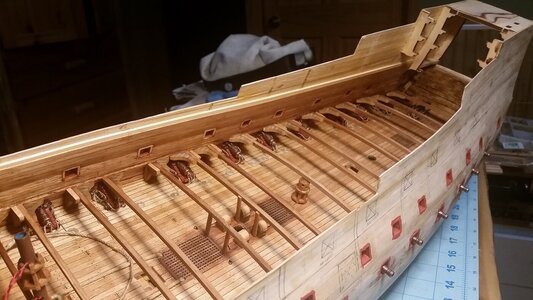
Tiny update. The fore capstans for the lower and middle gun decks were slipped onto a shaft made from painted 1/4" copper tube, and the wires for lighting carefully passed through the shaft and out holes in the side of the shaft. The lower set of wires will power the lights for the lower gun deck. The others will be routed through higher decks later in the build.

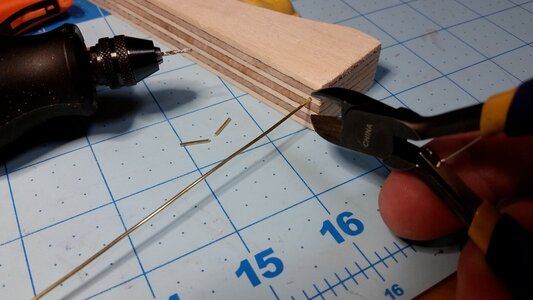
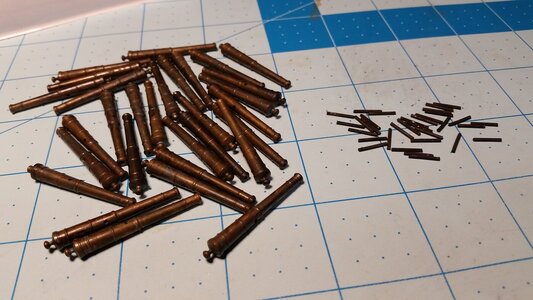
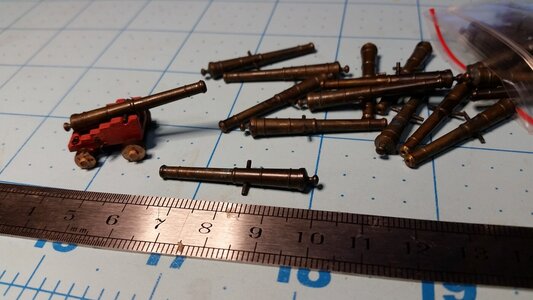
Trunnions for the culverin drakes of the middle gun deck were made for the gun barrels. A hole was drilled in a piece of wood was drilled to the depth equal to the length of wire used to make each trunnion. Then, 18 gauge wire was inserted into the hole and side cutters used to cut the wire flush with the surface of the wood. After 32 cuts, all the trunnion segments had their ends sanded to remove the pinched metal burrs, and then they were blackened and glued into the barrels with CA glue.

The wires will pass through gaps between the false deck pieces, instead of cutting delicate slot in beams and carlings to accept the wires to keep the wires hidden.
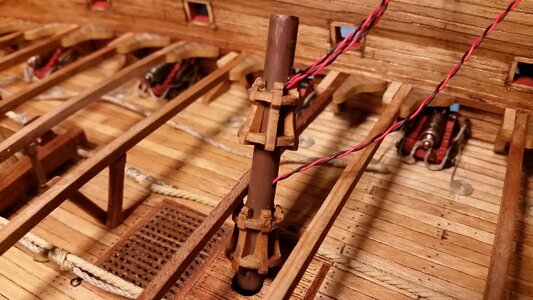
566 Pass Wires Through Copper Tube Capstan Shaft.jpg

Snip snip . . .
567 Use Calibrates Hole to Cut Trunnions From Wire.jpg

568 Blackended Trunnions.jpg

Trunnions complete!
569 Glue Trunnions in Culverin Drake Barrels.jpg
 
Last edited:
Four chain pumps were fabricated from poplar wood, and basswood dowel, and black vinyl covered copper wire and installed around the main mast. These pumps did not share cisterns between pairs of pumps port and starboard, where water collect before passing through wooden box tubes (dales) to either a port or starboard scupper on this deck, dumping the water overboard. The dales are connected between the pumps and the scuppers only when the pumps were used, and are not installed on this model because I wanted the gun deck to be cleared for action. Usually vessels from the early 17th century would have two pumps, and later had four pumps. However the large size of this ship made me think that it was possible to have four pumps before this became popular. Elm pumps (the ones with single handles) would probably not have been used on a ship this early. Despite the maintenance problems early chain pumps had, they could many times more water than elm pumps, so it is logical that the Sovereign of the Seas would have duplicate chain pumps on board. Vertical supports for the pump handles were installed as well.

570 Make and Install Chain Pumps.jpg

You can see the outlets of each pump where a dale would be connected to each pump.
571 Chain Pumps.jpg
 
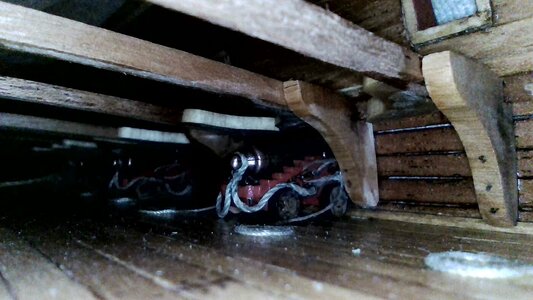
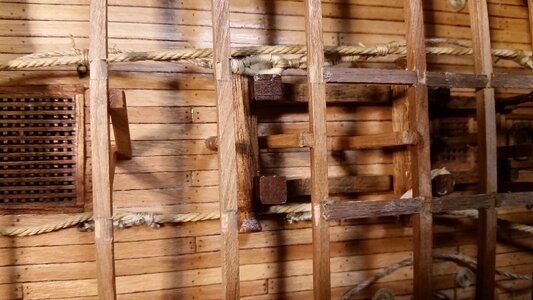
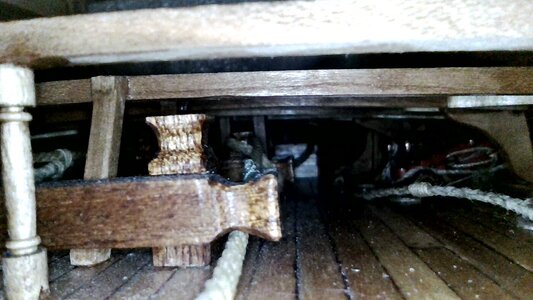
This is amazingly cool. I bought an endoscope, and tried it out. Unfortunately the 45 degree mirror for it was annoyingly visible when used, but here are some straight shots takes from the deck, with external overhead light, and without, using the cold, blue adjustable lamp within the scope. Even at this scale, it makes you believe you are truly there! A second endoscope was purchased minutes ago, and this one has a side camera as well as an end mounted camera. Hopefully it will make a better periscope.

Draping the breeching ropes and making the gun tackles finally pays off.
575 Endoscope View.jpg

Anchor bitts and starboard anchor cable visible. The 3mm thick beams look as large as real ones from this angle.
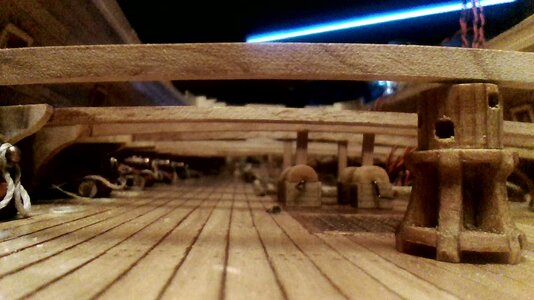
576 Endoscope View.jpg

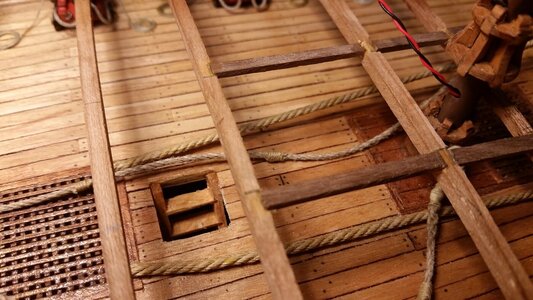
Main capstan and chain pumps visible. Hard to believe the capstan is only 2cm tall.
577 Endoscope View.jpg
 
Last edited:
Enjoy watching your build on the Sovereign. Thinking of building a second one from scratch when I'm finish with the one I'm busy with. I saw some better ones on construction (Manta) than the one I'm Doing. Just looking for the correct plans and carvings to start my new Sovereign. I will ad a Log this weekend on my first Sovereign.
 
Enjoy watching your build on the Sovereign. Thinking of building a second one from scratch when I'm finish with the one I'm busy with. I saw some better ones on construction (Manta) than the one I'm Doing. Just looking for the correct plans and carvings to start my new Sovereign. I will ad a Log this weekend on my first Sovereign.
Unfortunately, no one makes the correct carvings and decorations for HMS Sovereign of the Seas. For my build, I'm going to design them all on the computer and print them with a 3-D resin printer. When I'm done though, others will be able to use my 3-D models for a modest fee.
 
This is amazingly cool. I bought an endoscope, and tried it out. Unfortunately the 45 degree mirror for it was annoyingly visible when used, but here are some straight shots takes from the deck, with external overhead light, and without, using the cold, blue adjustable lamp within the scope. Even at this scale, it makes you believe you are truly there! A second endoscope was purchased minutes ago, and this one has a side camera as well as an end mounted camera. Hopefully it will make a better periscope.

Draping the breeching ropes and making the gun tackles finally pays off.
View attachment 282310

Anchor bitts and starboard anchor cable visible. The 3mm thick beams look as large as real ones from this angle.
View attachment 282311

Main capstan and chain pumps visible. Hard to believe the capstan is only 2cm tall.
View attachment 282312
Looking at that gun deck in scale makes me think that there would have to have been a crew of short little squirts to clear the beams when running for powder and shot! Great perspective view. Rich
 
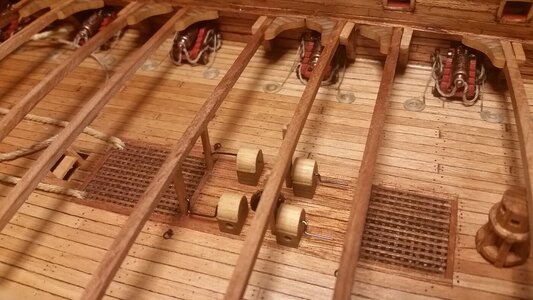
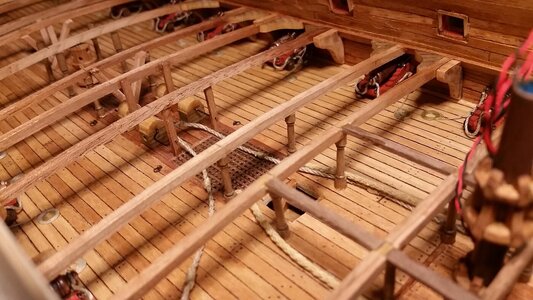
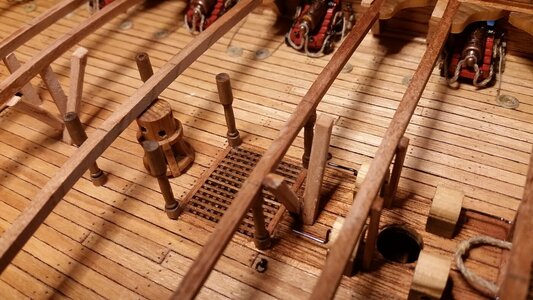
The carlings (axial deck supports) were begun today. The beams were needle filed to make bevels, and the carlings had beveled ends sanded in them so when they are glued in, they are flush with the top surfaces of the beams. The carlings are made from 1x3mm walnut. The fore capstan shaft was glued into the gun deck and now fixed in place. Before I get too far toward the stern, the pillars need to be installed, and I have to make a viola block and strop that attached to the main mast.

What I'm wondering is how I'm going to finish this deck without installing the main mast because of this block. The messenger goes through this block and passes back forward and round the fore capstan, and the eye on the end of the messenger needs to finally be lashed to the eye on the other end of the messenger line. Perhaps I can make a short section of mast and have the upper section of mast pinned to it, with the circumferential joint located at the level of the middle gun deck so it is not visible.

578 Begin Installing Carlisles.jpg

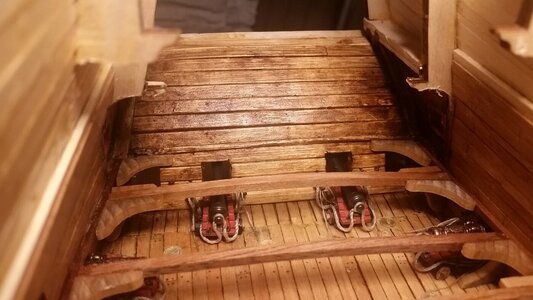
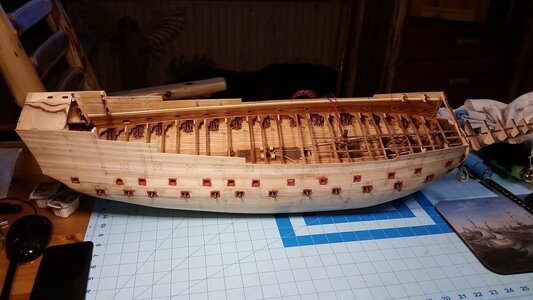
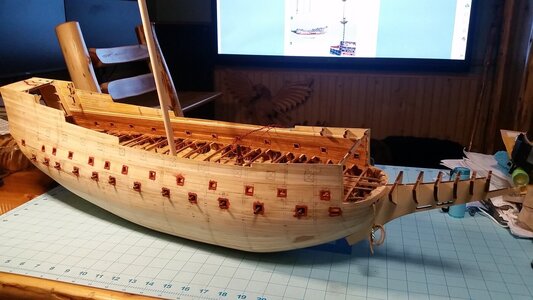
Progress so far.
579 Progress So Far.jpg
 
Last edited:
After looking at the orientation of the ladder aft of the fore capstan, which leads down to the orlop deck, it was apparent that people coming down from the ladder to be mounted above that would step into an open hatch if the grating were removed. Bad idea. I wouldn't want to step into a hatch and fall into the hold. So, the ladder was cut out and rotated 90 degrees so that it descends in an athwartships direction.

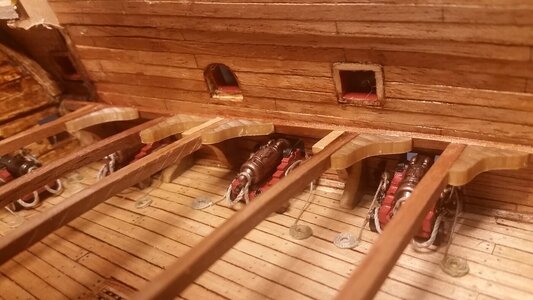
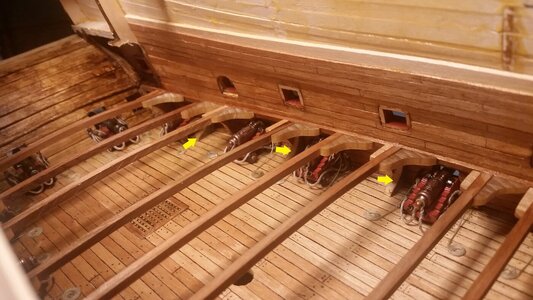
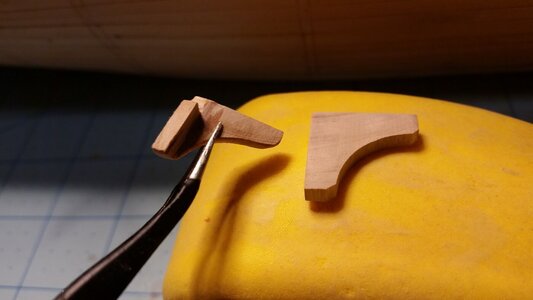
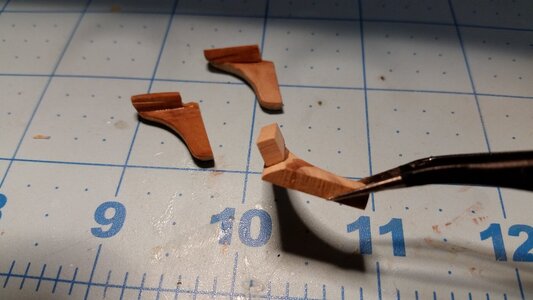
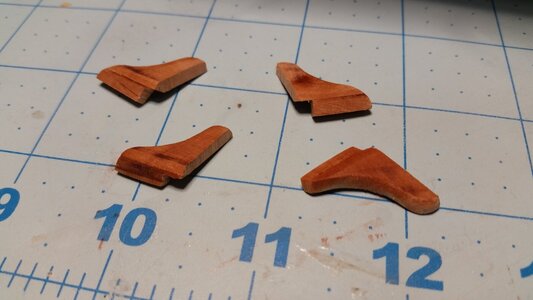
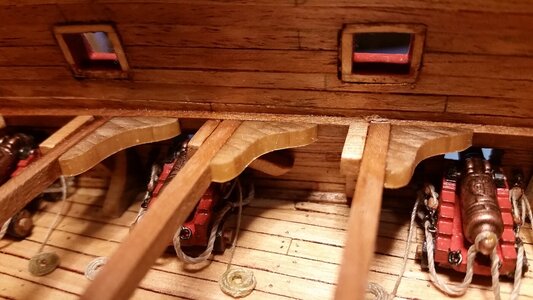
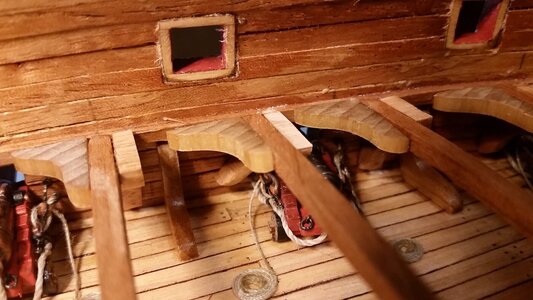
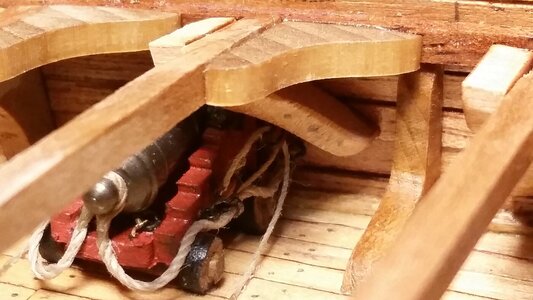
Almost forgot to add the dagger knees. These are hanging knees angled at about 45 degrees to stay clear of the guns, where beams may be positioned over a gun port. Four of them were needed, based on where the beams ended up. We know nothing of the actual beam locations from the real ship, to you have to depend on general knowledge of the support structure from your book research to know when these knees are necessary. Each knee was test fit and filed to shape, coated with spray varnish and installed with CA glue.

580 Re-orient Forward Ladder to Athwartships Direction.jpg

First knee made and test fitted. This one is for the port aft position.
581 Fabricate Dagger Knees from Slices of Corner Molding.jpg

A vertical strip of wood is attached to the 45 degree knee with CA glue.
582 Assemble 45 Degree Dagger Knee.jpg

All four dagger knees varnished and ready for installation.
583 Four Dagger Knees Done.jpg

Port aft dagger knee.
584 Port Aft Dagger Knee.jpg

Starboard aft dagger knee.
585 Stbd Aft Dagger Knee.jpg

Port forward dagger knee.
586 Port Forward Dagger Knee.jpg

Starboard forward dagger knee. Iron bolt heads were simply drawn on with a mechanical pencil, like the trenails in the deck.
587 Stbd Aft Dagger Knee.jpg
 
Last edited:
Those pillars are nicely to scale. Looking really great Kurt.
Part if scavenging for parts when scratch building is finding the part that fits the scale. With model ship kits, many features are out of scale. For example, we have to live with sails that would have fabric and many times thicker than they should be in scale, and that affects how fine the folds are, which affects the appearance. Using your books for reference, you can scratch build most things, and save huge amounts of time by finding materials that are almost what you want, but not quite, and modify them slightly to get what you want. Getting familiar with all the parts available from kit makers can allow you to accurize your model by choosing alternate parts. Parts from Amati and Caldercraft were gathered and using on bashing La Couronne in many ways, as they are now being used to add detail to HMS Sovereign of the Seas. My limitation is in making the carvings for decorations. Some members here are masters at it and make it look easy. So, I have to look for alternatives, such as making them from 3-D printing them. If I carve them from pieces of wood the traditional way, they would look positively awful. Paul has a gift for micro painting, so the Wasa is a truly excellent choice for him to build because of all colored carvings.
 
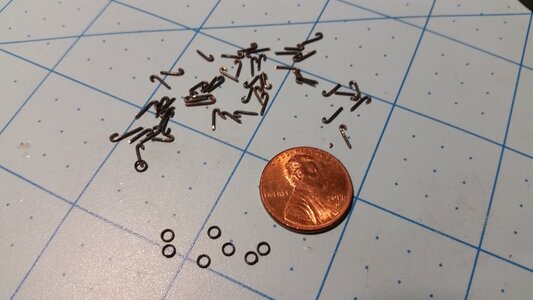
A bit more work today. Those same pins Vfordyce used to make his hull and wale iron nails were used to become my "J" hooks for the gun train tackle rings. These were made with a round nosed pliers used for bead work, and were blackened and glued into holes in the deck, capturing iron rings. The train tackle rings are now done. Next is figuring out how to make the viol block strop around the main mast without a main mast. After that it's back to cutting and installing the carlings.

590 Making more Deck Rings.jpg

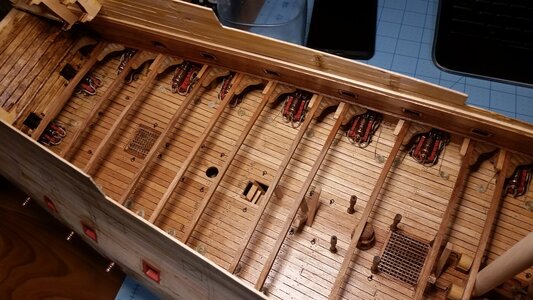
The dowel for the main mast is temporarily in place while I figure out how to capture the strop for the viola block without having the mast in place, long after the deck above is installed. Quite the puzzle.
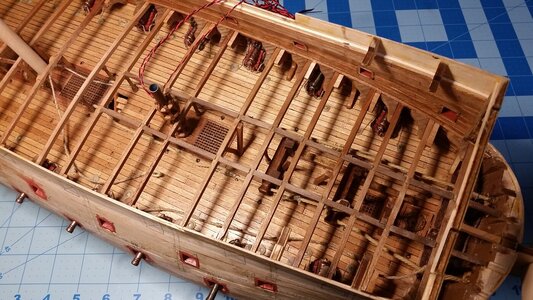
591 Continue Installing Train Tackle Deck Rings.jpg

592 Continue Installing Train Tackle Deck Rings.jpg

593 Progress So Far.jpg
 
Last edited:
Back
Top