HMS Sovereign of the Seas - Bashing DeAgostini Beyond Believable Boundaries

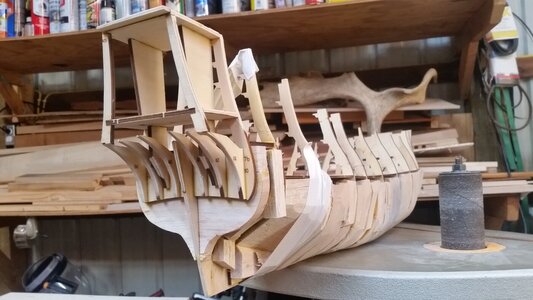
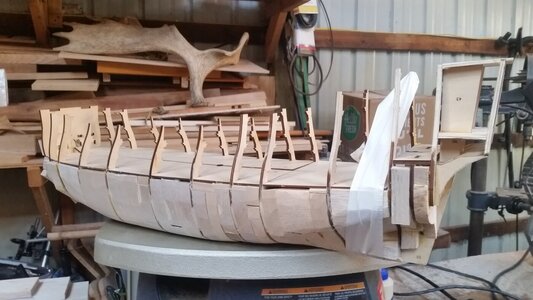
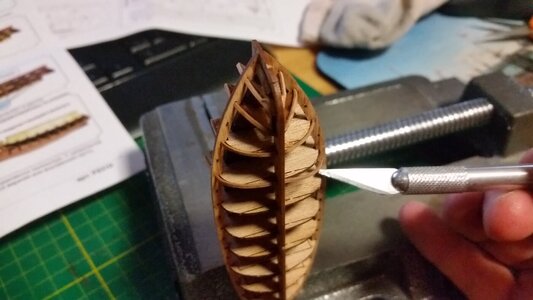
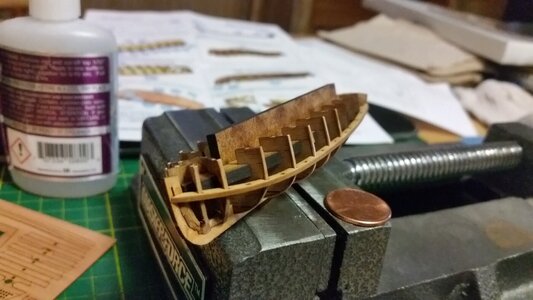
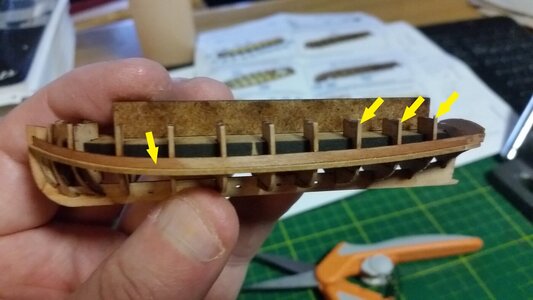
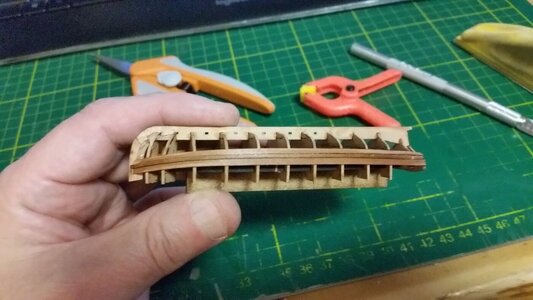
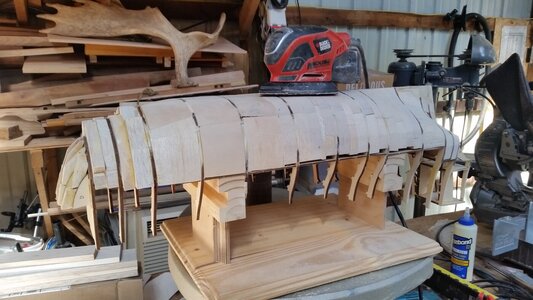
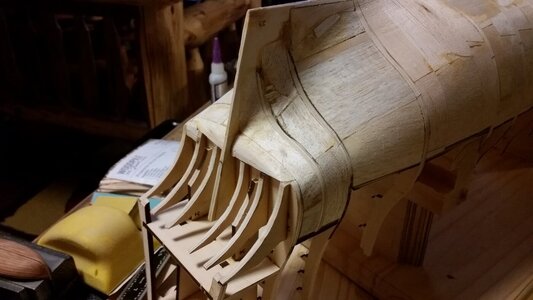
Work on the Sovereign is going to be slow to nonexistent for the next two months due to work. Today I was able to spend several hours adding more balsa blocks to the hull. I can't wait to see how nice the hull form will be once it's shaped by sanding. The white duct tape is pulling a bent frame inboard, into shape to match the other side because it was slightly warped. One more parts are added in that area, like false decks, the frame will be forced into in the proper position and locked down before planking begins.

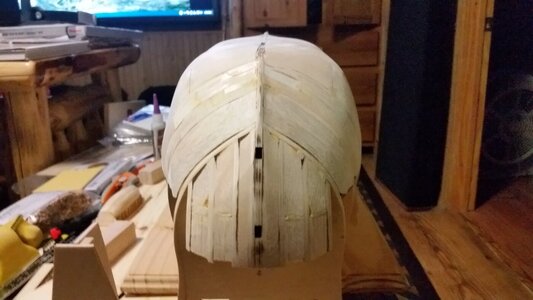
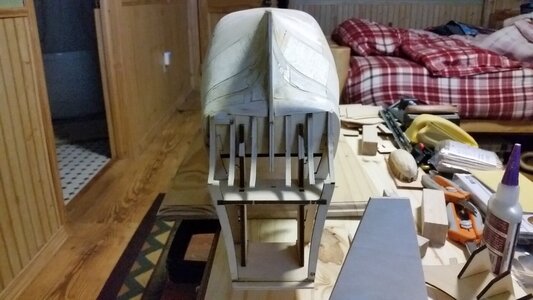
Before this stage, it's important to look from the stern forward and from the bow aft to see if there is any twist in the keel or framed out of alignment. The keel looks straight now, and the twist in the bow that was found earlier was corrected a while ago with glued reinforcement blocks combined with clamps to twist the bow at the first two frames into alignment with the rest of the hull.

When fixing a twist, the entire hull acts similar to a long coil spring, and a certain amount over over correction should be used when gluing reinforcements until the glue dries. If your estimate of over twisting the hull past straight is correct, the hull will untwist once all restraints are removed and rest at a perfectly straight alignment. The balsa blocks between the frames anchor the hull into shape, so you better have things aligned before the filler blocks are added or the twist will become permanent.

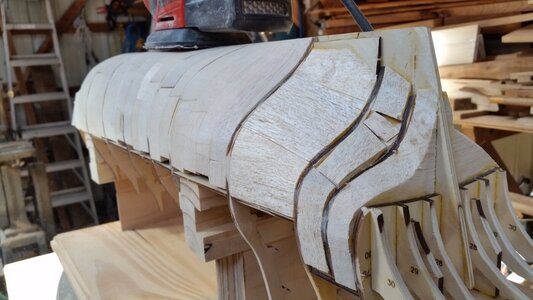
It may appear like I am setting up the stern for a square tuck. Not so. I will be rounding all that balsa over to create a demi-round tuck, with sharp edges forming at the transition between transom and side planking remaining sharp only down to the water line, exactly like the Lely painting of Peter Pett.
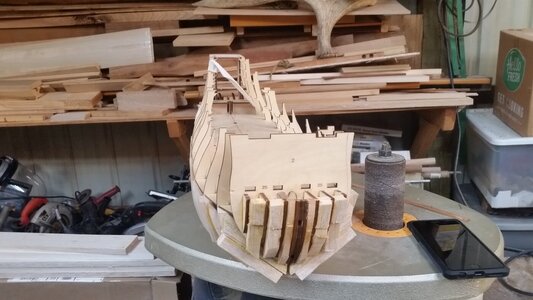
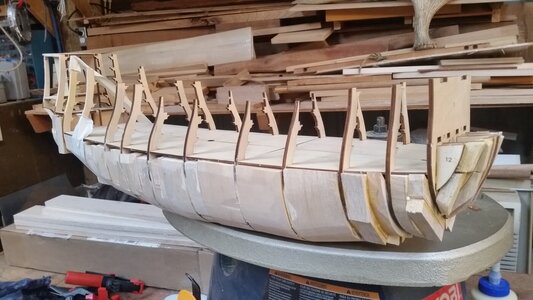
064 More Balsa Hull Filling.jpg

065 More Balsa Hull Filling.jpg

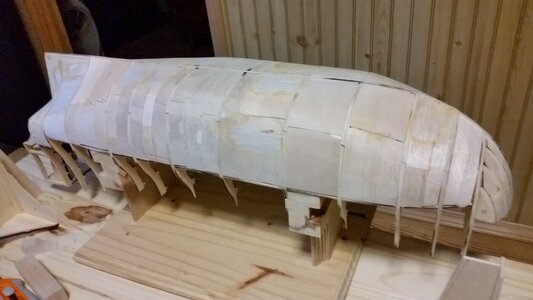
066 More Balsa Hull Filling.jpg

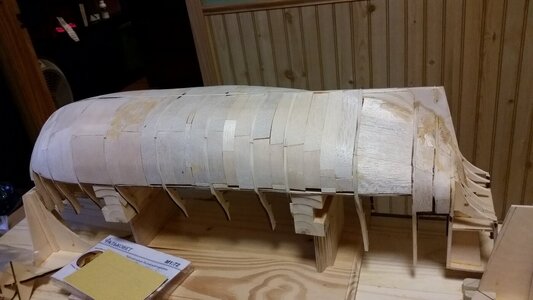
067 More Balsa Hull Filling.jpg
 
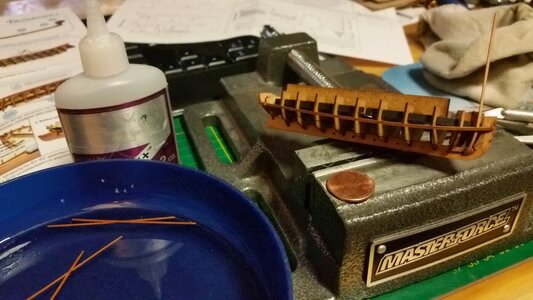
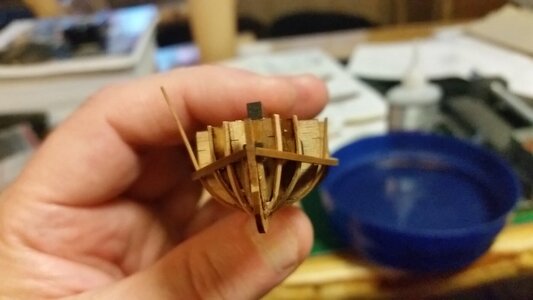
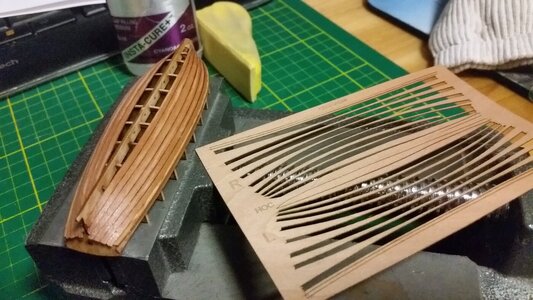
Assembly of the Falkonet pinnace kit continues. Sets of ribs are soaked in water to make them soft, then passed through the holes in the gunwale on one side, through the hold in the keel, then through the hole in the opposite gunwale. Unlike walnut, which would snap, or boxwood, which would come apart into a jumble of fibers, the soaked pear wood pends around tight curves as your jig like threading rope, curving without splintering. Once the ribs are in place, glue is applied to specific spots to anchor it to the keel and the jig's frames above well above the gunwales. The ribs in the aft part of boat do not pass all the way around the bottom of the boat through the keel, but are just segments that run from the gunwale upwards. Excess length of the ribs is trimmed off level with the top of the jig and using in installation of more ribs later in the build. In a later step, the gunwale pieces will be sanded flush with the planking. The gunwale doubles as a jig and a final part of the boat. Quite clever!

Planking is started with one plank above the gunwale piece and one below on both sides of the boat. That's all the farther I've gotten today. The Falkonet kit is most impressive in the small, detailed parts, and the quality of the wood which resists splintering even in bend angles that would break most other types of wood. All the joints are glued using CA in small and carefully applied amounts. I have to use and app on my cell phone to translate the Russian instructions. Anyone building a ship kit should consider replacing the pinnace or longboat with a Falkonet kit.

068 Start Adding Ribs on Pinnace.jpg

069 Water Soaked Ribs Glued to Jig.jpg

Wet pear wood strips of wood are pushed through the holes in the gunwale piece and keel like rope without breaking!
070 Feeding Softened Ribs  Through Jig Holed Before Gluing.jpg

071 Ribs Installed and Trimmed.jpg

Glue rib segment near the back of the boat at the top of the jig frames only, then glue on the first planks above the gunwale piece.
072 Add Ribs to Aft and Install First Plank.jpg

073 Glue Second Set of Planks.jpg
 
Work continues on the pinnace. The planking was completed with no sickening *CRUNCH* sounds. Here are the steps:

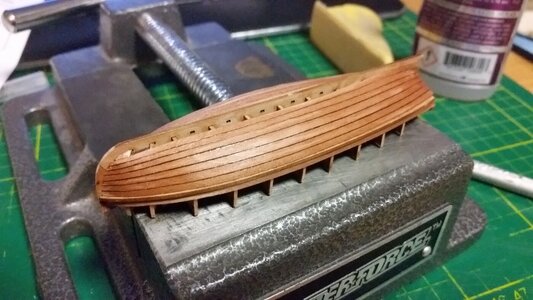
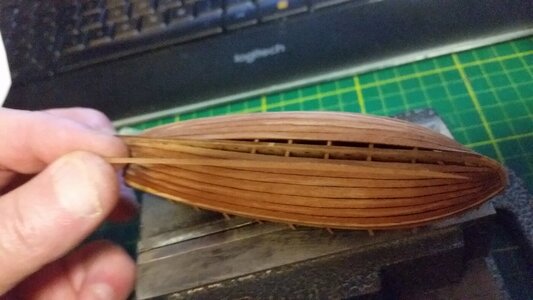
Continued adding planks one pair at a time. Each pair of planks is soaked in water for a couple minutes and bent carefully by hand to the shape it will assume on the hull. When the planks are almost dry, CA glue is used to anchor the planks at the bow. Once that is dry, glue is added to the ribs all the way to the stern, and the plank is held in place until the glue sets. Then, CA glue is applied all along the seam between the current plank and the one below it, as viewed with the boat upside down. Excess glue is wiped off. CA glue makes the wood a bit darker as shown below.
074 Continue Planking.jpg

One set of planks left to go...
075 One Set of Planks to go.jpg

The garboard strakes needs quite a bit of trimming off the edge opposite the keel to custom fit them to the remaining gaps.
076 Trim Garboard Strakes to Fit Remaining Gap.jpg

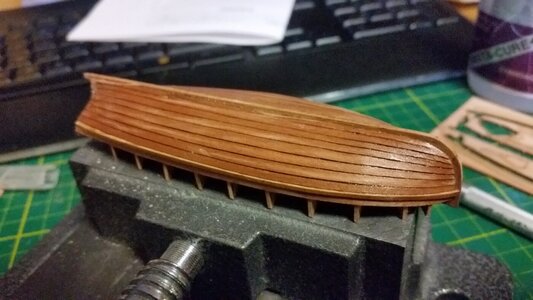
All planks installed.
077 Planking Complete.jpg

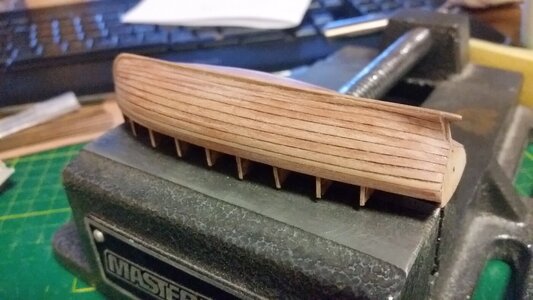
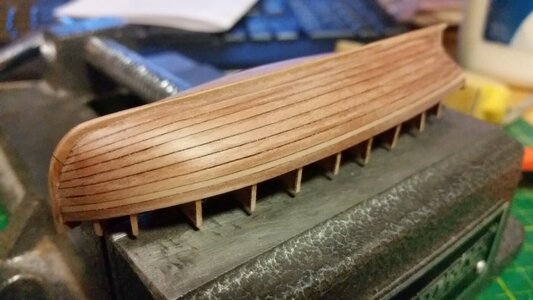
The wide strakes, just below the gunwale planks, were trimmed and sanded flush with the hull surface. Then the hull was sanded with 120 grit, then 400, and finally buffed with a green Scotchbrite pad to bring out the wood color. If anyone has any historical references to what colors this boat should be painted for a typical 1630's English pinnace, please let me know so I can use the same color scheme. I have no sources for determining this.
078 After Trimming Gunwales Flush and Sanding.jpg

Another view of the sanded hull.
079 Sanded Hull.jpg

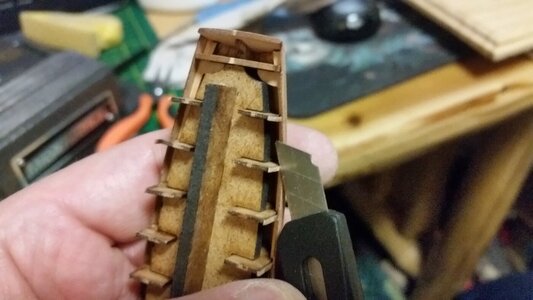
Next the hull needs to be prepared to separate it from the jig. The ribs are first cut at the gunwale, then some of the tabs of the temporary frames near the bow be broken loose with a pliers and removed to allow the boat to slip free of the jig.
080 Cut Ribs Flush with Gunwale.jpg

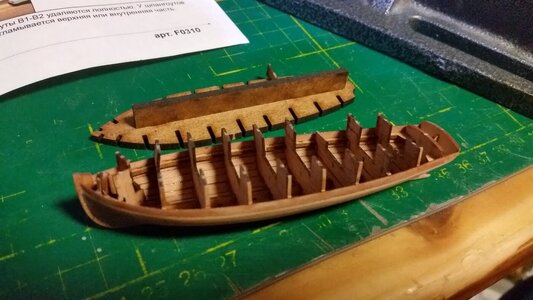
The boat is removed from the jig.
081 Break Out Frames Near Bow and Remove Jig.jpg

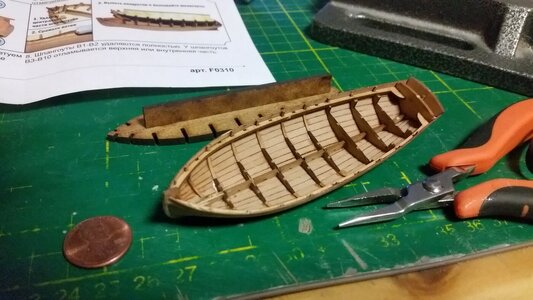
The temporary frames are carefully broken from their attachment points at the bottom of the boat and removed. The hull looks pretty good at this point. It's hard to believe the level of detail on a boat kit only 11 cm long, and assembly is only half complete. Next, more rib will be shaped and installed between the existing ones. These will be inserted through the holes in the strakes below the gunwales and the pairs of ribs will meet at the holes in the keel.
082 Pinnace Hull So Far.jpg
 
Last edited:
Looking great Kurt. What a lovely little boat and nicely detailed (and nicely built by the builder). What is the scale?
The ship is 1:84, but the boat is 1:72, which is as close as I can get. It certainly is a vast improvement over the DeAgostini supplied boat. You're used to working with teeny tiny things, Paul. You should see if one of the Falkonet boats can work for the Wasa.
 
That's what I'm wondering as well. The scale is close enough but I wonder if it will be too English in style. The Dutch built very distinctive boats (chaloup / boot) so I'm watching to see how yours turn out - and if the kit can be modified to add some of the more Dutch features. Adding the boat will be my after-party and it may end up being my first foray into scratch building as a fun project. Still a ways off but always thinking...
 
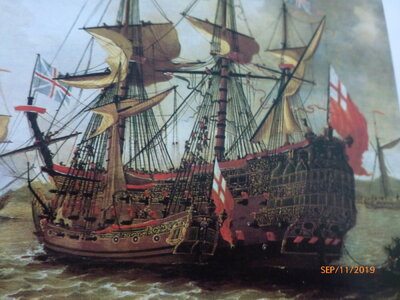
Here's a painting from about 1673 by Jacob Knyff (some sources spell his name "Knijff") that shows the Sovereign and it's pinnace in the foreground. I hope this is useful.View attachment 223874
THAT huge armed vessel is the Sovereign's PINNACE? When I think pinnace, I envision this:
1616986637801.png
 
Last edited:
Don't take the size seriously. It's really distorted in the painting.
I understand, but the pinnace Charlie was referring to is a service ship for SotS, where I was lookin for information on the utility longboat which may have been aboard. If that 14 gun pinnace is the only utility boat for SotS, then now I have to make TWO models! :D
 
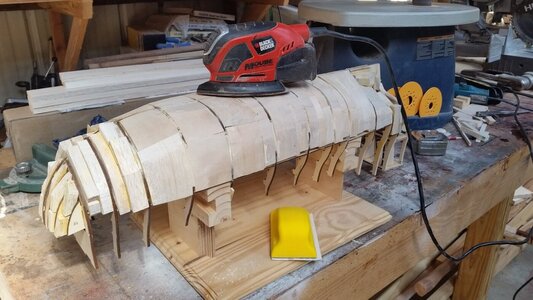
I took a vacation day and spent it all rough sanding the hull. The mouse eats balsa quickly and makes a decent shaping tool using an 80 grit sanding pad. The final passes were made using the soft yellow sanding pad, also with 80 grit. Some spots that got too low were filled with shims of balsa and re-sanded. There are a few shallow flat spots that will be filled with filler putty the same way the hull on La Couronne was done. Looking at the hull in the sun reveals high and low points that need more work to be perfect, but that is unnecessary since the hull with be covered with basswood strips for the first layer of planking, and have to be re-sanded again to final shape. Any low spots at present will be covered over. It's starting to look like a ship. I am eager to see how the demi-round tuck will turn out.

083 Begin Rough Sanding of Hulll.jpg

084 Sanding Stbd Side.jpg

085 Begin Shaping Stern.jpg

086 Rough Sanding Complete.jpg

087 Rough Sanding Complete.jpg

088 Stern with Demi-Round Tuck.jpg

089 Rough Sanded Bow.jpg

090 Rough Sanded Stern.jpg
 
I understand, but the pinnace Charlie was referring to is a service ship for SotS, where I was lookin for information on the utility longboat which may have been aboard. If that 14 gun pinnace is the only utility boat for SotS, then now I have to make TWO models! :D
John mcKay has very nice drawings for the 3 service vessel of SotS. The ship in the front is more a yacht and not a pinnace.
 
Thanks Maarten. Any ideas as to the colors for the pinnace?
I would go for the same theme as for the sots, gold on a black background.
You would expect it was richly decorated being used for transport of elaborate people towards and from the ship.
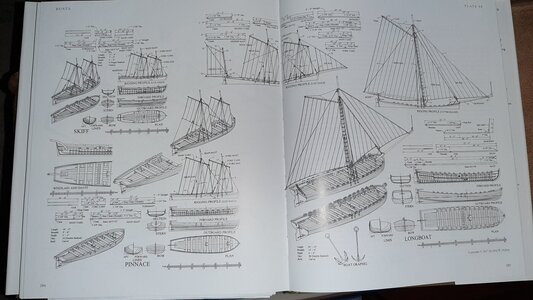
See below a picture of John mckays book.
20210331_222245.jpg
 
I would go for the same theme as for the sots, gold on a black background.
You would expect it was richly decorated being used for transport of elaborate people towards and from the ship.
Thanks! That's what I'll do. The next question is, would the pinnace be towed behind the ship, or stored in the waist on cradles like on later ships? Perhaps the pinnace should be left off the deck of the Sovereign entirely?
 
Thanks! That's what I'll do. The next question is, would the pinnace be towed behind the ship, or stored in the waist on cradles like on later ships? Perhaps the pinnace should be left off the deck of the Sovereign entirely?
Hey Kurt,

Here is an exchange from the Vasa Museum forum. The bulk of this is quoting Fred Hocker. It might be helpful as you consider options:

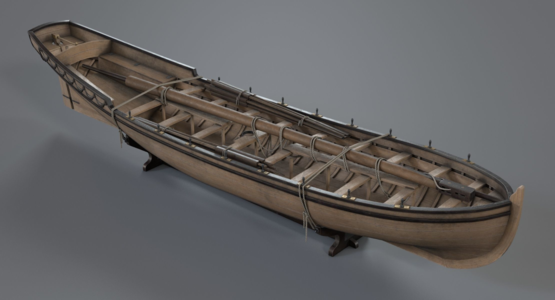
Fred: I saw that back in December last year you had a question about boats. I can answer that Vasa certainly carried two boats, and possibly a third. One of the two was the large esping, a heavy, flat-bottomed rowing and sailing boat. This survives nearly intact, including fragments of the sails. It is the size that Witsen specifies for a ship this size. A smaller, clinker built boat was found inside this boat. A third boat, similar to what Witsen specified as a smaller launch, was found at the stern, but we cannot be sure it belongs to Vasa. Parts of at least seven boats were found on, under and around Vasa, at least one of them dating to the 14th century, so it is not always easy to decide which ones belong to the ship.

Question gets asked: Those are a lot of boats! Do you think, they all are stored an deck or towed after?
I think, we still had this question and I believed, there was one or two boats, which are towed to the ship, but if there are three or more boats, this would be not practicable
.

Fred: At the time the ship sank, the largest boat (11.7 x 3 m) was being towed alongside, to port, with the small clinker boat stowed inside. The third boat, if it does belong to Vasa, was being towed astern. It is not a problem to tow two boats, but I agree that towing a third might be tricky. Most Dutch sources suggest that large warships of this era had at least two boats, but sometimes more. It was not yet common in the 1620s to carry boats on deck.
 
Back
Top