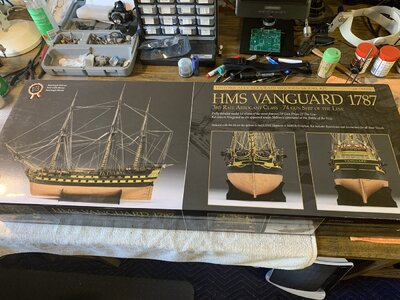
HMS Vanguard 1787 1:72 a Victory Models kit

Joined
Sep 12, 2022
Messages
227
Points
213

Location
Geelong Australia
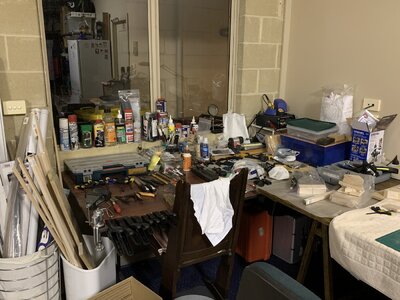
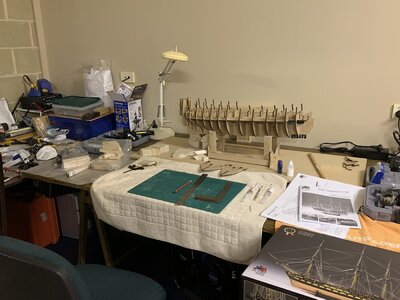
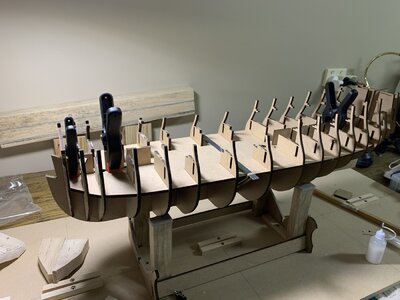
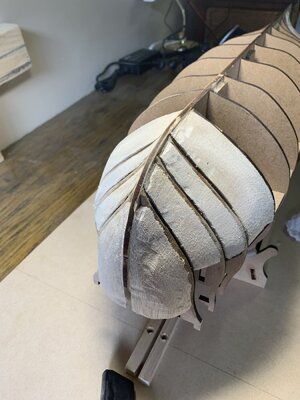
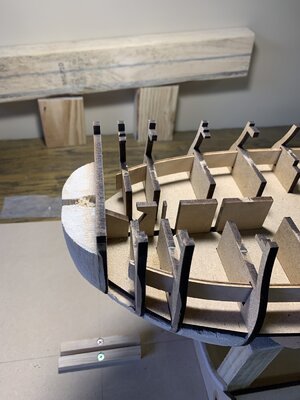
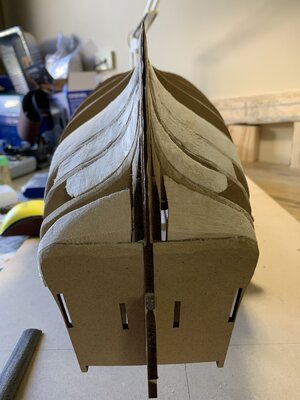
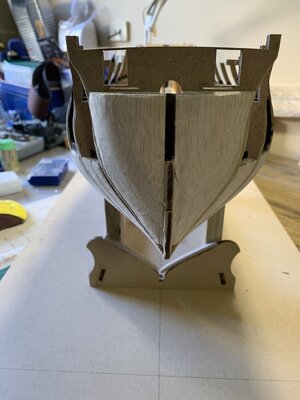
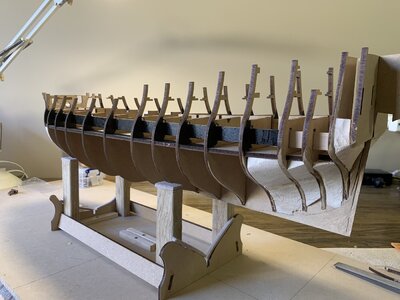
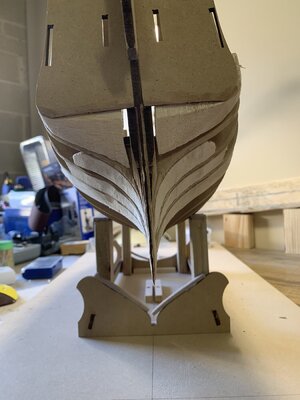
Starting my build of HMS Vanguard.
I am impressed by the quality of other modelers on SOS, and hope I can come close to a similar outcome.

Posting my build images is a bit anxiety provoking, as I hate imperfection, but rarely make things perfect.

I welcome all comments and suggestions.

Thanks for your interest72D3AA84-1856-4FE7-8D28-D4143AC7AD00.jpegF34B9484-10A8-4BE1-85AA-169FB2ED52BC.jpegF34B9484-10A8-4BE1-85AA-169FB2ED52BC.jpegF34B9484-10A8-4BE1-85AA-169FB2ED52BC.jpeg72D3AA84-1856-4FE7-8D28-D4143AC7AD00.jpegF8E36CEE-9C22-4CC6-9FBF-C717F75E857A.jpegDD90631A-4991-487B-BF81-ED8EDB4EDE12.jpeg44F4988F-F599-4A06-B2DF-1A7D10770C83.jpeg70AF4E78-66BB-4DF4-BB24-B9A81F255A86.jpeg963C5E43-9535-48C9-B66A-82C462097532.jpegFBD4280D-C626-443B-9AD0-82DCBC902B01.jpeg3AA46DC1-0A2B-457E-AAD0-1E15215ED472.jpeg92E96C37-3E3F-4F4C-A962-0D10A3937459.jpegBEAD8D95-965C-4A11-BC7F-09E95D8D5F87.jpeg2FD589F9-68F3-49F8-B472-D2535A47A6B4.jpegBCE80E0A-1457-4BFB-BA74-F4EEA3D7B2C6.jpeg8BA8C3CB-8165-4EC8-8376-2C9EBEEF70F8.jpeg4547411E-6ADB-49E3-A2F5-96708E213D40.jpegAAD0D4F3-AD85-4E2C-92B6-E4C2A10DDB75.jpeg53DAFD58-184E-4339-87AC-7F533D369155.jpeg81B1E281-906D-4439-AF2F-E9B656675EB1.jpeg77F4E489-51B0-4D1C-9097-99A0333D3A59.jpeg
 
All good. But I suggest making your own tools. Crocodile clips ok but needs softening ?on jaws or jig. Cradle needs update : awkward at times? Small details needs updating. Kit building always look rough to begin with. You have experiences for model …. Try scratch building a few items. Then your model will lift off / improve skills. Rails look a bit scary to use : this is an excellent scratch build with spectacular results! My imperfections are there …. I feel no one gets 100% correct. As models need some licence to adapt. Can you char strakes like William 1st rate? Cork / tar planking …. Imperfections in my opinion makes a model from a kit of pieces to something with feelings. Keep going, I am sure it will be a fine looking model!
 
If I weren’t so far away, I’d offer to come over to just watch and learn…maybe bring you a pint. I’m impressed with the flow of your photos. I’ll be on the lookout for your posts too.
 
Good morning. I will definitely pull up a chair here. Off to a brilliant start. Cheers Grant
 
i have been making slow progress. Trying hard to get a nice build and reading others logs before I do anything.
Anyway since last post I have
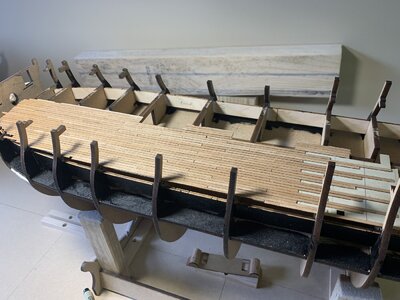
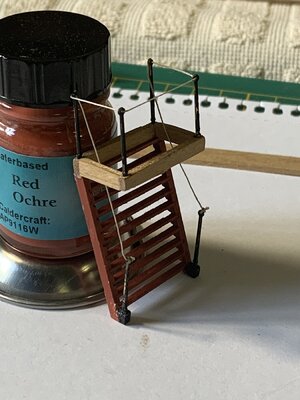
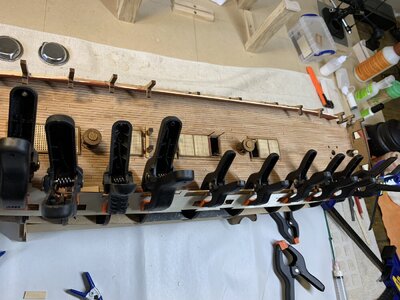
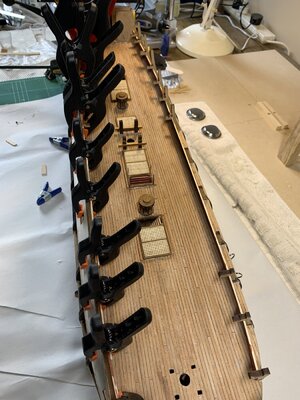
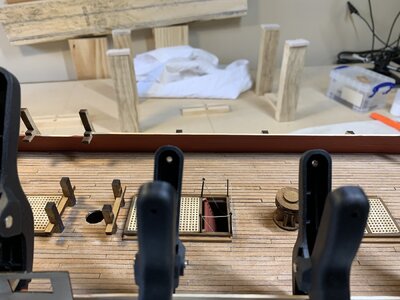
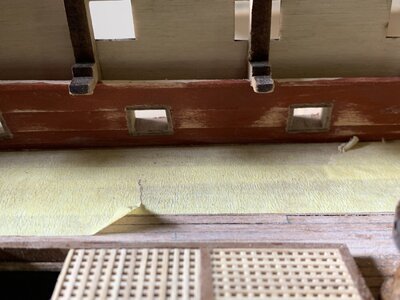
1: Planked inner bulwark of gun deck, painted with Red Ochre
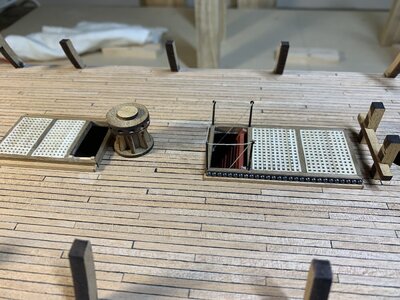
2: Sanded the deck and sealed it with matt polyurethane
3: Painted the Beak Veneer with Officers Loos.
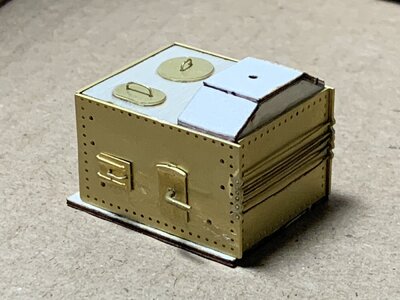
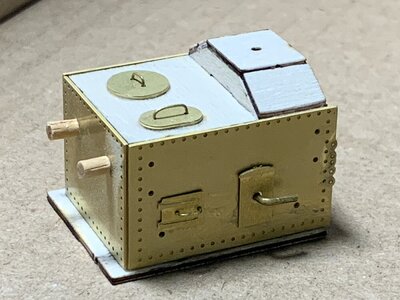
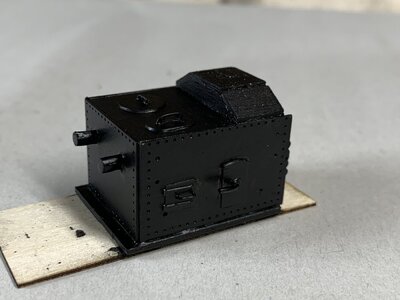
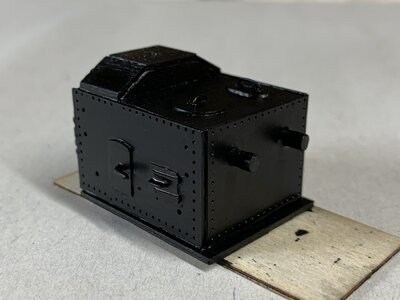
4: Painted the Oven
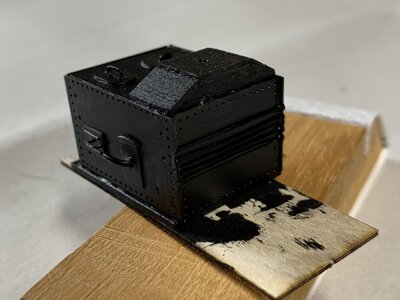
5: Trial painted the guns
6: Placed 6 of the gun port patterns.

My thoughts so far. Painting the inner bulwark patterns is easier to do off the boat, and I like the airbrush better as I can get a more even thin coat, which shows the detail in the wood but looks consistent in the finish.
Painting general tips as I am a real beginner, I have learnt that all surfaces wood, metal, or plastic need cleaning & priming or preparation before applying paint.
For wood I use decoart Americana all purpose sealer
For brass and bronze I use SMS etch primer
For Polyurethane I used Feast Watson Matt Polyurethane Varnish

I am using Admiralty paints water based by Caldercraft.

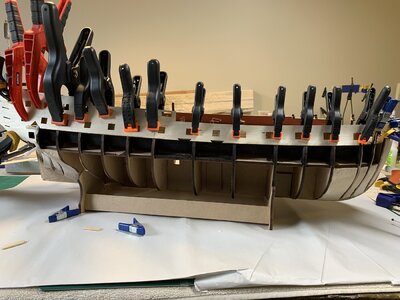
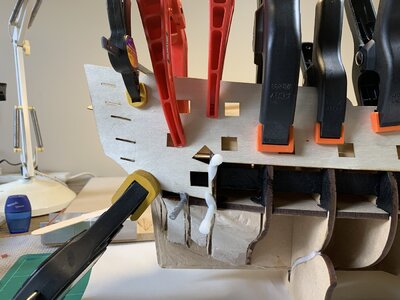
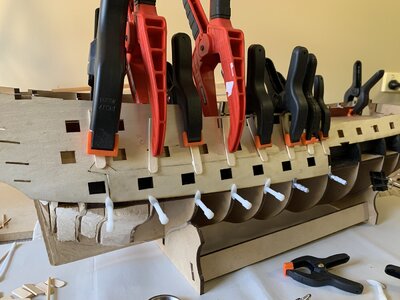
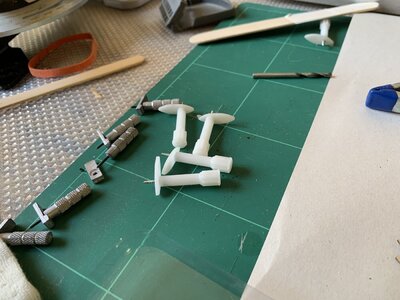
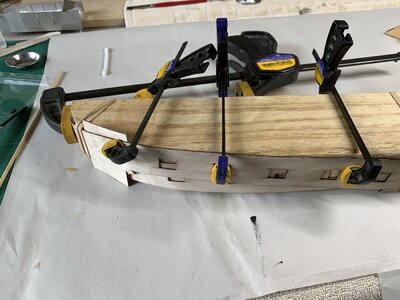
Gun port patterns. the upper two are not all the difficult to apply. I used PVA wood glue and had a clamp for each frame, used a paddle pop stick on the painted bulwark to prevent any damage from the clamp, and used spring clamps with tilting tips to ensure the 1mm plywood was compressed at the greatest concave part. For the Bow and stern ends there are some other curves that were best held with the thumb screws. I have plastic and metal types. The Mdf is solid so need to predrill some pilot holes for the screws.

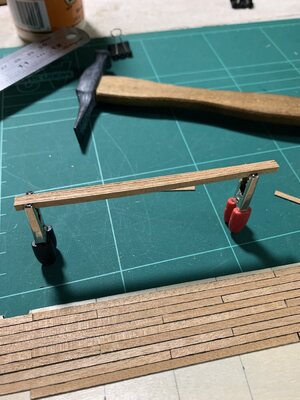
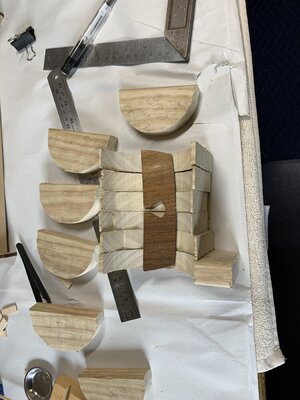
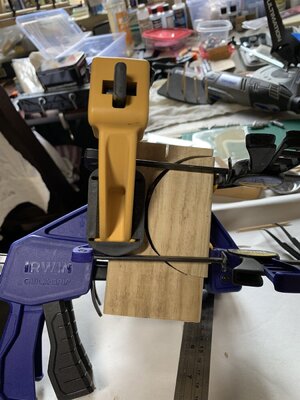
The Bow lower patterns have the most difficult curves and I haven’t fitted them yet. I soaked in hot water for 30 minutes and having made a wooden frame jig from the plans outline using a scroll saw on a 4 by 2 scrap, I clamped the wet plywood with clamps and rubber bands to dry.

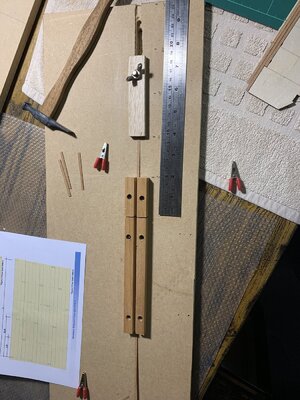
Also made a form jig to compress the walnut transom, Part 31, which other modellers have noted is notoriously hard to bend, against the grain.

Thanks for checking in and I would be happy to have any comments or suggestion.

ACB2200C-0912-487A-BDDF-78212730304B.jpeg6AB66D8A-31B3-4949-9AF5-3DF69841FC9E.jpeg29F2B1EC-80FF-4E78-A459-4C807DA158C1.jpegFC81212D-561C-4F15-AED6-E183EEAB6823.jpegDD6BC8AB-FCB7-477D-95A8-0B84D0E73614.jpegF6D8E023-9C10-45F6-AC9A-5FB408C8539B.jpegAB0B1FAA-A498-4B28-A6F7-06A93EC98BE0.jpegE950B5BA-06DD-48DD-BEE5-34C3FEC90ADC.jpeg589711A2-6F88-4939-9DF2-3C8CABEB0126.jpeg0D8D2D0A-7F7E-453A-B175-761E9BC6D578.jpegE55FE571-0359-425D-B4FB-79444BD144C4.jpeg9179DE10-9E5E-49AC-A2E8-E2C083F8E3AD.jpeg0E85361B-0A15-4192-8099-459FA58B6A47.jpeg
 
Last edited:
Hi
i have been making slow progress. Trying hard to get a nice build and reading others logs before I do anything.
Anyway since last post I have
1: Planked inner bulwark of gun deck, painted with Red Ochre
2: Sanded the deck and sealed it with matt polyurethane
3: Painted the Beak Veneer with Officers Loos.
4: Painted the Oven
5: Trial painted the guns
6: Placed 6 of the gun port patterns.

My thoughts so far. Painting the inner bulwark patterns is easier to do off the boat, and I like the airbrush better as I can get a more even thin coat, which shows the detail in the wood but looks consistent in the finish.
Painting general tips as I am a real beginne, I have learnt that all surfaces wood, metal, or plastic need cleaning & priming or preparation before applying paint.
For wood I use decoart Americana all purpose sealer
For brass and bronze I use SMS etch primer
For Polyurethane I used Feast Watson Matt Polyurethane Varnish

I am using Admiralty paints water based by Caldercraft.

Gun port patterns. the upper two are not all the difficult to apply. I used PVA wood glue and had a clamp for each frame, used a paddle pop stick on the painted bulwark to prevent any damage from the clamp, and used spring clamps with tilting tips to ensure the 1mm plywood was compressed at the greatest concave part. For the Bow and stern ends there are some other curves that were best held with the thumb screws. I have plastic and metal types. The Mdf is solid so need to predrill some pilot holes for the screws.

The Bow lower patterns have the most difficult curves and I haven’t fitted them yet. I soaked in hot water for 30 minutes and having made a wooden frame jig from the plans outline using a scroll saw on a 4 by 2 scrap, I clamped the wet plywood with clamps and rubber bands to dry.

Also made a form jig to compress the walnut transom, Part 31, which other modellers have noted is notoriously hard to bend, against the grain.

Thanks for checking in and I would be happy to have any comments or suggestion.

View attachment 331785View attachment 331786View attachment 331787View attachment 331788View attachment 331789View attachment 331790View attachment 331791View attachment 331792View attachment 331793View attachment 331794View attachment 331795View attachment 331796View attachment 331797
Hi Chestcutter,
Nice work.
I see I am going to have up my game if I want to become as skilful as you.
 
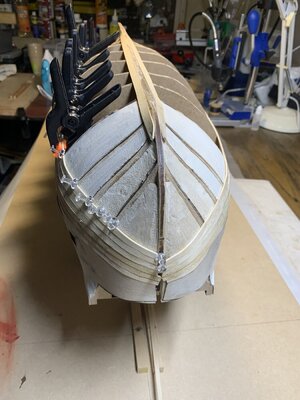
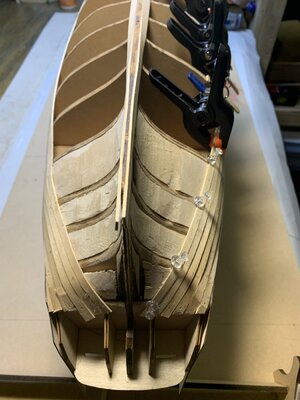
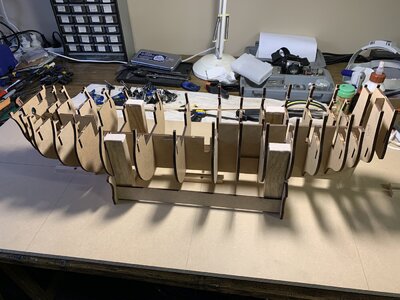
Posting an update on my building progress. I have applied all the gun port patterns. As reported in other logs I experienced some waviness of the edge of the ply, in between bulkheads. Some of this can be managed with sanding and some need some CA glue and digital correction.
Now I have started the first layer of planking.
I have read much about different planking methods, and realized there are many ways. The technique I am using is a combination of others that I have blended and am using in this build. The dominant steps are

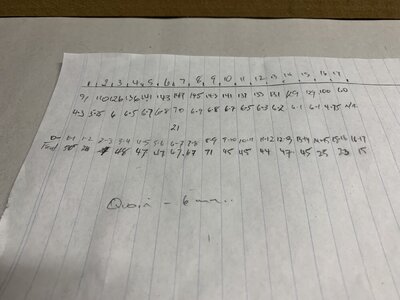
1: Measure bulkhead length at each bulkhead (17 for the Vanguard) and in a table record the length
D883737D-1590-4A35-BCCA-23F5417476DF.jpeg
2: Divide the length by the width of planks to be used (7 mm) at the longest bulkhead (#7) to establish the number of planks required per side, 21 in Vanguard
3: Divide the measured bulkhead length by the number of planks, in step 2 to find the plank widths at each bulkhead
4: Measure the distance from one bulkhead to the next.
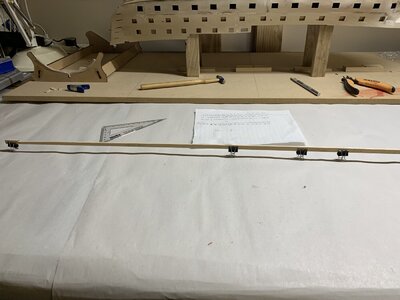
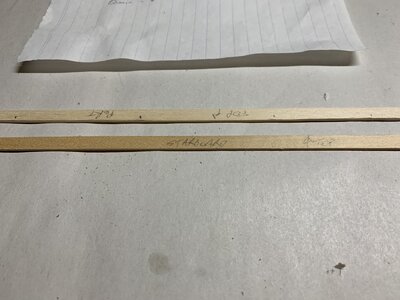
5: Take two planks and mark out the bulkhead edge and the changing width at each bulkhead to then draw a line to spline or taper the planks, doing both together, port and starboard to preserve symmetry
315EB15E-112C-4783-A275-9EAB1D138763.jpegAE3A8863-DD47-4F99-99A6-311A08C9D47C.jpeg
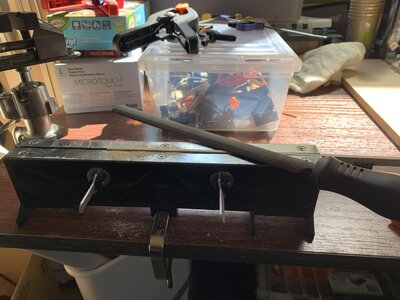
6: I place the two planks in a strip vise and take off the bulk of the material with a bastard file
C8D9FBE5-D1C0-487C-8CCF-825C7BBB204A.jpeg
7: I then use a Dremel sander disk to fine sand down to the line. Be sure to mark the planks for port and starboard as well as top the side that was trimmed, and fore and aft, otherwise it’s easy to get mixed up.

Next

8: I lay the plank dry from bow to stern and identify where the curvature needs to be made in the plank to allow the plank to lay flat on the bulkheads.
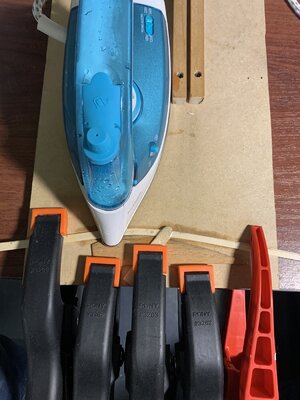
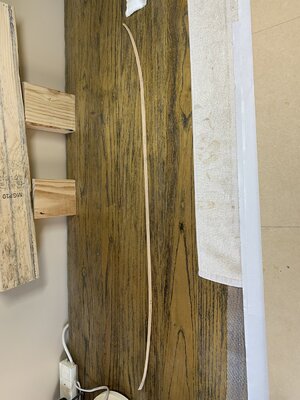
9: I use the Passaro technique with a curved jig and a popsicle stick to hold the plank at it point of inflexion. Using finger applied water and a travel iron, I apply heat and pressure to create the curvature. This is done fore and aft.
BEA278D3-98B3-4463-A0E3-6E8552081A89.jpeg
10: I then use the iron on the wooden pattern I made from a 4x2 on the plank at fore and aft to get the hull curvature in the other plane.

Next

i dry fit the curved plank then apply PVC glue to the edge of plank above and bulkheads and filler block areas and apply the plank. Using combination of push pins with a flange, and spring clamps and modified fold back clips I clamp the plank in place.
I do port then starboard sides and try to maintain symmetry
55494254-AF14-4278-B68F-11A275BC2C98.jpeg

DE93EA3F-D97B-4956-84A0-5D77B3D2EB72.jpeg

4E7C4440-1EB0-4B44-94A6-6078A61F515D.jpeg

Worth mentioning that I have tried using the plank bender tool, and I find it makes the wood too brittle and prone to break.

I am no a master planker, but am still learning and hope this helps others who may be learning too.
 
Last edited:
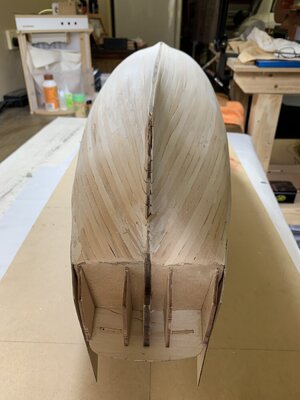
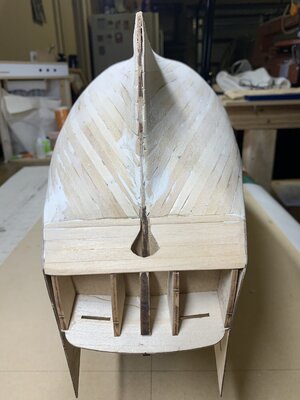
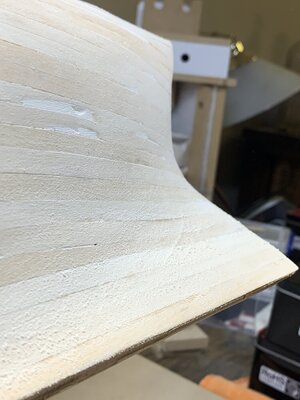
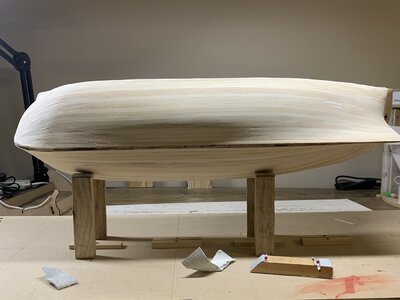
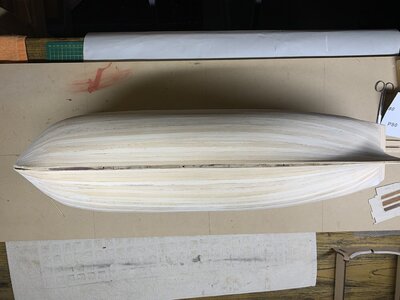
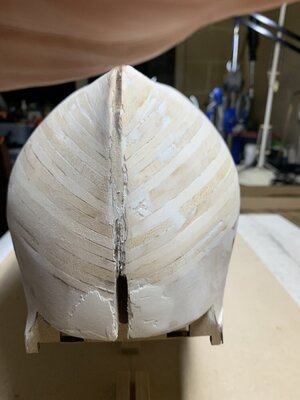
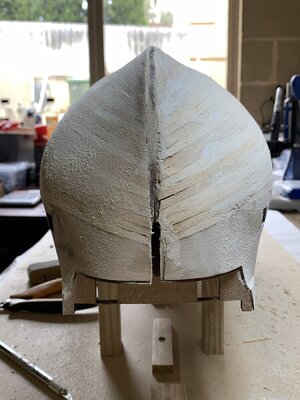
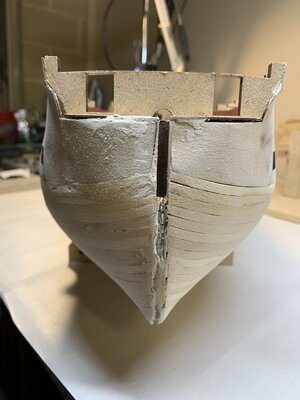
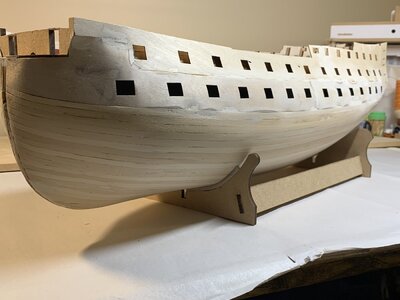
Well the first layer of planking is complete. I found the stern area difficult with the curves and some areas look messy. I have been filling and sanding with coarse grit first and planning to do medium grit next.

The bow also needed some filling.

I find myself needing to feel the hull and view it in light from many angles to sand and remove any ridges. It seems as though it will never be smooth enough.
977BF591-3C11-4F35-9769-8330ECE14B2B.jpeg977BF591-3C11-4F35-9769-8330ECE14B2B.jpegB9879B66-82E6-4EBC-AC82-FEA89E694D0A.jpeg431EF628-CD3F-40EC-843C-19954766E6DB.jpeg

977BF591-3C11-4F35-9769-8330ECE14B2B.jpeg977BF591-3C11-4F35-9769-8330ECE14B2B.jpegB9879B66-82E6-4EBC-AC82-FEA89E694D0A.jpeg431EF628-CD3F-40EC-843C-19954766E6DB.jpeg59E48D23-EA1D-425F-8A46-466AF6663DEE.jpeg448FD4B1-7B16-4BEA-8D86-4CD4B01493B9.jpegD5082549-6CB2-4AC4-999A-5D28AA7CC41B.jpeg23B83FA2-7809-40DC-837D-4F32456231C0.jpeg7805F73F-F8E9-4C98-8D8B-780B2141DF5E.jpeg
 
Last edited:
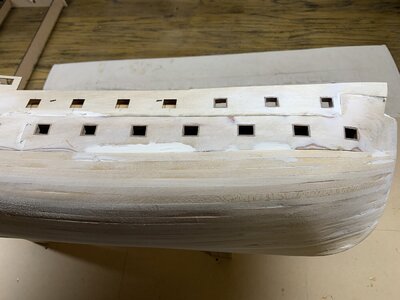
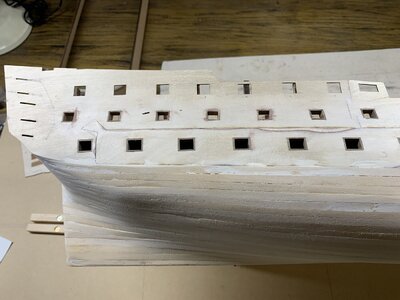
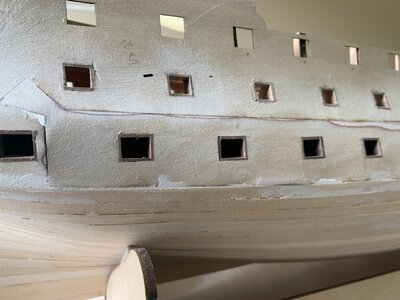
I have also framed the gunports on the lower deck and gun deck with ports that have lids. I tried using the method described by others of creating a tube from 8 planks, but found it too difficult to get the sides squared and then cut the tube without it breaking.
so I planked the four sills individually. Sanded to layer of first planking so they will be recessed by 1 mm from the second layer. Planning to paint them all before second planking.
4D542131-C3EC-455A-9800-7C4B223BD61D.jpeg1560B6D3-59B5-4A76-A212-7AF80797FAD8.jpegFBB1671F-6EBD-4EA5-AB98-1AF3AAC36F5E.jpeg7E83DEFB-B462-45E5-AE7D-9BF1CBF67CA5.jpeg

E3FE4D2D-F375-4C1F-A07D-835F4EFC513B.jpeg
 
I have also framed the gunports on the lower deck and gun deck with ports that have lids. I tried using the method described by others of creating a tube from 8 planks, but found it too difficult to get the sides squared and then cut the tube without it breaking.
so I planked the four sills individually. Sanded to layer of first planking so they will be recessed by 1 mm from the second layer. Planning to paint them all before second planking.
View attachment 338772View attachment 338773View attachment 338774View attachment 338775

View attachment 338776
She is definitely taking shape.
Great work.
 
Back
Top