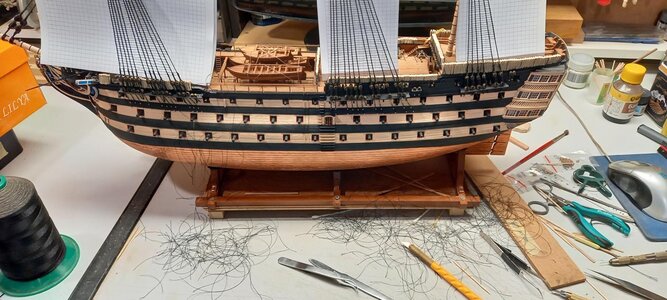
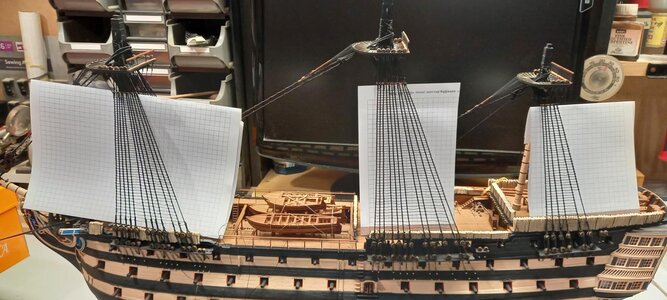
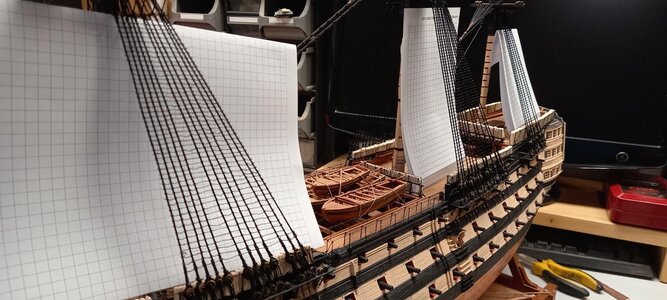
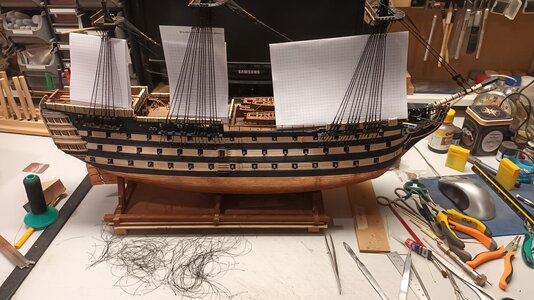
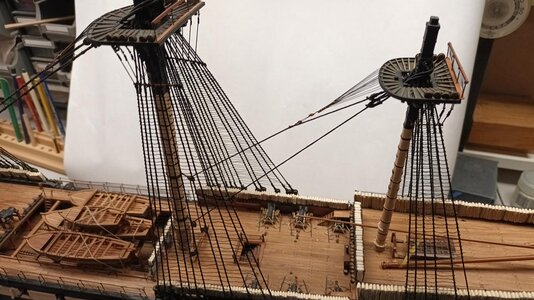
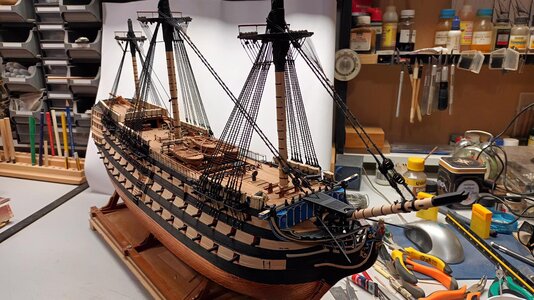
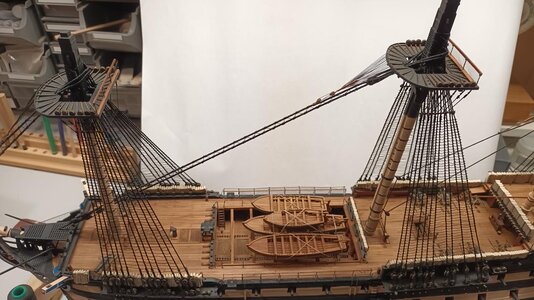
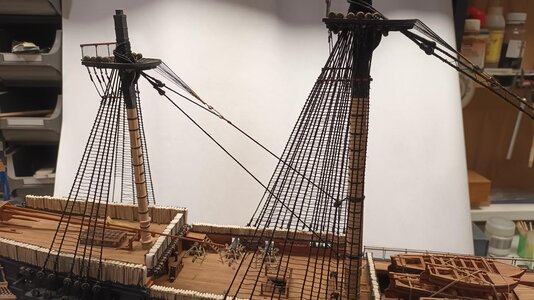
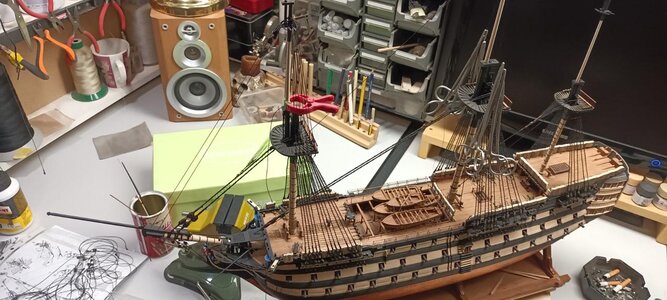
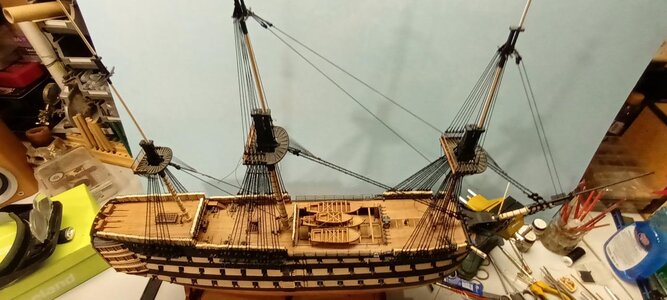
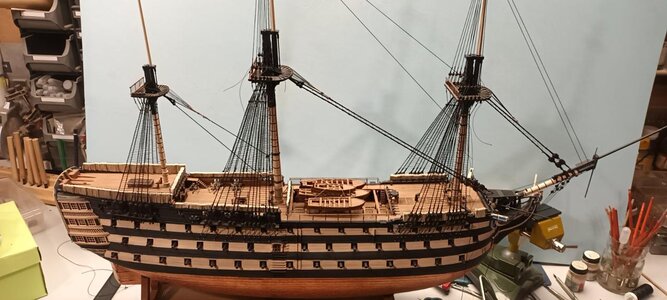
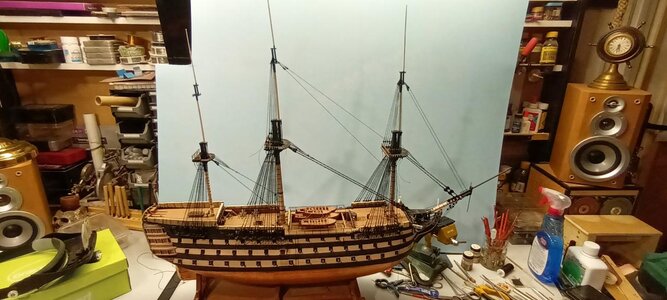
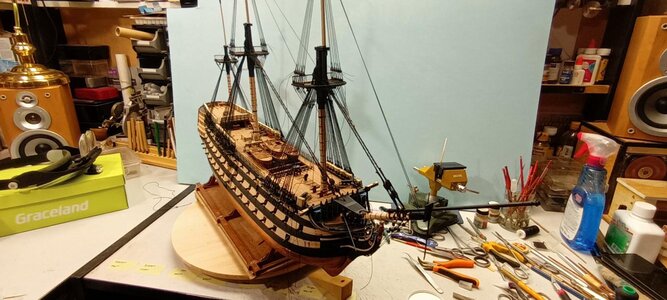
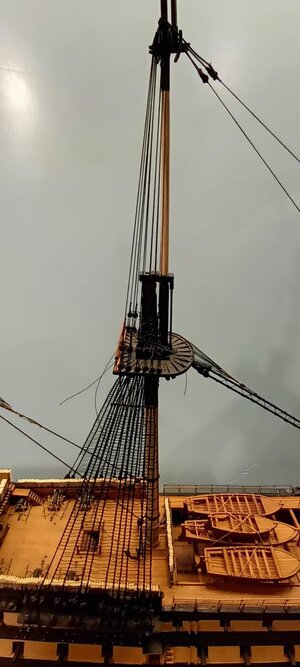
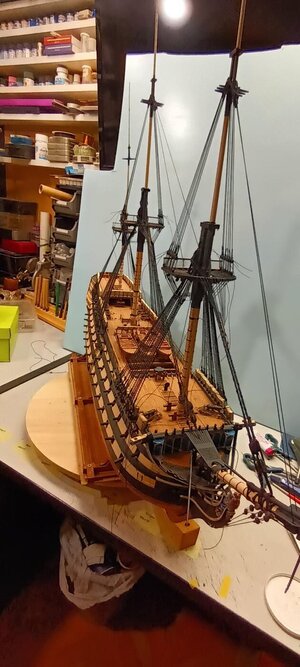
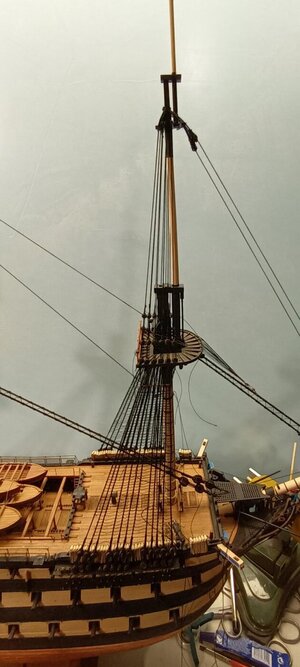
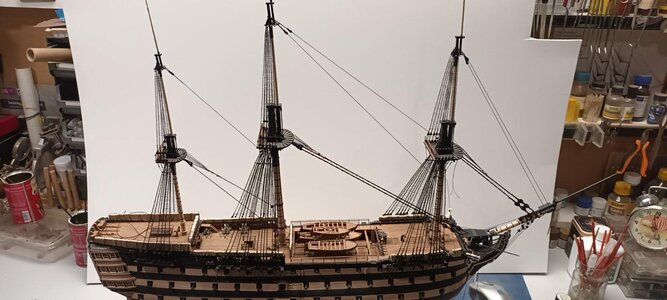
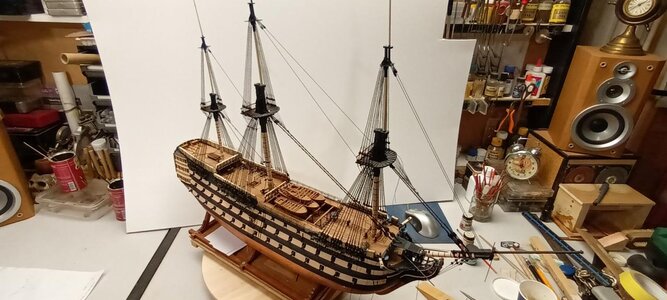
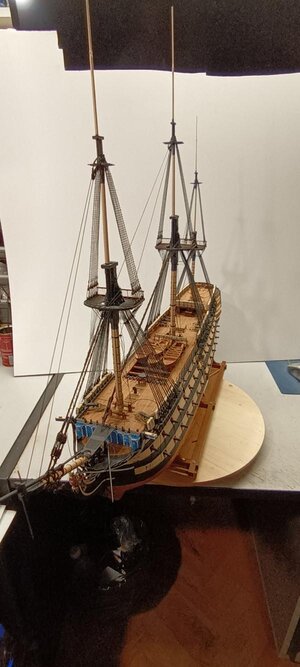
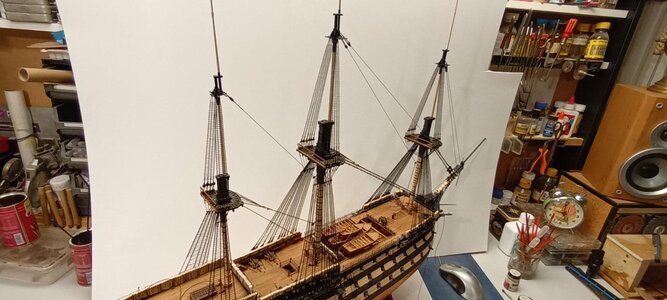
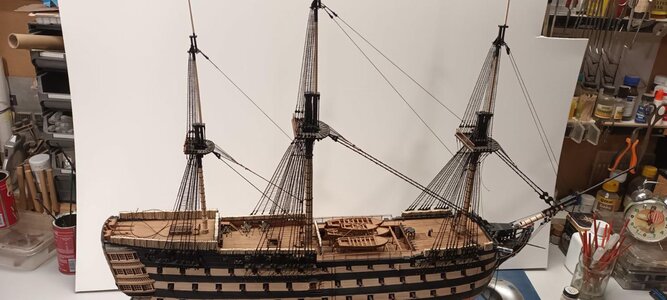
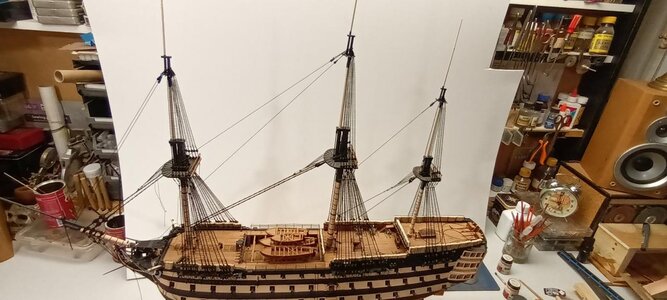
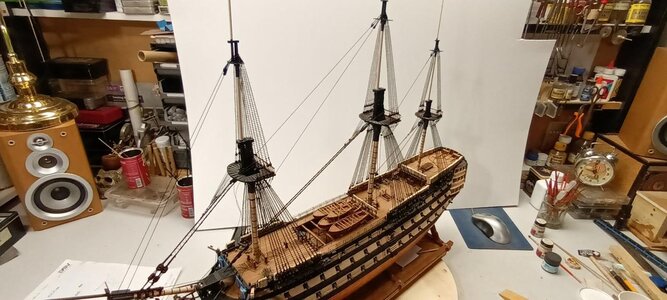
HMS Victory - 1/100 Heller [COMPLETED BUILD]

Hi. I'm new to ships of scale so I hope it's acceptable to jump into this thread in this manner. I just started work on Heller's 1/100 Victory. I'm not a novice to building plastic models. But I have to say the instructions and rigging diagrams on this ship are the worst I've ever worked with. I'm looking for clearer instructions and images - especially of the rigging. I have a copy of The Anatomy of Nelson's Ships which includes rigging diagrams but those do not help much in actually rigging the model. If you know any resources that improve on the Heller instructions I would love to hear about them. Thanks for any help you might be able to give. Veejay
Veejay,
I'm in the midst of my own Victory build (kit from Artesania Latina). You can view my log on SOS here. I started on the rigging about a year ago. It took me that long to get in all the shrouds, ratlines, and backstays. I'll need to post some more pictures soon.

When I started the rigging, I had the plans from the kit and from what I found online, I thought I could get through the shrouds OK, but when it came to the all the other standing and running rigging, the kit plans left out a lot of details. So, I too got a copy of The Anatomy of Nelson's Ships by Longridge. I've been using it pretty extensively, but it does require (for me at least) a lot of re-reading to ensure I understand what's being described. What I really needed was some good comprehensive drawings of the lines, what they were called, and how they are routed and tied off. I found the book "Rigging Period Ship Models" by Lennarth Petersson. While this book isn't about Victory (it's based on a model of Melampus, a 36 gun frigate kept at the Bristol Industrial Museum), the content of the book is nothing but drawings of English warships of the period (Melampus launched in 1785). So, combining that with the details from Longridge, I now feel confident of being able to figure out everything I want to rig on my Victory.

Hi. I just looked at your photos and they are amazing. I'm waiting for my copy of Rigging Period Ships to arrive and look forward to years of labor on this ship. I too read and reread and reread instructions and pour over diagrams repeatedly . But I have a very simple question for the immediate moment. The kit instructions say in step 8 to install lines 50/51 AND 54/55 through hull sections 1 and 2. But the diagram shows 3 pairs of lines 50/51, 52/53 and 54/55 running through the hull. And on my model, there are no holes in the hull at the pictured location. Looking later in the instructions it appears that 3 pairs of lines are stays of some sort for the bowsprit. It is a small thing but can you tell me if there are 2 pairs or 3 pairs of lines inserted through the hull? I'd like to figure it out before I start poking holes in the hull. Thanks in advance for any help. Veejay
 
Last edited by a moderator:
Hi. I just looked at your photos and they are amazing. I'm waiting for my copy of Rigging Period Ships to arrive and look forward to years of labor on this ship. I too read and reread and reread instructions and pour over diagrams repeatedly . But I have a very simple question for the immediate moment. The kit instructions say in step 8 to install lines 50/51 AND 54/55 through hull sections 1 and 2. But the diagram shows 3 pairs of lines 50/51, 52/53 and 54/55 running through the hull. And on my model, there are no holes in the hull at the pictured location. Looking later in the instructions it appears that 3 pairs of lines are stays of some sort for the bowsprit. It is a small thing but can you tell me if there are 2 pairs or 3 pairs of lines inserted through the hull? I'd like to figure it out before I start poking holes in the hull. Thanks in advance for any help. Veejay
Hi Veejay,
I will see on my model what are You asking for and try to show here.
These days I will start to make the bowsprit and I will see what happen's there :)
Anyway - the instructions of the kit is a terrible. Better look to the original, or in Anatomy of the ship.
 
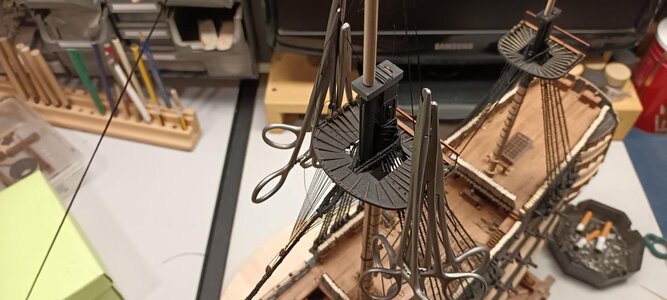
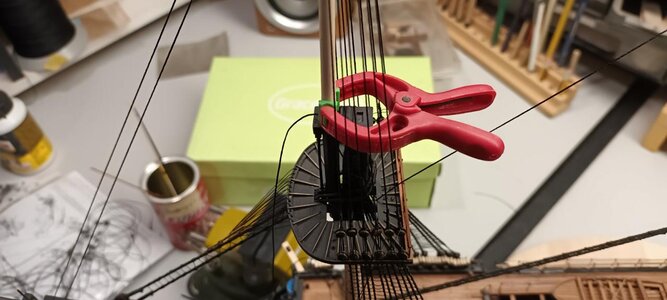
Precisely, yes - thanks for the link! Presently, I only have one of these in my took kit; it’s useful, but of pretty poor quality, so the clamping jaws mis-align, once you ratchet the pressure a few notches.

I can see how these are invaluable to the rigging process.
 
Precisely, yes - thanks for the link! Presently, I only have one of these in my took kit; it’s useful, but of pretty poor quality, so the clamping jaws mis-align, once you ratchet the pressure a few notches.

I can see how these are invaluable to the rigging process.

Precisely, yes - thanks for the link! Presently, I only have one of these in my took kit; it’s useful, but of pretty poor quality, so the clamping jaws mis-align, once you ratchet the pressure a few notches.

I can see how these are invaluable to the rigging process.
It is best to buy such surgical clamps at a surgical instrument store.
In Bulgaria they are about $ 5 per piece, but I took mine for $ 0.5 per second use :)
 
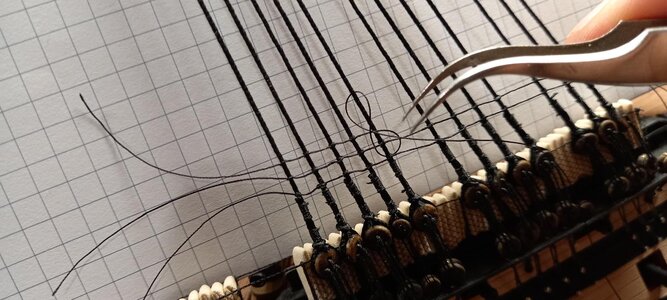
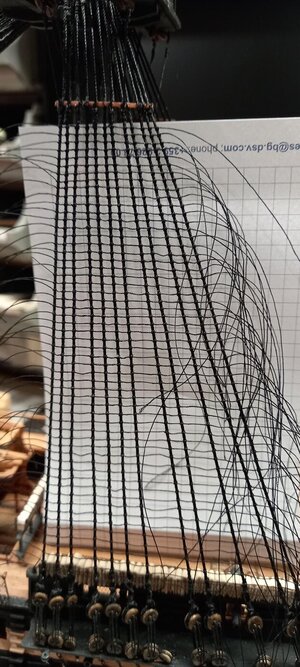
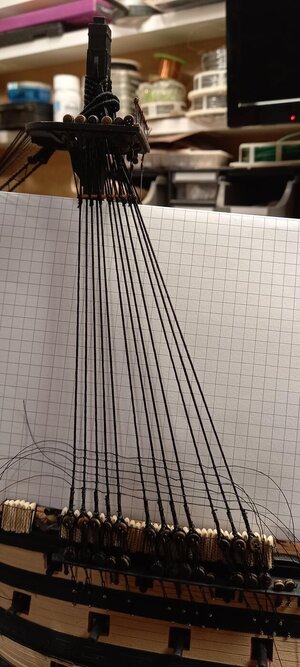
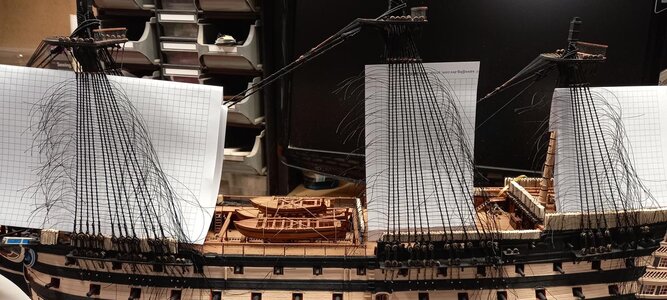
All - 5068 knots
;)

To be continued...

519.jpg520.jpg521.jpg522.jpg523.jpg524.jpg525.jpg526.jpg526.jpg
 
Back
Top