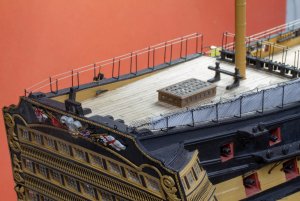
HMS Victory 1/72 Caldercraft

Joined
Feb 7, 2019
Messages
27
Points
68

Location
Northop, North Wales UK
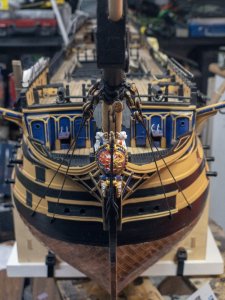
Here is a bit of a retrospective dating back around ten years to when I started this project! I'm hoping for some help and guidance with the string element of the project which is looming ever closer now!

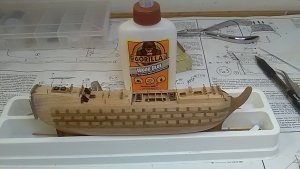
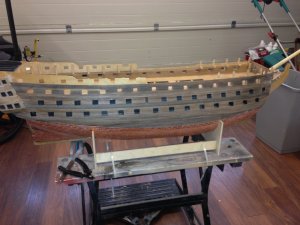
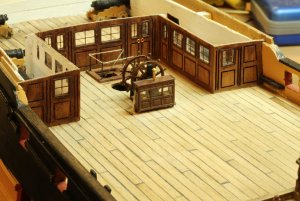
I'm not going to bore you with the frame and plank stuff as it all looks pretty similar on every build, so I'll pick the build up as it starts to get a bit more interesting (hopefully!)
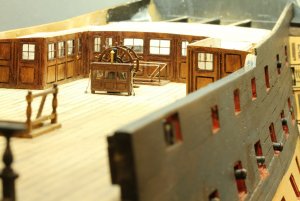
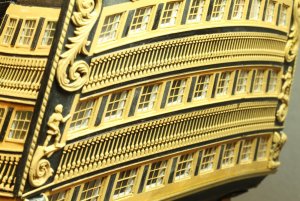
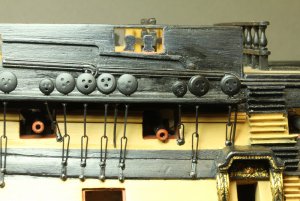
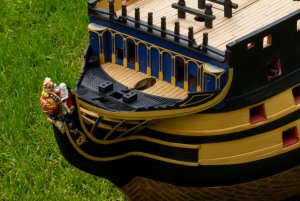
IMG_1256.JPGuntitled-1.JPGuntitled-4.JPGuntitled-6.JPG

untitled-10.JPG

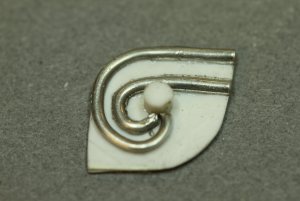
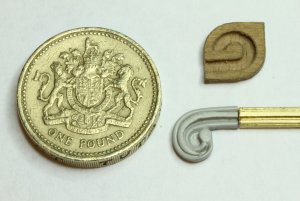
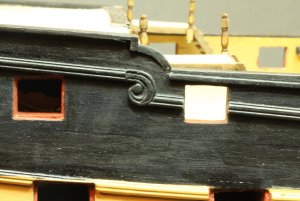
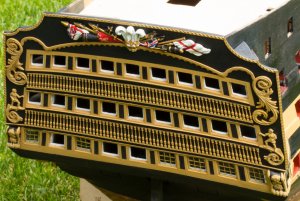
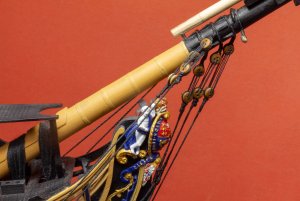
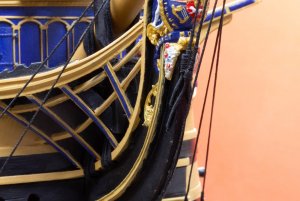
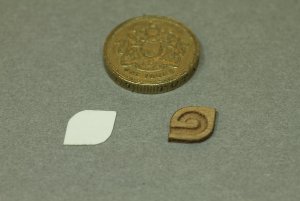
The kit version of the scrolls (the random wood-chip in the photo below) bore no resemblance to the real thing, so I set about scratch building them
untitled-21.JPG

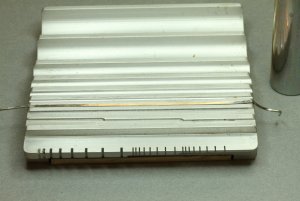
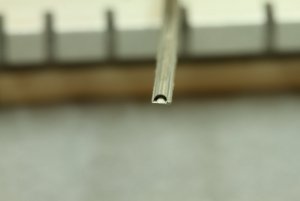
I flattened some lead wire into a D profile using a former for cylinders and other shapes primarily used in tank modelling that I happened to have.
untitled-12-4.JPGuntitled-16.JPG
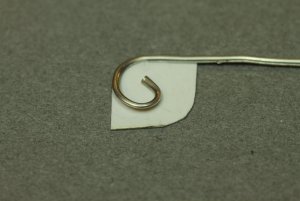
And then formed the scroll work from this onto plastic sheet backing
untitled-22.JPGuntitled-23.JPGIMG_9957.JPGIMG_9962.JPG

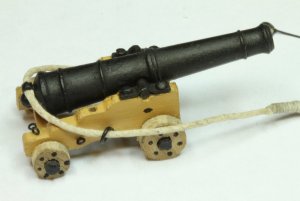
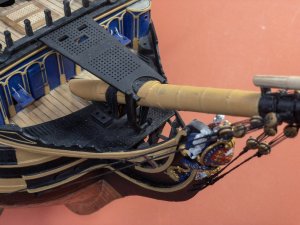
Catheads

IMG_9972.JPG

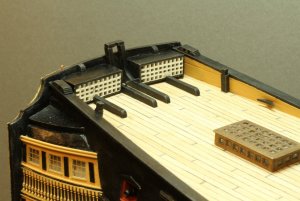
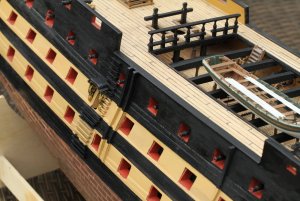
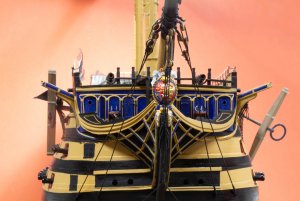
General shots

IMG_9968.JPGIMG_9910.JPGuntitled-6.JPG
Victory (55 of 9).jpguntitled-11-2-2.jpguntitled-3-4.JPG

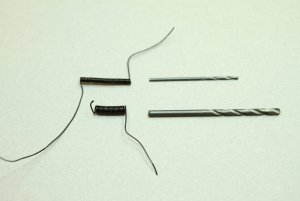
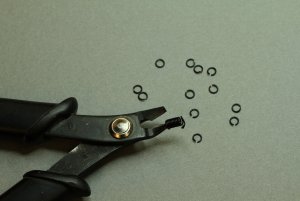
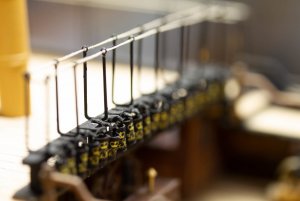
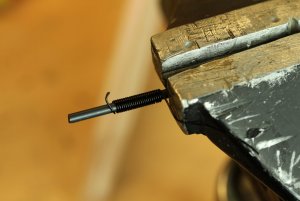
Here's how I make the many rings needed all over the ship
IMG_9914.JPGIMG_9915.JPGIMG_9917.JPGIMG_9959.JPG

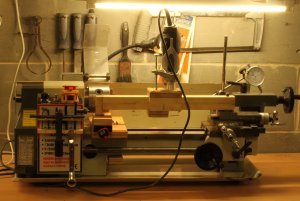
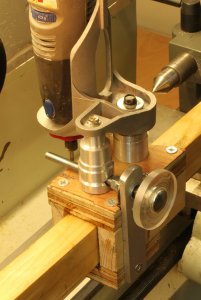
As I have no shipbuilding skills, I didn't fancy David planes and all that stuff for mast tapering, so I made this:-
untitled-2-7.JPGuntitled-3-10.JPG

It's a track that can be offset at any angle vs the piece in the lathe that carries a Dremel with a rotary drum sander, so it very quickly produces even, straight tapers with no risk of splitting or running with the grain into the piece. Probably frowned upon by you guys!

That seems to be my limit for attaching photos - stay tuned for part two

Regards,

Nick
 
Here's the next instalment-

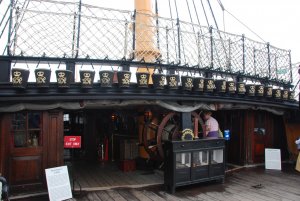
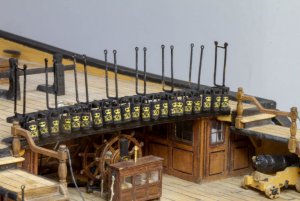
I was never happy with the kit buckets which are very prominent on the real ship:-
buckets.jpg


The kit items are just plain brass turnings with no handles or relief detail. So I have been considering 3D printing them (wouldn't get enough detail) photo-etching (would probably work, but would need commercial half-etch to get the accuracy and relief, rather than my rough home-made version, plus the relief would probably be out of scale anyway - these things are tiny)

So in the end, at that scale, I thought I would simply print them (conventionally with an ink-jet, not 3D) on good cartridge paper and see how they looked.

IMG_8540.jpg

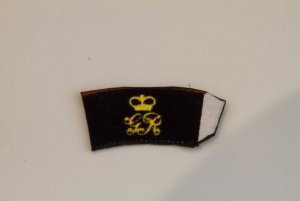
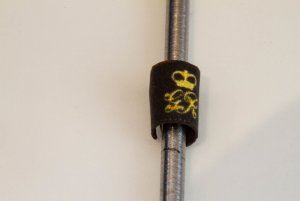
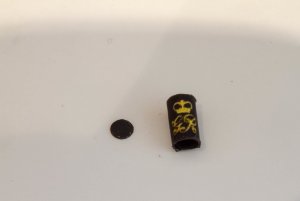
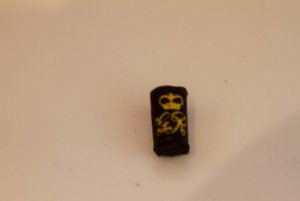
OK I think? If you want some of your own, here is the pdf (attached, print at 10% scale and highest dpi, matt paper for 1/72nd scale)
IMG_8535.jpgIMG_8536.jpg
IMG_8537.jpgIMG_8538.jpg
so cut out, roll around a suitable diameter steel shaft, paint the back and exposed edges, punch out bottoms with a suitable diameter hole punch, and cut strips to form the handles.


Masts next:-
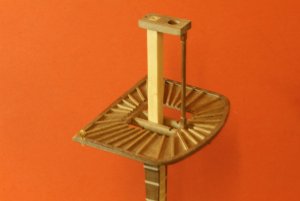
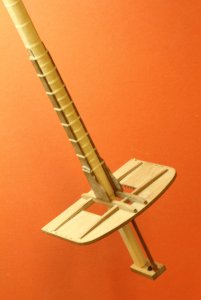
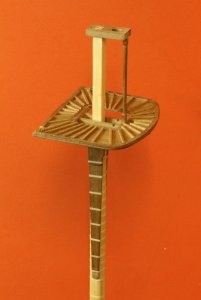
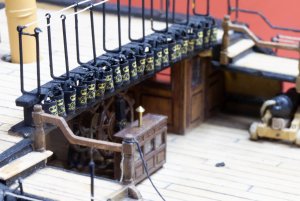
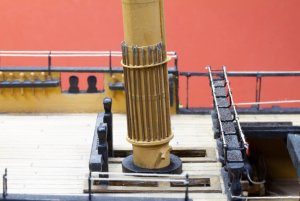
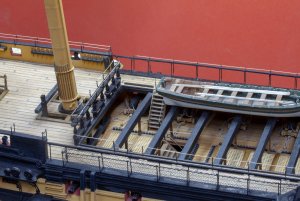
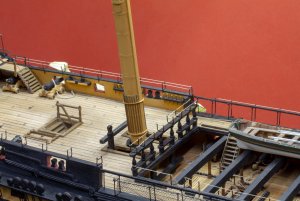
untitled-1-10.JPGuntitled-4-8.JPGuntitled-3-9.JPG

Then comes the dreaded string.

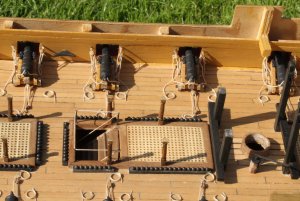
I'm currently sewing all the hammock nets in place to get the deck finished - which is a barrel of laughs! before starting the rigging in earnest.

I've done a fair amount of work since these images, and I'm just 3D printing a rope server, which means I must be due another photo session, so stay tuned!

Regards and thanks for looking,

Nick
 

Attachments

  • buckets.pdf
    1.8 MB · Views: 86
Last edited:
Hallo Nick,
very interesting photos - many thanks fo sharing with us your built - I will follow with big interest.
One question in principle about the kit from Caldercraft / Jotika, which is according my knowledge the best but also the most expensive kit on the market.
Are you happy until now with the quality of the kit?
That’s difficult for me to answer as this is my first wooden ship.

I would say the quality of materials, castings, photo-etch etc is very high, as are raw materials (strip wood, walnut sheet etc) supplied in the kit.

There are 18 full sized drawings of excellent quality a well as three spiral bound construction manuals. So from my limited exposure to the world of ships I’m more than happy.
 
Hi Nick, Janos I purchased the CC kit 5 years ago. I know there has been updates over the years. Yet to start mine ( Still have to fininsh my Santa Ana.) The CC kits are great quality compared to others, and they have plenty of spare wood in the kits. The rigging plans are excellent as if you follow from plan to plan, one sheet complete at a time, you iwll have no issues. The CC thread provided is close to accurate sizing, and does not fuzz. My first kit was the CC Endeavor with the apple bow. I'd never done any rigging before this but had a blast. Its slow but very calming.


cheers PAUL
 
I have to agree here with Gregs statement.
Your first wooden ship model - not an easy one because of the size -> You made a real good job until now
I have the feeling that a good modeler met a good kit and everything is possible !!!

And BTW many thanks for the pdf with the buckets - we can see, that you are also making research and you do not built directly out of the box - Great
 
Greetings Nick,

I am glad you took my advice and started your own build log. I see you are a tools maker and using Proxon, Unimat as attachments to your lathe. Very creative. Will watch you build with interest.
 
Last edited:
I have to agree here with Gregs statement.
Your first wooden ship model - not an easy one because of the size -> You made a real good job until now
I have the feeling that a good modeler met a good kit and everything is possible !!!

And BTW many thanks for the pdf with the buckets - we can see, that you are also making research and you do not built directly out of the box - Great

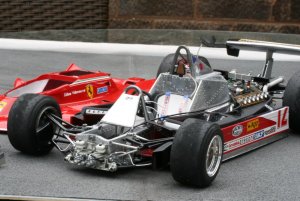
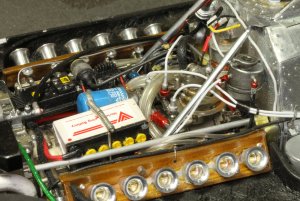
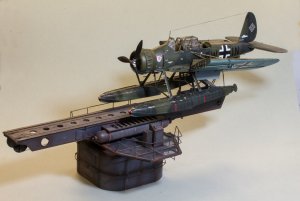
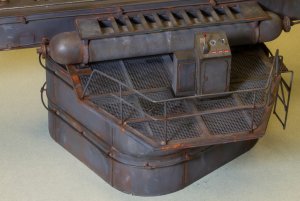
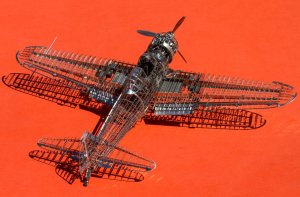
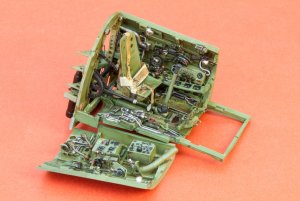
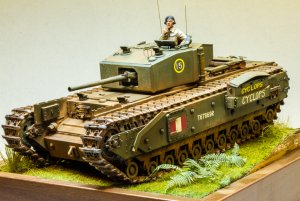
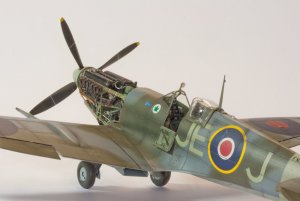
Thanks for the kind comments guys, in fairness I have built a few other things over the years :), just not wooden ships! :-

IMG_7719.JPG
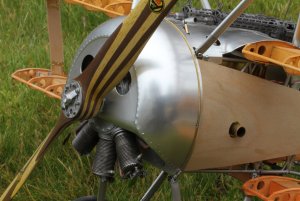
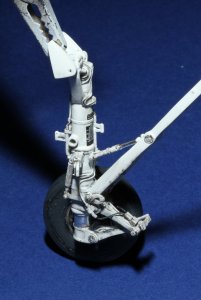
IMG_1014.JPGArado (1 of 1)-2.jpgArado (5 of 17).jpgZero (30 of 9).jpg
Zero (30 of 4)-5.jpg
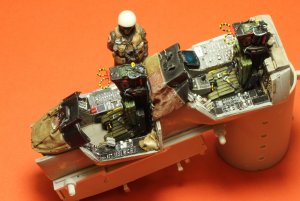
Churchill (18 of 12).jpgMontage2-2.jpgIMG_9840.JPGIMG_9844.JPGIMG_3106.JPG
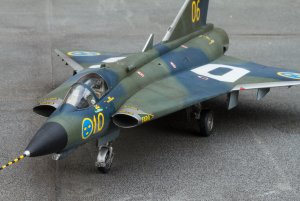
Draken (1 of 6).jpgIMG_1654.JPG
Spitfire (2 of 4).jpg
 
Hi Nick! you are showcasing real craftsmanship here, I as I mention on your introductory post: very clean an accurately build models! I can see you are aimed for weathering and a high level of details in your work! Bravo!!
 
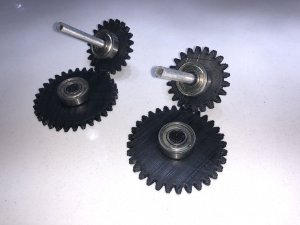
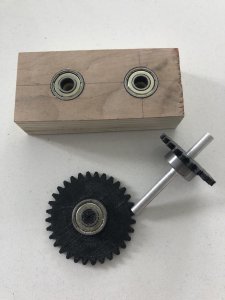
So back to the victory - current project is s rope server. I’ve 3d printed two pairs of gears with bosses (using rack and pinion plugin In sketchup) and pressed some small ball races I had knocking around the workshop onto them. These will be placed into an adjustable frame just as soon as I make it.
So back to the victory - current project is a rope server. I’ve 3d printed two pairs of gears with bosses (using rack and pinion plugin In sketchup) and pressed some small ball races I had knocking around the workshop onto them.
View attachment 76735
These will be placed into an adjustable frame just as soon as I make it.
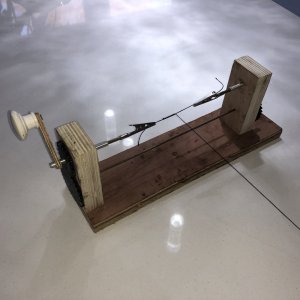
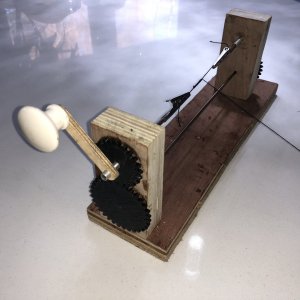
So finished that now. From the ‘functional rather than pretty’ school of engineering. 38DD7EC4-0B32-45D1-B3C3-B8DF2BF417A7.jpeg678E6B11-217C-4800-AC18-B63733FEC909.jpeg818B600D-B0A3-4C64-8DE7-7401433E4246.jpeg
 
Last edited:
So dipped my toe in the wonderful world of knitting with string today, or ‘rigging’ as I think you experts call it.
There’s probably a great deal wrong with this to the trained eye, but I’ve enjoyed myself, and getting into the rhythm of it now - it turns out it’s all about tension then!

Please excuse the Ropey cell phone photos, I’ll take some proper ones soon.

1C3AF68A-DC52-4988-A967-CD5422B901DD.jpeg37A693D5-DAD0-452D-A4BE-847154538B2E.jpeg
 
Back
Top