• Ships of Scale has incorportated an extra level of security when you log In. Please follow on-screen prompts to acknowledge that you are not a robot via a "Check Box" or a "Pictorial Check Box Puzzle". This is needed due to higher level of AI Activity Security.
  • SUBSCRIBE TO SHIPS IN SCALE TODAY!

    The beloved Ships in Scale Magazine is back and charting a new course for 2026!
    Discover new skills, new techniques, and new inspirations in every issue.

    NOTE THAT OUR NEXT ISSUE WILL BE July/August 2026
  • Win a Free Custom Engraved Brass Coin!!!
    As a way to introduce our brass coins to the community, we will raffle off a free coin during the month of August. Follow link ABOVE for instructions for entering.

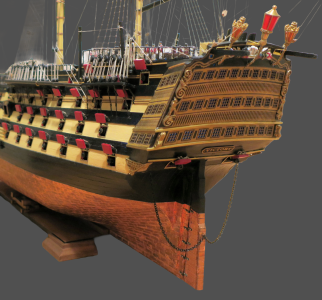
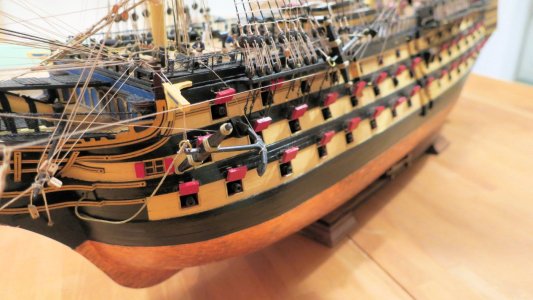
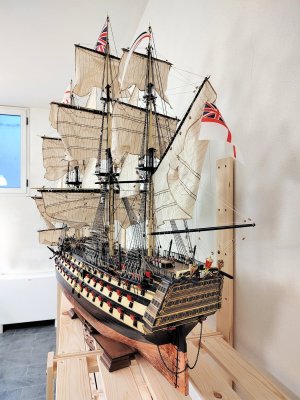
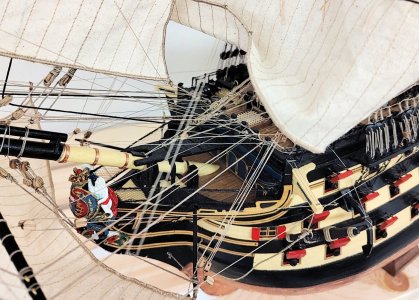
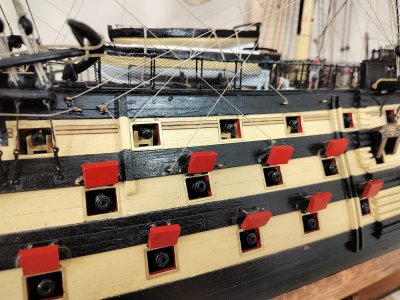
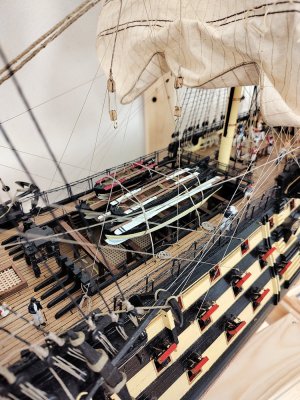
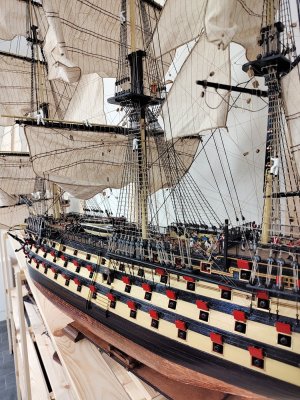
HMS Victory 1:78 by Mantua ,Panart - Build log

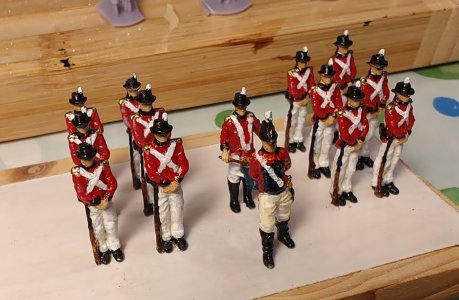
And so this year too the time has come to put the shipyard on summer break... Too hot, holidays at the seaside, grandchildren... you can't have the necessary concentration. We'll talk about it again around mid-August. Although, having ordered the set HMS Victory's CREW - Royal Navy 1805 from Woodys Model Works yesterday I don't rule out some preparatory work on the figurines.
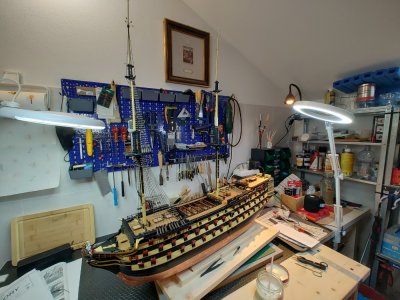
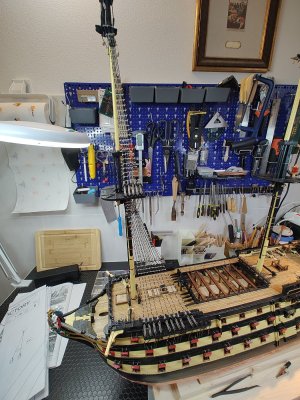
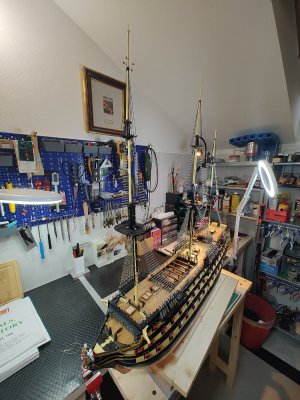
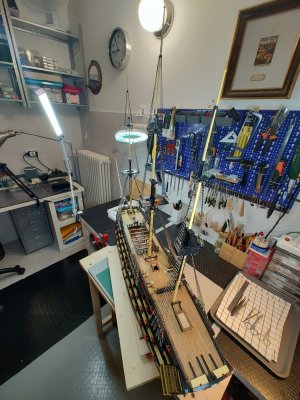
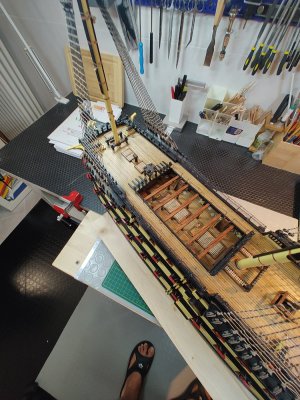
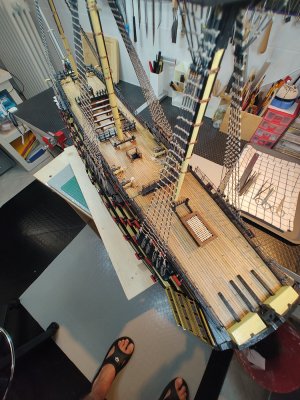
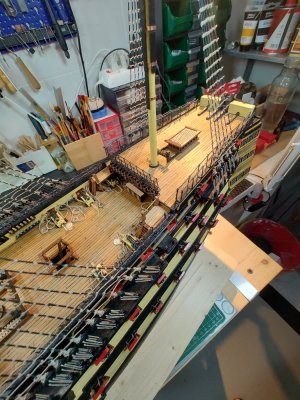
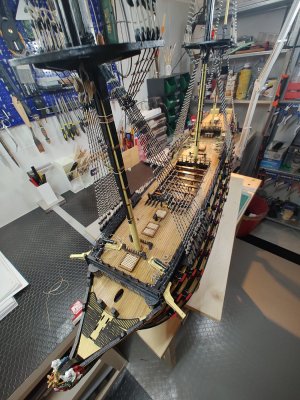
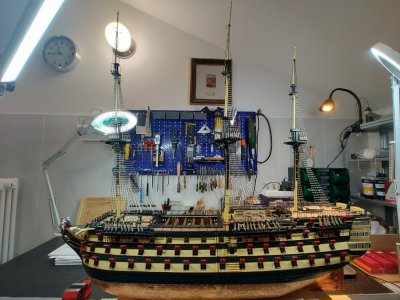
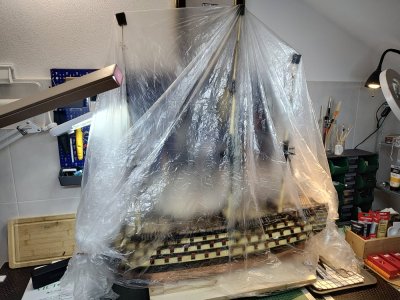
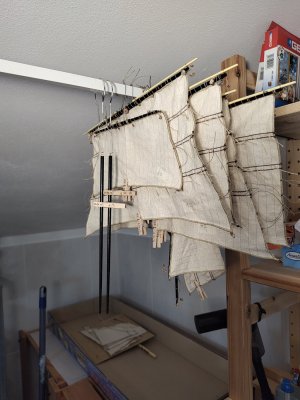
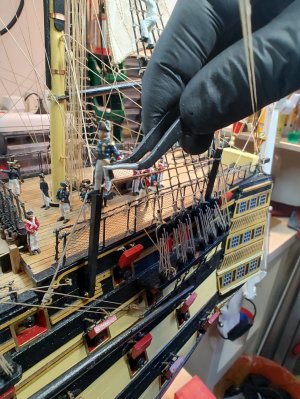
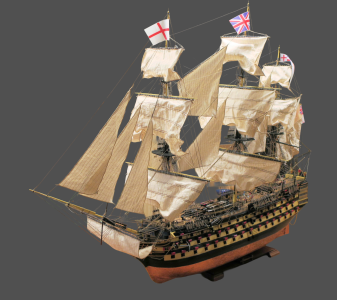
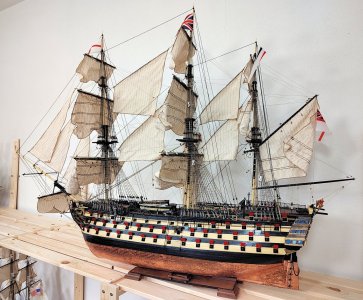
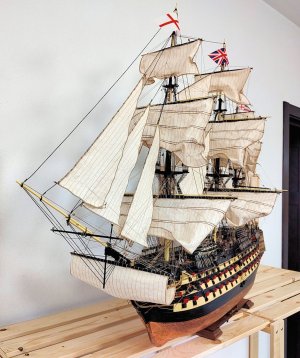
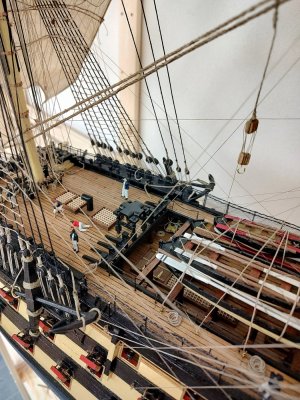
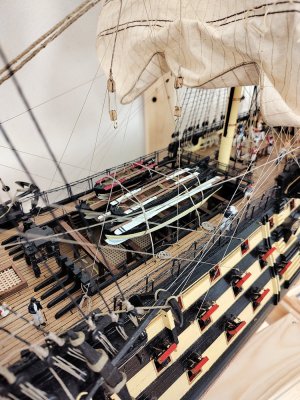
In the meantime, some photos of the work done and the sails already mounted on the yards and ready to be installed.
Happy holidays to everyone!

IMG_20250323_163322096_HDR.jpgIMG_20250323_163335155.jpgIMG_20250617_085536162.jpgIMG_20250617_085603857_HDR.jpgIMG_20250617_085614314.jpgIMG_20250617_085620667.jpgIMG_20250617_085627932_HDR.jpgIMG_20250617_085640869_HDR.jpgIMG_20250617_085650964.jpgIMG_20250617_085721004_HDR.jpgIMG_20250617_090650564_HDR.jpgIMG_20250617_091245826.jpg
 
Hello everyone!
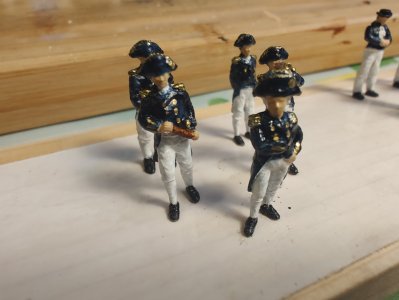
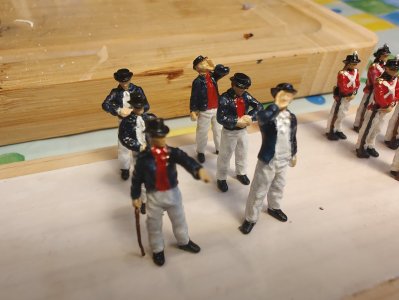
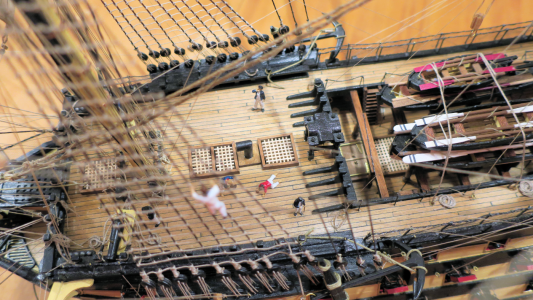
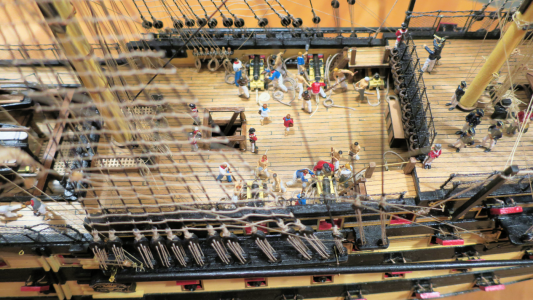
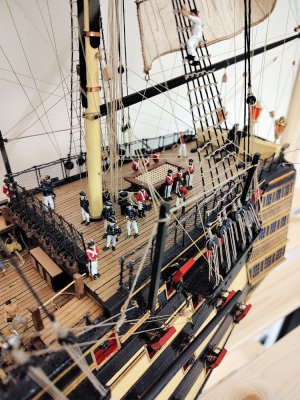
The holidays are over and the temperatures have returned to normal, so I've reopened the shipyard. Before starting to install the yards, I thought I'd prepare the figurines I purchased in the meantime. This is the first group, now I'm making the officers.

1000015781.jpg
 
That's a very good idea if you have your own 3D printers! I don't know if it's possible to find the necessary files for free, as the figures I bought were not cheap
 
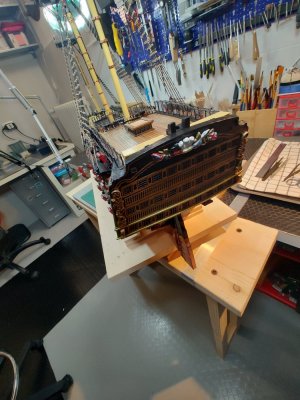
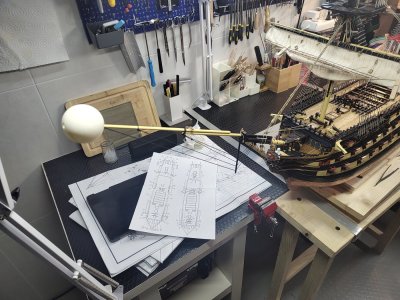
I started installing the maneuvers and for convenience I placed the model on a swivel support.
In this way it is easier to work on both sides of the ship, but at the same time it is easier to inadvertently hit the tip of the bowsprit, especially against the lamp supports.
These bumps are facilitated by the fact that the bowsprit tip is quite thin and the fact that I am quite distracted in my movements...
So I had a very small idea: to highlight the tip of the bowsprit I stuck a ping pong ball on it.
This way the white mass immediately shows where the bowsprit ends up and this makes it easier for me to control my movements, even out of the corner of my eye.
Furthermore, in the event of a collision the tip of the bowsprit is still protected and the chances of damaging its structure are reduced.
It may seem silly, but for me it is a help that I want to share with everyone

IMG_20250915_155318401.jpg
 
That’s a great idea with the ping pong ball. I’ve removed the bowsprit in mine for the same reason. Kept on bumping it as I’m constantly turning mine around as I’m tying the rigging on the main masts.
 
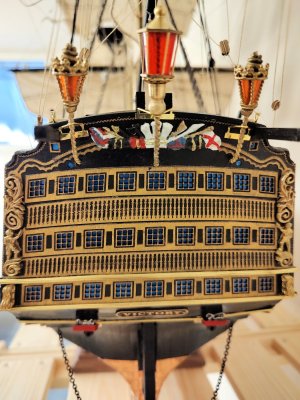
And after two years of work, here we are at the end...
I had a lot of fun, even though I encountered some difficulties, but I overcame them thanks in part to the help and advice I found on this forum.
The Mantua assembly kit ultimately proved to be quite poor, both in terms of the quality of the materials and the many inconsistencies in the drawings and instructions. Nothing insurmountable, but the Spanish manufacturers (OCCRE and Artesania Latina) are much better. On the other hand, "nemo profeta in patria"...
Overall, I'm still satisfied with the final result, although, as always, in hindsight I would have done better.
Next week I'll open construction on the Santisima Trinidad. See you all!
IMG_2241.pngIMG_2249.pngIMG_2251.pngIMG_2247.pngIMG_2269.JPG
 
Excellent build. Loved watching your progress. The only thing I don’t like about Artesania Latina is the lack of plans.

I recently purchased the Endeavour kit and there are no plans. Just step by step images to follow. And need to have a PC nearby.
 
Excellent build. Loved watching your progress. The only thing I don’t like about Artesania Latina is the lack of plans.

I recently purchased the Endeavour kit and there are no plans. Just step by step images to follow. And need to have a PC nearby.
Thank you! You are right about the lack of plans by Artesania Latina, but the instruction are so detailed that when I made the Santa Maria I didn't missed them.
For the Santisima Trinidad kit you can download 15 PDF files, for a total of over 800 pages! I'll be more detailed when I open the new log, but meanwhile may I suggest to use a tablet for consulting the instruction? I find this method very easy and useful, more flexible then paper documents, as you can easily enlarge both text and pictures or drawings.
 
Thank you! You are right about the lack of plans by Artesania Latina, but the instruction are so detailed that when I made the Santa Maria I didn't missed them.
For the Santisima Trinidad kit you can download 15 PDF files, for a total of over 800 pages! I'll be more detailed when I open the new log, but meanwhile may I suggest to use a tablet for consulting the instruction? I find this method very easy and useful, more flexible then paper documents, as you can easily enlarge both text and pictures or drawings.
Great idea with the tablet. I was not aware you could download the instructions
 
Hi everybody,
in the end, I decided to open my build log for the Victory model, made by Panart in 1:78 scale.

View attachment 414797

Opened the packaging I was impressed by the general quality of the materials and I continued to evaluate the instructions and drawings.

View attachment 414798

Although there are very negative judgments on the web about the scarcity of explanations, the manual and tables seem to me sufficient for a generic approach to the identification of the pieces and to the constructive bases (in fact, the manuals provided by Occre and Artesania Latina are better).
Of course it is not a very simple kit and I would not recommend it to those who have not already faced some simpler model.
I decided to devote some time to the study of previous achievements, consulting some forums, getting the PDF manuals of Caldercraft, Artesania Latina and DeAgostini, plus a hundred photos of the real Victory displayed in Porthsmouth.
I could not find online the PDF files of the nine tables provided, which would be very convenient to consult from tablet, instead of having to keep them open, since they are very large.
So I photographed it and turned it into PDF files; if they may interest someone, let me know so as to make them available.
It'll take me a few days to put the keel and the bulwarks together, since the laser cuts performed seem very precise and careful filing work will be necessary to obtain solid and precise joints.

In the meantime, having decided that the decks must be definitely covered with the planking provided, I would like to highlight two themes, hoping that someone will want to provide me with his opinion:
1. In my previous models I used a contact glue (Bostik) to coat the decks with the planking, finding it very convenient to spread a layer of glue on the deck, one on the back of the planks joined together with adhesive tape and then join everything under pressure, avoiding burrs and inaccuracies in the positioning.
But those strips (because of the larger scale) were wider than the 3 mm of those supplied to Victory; so I think it is necessary to change the type of glue, but I'm uncertain which one to use. I would avoid the cyanoacrylic glue and I would lean for the aliphatic one, which allows you to sandpaper any burrs. What do you think?
2. to simulate the caulking between the planks, many recommend rubbing a B2 pencil beforehand on the sides of the planks themselves. I tried (in the Beagle model) to replace the pencil with a black wax crayon, obtaining a result that seems better to me.

Here you can see the difference of the planking between the Beagle
View attachment 414799

and the Essex
View attachment 414800

Has anyone else used this technique yet?

Please make sure you joggle the deck planks every 4
About 4 1/2 long
When you do the Top Layer of planks
Cut into 5" lengths and again space these 4 apart It is easy to then cut the palnk ends into the next ones 4
 
Back
Top