HMS Victory, 104-gun First-rate ship, Scale 1:72, by Attila

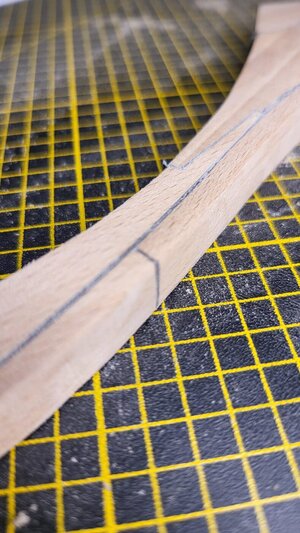
first test painting. have to find another paint.
i still havent decided to build the ship on 1:72 or 1:64 scale. i like 1:64 more and more.


View attachment 315538
Or you use harde wood for the keel elements - f.e. in pear the paint is not so deeply permeate.
On my last model I tried to use ecoline and was not happy with the result, not because of the paint, but small inaccuracies in the joint are more visible.
So for myself I decided, that I will not make any painted joints at the keel elements - especially there was in real also no caulking of these joints
thank you Uwek. I thought of hardwood for beech. but I look at the pear. I don't know if it will be painted black (like the Rolling Stones) anyway, then it's worth dealing with the painting of the joints or not.
i think i will do it because of practice
 
Hi Attila, you can also work with colored glue, which has the advantage that the gaps are filled, or you can use black paper.
somewhere i saw something like re-gluing the pieces before sanding and dust sealing the gaps. have you ever done such a thing? (thanks for the suggestions)
 
somewhere i saw something like re-gluing the pieces before sanding and dust sealing the gaps. have you ever done such a thing? (thanks for the suggestions)
Hello Attila yes I have already worked with colored glue, see Le Coureur. I've tried it on the barrels and some floorboards in the lower deck area. I haven't worked with paper yet, but I will use it at La Palme.
 
Looking very good - and it seems to be very accurate cuts
I guess you are on a very good way :cool:
thank You Uwek. :) do you know who could help me with the following question:
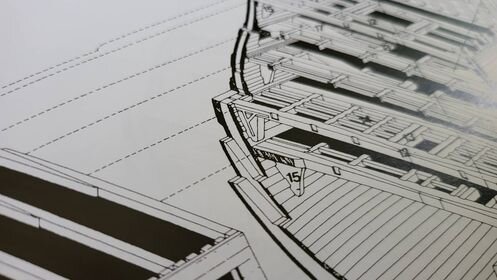
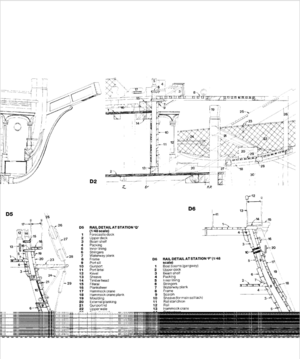
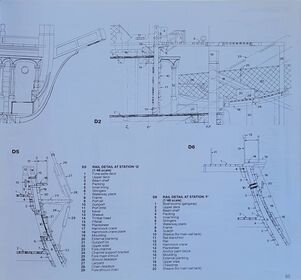
if You look at the 1st pic there is a gap betwen the frames. if You look at the 2. one there isnt any. (anatomy of the ship, John Mckay)
what does he look like in real life? how they were built then? a book with a lot of pic from the inside would be great aswell. if You pls.
I spend most of my time drawing the plans at the moment. I have a lot of work to do with them before I can get them to be real, but until then this would be very useful information. i hope i can start in september to build the real one.
I thank everyone who reads this post for their help.

1.jpg

2.jpg

ps.: sry iv checked again with my eyeglasses and there is this gap everywhere... :)) ok. than the second question. are this gaps filled with something or they stay gaps.... so basicly the question is still about the original building method....
 
Last edited:
Usually there ware filling timber between the frames (at this time the Victory was build) only at the area of the floor timbers.

I have to check my books in my library about the Victory (in addition the the Anatomy book) to find good drawings to show this
 
than the second question. are this gaps filled with something or they stay gaps.... so basicly the question is still about the original building method....
until I find something directly for the Victory, please take a look at this post in my Granado building log, where we discussed the bilge with limber holes etc., but also with excerpts from Lavery describing the "frame construction 1750-1811" in which the Victory was also build

 
Well, a few words about myself as an introduction.

I used to work in a theater as a technical manager, we produced stage sets. I had nothing to do with sailing, apart from the sort time I was a waiter onboard. (But that ship had no sails at all, and it was f*king big.)
Long time ago I built a Bounty (kit from Biling Boats). This year I thought I build another one. Just not the Bounty now, but the Victory. :)

Finally I started with free online plans. (see above)

I started the work on the 1th of July.
View attachment 274102

The work went well, the time flew by...

View attachment 274103


And by the end of August, I was done with the planking.
I finished the inner planking in mid-october:
View attachment 274101


It hurt a lot:
View attachment 274104

And so she looked before the second planking:
View attachment 274108

And now I am almost donne with the second planking on the outside:
View attachment 274109


Used materials: pine, linden, walnut, beech
I also collected plans from the Internet, but one of them like this. Would you take a picture from “anatomy-of-the-ship-hms-victory”?Please

截图_20220716120753.png
 
Back
Top