• Ships of Scale has incorportated an extra level of security when you log In. Please follow on-screen prompts to acknowledge that you are not a robot via a "Check Box" or a "Pictorial Check Box Puzzle". This is needed due to higher level of AI Activity Security.
  • SUBSCRIBE TO SHIPS IN SCALE TODAY!

    The beloved Ships in Scale Magazine is back and charting a new course for 2026!
    Discover new skills, new techniques, and new inspirations in every issue.

    NOTE THAT OUR NEXT ISSUE WILL BE July/August 2026
  • Win a Free Custom Engraved Brass Coin!!!
    As a way to introduce our brass coins to the community, we will raffle off a free coin during the month of August. Follow link ABOVE for instructions for entering.

HMS VICTORY ANATOMY by Artesania

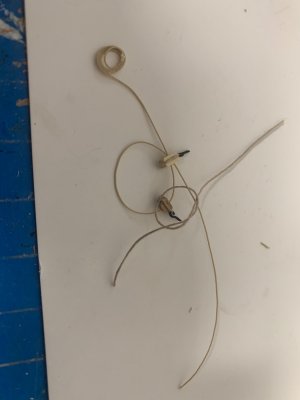
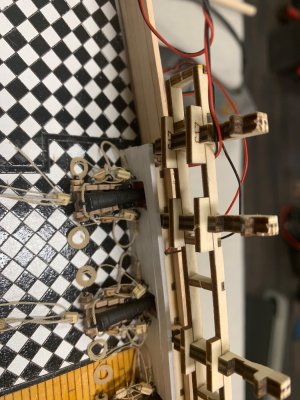
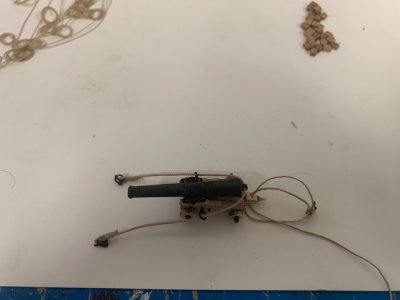
This kit calls for the cannon lines to be laid straight on the deck. As I got towards the upper deck and considering the last 44 canons I decided to make coils.
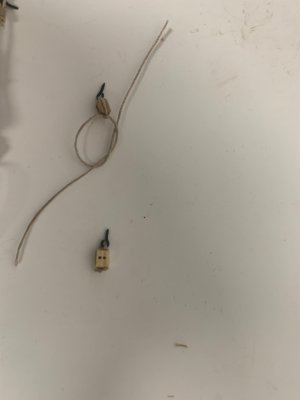
Here is the trick I figured out. If you make the coil with long enough extra rope the thread the other end through the double block,
The the single block and again through the double block. Finally thread the end through the loop I made at the top of the single block. This way after you attach the blocks to the hull and fasten the coils to the deck you can pull on the coil rope end to tighten things up and the pull tight the loop around the rope. A dab of glue and good to go.
IMG_0039.jpeg

IMG_0040.jpeg

IMG_0041.jpeg

IMG_0042.jpeg

image.jpg
 
As I got towards the upper deck and considering the last 44 canons ....The the single block and again through the double block. Finally thread the end through the loop I made at the top of the single block
I realize this is another mistake in the AL kit, but FWIW, IF accuracy is a priority for your build, guns on English ships under 32 pounders used 2 single blocks, not a double and a single on both the running out tackle and train tackle. Caruana did a lot of research into this and based his information on actual stores lists amongst other things. Page 386 of volume 2 of The History of English Sea Ordnance gives details.
Allan
 
This kit calls for the cannon lines to be laid straight on the deck. As I got towards the upper deck and considering the last 44 canons I decided to make coils.
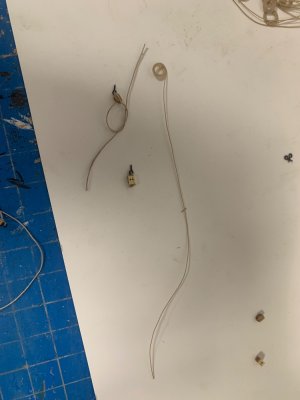
Here is the trick I figured out. If you make the coil with long enough extra rope the thread the other end through the double block,
The the single block and again through the double block. Finally thread the end through the loop I made at the top of the single block. This way after you attach the blocks to the hull and fasten the coils to the deck you can pull on the coil rope end to tighten things up and the pull tight the loop around the rope. A dab of glue and good to go.
View attachment 620818

View attachment 620819

View attachment 620820

View attachment 620821

View attachment 620822
Good tip Jim!
 
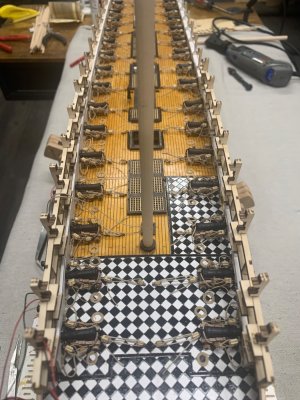
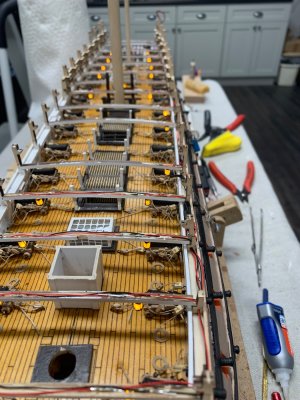
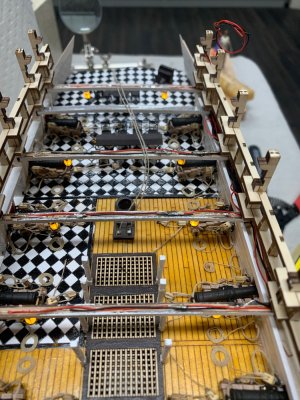
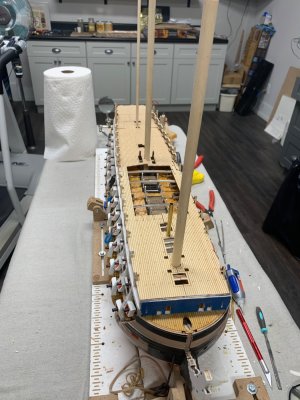
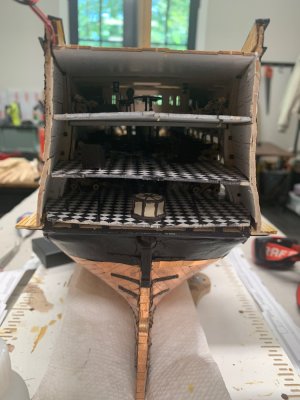
Well I finished the upper deck lights. I’m still amazed I never cut or damaged a wire that messed up my lighting but it all went well. Only a handful more lights for the quarter deck and the lanterns. Did a quick test fit on the next flooring and it fits pretty well. Some small sanding needed for a good fit around the main mast but otherwise happy with it.

IMG_0069.jpeg

IMG_0070.jpeg

IMG_0067.jpeg
 
Well I finished the upper deck lights. I’m still amazed I never cut or damaged a wire that messed up my lighting but it all went well. Only a handful more lights for the quarter deck and the lanterns. Did a quick test fit on the next flooring and it fits pretty well. Some small sanding needed for a good fit around the main mast but otherwise happy with it.

View attachment 625501

View attachment 625502

View attachment 625503
Beautiful pictures handled and taken by a ship lover. I will try to do half as well.
 
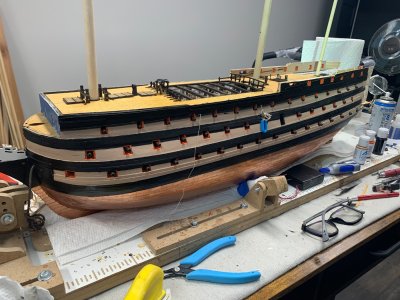
It’s the dog days or summer here in GA. So I’ve been working on the ship in the 95 degree afternoons.
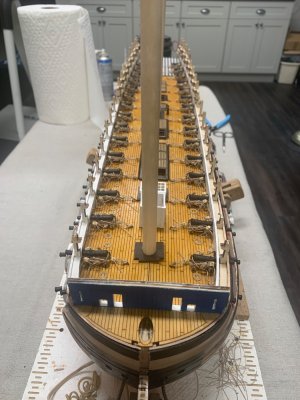
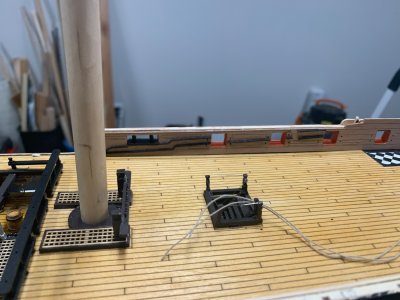
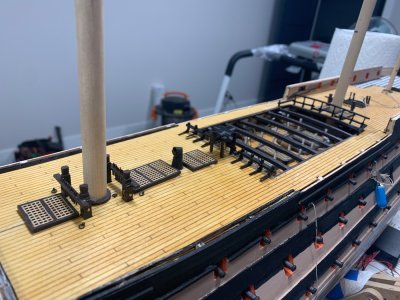
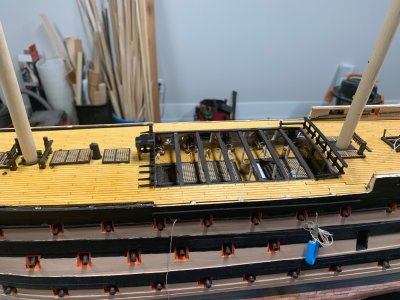
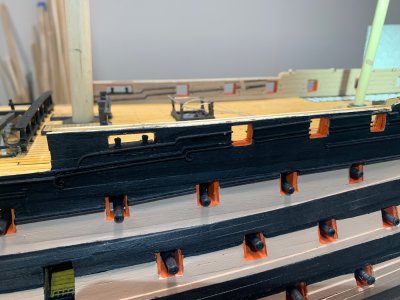
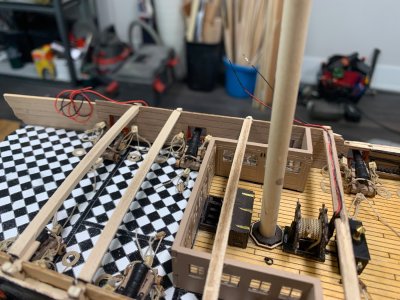
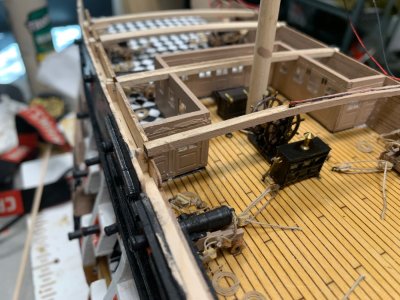
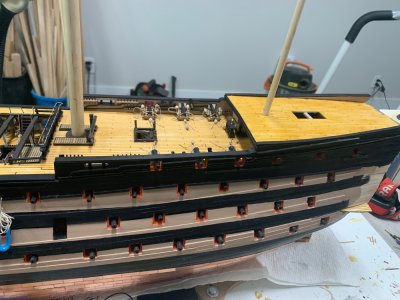
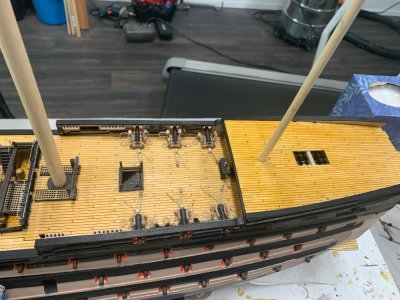
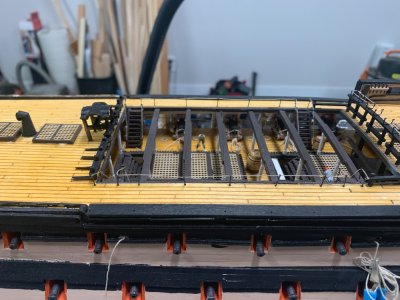
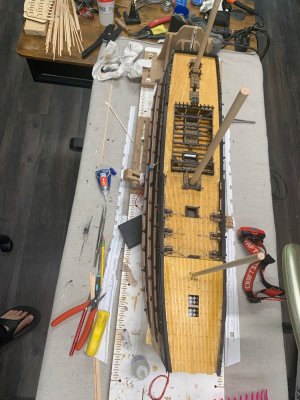
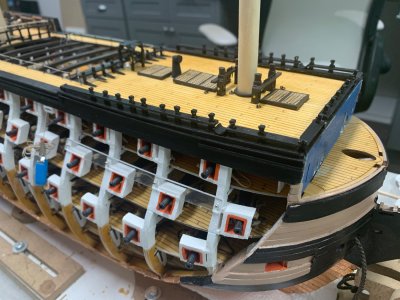
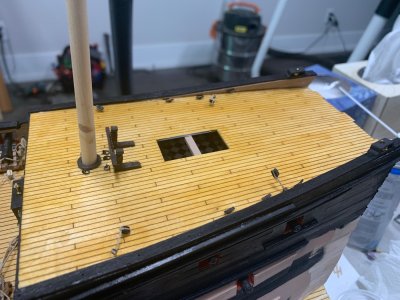
I’ve finished some of the rails and grating for the upper deck. I’ve also worked on the delicate molding on the upper section of the hull.

IMG_0094.jpeg

IMG_0093.jpeg

IMG_0092.jpeg

IMG_0098.jpeg

IMG_0096.jpeg
 
Watched a YouTube today on a site called thomas relives history : before automation 6000 trees to build victory. Worth the watch for all the victory enthusiasts out there
 
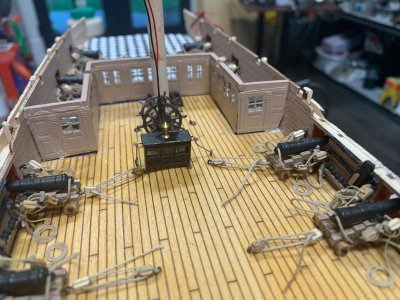
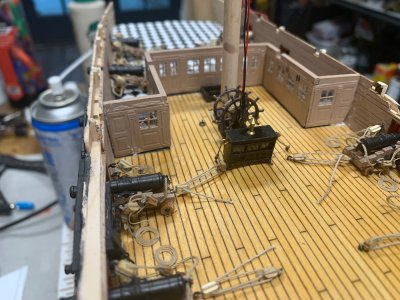
I worked on the wheelhouse area earlier this week. Note to others. There is a vertical thing between the wheel and the stove that has incredibly delicate laser cut pieces in between the brass. Recommend cutting them, and if still in one piece brush with some gel super glue or other similar product it help keep them from disintegrating. It ended up that part of these pieces were not even on the laser cut sheet. Probably bumped them and caused small sections to gal and wonder off. Fabricated a couple pieces so that I could still guide the wires up into the beam channel.

IMG_0117.jpeg

IMG_0116.jpeg

IMG_0114.jpeg

IMG_0113.jpeg
 
Once I finished the wheelhouse area and quarters I placed the poop deck on and I have to say didn’t fit perfect but was only off a couple mm’s. Had to fill a narrow crack on one side of where the decking met the hull wall. Laid all the rails and I like the somewhat finished look with not seeing hull ribs for the 1st since this endeavor began. It looks great with the lights on. I especially like the little stove light at the wheelhouse area.

IMG_0132.jpeg

IMG_0133.jpeg

IMG_0134.jpeg

IMG_0135.jpeg

IMG_0136.jpeg

IMG_0137.jpeg

IMG_0138.jpeg
 
Back
Top