HMS Victory - by Mantua Sergal - 1:78 scale

Hello Mark, You one step closer to a scratch building. This is exactly what makes our hobby interesting. If anyone notices, I mostly use the word 'assembly' when it comes to the kits. As you are assemble\putting together pre-made parts. However, you made parts your own, at least you are not afraid of trying it. I can see you are doing really well, and I'm sure you can build it great! Thumbsup
 
Thanks Heinrich and Jimsky. That was my reason for getting a less expensive kit. If I just wanted to assemble, I would have paid for the Caldercraft kit. I wanted a hull to build on and try to make better.

Mark
 
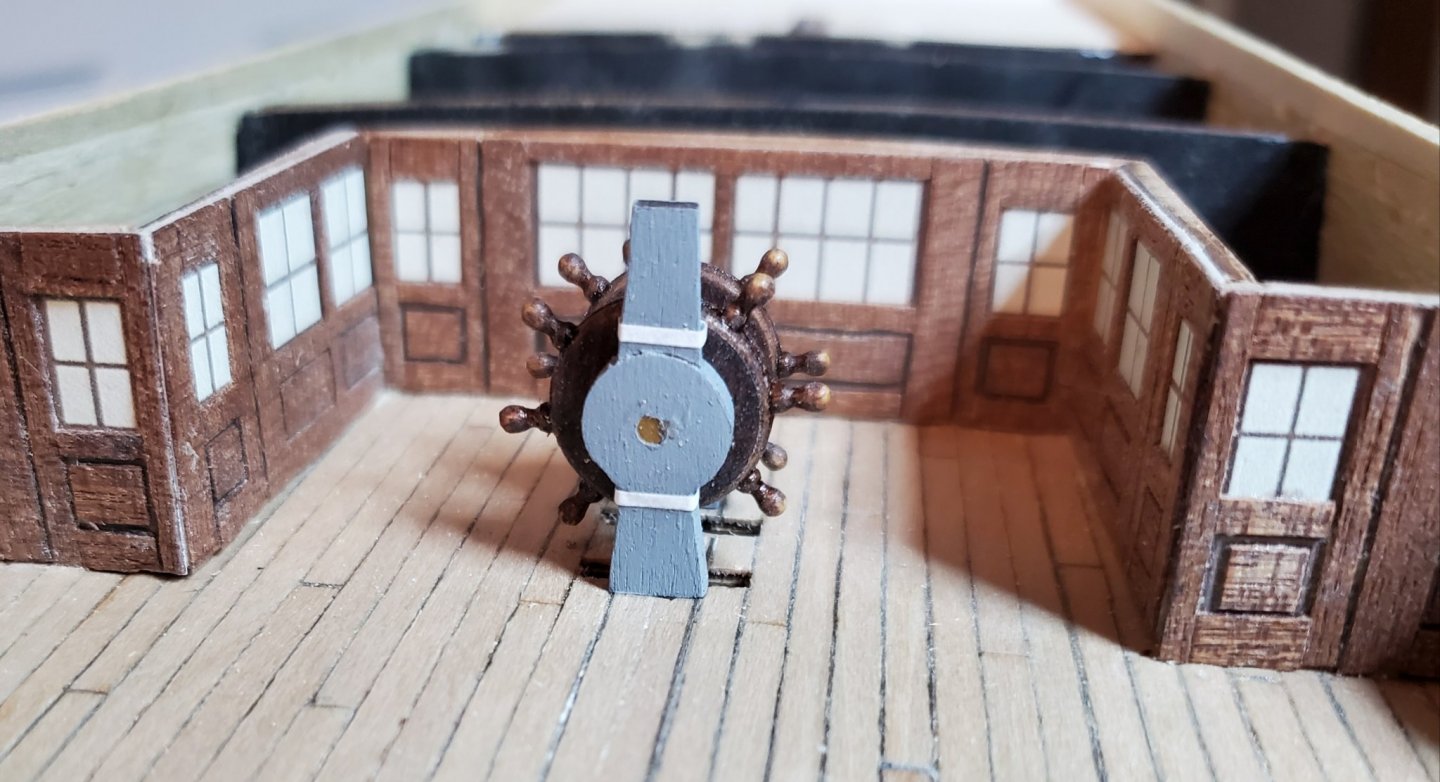
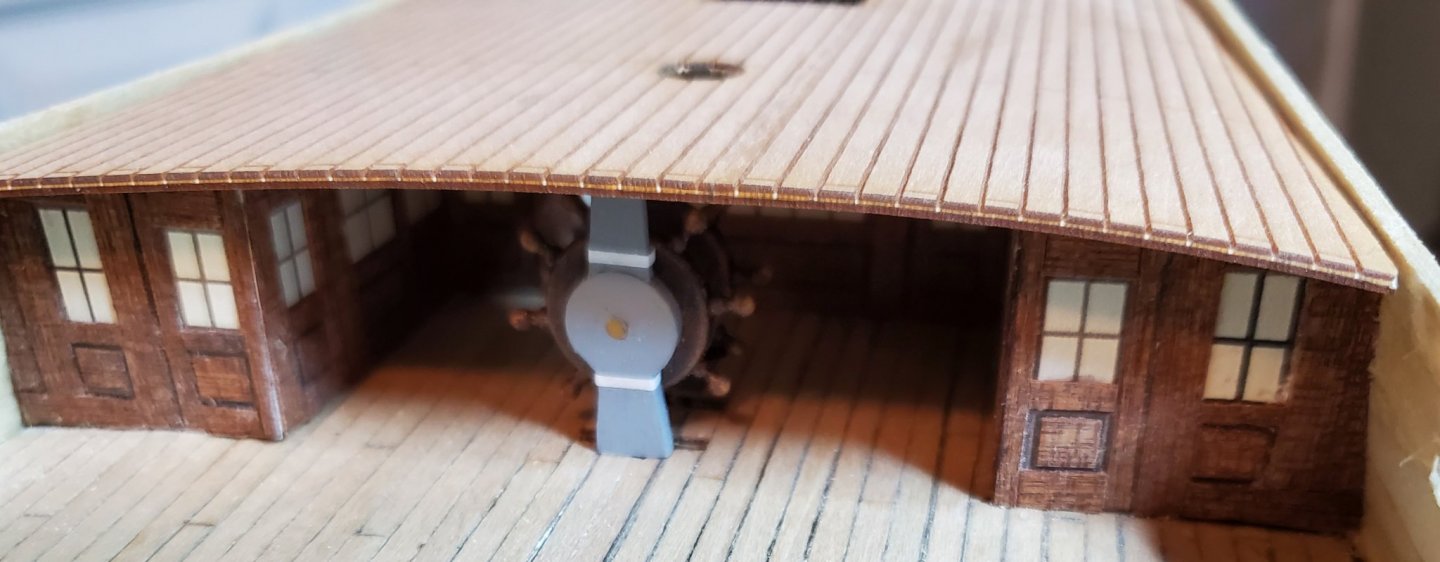
A little more progress. I need to build some of the stern galleries before I can second plank the hull. This meant I had to fit the poop deck before fitting the stern gallery framework and the ships wheel is needed to fit the poop deck ..... so ...... the ships wheel. The setup from the instructions .... well ..... it just sucks. The ships wheels were way out of scale, so I sanded as much as I could to thin them down without ruining them. I could order some to scale ships wheels but they are 15 dollars apiece and you really can't see much of them, so I modified the kit ones to look a lot better.
20200506_231729.thumb.jpg.efe2a8507dc5adfc724ccfcf89f50a15.jpg
20200506_231710.thumb.jpg.c5c1925722c776c9c59fc56787a89b4c.jpg
Now the stand for the ships wheels in the kit is just a piece of plank and looks just awful. I wanted it to look like the real one so I tried to carve one..... this thing is small and a fiddly little thing to try to make. This was my third attempt and I finally made something I didn't throw in the trash can. It is only 24 mm tall. I am happy with this one. ( I can't wait to try to make that tiny binnacle that sits in front of it). I still have to plank the poop deck and I have to put the rope on the ships wheel before gluing the poop deck in place. ( you have to watch that everything is done in the right order or you end up not being able to do something without tearing something back off).

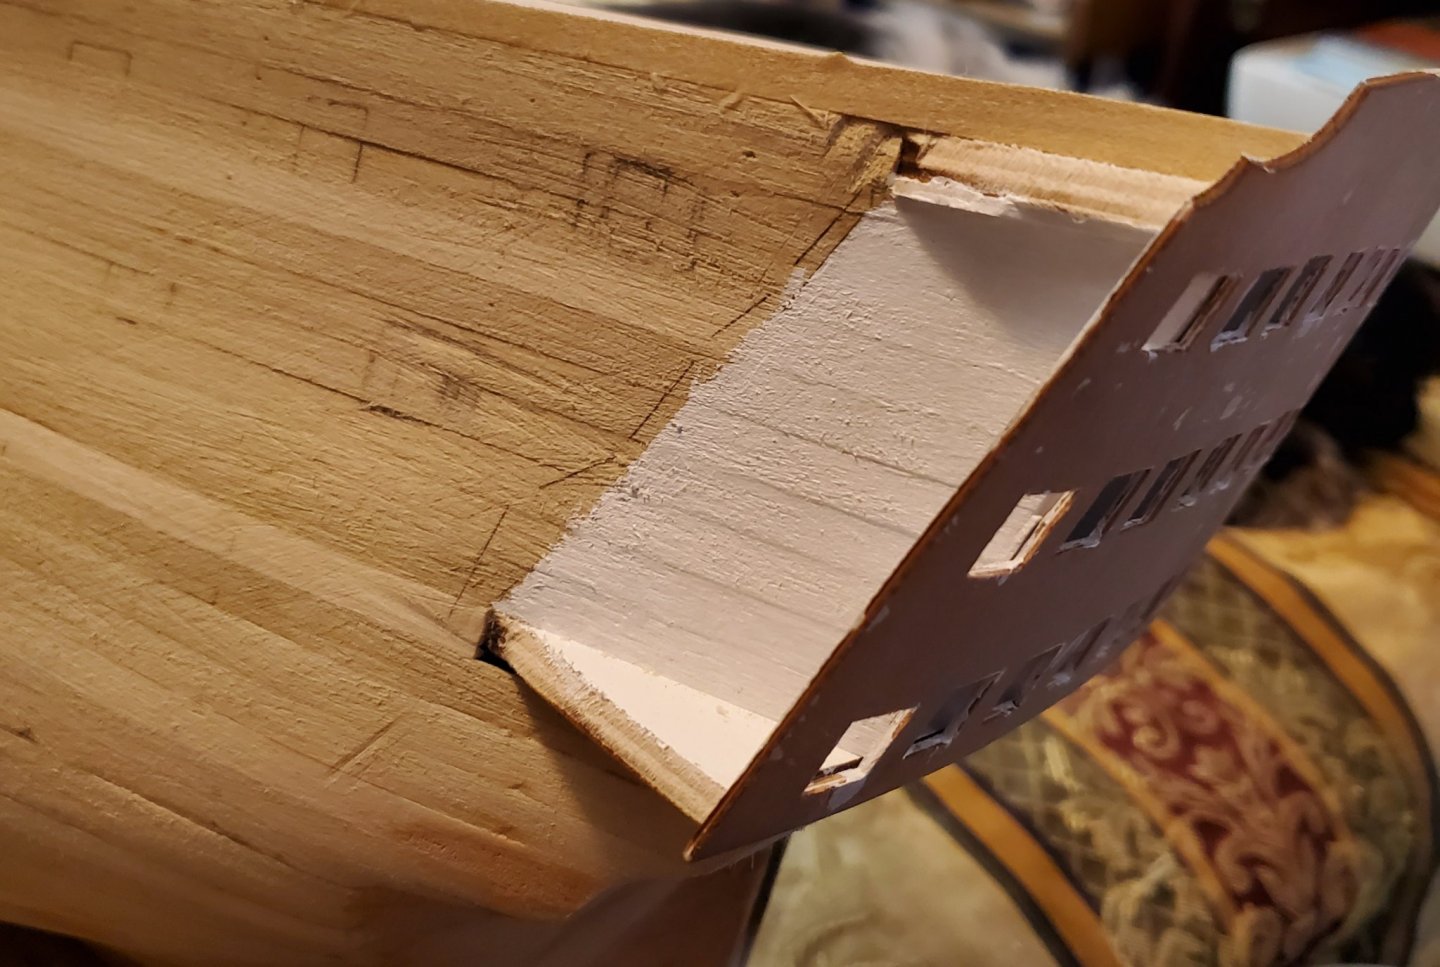
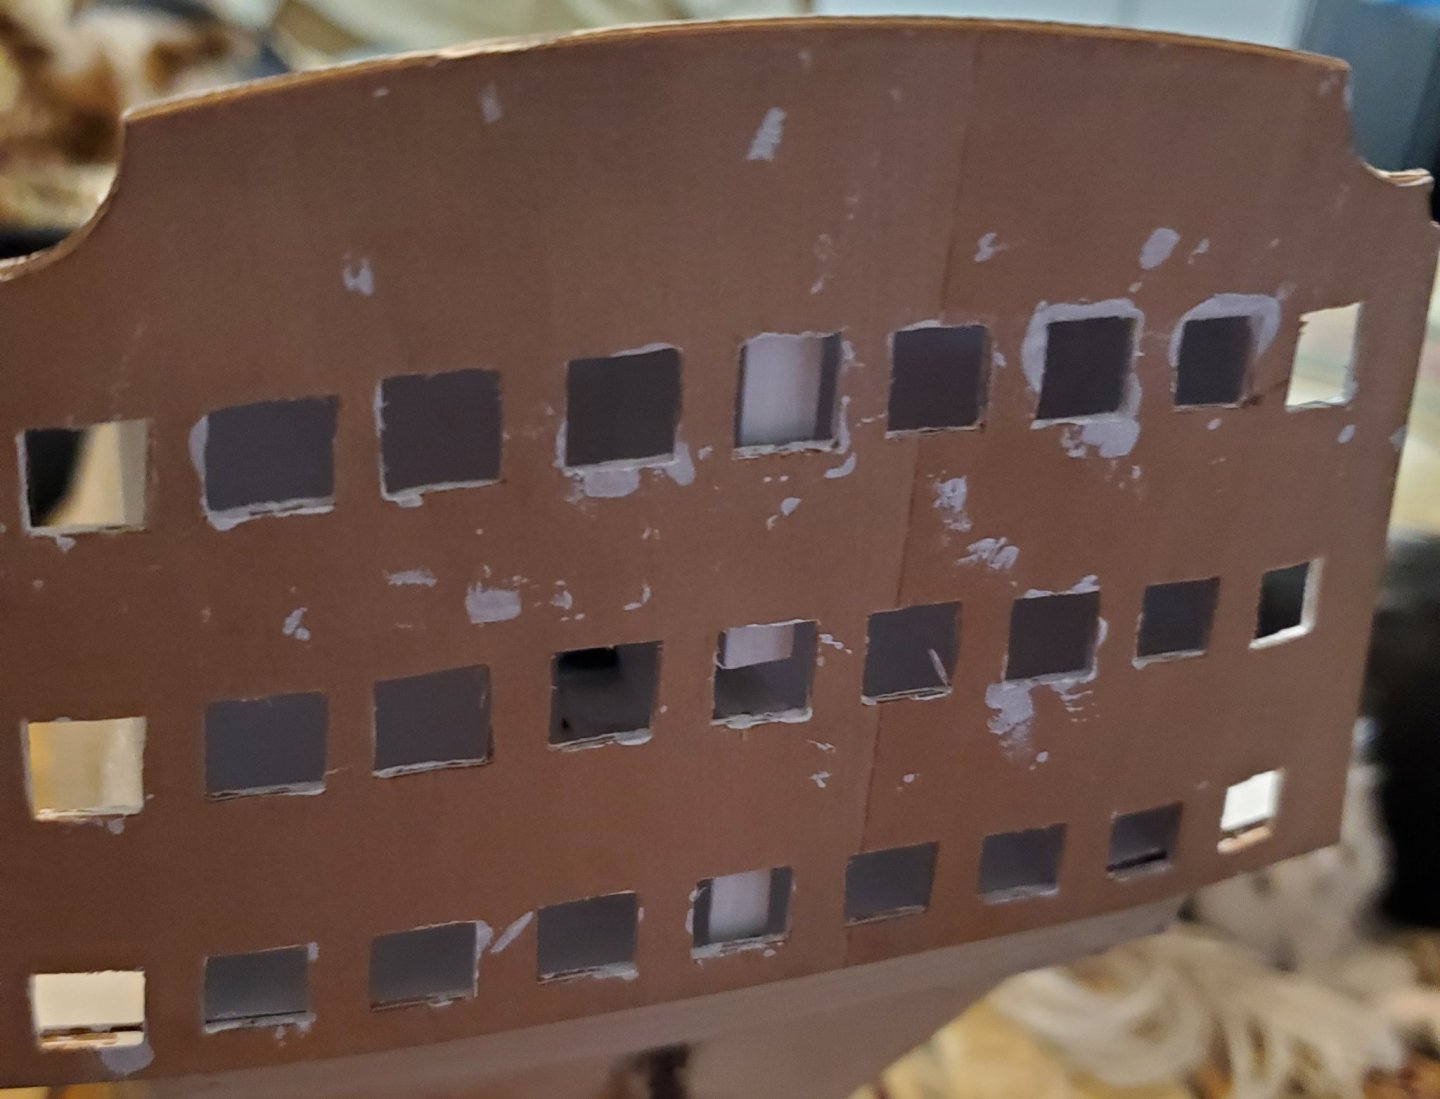
So ..... with that done, I painted the inside of the stern galleries white.
20200506_231950.thumb.jpg.8083aaf12691a073643e179775b0b667.jpg
20200506_231930.thumb.jpg.bb062204c9f1fb4c5b7fad1585959bb5.jpg
20200506_231912.thumb.jpg.4241aaa0c493b7ea9795f06697ad4ce1.jpg
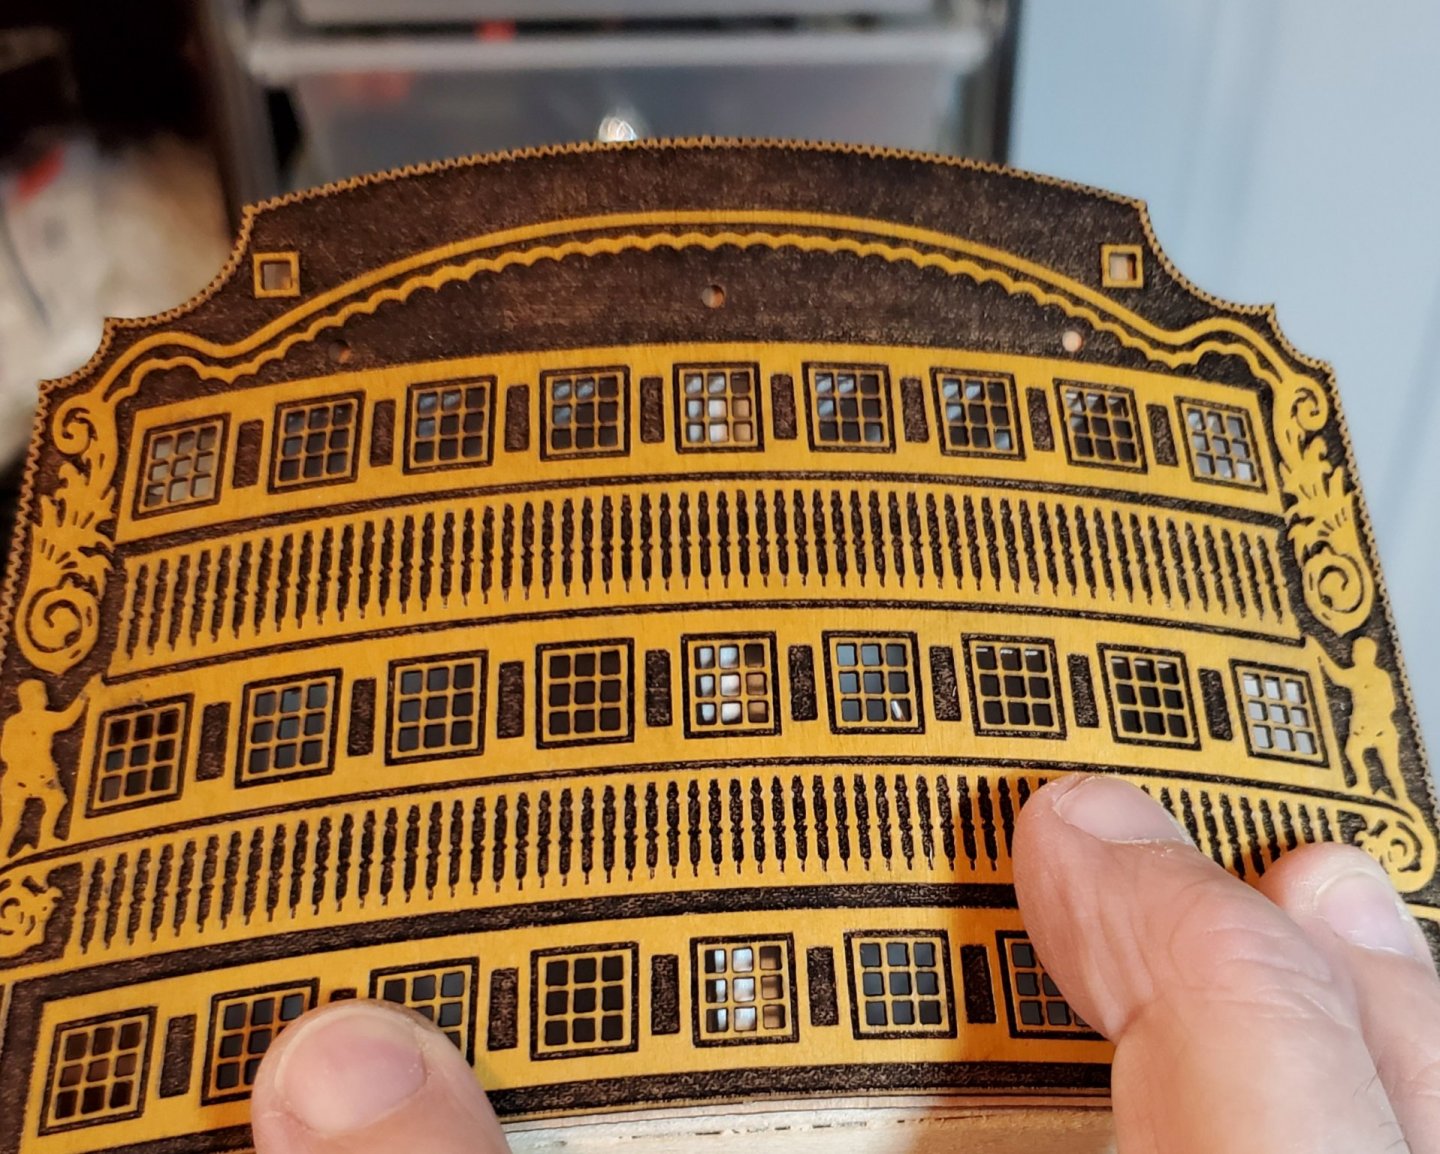
I was going to cut that center part of the frame out as it is right in the middle of the windows, but it is not that noticeable once the windows get installed, and even less once the glass is put in the windows. And after the panel is planked and trimmed out, everything will blend in well. ( I can see it in my mind). I have a plan if it works out. I don't want to paint the hull, I prefer to stain it. I am not intending to copper the hull either ( unless I really screw up the second planking) so the parts that would normally be black ( such as the wales) will be stained ebony black. I probably will paint a few details but most things will be stained.

Oh .... and that etched panel for the stern galleries .... the only part that will be visible, is the cross bars in the windows and the pillar rails between the windows. I intend to plank it walnut and make molding and trim to cover it. ( I hope it works out). We shall see.

Mark Frazier
 
Everything looks very good, Mark. I am in the fortunate position that I have a wonderful kit to work from, but I also change many things as I am not strictly building the ship as depicted in the kit. It is so important that one has to have that vision/plan that you mentioned.
 
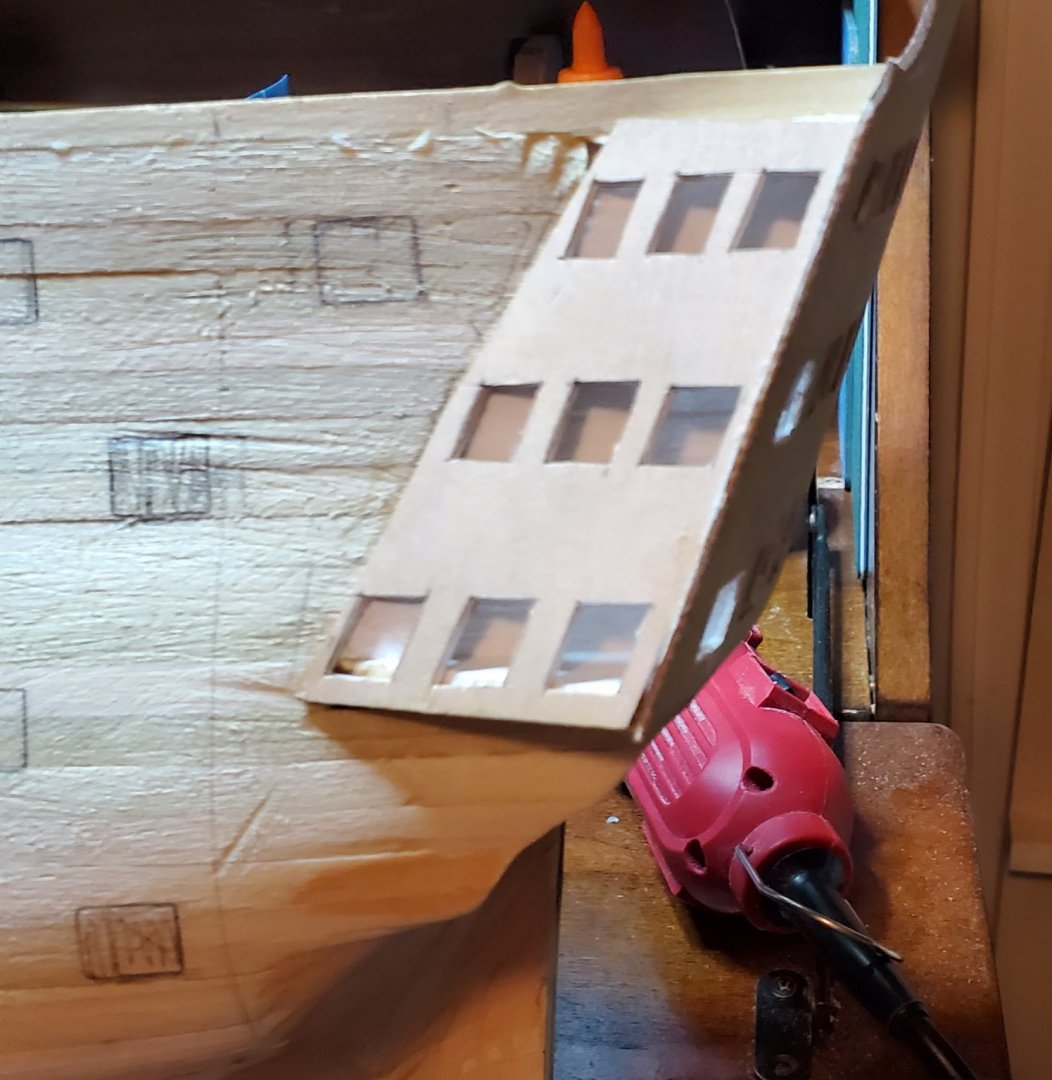
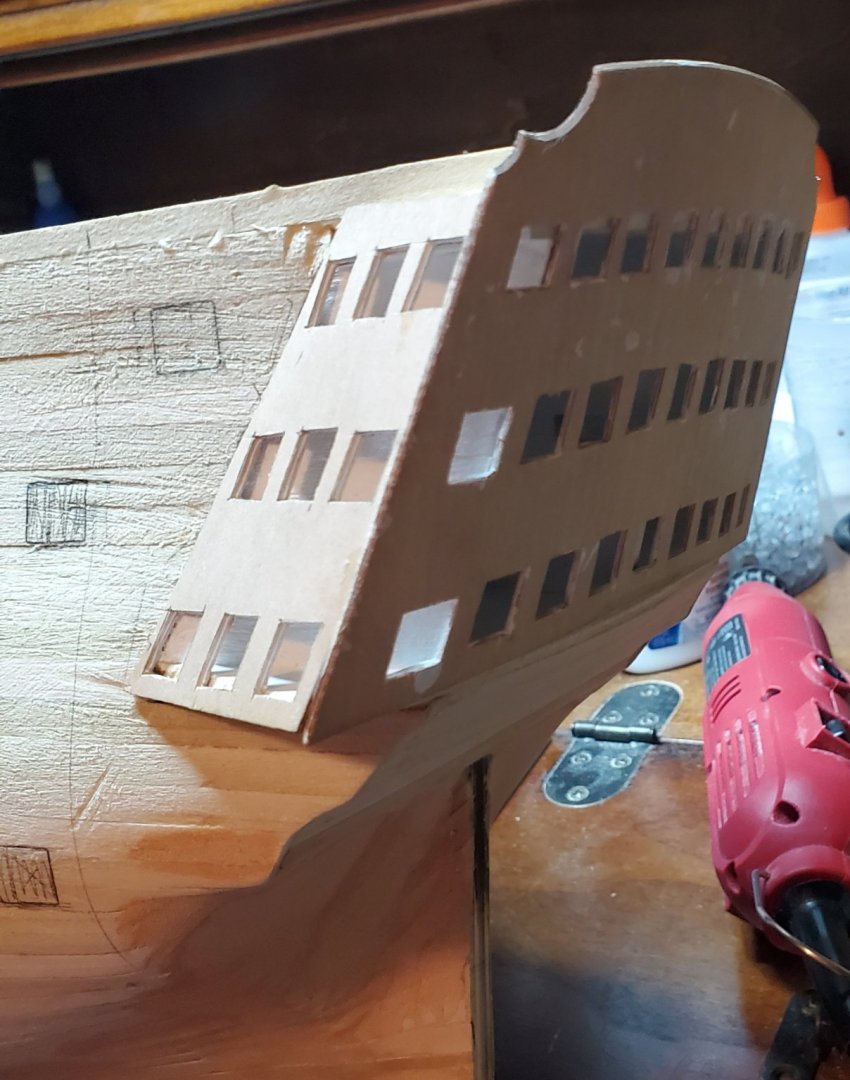
I spent several hours fixing the stern base panels. As expected with this kit, they did not fit and needed slight modification. But they are as close as possible now. I cut out the windows on the side panels also.
20200509_000533.thumb.jpg.33172d7932d2411308a90de925a201d4.jpg
20200509_000515.thumb.jpg.5689278ddd06173d727f5bdc5ee41539.jpg
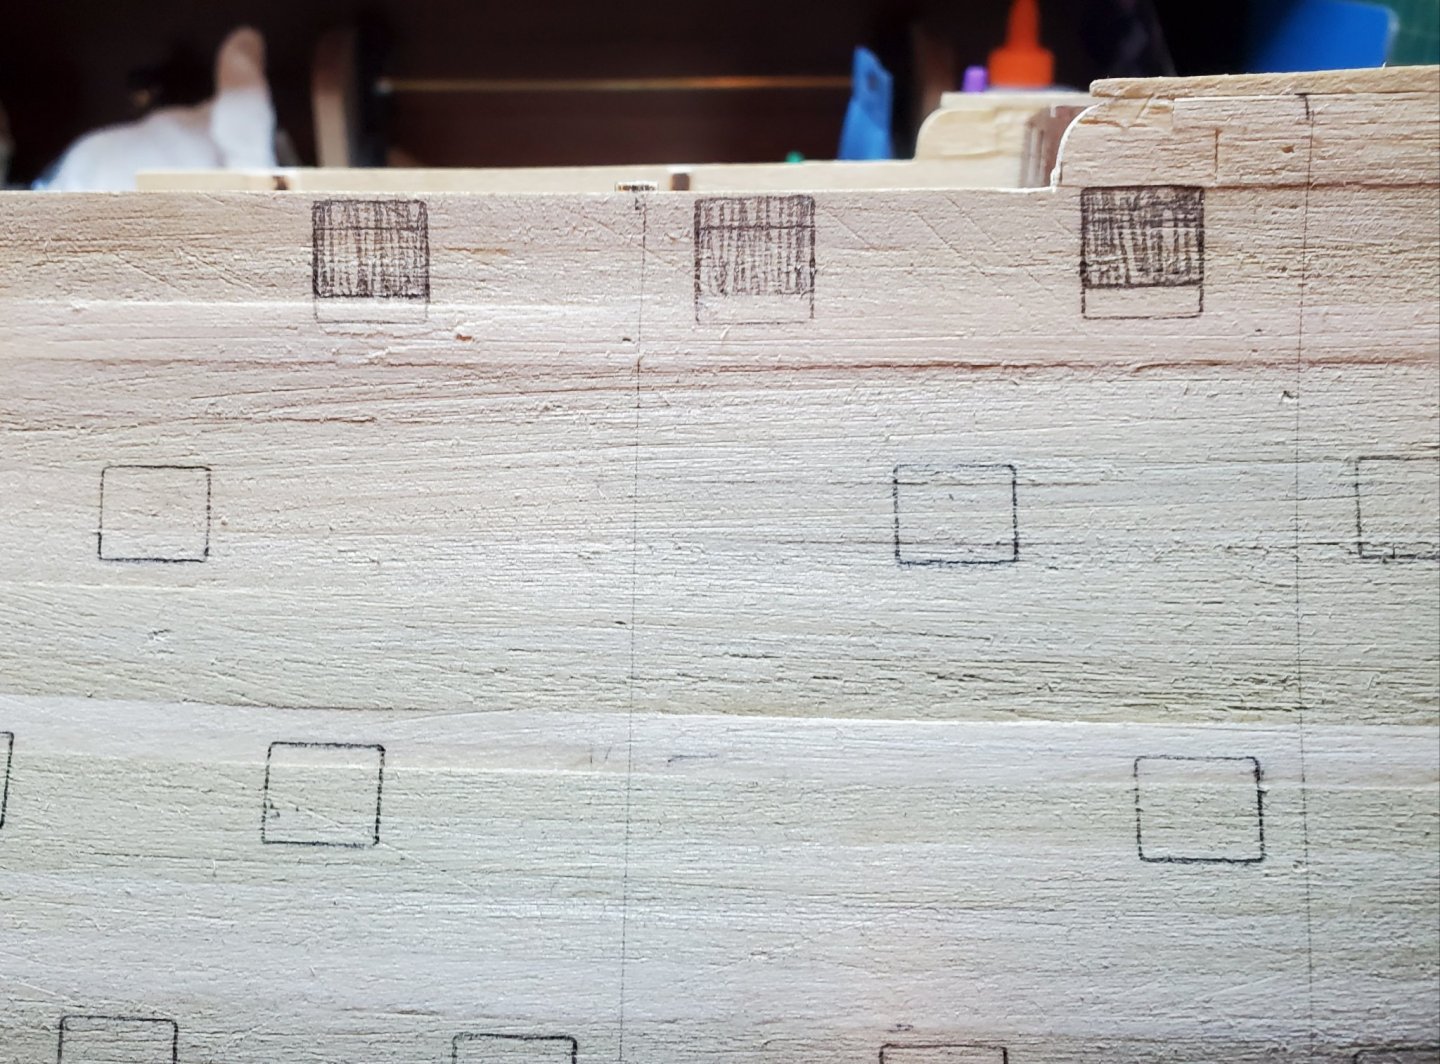
I laid out all the gun ports and shifted three in the stern and six up front to try to avoid hitting bulkheads when I cut them out, ( which is next). I decided to check the cannon height on the deck with respect to the gun ports and sure enough, they are way off. I'm glad I checked this before cutting the ports. Seems I remember one of you fellows mentioning this problem with your kit and I kept it in the back of my mind.
20200509_000559.thumb.jpg.e1777148ff807d4022ada0155e2f0193.jpg
You can see in the photo , I raised them a good 1/8 inch. I also checked to make sure that last one that is under the stairs to the poop deck won't interfere with the stairs. I will have to add a board on top of the waist wall to make up for the shifted ports.
I plan to cut the ports, then line them and sand flush. Then after second planking the ports will be recessed the 1 mm , as that is the thickness of the second plank layer.

Mark Frazier
 
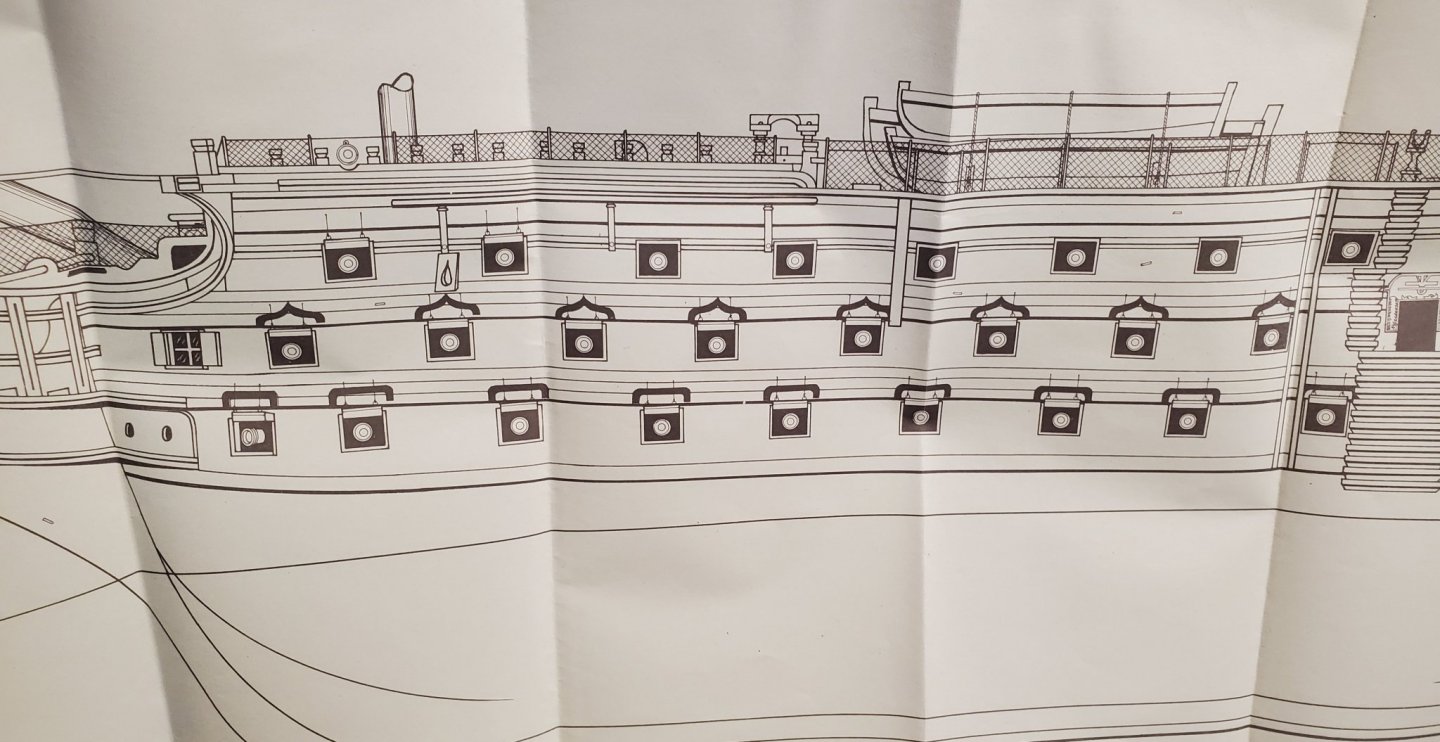
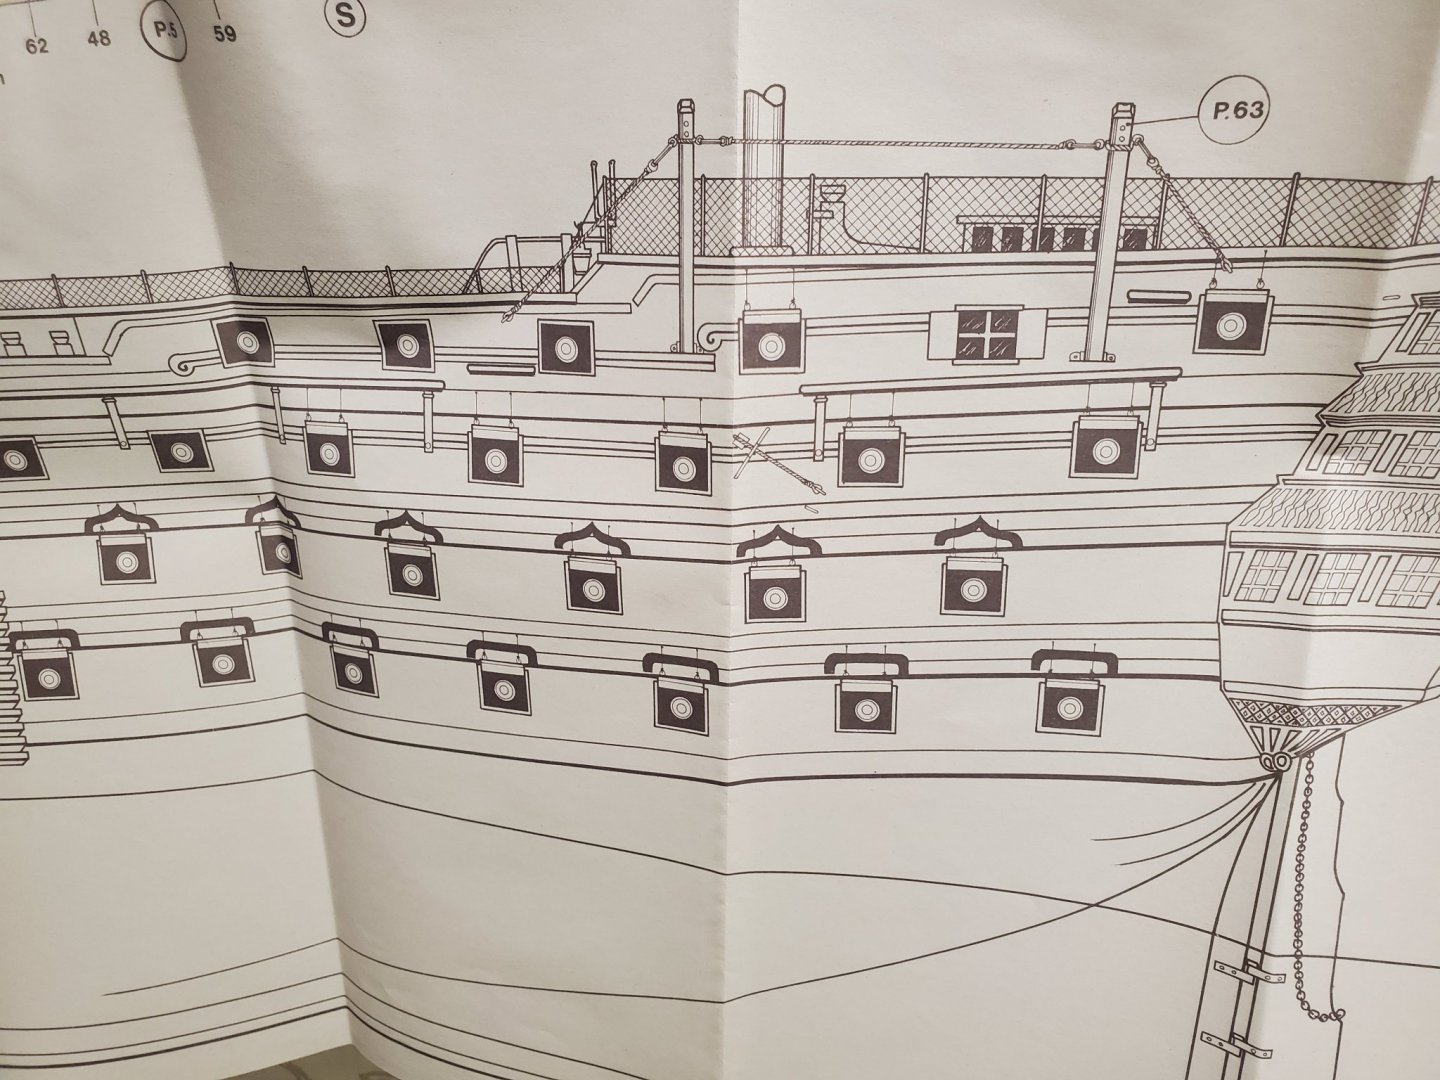
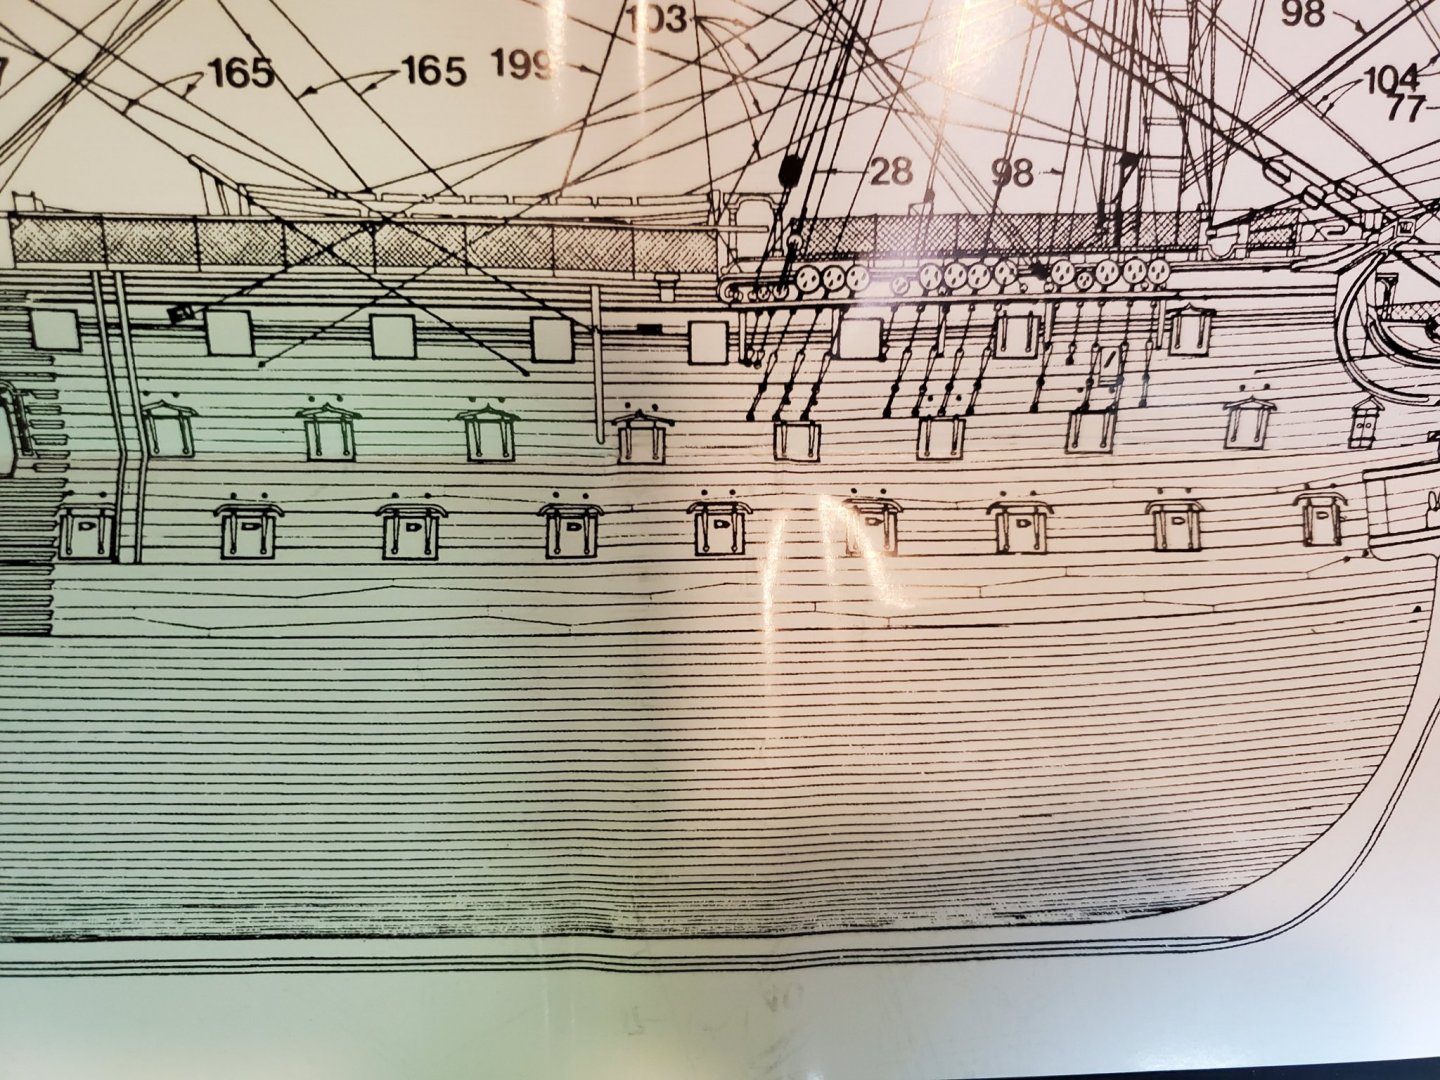
This kit drives me crazy some days. There are so many wrong things, I have to constantly be checking and comparing. If I blindly follow the somewhat instructions and one print of construction details, I would end up with a ship, but it wouldn't be the Victory. ( now I get off my soap box).

I decided that it would be best to lay everything on the hull out before going any farther to see how things will fit and look to see what is right, what is wrong, and what needs attention. So I got all the gun ports laid out and I hope, so they will work. Now I thought .... better check the wales. Now this is interesting. The next two photos are the kit version of the wales.
20200509_134327.thumb.jpg.13a272f624f4dd566973bcc44381db37.jpg
There doesn't seem to even be a lower wale. Just a board.
20200509_134118.thumb.jpg.2edce3b6fd25d86acf91fc6b7ab99aaf.jpg
Now the next two photos are from McKay's book.
20200509_134152.thumb.jpg.2d3f82106a5f126600aa72495cb570da.jpg
20200509_134145.thumb.jpg.edc5f311ecb35e48699a4fce05805744.jpg
BIG difference. Now..... I had been planning to TRY ... to cut the anchor stock and top and butt planking for the lower two wales..... But ... if I can do as planned and stain instead of paint the ship, I will have to come up with a combination of the two different layouts to accommodate the light and dark stained bands that representthepainted bands on the real ship. I am thinking of staining the wales with ebony black stain and using some yellow Alaskan cedar for the light bands. I probably won't have as much curve in the lower wales at the rear of the hull. I found some images of stained model Victory ships on the internet and they were done like this and I thought they looked good. So...... I will lay this out and post a photo of the layout shortly, and make a decision on proceeding.


Mark
 
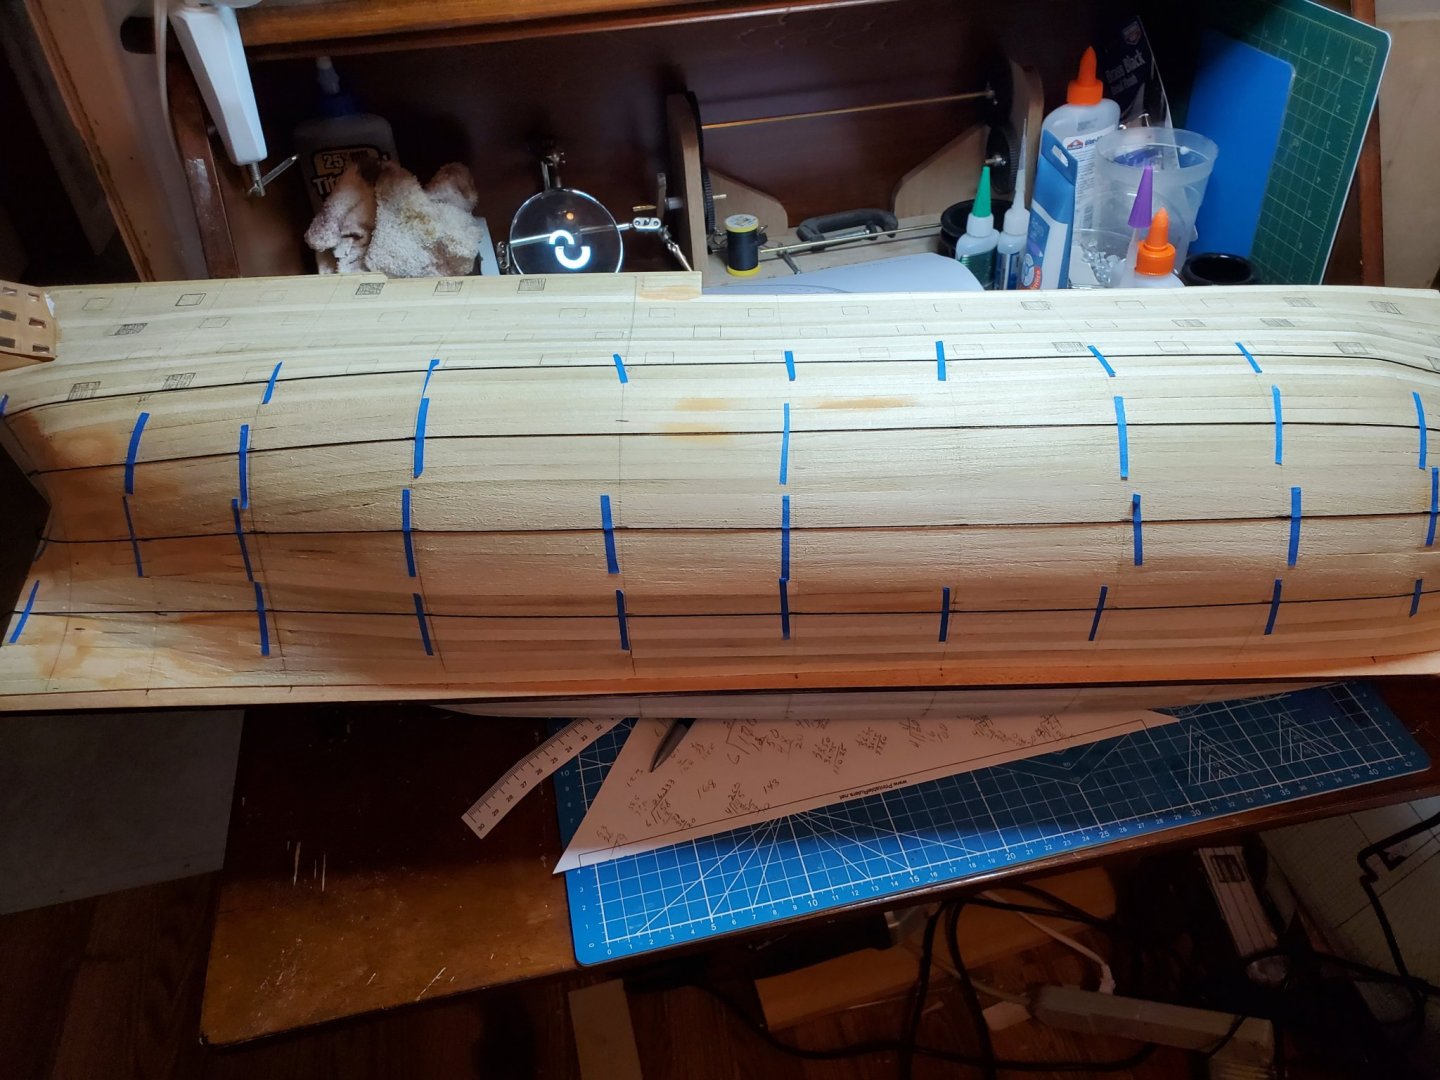
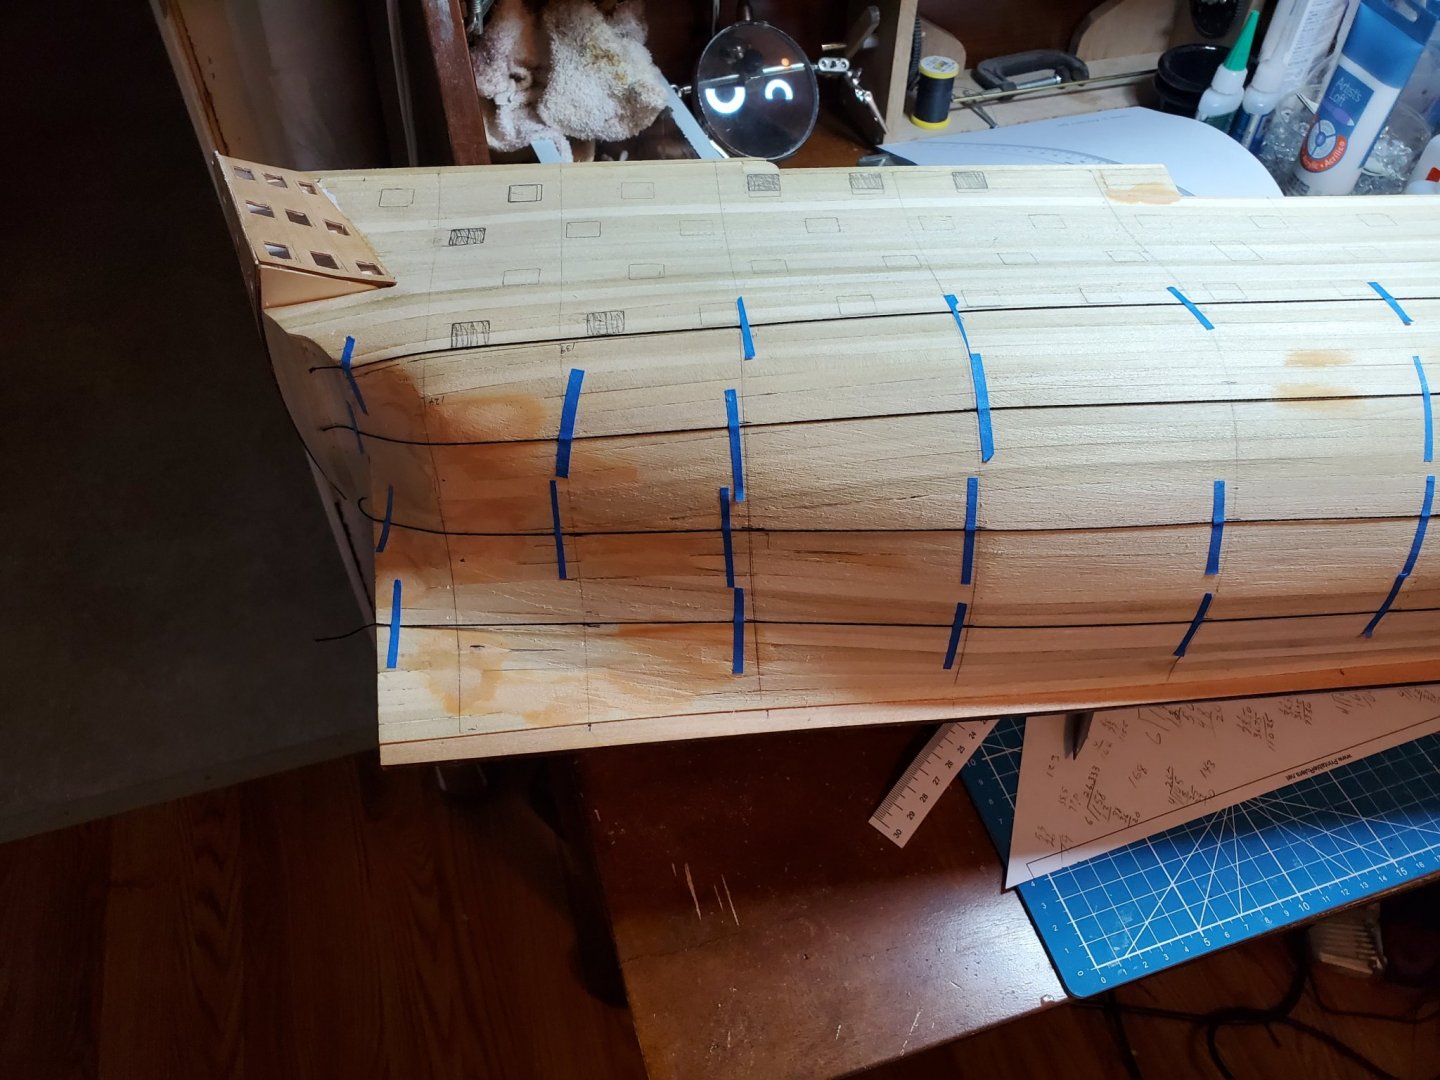
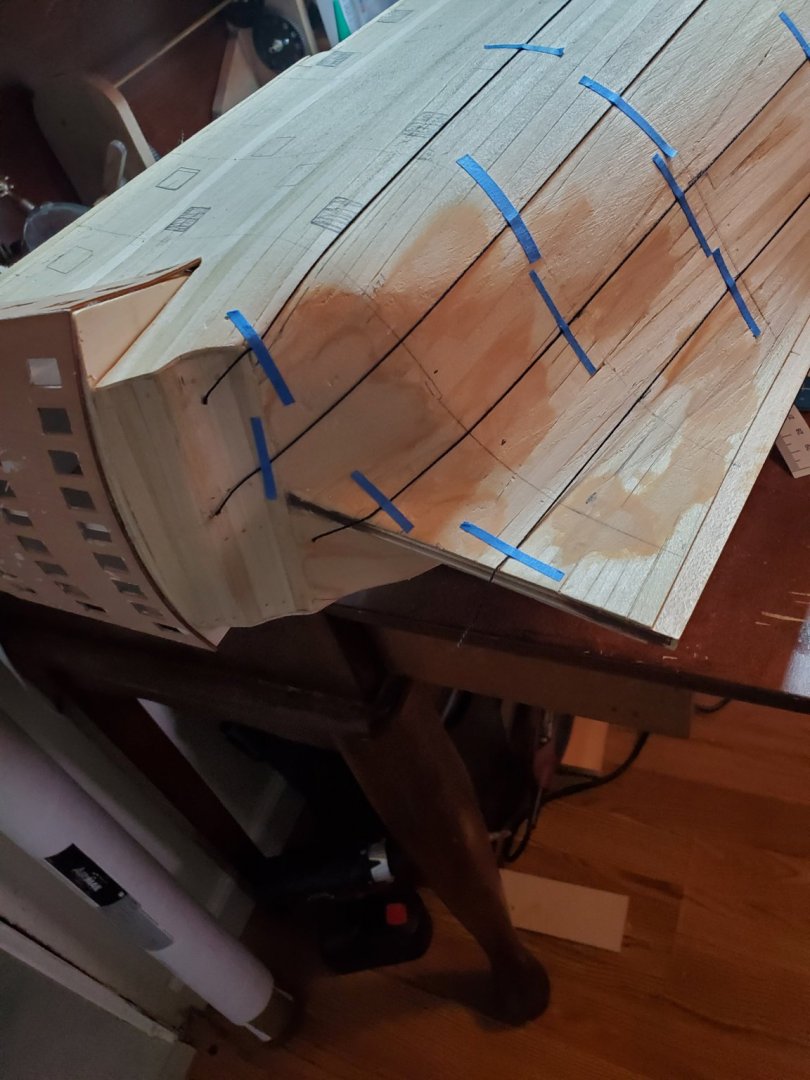
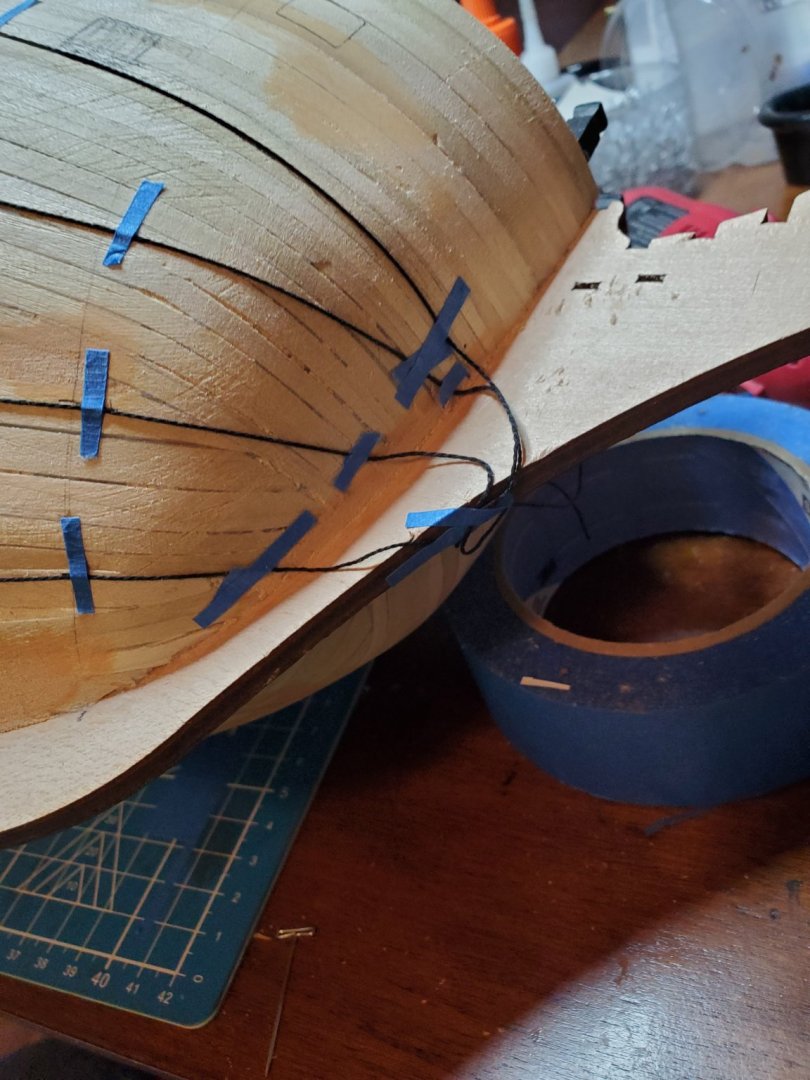
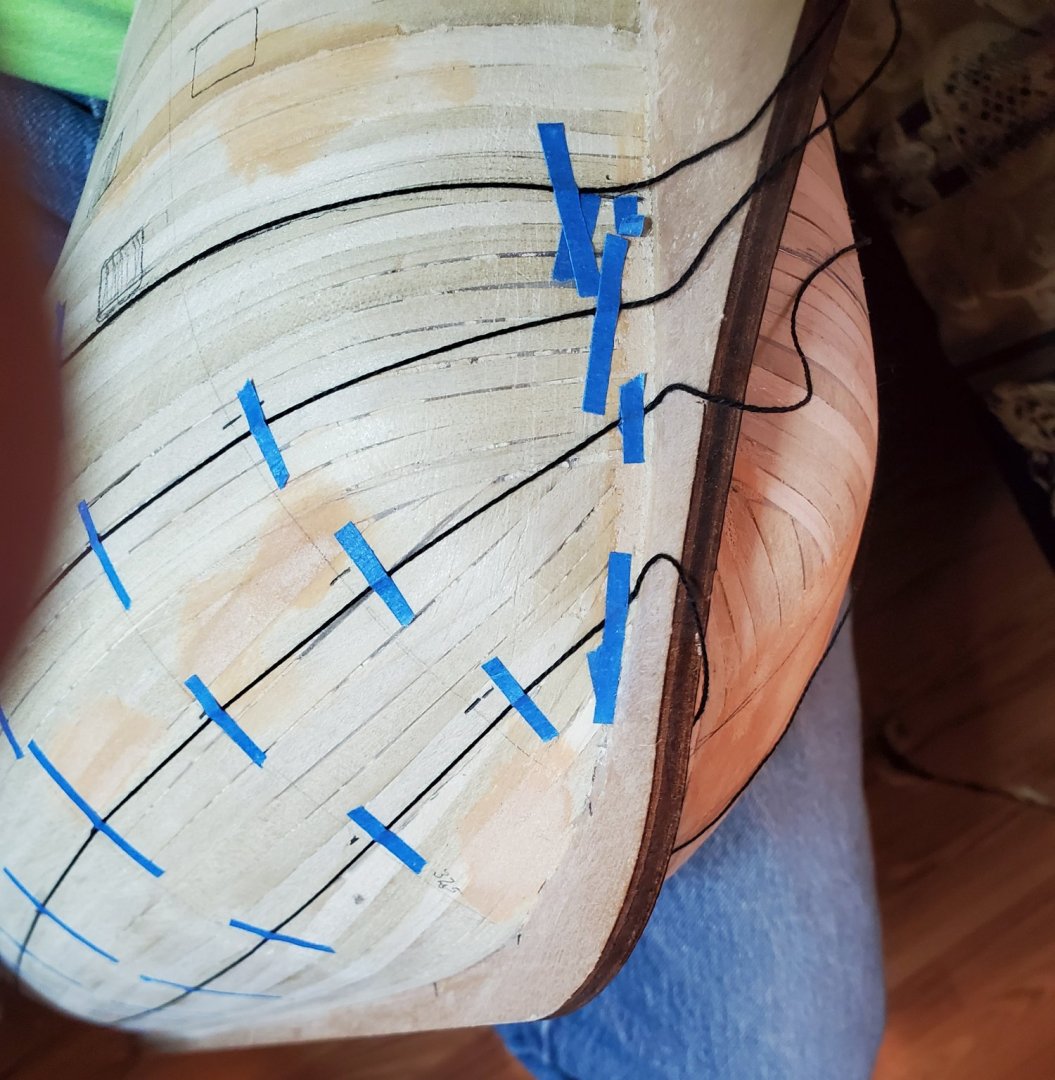
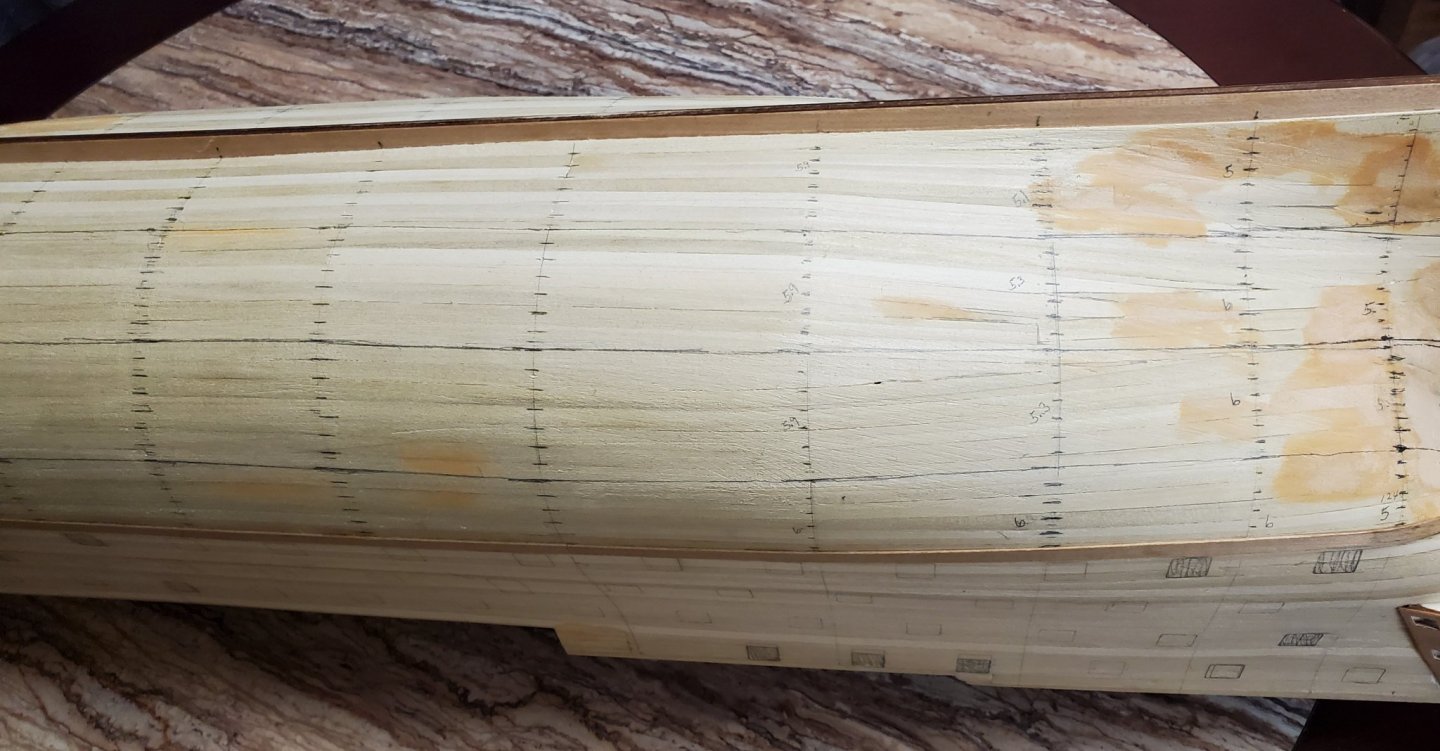
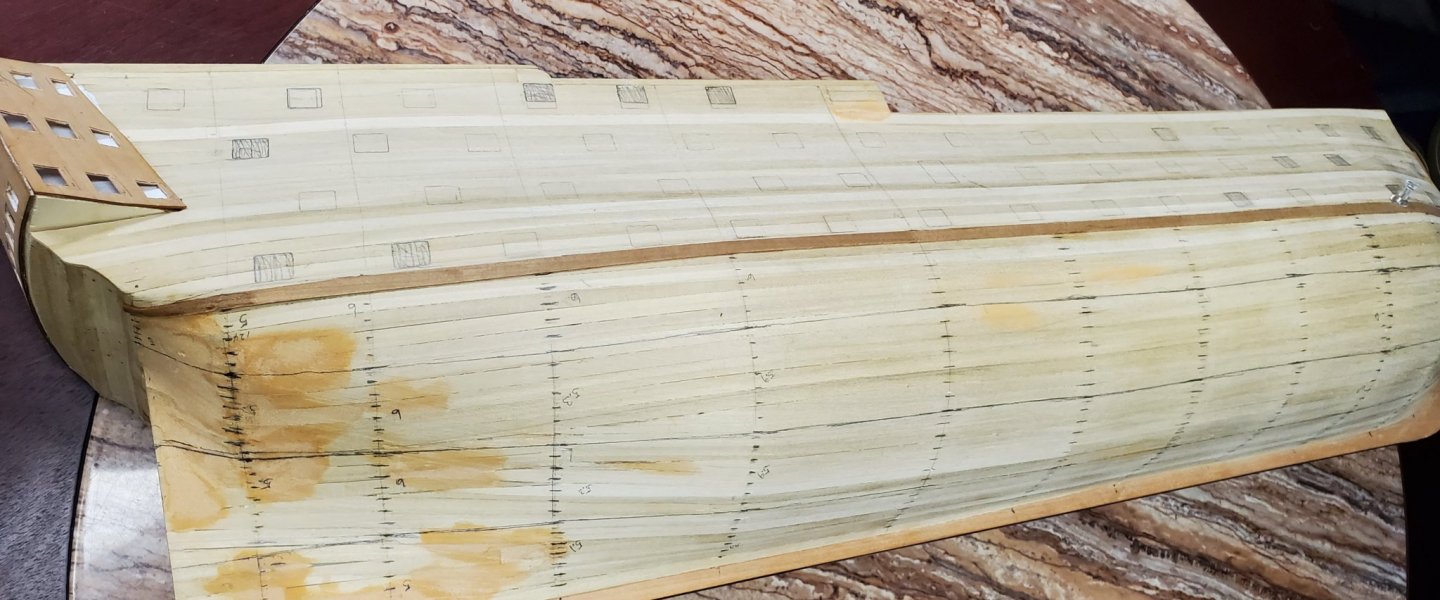
Since I screwed up the first planking, I thought I would lay out the second planking to see how things should look. I used some string and tape ( with everything closed, you gotta use what you can find) to lay out the planking bands. I divided the hull into four bands, each will have seven, 6 mm planks. I think I can work with the stern, but the bow .... that's a problem. I let the string kind of follow a natural path.
20200510_103214.thumb.jpg.5c739aed1b13b44e04a1eaf92848746a.jpg
20200510_103223.thumb.jpg.9afe9c97585b340ef92d2472b8c70891.jpg
20200510_103229.thumb.jpg.9f5de6fda6a619c06c980bce194b3efb.jpg
20200510_103245.thumb.jpg.bcc86d762998f55e1ff7c948f5c43254.jpg
The last photo is the bow and 7 planks are NOT going to work well. Any suggestions to how to do the bow would be appreciated.

Mark Frazier
 
I have laid out every plank as close as I could. The planks are supposed to be 6 mm wide ... BUT ..... I measured them and they are just slightly wider .... like 6.05 to 6.1 mm. So when I laid out for 28 6 mm planks on each side, they wouldn't come out right. I could only get 27 planks on, so I had to lay them all out again.(more poor quality). I will make any adjustments on the garboard plank.
20200510_231616.thumb.jpg.2950d47edac4c441f7890544ef60f347.jpg
20200510_231601.thumb.jpg.1c808df6deeece741911f0650c08d780.jpg
20200510_231547.thumb.jpg.c16c670100d336d16328bfe1d95cebe9.jpg
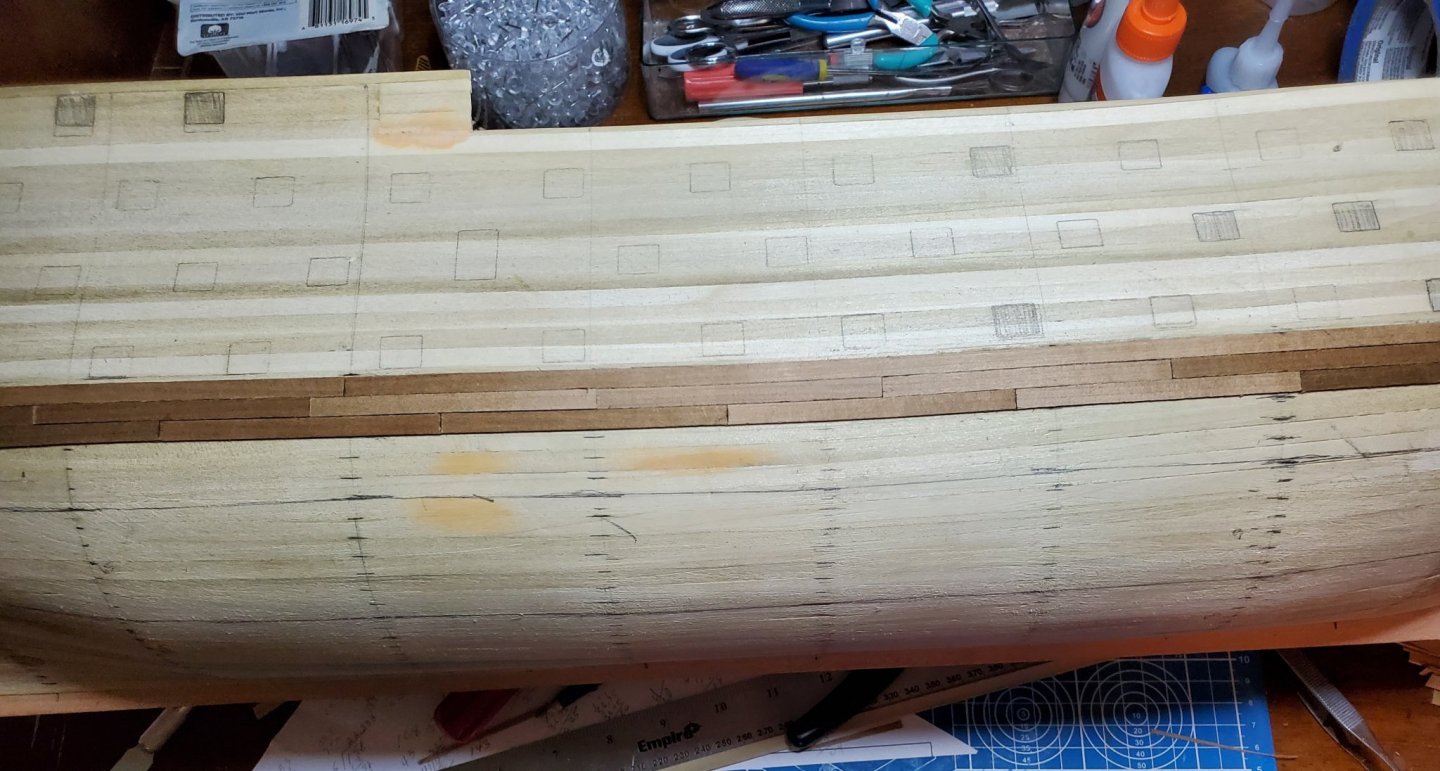
The walnut strip that is glued on each side is the top of the lower wale. No the wale line will not be correct because I am attempting to make the bands with stained wood instead of painting. I'm going to plank the bottom portion of the hull before I cut the gun ports because I noticed the line of ports was not all exactly the same height above the lower wale and I will readjust them before cutting.

So.... here I go..... starting the second planking. I get really nervous at this point.

Mark Frazier
 
You might search under hull planking to see what guidance is available.

I have seen instructions somewhere that show how to use paper templates and dividers to form shape of planks and allow you to see where adjustments are needed before cutting any wood
 
Hi Mark,

You have devided the hull in 4 sections.
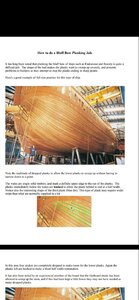
At every bulkhead frame you can now devide the space over the bulkhead between the lines by the number of planks, this gives you the width of of the planks at the specific bulkhead. If the planks become less then 50% of the original plank you need to continue with one plank less.
See pictures below.
Screenshot_20200511-085203_Drive.jpgScreenshot_20200511-085213_Drive.jpg
 
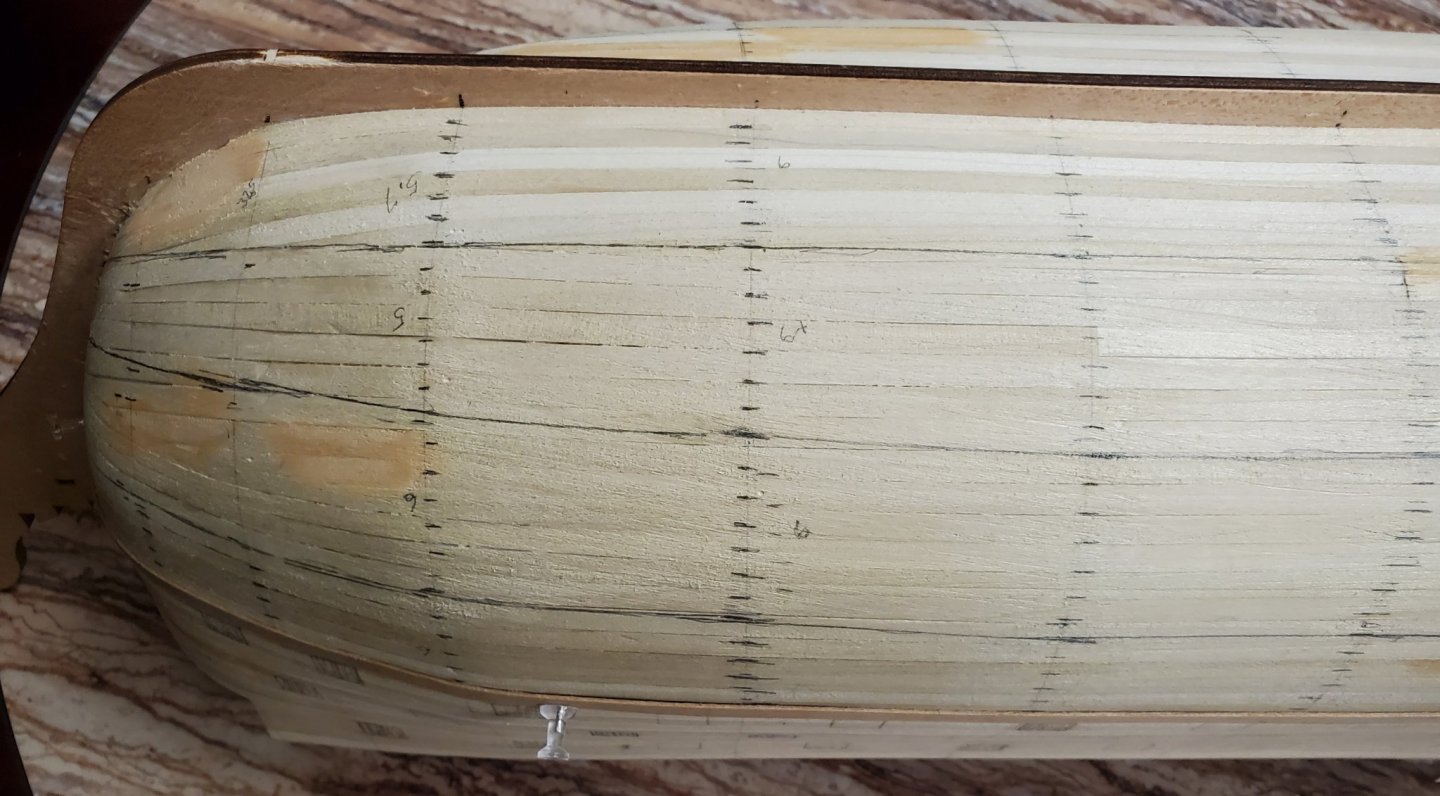
I cut the planks into 85 mm lengths as this works out best for the hull length. I put the first two rows on one side. I am coloring the edges with a pencil to try and simulate caulking. I don't know how it will work out until I sand. I will now put two rows on the other side. I try to keep everything identical between sides. This wood is in my opinion, very poor quality. I thought about replacing it all, but that is not just expensive, but a waste. I will try to make use of this lumber as best possible. The edges are very rough on all this lumber. Other lumber I have ordered is very nicely milled on all sides. Maybe this poor lumber will accentuate the seams more, which may be a good thing if it is not too bad.
20200511_124110.thumb.jpg.66cff8bc49ee86e6d3664f2c550118b0.jpg

Mark Frazier
 
The wood may look poor now, but what will it look when sanded and sealed?

Did you try a few tests pieces to see what final finish you desire will look like with this wood.
 
The wood may look poor now, but what will it look when sanded and sealed?

Did you try a few tests pieces to see what final finish you desire will look like with this wood.

The wood is walnut. I have no doubt that the finish will make it look better and the surface will sand smooth. My biggest complaint or concern is the rough edges and varying widths. Trying to not have gaps in places because of the varying width is difficult at best. I'm hoping with enough work, it will look like caulking between the boards. When you get lemons, you make lemonade. I will make them work. I just hope I can satisfy myself ( my biggest critic).

Mark Frazier
 
Being your own biggest critic isn't that bad unless you beat yourself up over it, hard to have you as a witness to you beating yourself up in court! ha ha.

As long as you are happy with finished model, it doesn't matter what others think, or how correct it is.

Looking back at my first solid hull model with veneer planning it looks horrible to my standards today, but it was done 20+ years ago.
 
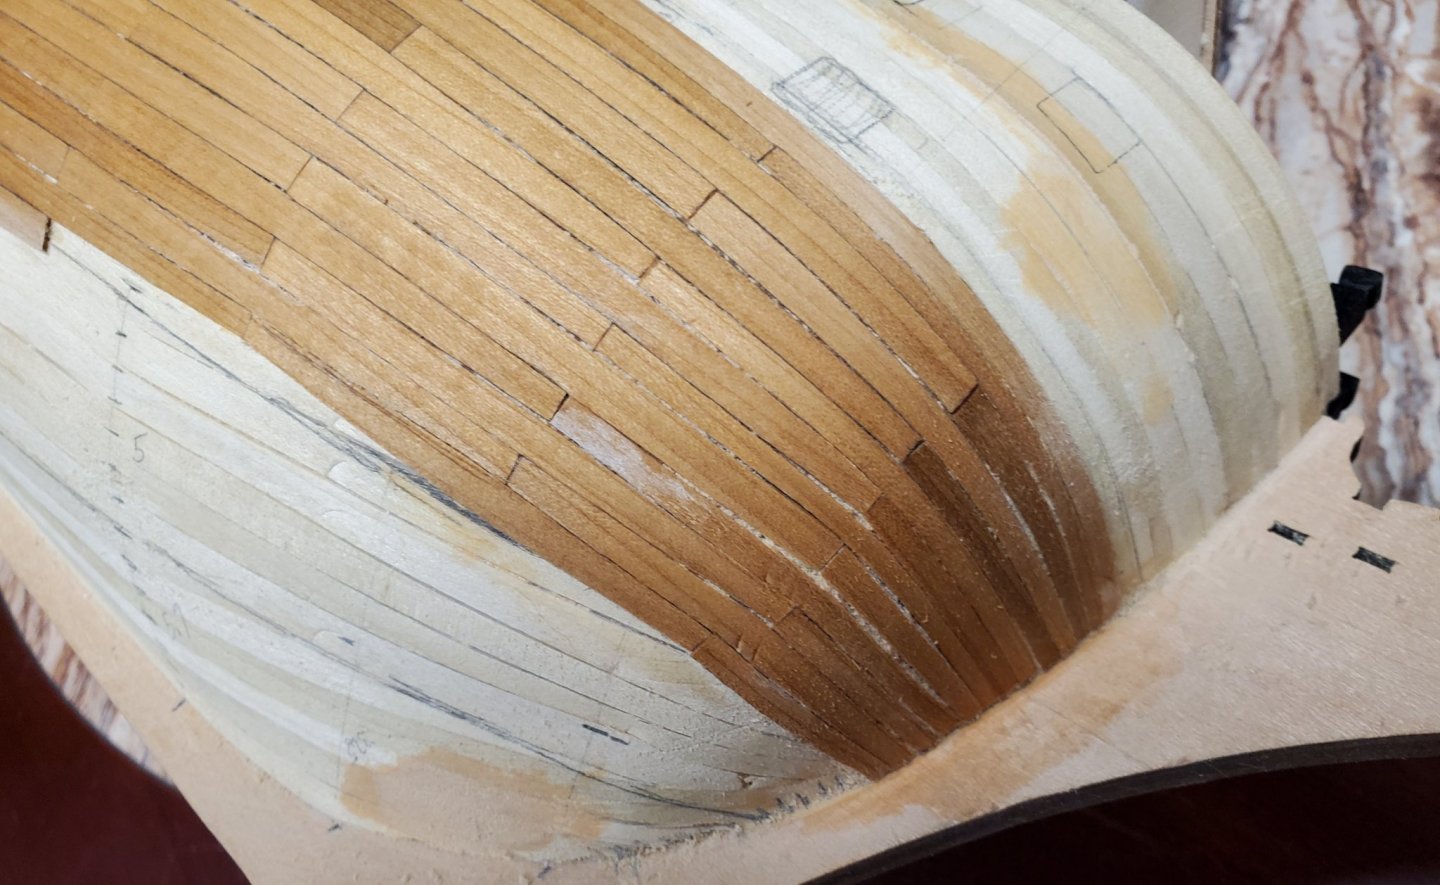
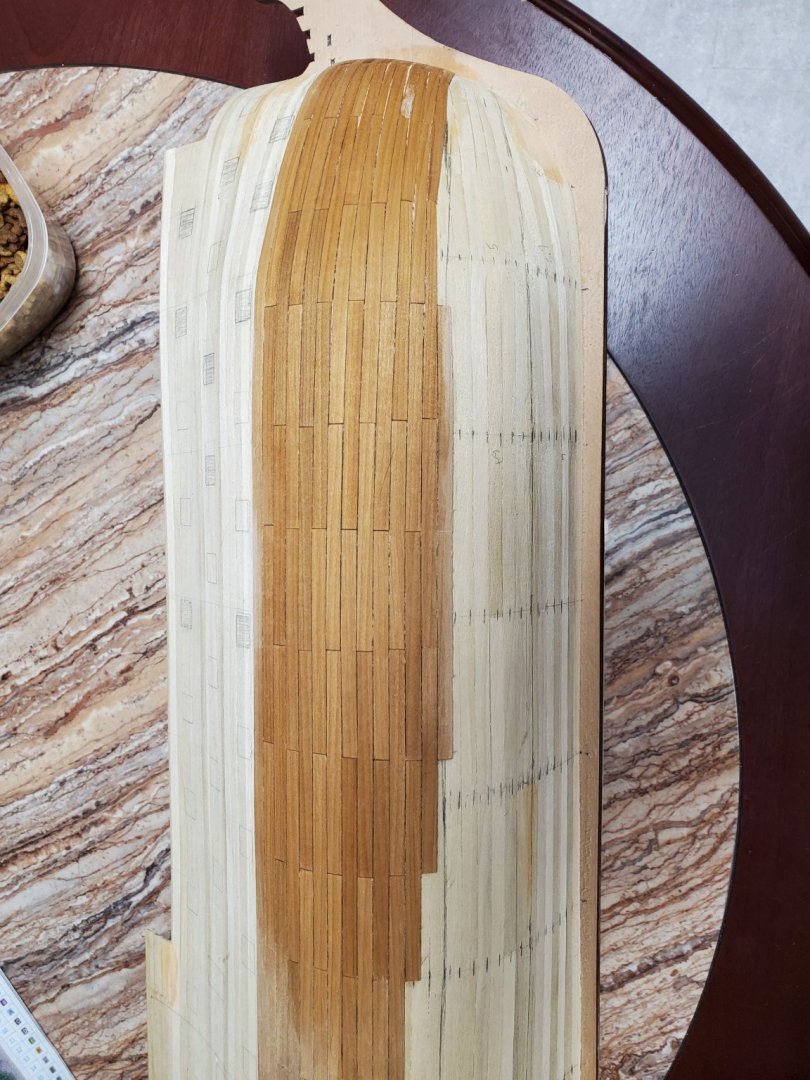
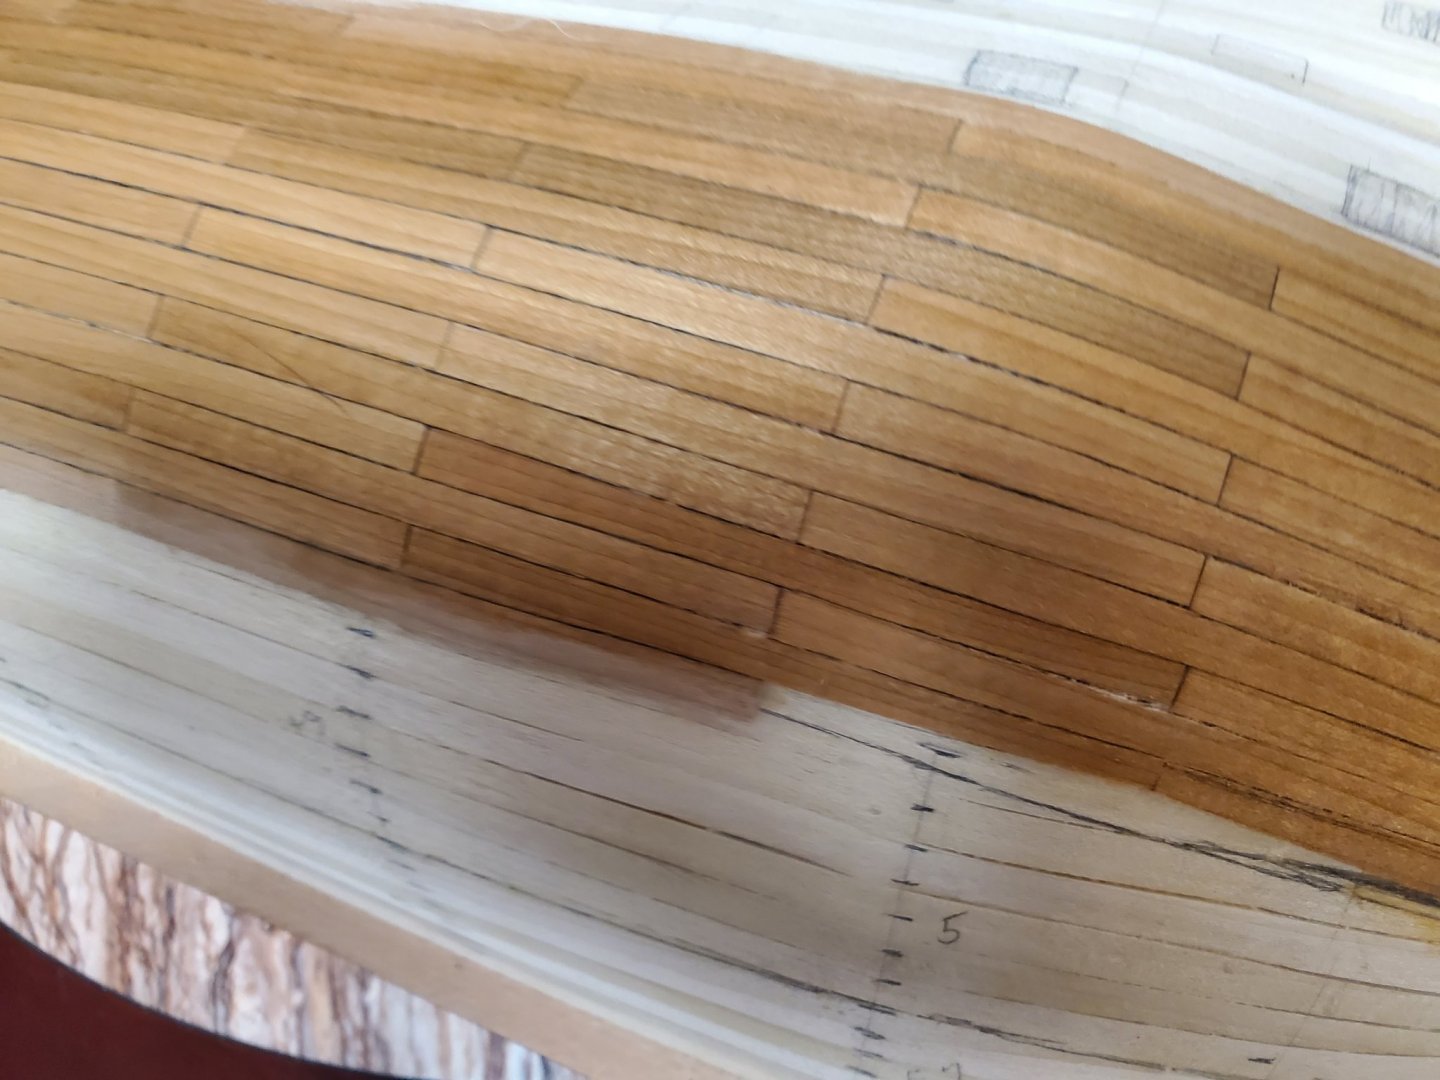
I hate this cheap lousy wood for the second planking in this kit. The first planking wood ( lime wood) was much better. It was very well finished and consistent. The walnut for second planking is all slightly different widths and very rough on the edges. .....With that out of the way ..... I got about half of each side done and it is rough going. I have to constantly try to adjust the width by sanding a little on the edges and try to make the bands finish close to width. I have noticed the thickness is varying slightly on the boards. ( I regret now not replacing all the wood, but it is stupid to pay five hundred dollars for a kit and have to replace almost every thing).

I did a preliminary sanding on one side and rubbed a dampened cloth on it to see how it will finish out before continuing.
20200514_192730.thumb.jpg.886e0764964450b29febff8b05195f71.jpg
20200514_192739.thumb.jpg.16f33f550ff6eaeba16ff130b342e74f.jpg
20200514_192808.thumb.jpg.7a7029365243ad1dcac21f1c83ad16c6.jpg
I am not sure there is enough thickness to sand down to where it will need to be to satisfy me. This wood is only 1 mm thick. The curve on the bow is the worst area and the hardest to do. I don't think I can go back with new wood, as when I had to replace a couple of boards, I almost ruined the first layer planks trying to remove a plank. I would never get this stuff off..... so I shall continue and see what happens.

Mark Frazier
 
Well the cleaned up color of wood looks nice, save your sanding dust to help fill minor gaps in planking.

I imagine you already know the trick of using sanding dust and glue to mix and fill like a putty in the gaps.
 
I hate this cheap lousy wood for the second planking in this kit. The first planking wood ( lime wood) was much better. It was very well finished and consistent. The walnut for second planking is all slightly different widths and very rough on the edges. .....With that out of the way ..... I got about half of each side done and it is rough going. I have to constantly try to adjust the width by sanding a little on the edges and try to make the bands finish close to width. I have noticed the thickness is varying slightly on the boards. ( I regret now not replacing all the wood, but it is stupid to pay five hundred dollars for a kit and have to replace almost every thing).

I did a preliminary sanding on one side and rubbed a dampened cloth on it to see how it will finish out before continuing.
20200514_192730.thumb.jpg.886e0764964450b29febff8b05195f71.jpg
20200514_192739.thumb.jpg.16f33f550ff6eaeba16ff130b342e74f.jpg
20200514_192808.thumb.jpg.7a7029365243ad1dcac21f1c83ad16c6.jpg
I am not sure there is enough thickness to sand down to where it will need to be to satisfy me. This wood is only 1 mm thick. The curve on the bow is the worst area and the hardest to do. I don't think I can go back with new wood, as when I had to replace a couple of boards, I almost ruined the first layer planks trying to remove a plank. I would never get this stuff off..... so I shall continue and see what happens.

Mark Frazier
Hi mark, as it is one mm you can sand it off.
 
Well the cleaned up color of wood looks nice, save your sanding dust to help fill minor gaps in planking.

I imagine you already know the trick of using sanding dust and glue to mix and fill like a putty in the gaps.

I have read that using wood dust and glue makes a good filler, but as I intend to have a wood finish, I don't know how well that wood work. The fill wouldn't take stain or finish well would it?
I wouldn't even need the second planking if I was going to copper the hull, but I, personally, just don't care for the copper plating look and that just makes it a little more difficult, as I need to have a nice second plank layer.

Mark Frazier
 
Back
Top