• Ships of Scale has incorportated an extra level of security when you log In. Please follow on-screen prompts to acknowledge that you are not a robot via a "Check Box" or a "Pictorial Check Box Puzzle". This is needed due to higher level of AI Activity Security.
  • SUBSCRIBE TO SHIPS IN SCALE TODAY!

    The beloved Ships in Scale Magazine is back and charting a new course for 2026!
    Discover new skills, new techniques, and new inspirations in every issue.

    NOTE THAT OUR NEXT ISSUE WILL BE July/August 2026
  • Win a Free Custom Engraved Brass Coin!!!
    As a way to introduce our brass coins to the community, we will raffle off a free coin during the month of August. Follow link ABOVE for instructions for entering.

HMS Victory - Caldercraft 1/72 build log by Andi

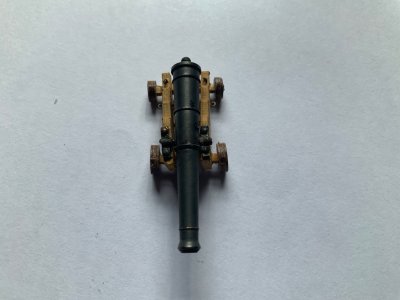
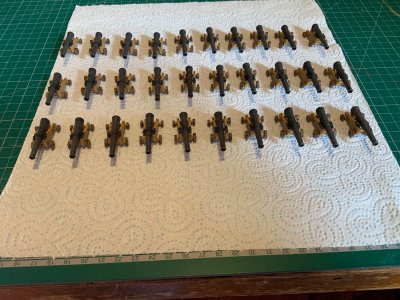
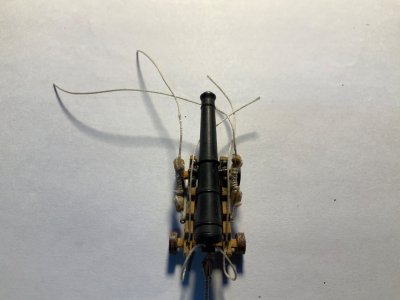
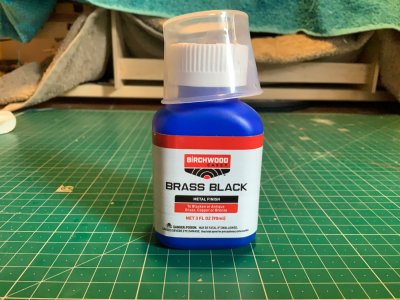
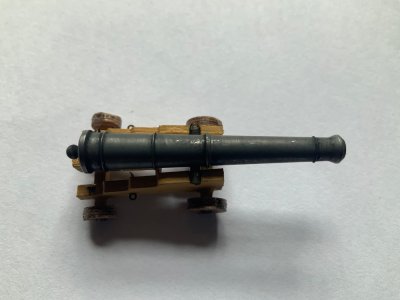
All the brass parts were coloured black using Birchwood Casey Brass Black, diluted 10:1 with water and left for about 1 hour then rinsed in clean water, wiped down with a paper towel and then submerged again in the brass black for a further 30 minutes, rinsed in cold clean water again and finally dried again with paper towelIMG_0604.jpegIMG_0605.jpegIMG_0607.jpegIMG_0611.jpegIMG_0613.jpegIMG_0609.jpeg

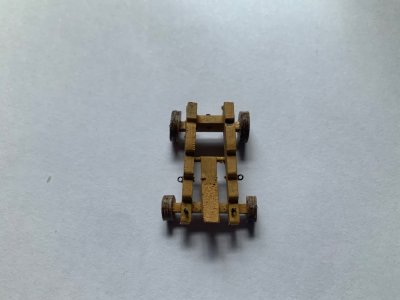
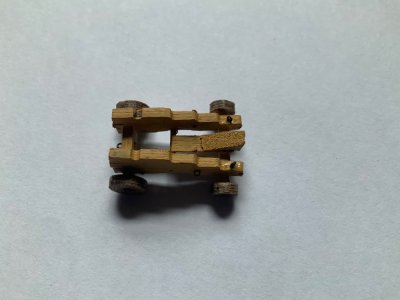
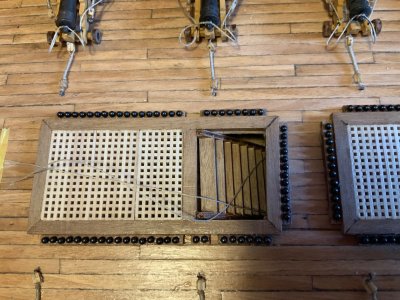
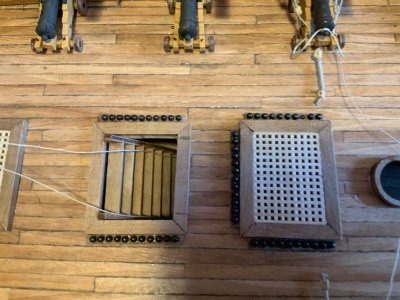
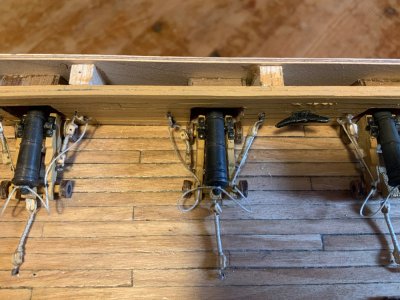
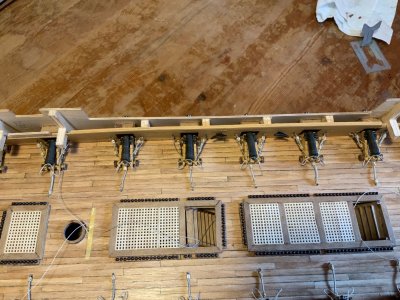
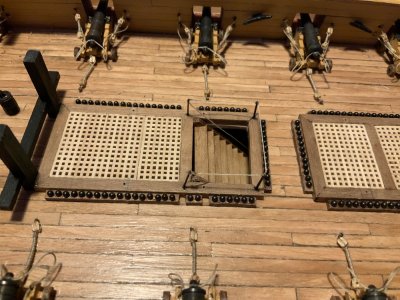
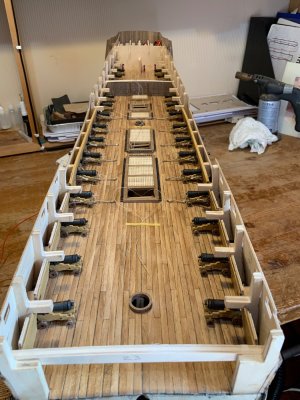
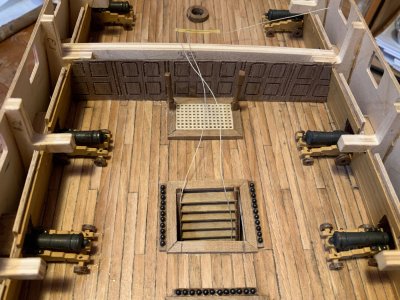
Decided to fully rig 12 only of the cannons on the upper gun deck, 6 on the port side and six on the starboard side between bulkheads 11-5 as the other cannons will be covered by the decks above

IMG_0606.jpeg
 
Great looking brass work, I will have to list the process for trying at home as my brass just doesn't look as good.
Thanks for that Kurt, Tried painting to start with but after using the brass black and seeing the results decided it was much better effect with the brass black
 
Wonderfully clear illustration and description of technique. Following with much interest.
 
Thanks for that Kurt, Tried painting to start with but after using the brass black and seeing the results decided it was much better effect with the brass black
Hi Andi
Great work on the Victory, congratulations.
What I did on my build (see here) was to use brass black first and then one coat of black acrylic paint.
Cheers
 
Hi Andi,

Maybe too late now, but for next time??:) :) The trucks were set up so they did not fall off the axle trees when rolling. Linch (lynch) pins were used to prevent this from happening but this requires the trucks to be closer to the brackets. Not sure if Caldercraft addresses this. The axles were rounded for a long enough portion to allow the trucks to be pushed in place with room remaining outboard for the linch pins and axletree hoops.
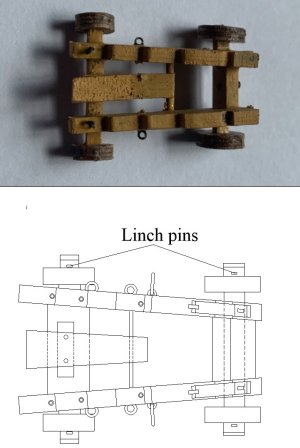
Allan
1786210902801.jpeg
 
IMG_0615.jpeg


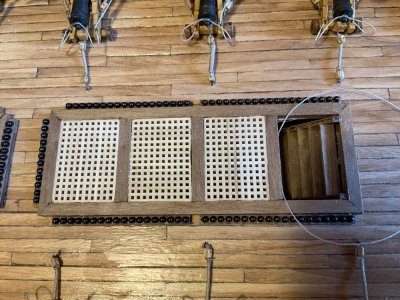
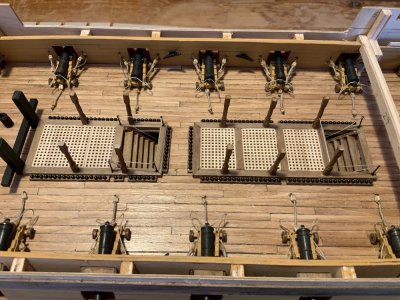
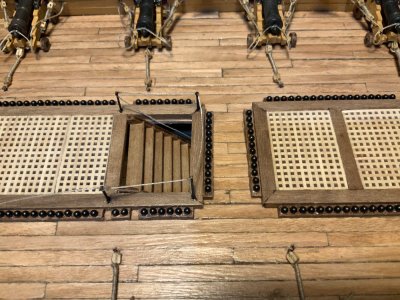
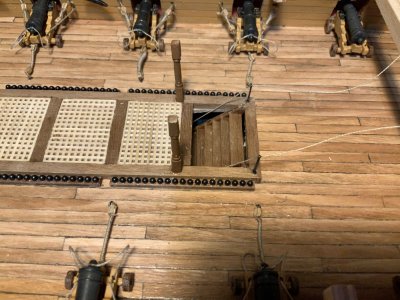
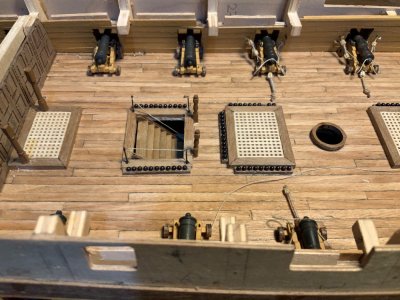
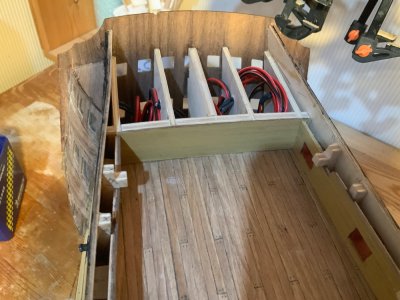
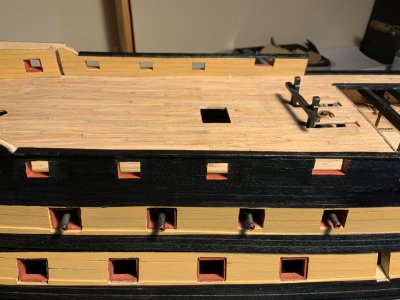
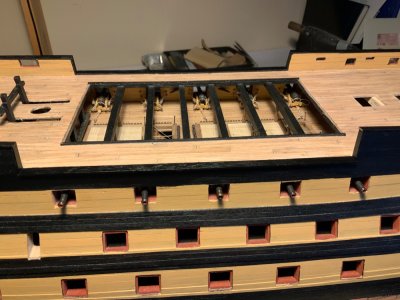
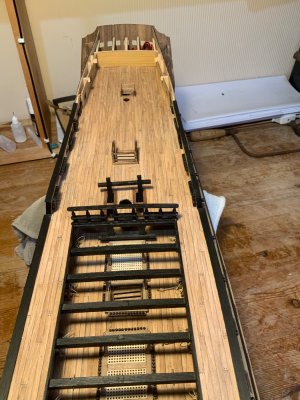
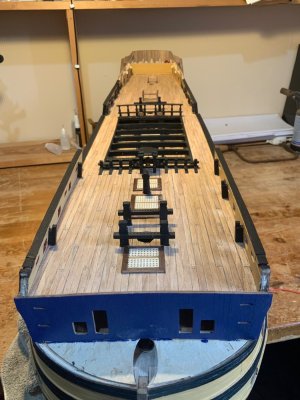
All the cannons have now been added to the upper gun deck along with the cannon balls and ladders to lower deck. The upper deck screen bulkhead has been glued into place and like a lot of other people realised that this had to be cut down in order to make it fit. I think I had to cut 3mm off each end and probably about 3mm off the top so that it sat level with the top of the quarterdeck Camberwell beam (bulkhead 13)

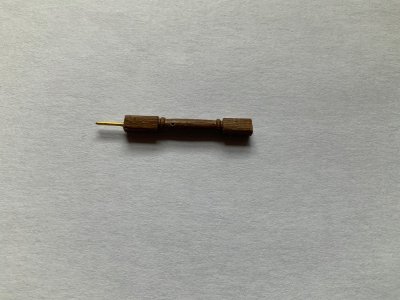
Support pillars (722) were then shaped top and bottom with a file to make them square instead of round and then glued into place on the coaming of the grating in front of the upper deck screen bulkhead.

IMG_0618.jpeg
Wonderfully clear illustration and description of technique. Following with much interest.
Thank you very much for your comment, its a great kit to build and considering progress made to date and the fact that I am putting in about 4hrs a day the finish line is a long way off yet

IMG_0621.jpeg

IMG_0620.jpeg

IMG_0619.jpeg

IMG_0617.jpeg

IMG_0616.jpeg
 
Hi Andi
Great work on the Victory, congratulations.
What I did on my build (see here) was to use brass black first and then one coat of black acrylic paint.
Cheers
Hi Gilbert,
Thanks for your kind comments regarding my build. I have been following your build log since I started my build And have found it extremely helpful especially with the lighting, not sure how Iam going to manage the lanterns yet but will cross that bridge when I get to it
 
Hi Andi,

Maybe too late now, but for next time??:) :) The trucks were set up so they did not fall off the axle trees when rolling. Linch (lynch) pins were used to prevent this from happening but this requires the trucks to be closer to the brackets. Not sure if Caldercraft addresses this. The axles were rounded for a long enough portion to allow the trucks to be pushed in place with room remaining outboard for the linch pins and axletree hoops.
Allan
View attachment 624965
Thanks for that info Allen
 
Glad to help. If you have not already seen it, check out the Tricks of the Trade topic here at SoS and scroll to making round axles. Makes it easy to get rid of the square ends on the axletrees. https://shipsofscale.com/sosforums/threads/tricks-of-the-trade.15492/
Allan
Thanks for that Allen. Have just checked out the item on tricks of the trade, what a neat little tool that does a great job, however i found that after fitting the wheels to a square axle and being very careful painting the end of the axle black the axles do look round
 
The support pillars (722) were the prepared for the rest of the gratings and I made them the same as the two support pillars I had already fitted in front of the upper deck screen, these I had cut to length so that the top was level with the top of Camberwell beam 35, so I made the rest of the support pillars the same length, squared off the top and bottom, drilled holes in the bottom and inserted support pins and glued into place. WRONG.

IMG_0626.jpeg

IMG_0632.jpeg

IMG_0638.jpeg

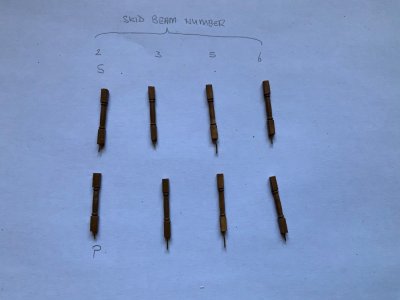
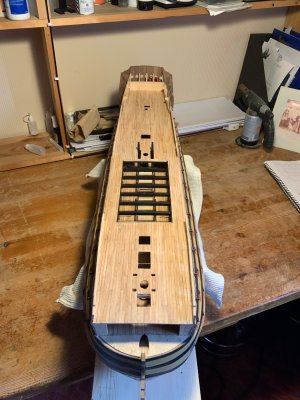
When I attempted to trial fit the quarter deck with the skid beam assembly attached it would not fit as the support pillars were far too long. Luckily I was able to remove all the offending support pillars. The quarter deck and skid beam assembly were then test fitted again and it fit perfectly. Using a small steel rule I measured down from the bottom of the skid beams (72) to the coamings where the bottom of the support beams would sit, these I length need for the support pillars varied between 17mm and 18mm so the support pillars that had been removed were then cut to the appropriate length and refitted, another trial fit of the quarter deck/skid beam assembly was carried out and it fit exactly. A silly mistake to make but one that could be rectified fairly easily

The skid beam assembly was then fixed permanently into the quarter deck and the quarter deck fixed in place.

IMG_0624.jpeg

IMG_0630.jpeg

IMG_0635.jpeg

IMG_0622.jpeg
 
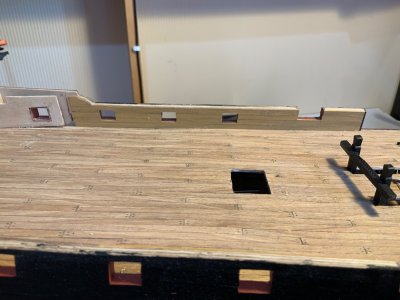
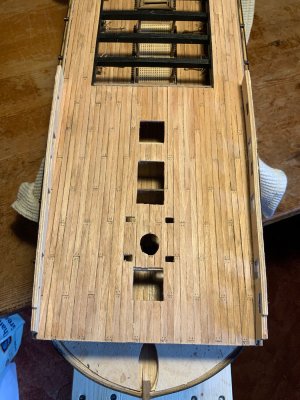
The bulkhead uprights 1 - 5 and 10 - 13 have been removed, the quarter deck screen assembly has been trial fitted up against the back of bulkhead 14 and its position marked. Bulkhead upright 14 was then removed and the planking begun

IMG_0639.jpeg

IMG_0640.jpeg
 
Looking very good Andi. Kudos. Cheers Grant
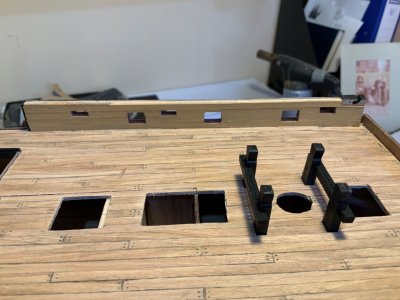
Thanks for that Grant but I made a mistake with the planking. I started at the stern and planked up to the skid beam frame and then went to the bow end and did the same, planking up to the other end of the skid beam frame. It was then that I realised that the 4 butt (plank) system I was using ( 2.5mm, 5.0mm, 7.5mm and 10mm) didn't match up with the section of planking from the stern end to the skid beam assembly. So I ripped up all the planking from the bow end up to the skid beam frame. However, all is well now and I have completed the planking and will add the photos soon
Regards

Andi
 
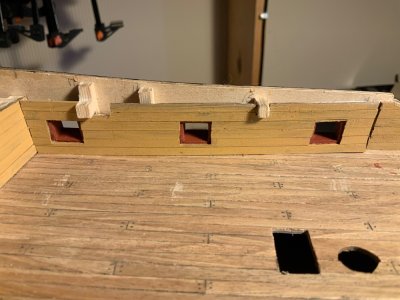
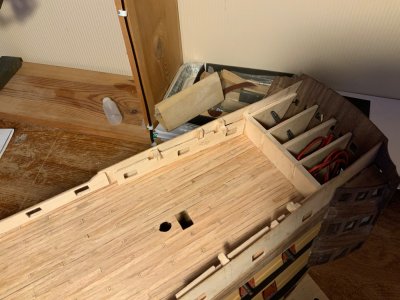
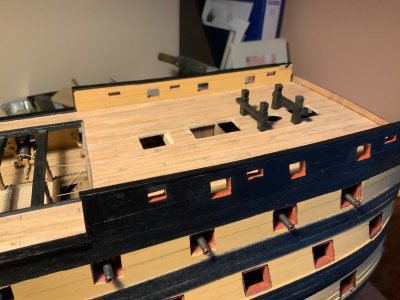
The forecastle inner bulwark pattern (276) and the quarterdeck inner bulwark pattern (274) have now been fitted and planked and the quarterdeck inner bulwark deck pattern behind the screen has been fitted and the gunports lined

IMG_0663.jpeg
IMG_0664.jpegIMG_0664.jpeg
IMG_0665.jpeg

The next job is to plank the quarterdeck inner bulwark deck pattern behind the screen and the forward face of bulkhead 18
 
Last edited:
IMG_0668.jpegIMG_0681.jpeg

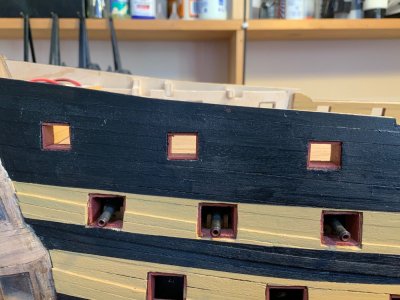
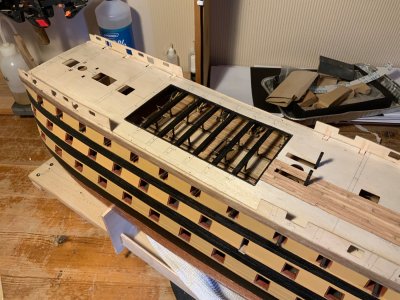
The second planking of the outer hull has now been completed

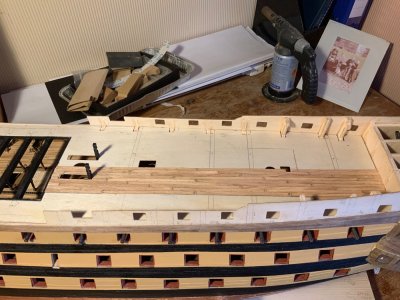
I am now beginning the quarter deck fixings beginning with the capping on the quarter deck and forecastle bulwarks and also the ships waste capping

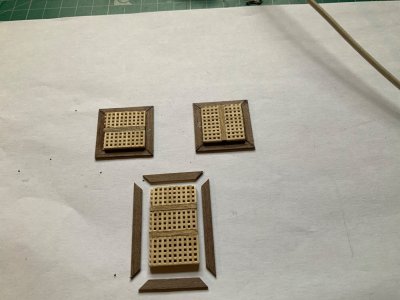
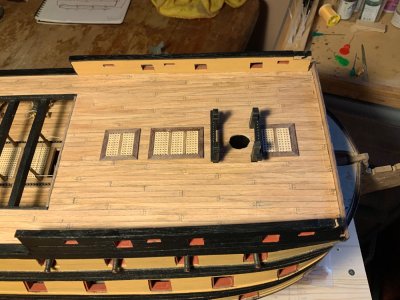
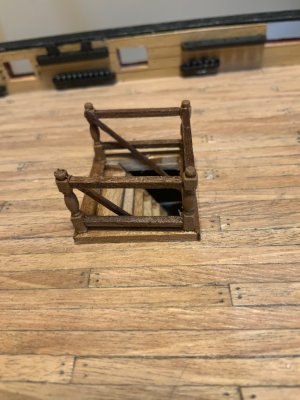
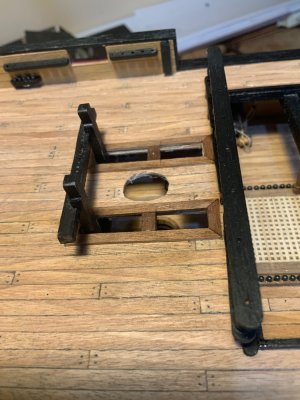
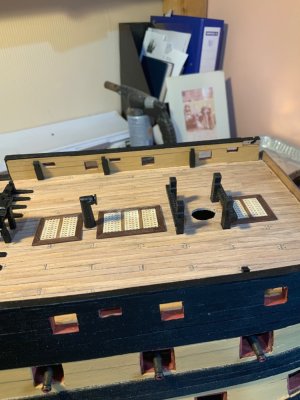
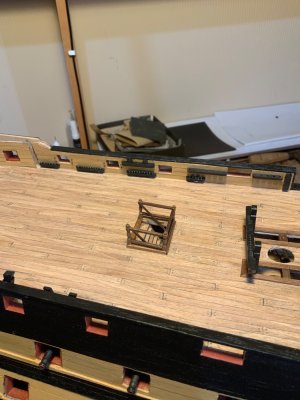
With the forecastle gratings I decided to mitre the corners as I think it looks better. The main top bowline and fore topsail sheet bits have been added along with the galley stove chimney. The forecastle breast beam assembly has been constructed and fitted as has the quarter deck barricade assembly. The hammock cranes have not yet been fitted but will be at a later stage to avoid damage. I haven’t fitted the waste ladders yet as I am unsure about the exact position of the ships waste baluster. The quarterdeck rigging opening has been lined again with mitred corners and also the centre cross beam has been fitted.The main companionway steps and hand rails have been fitted as has the companionway to the Admirals dining cabin
The quarterdeck shot garlands have been fitted and all the kevels, pintails and shot garlands with the exception of kevel 167 which will be fitted once the cannon nearest to it has been fitted
 
Back
Top