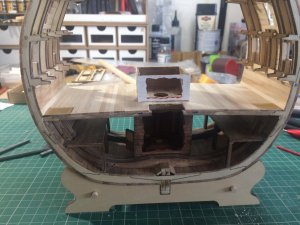
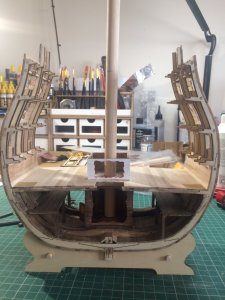
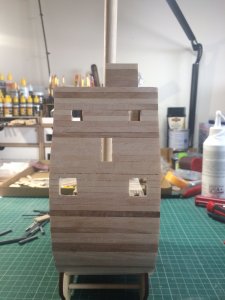
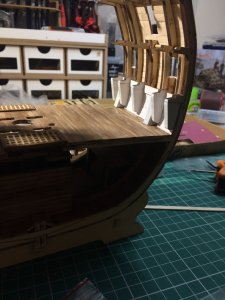
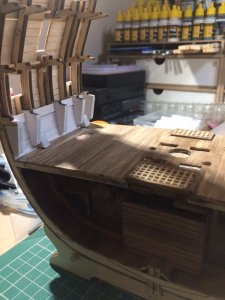
HMS Victory cross section (De'Agostini)

You are doing a good job. I also have to build models on my Kitchen table, although when I finally move to my new house I hope to be able to use the spare Bedroom to build things. As long as you enjoy what you are doing that's the most important thing. There will always be other people in any hobby that can produce better finishes than "you," the thing is to look and learn from them. This forum is really good because there are lots of people that will give encouragement and advice.
I used to enjoy going to Hastings, getting fresh Crab and Prawns from the Fishermen and sitting on the Sea Front eating them watching the waves rolling up the beach with the Fishing Boats pulled up on the beach, or riding up and down the Cliff Railway,
Cheers Andy

Hi Andy,
Thanks for the encouragement, and enjoy your new shipyard.
It must have been some time since you were last in Hastings. A lot has changed.
Stay well.
 
Hi Andy,
Thanks for the encouragement, and enjoy your new shipyard.
It must have been some time since you were last in Hastings. A lot has changed.
Stay well.
I was in Hastings about 10 years ago, my Daughter wanted to go to Battle and then we stopped off in Hastings. I remember walking by the Fishing Net "Shops" and then playing Crazy Golf on the seafront. We went in Frank's Front Room, I worked with a chap called Frank and whenever you phoned him he was always in a coffee shop having a break,
Cheers Andy

Lol. Good ol' Frank.
A number of the fishing net huts have been demolished, (In the name of progress) for the building of the Jerwood gallery. (Which has totally destroyed the ambience of the seafront) Only one Fish Hut left and one fresh fish shop. Still a few of the iconic fishing net huts left down Rock-a-Nore.
Oh well! Let's not stifle progress, even if it is at the expense of history. (tongue in cheek)
Stay well.
 
Hi Guys,
Came across a 'little' problem.
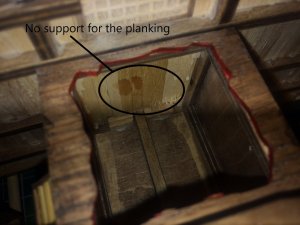
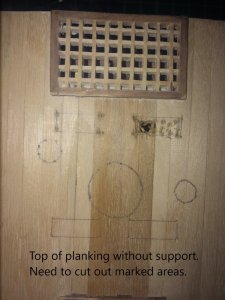
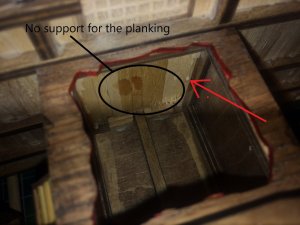
I need to cut holes in the orlop deck planking for the pumps and the mast, however, there is no support for the planking, which will just fall apart while cutting the holes.
Any suggestions for installing support?
I have thought of gluing a sheet covering the entire underside of the planking, or gluing in planks underneath going in opposite direction to the planking.
Not sure which would be the better solution.
Here are some pics of the problem.

IMG_5609a.JPG

IMG_5610a.jpg
 
Hi Guys,
Came across a 'little' problem.
I need to cut holes in the orlop deck planking for the pumps and the mast, however, there is no support for the planking, which will just fall apart while cutting the holes.
Any suggestions for installing support?
I have thought of gluing a sheet covering the entire underside of the planking, or gluing in planks underneath going in opposite direction to the planking.
Not sure which would be the better solution.
Here are some pics of the problem.

View attachment 75403

View attachment 75404
It depends, if you have also glued the contact areas between the single planks?
We can see a single drop of wood-glue (Red arrow)
IMG_5609a1.jpg
If yes you can have luck, that they stay together when you cut through and make the holes.
If you did not enough, there will be now way out to stabilize it from the bottom side,

Maybe with some cardboard (in brown colour) over the complete area - it will be usual not visible, due to the fact, that nobody will look into your model from this perspective
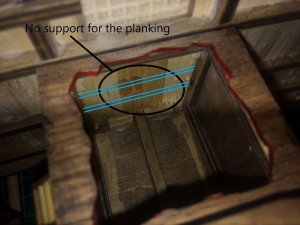
or some strips of timber - in reality their would be some ledges as an support - maybe like this (in light blue lines)
IMG_5609a2.jpg

IMG_5610a1.jpg off course from the other side - i should have used dotted lines
 
Hi Uwe,
Yes, there is glue between the planks, but I noticed as I started making the holes that there was excessive give in the planks.
I even painted on more glue to the underside, thus the errant drop or two.
Looking at the distance between some of the holes, there is no way that the planks are going to survive the making of the holes.
I like your idea of putting planks underneath to act as beams between the holes.
I will have to do some very careful measuring to get them in the correct place.
Thank you for your input.
Stay well.
 
Hi, A sharp No 11 blade will cut those easily, just use lots of smaller stokes with minimal pressure, Go across grain first the entire lenght of the cutt area and slowly cut through at each end. Then down the grain. Don't use a saw.
 
Hi, A sharp No 11 blade will cut those easily, just use lots of smaller stokes with minimal pressure, Go across grain first the entire lenght of the cutt area and slowly cut through at each end. Then down the grain. Don't use a saw.

Hi Paul,
Sharp No 11 blade doing the trick.
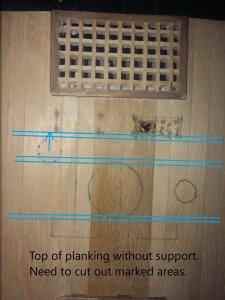
Have glued two battens to the underside as per Uwe's suggestion.
I then drill numerous holes so that the planks are almost falling apart.
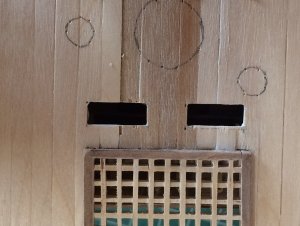
Cut out with number 11 blade and finish off with a needle file.
Two holes done, and all looks good.
Uncut planks seem to be holding up. So far. :)
Thanks for the input guys.
Stay well.

IMG_5616.JPG

As can be seen, one of the planks has given way slightly. To be sorted out later.
Cutouts still to be finished off and neatened up, but getting there.

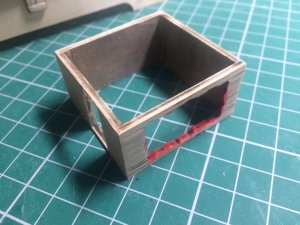
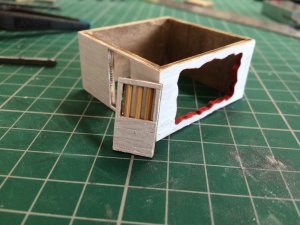
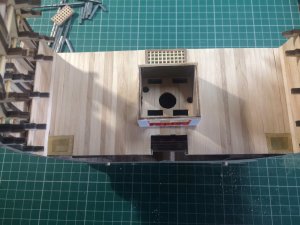
Orlop pump house painted. May need another coat.

IMG_5618.JPG
 
Last edited:
Hi Guys,
For those who may be planning to build this model.
WARNING!!!!
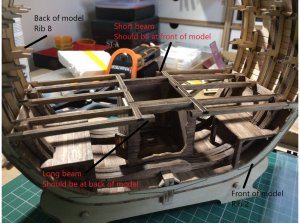
I have come to realise that I have placed the end beams of the orlop deck on the wrong sides.
One side is slightly longer than the other to accommodate the smaller grid.
The larger grid goes on the bow side of the model and requires the shorter beams. (The front at rib 2)
This pic will show what I mean.

oops1.jpg

This is not going to cause an issue with the build, as far as I can see, but as the following two decks also have larger grids at rib 2, it may look a little odd.
Not sure yet if this is going to impact on the positioning of the ladder. We shall see.
Working around the problem as best I can.
Onwards and upwards.
Cautious
 
HI It looks easy enough to wedge a blade in the joints and remove and swap the beams.

Me thinks a little late for that Paul.
I have already planked the entire deck and have cut out a number of the holes.
It is not that serious. Just won't be according to plan.
I can live with that. Besides, most of the people who will see it know very little to nothing about ships of sail.
(Excluding the eagle eyed on this site of course. :))
But, an excellent suggestion, if only I had realised my error a little earlier.
Thank you for taking an interest.
Stay well.
 
Back
Top