HMS Victory Cross Section, POF ,Scale 1:48 by Raymond Deliz

Hello Everyone,

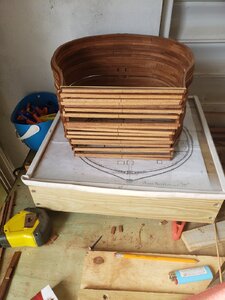
I've finally finished constructing all the frames. While fun, it sure was monotonous. They are all still dry fitted on the keel since I still have to await my new drill bits arrival, which according to the email I received, on the 2nd of June.

In the meantime, I will address any discrepancies on the actual frames. I will also visit frame 3 and 5 which need to be altered for the elm and bilge pumps. I figured now is the time to work these issues and not forget about them. I will also mark all frames and cut out the limber gates since it will be so much easier to do so now.20200525_123630.jpg20200525_123646.jpg20200525_123657.jpg20200525_123707.jpg20200525_123803.jpg

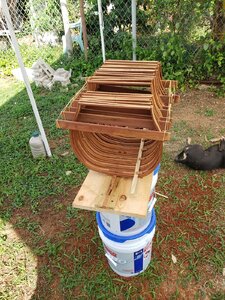
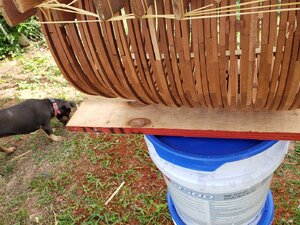
As she stands now she looks extremely large. I cant help but think how much larger she would be if she was a full build at 1:48 scale.

Here are a few photos of the progress so far.

Raymond
 
That's looking great Raymond, and that's quite a landmark to reach.

Just thinking ~ if you were to build the whole ship at that scale, you and the dog could just go sailing away in her!
 
That's looking great Raymond, and that's quite a landmark to reach.

Just thinking ~ if you were to build the whole ship at that scale, you and the dog could just go sailing away in her!
Blu would fit just fine but I'm pretty sure that my feet would hang over the side.

Raymond
 
Hello everyone,

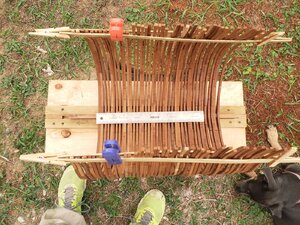
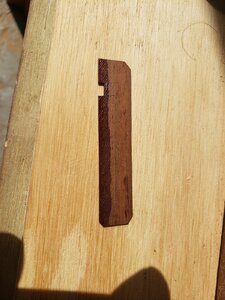
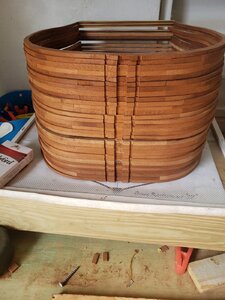
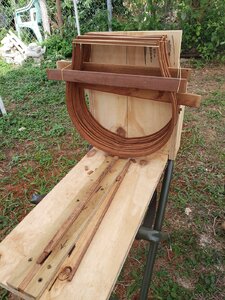
I tend to get into the zone while working and forget to take photos to report my progress. When last I made a progress report, I had completed all of my frames. Since then I have completed other tasks. For starters, I cut all of the limber gates from each frame. Since I did not have any idea on measurements, nor did I have specific placement for the limber gates, I sort of eyed it and made a small pattern which I used to mark all areas that needed to be cut. I decided that the best dimensions would be to start 10mm from the bottom futtocks keel notch. The measurements I thought would be great for each cutout was 5mm wide by 2.5mm high. Below you will see the pattern I used on either side of the keel notch. Once each frame was marked, it was then stacked one the side in order to proceed 5o the next frame. Once completely stacked and aligned, the limber gates looked great.

Once I completed the limber gates, I drew my attention to my mounting board. I glued a strip of long plywood on my board near the lengths centerline, positioned my keel and added another strip of plywood on the other side. Once that was done, I did not want my keel sliding fore and aft so I glued stopper blocks at the end of the keel so it would stay put while adding frames.

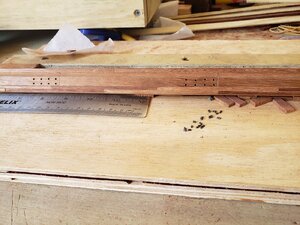
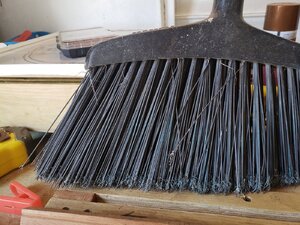
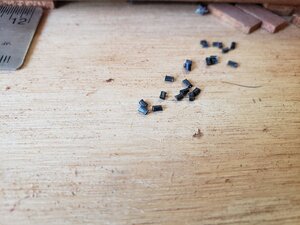
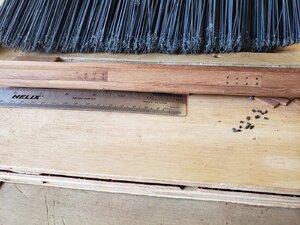
Since I was anxious to get started on the placement of the frames I decided to work on the placement of the bolts along the level's scarf joints. My drill bits have not yet arrived so I found a 1/16 inch (approximately 1.5mm) drill bit and used it to drill the location of the 8 bolts per scarf joints. Once completed I looked around for some wire that would make a suitable bolt and could not find anything from the stuff I had on hand. Just when I was getting ready to give up, I noticed that the bristles of my shop' broom seemed suitable. Upon closer examination, I decided it would have to do and used it. Please don't judge me people, the bristles were already black so I I didn't have to use a blackening agent nor do I have to worry about corrosion due to the bristles being plastic. Let's just say that, "Where there is a will, there is a way".

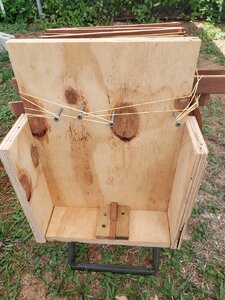
Once I was done with the keel, I returned my efforts to my mounting board. Ok, the bottom of the board was.good.to go but now I needed a bulkhead to rest my frames against while ensuring that it was square and true in relation to my keel. Upon completing the bulkhead l, it was now time to start adding frames. It is a little bit more complicated doing it without a building jig most people construct but not to the point that it can't be done without it. Once again, "Where there is a will, there is a way". What I did was add screws on the other side of the bulkhead, put my frame in place and used rubber bands to secure it in place until I could get more frames situated.

The following photos will show you what I have so far.

Raymond 20200528_092933.jpg20200528_091559.jpg20200528_091616.jpg20200527_125405.jpg20200527_125424.jpg20200527_125432.jpg20200527_125458.jpg20200528_100136.jpg20200528_091722.jpg
 
Hard to get good help that stays awake on the job, especially late in evening, for the little pay we give them, maybe a pat on head or rub of belly. Mine will wake wide up if they hear me open the snack bag for a bit of fake bacon bits.

I recently lost my best yard master, he was well up in years, now I have a big pup helping out to keep me company.
 
Hello,
It is currently raining and am in the shop. I don't want to hang out with my thumb in my butt so I decided to take a little break. This break does not mean that I won't do anything but rather, work on aspect that most people tend to overlook and/or omit from their builds.

Right now you guys may be thinking, "What the heck is Raymond talking about?" Well I'm glad you guys asked.

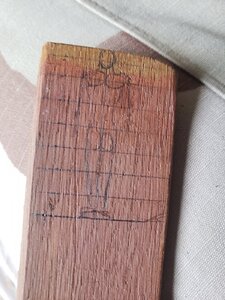
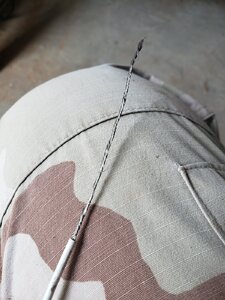
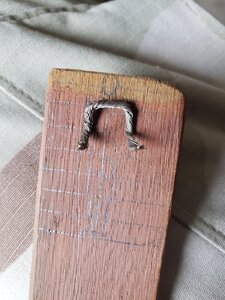
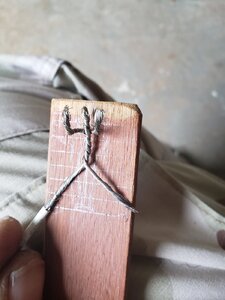
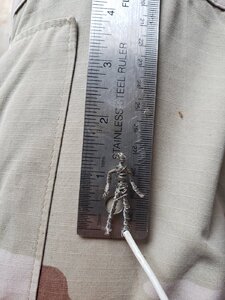
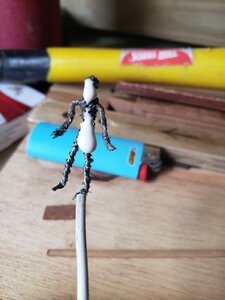
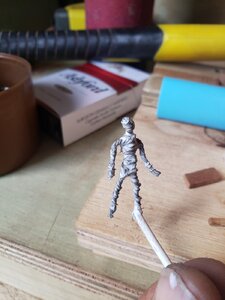
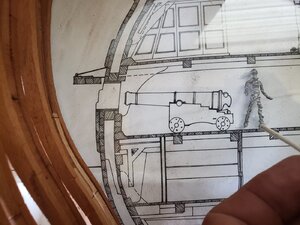
I am talking about scaled armatures of men. You may see or hear about a person's scaled builds but you do not really appreciate the scale unless you can compare it to the size of people. I decided to give a try to the construction of a wire frame man and drew a rough sketch of a man at 5 feet 9 inches (1.75 meters) tall. At 1:48 scale, this man is 1 7/16 inches (37 mm) tall. I then used wire to make the arms, torso, and legs. I used extra sections of wire to build up areas such as the head, chest, and legs. After I was somewhat satisfied with the result, I placed a decent dab of glue on the wires structure and used a paint brush dipped in water to smooth it out. Right now he looks like an Egyptian mummy but with a few more coats of glue and some paint he might wind up being a decent deckhand.
Raymond 20200528_112746.jpg20200528_112755.jpg20200528_112817.jpg20200528_113051.jpg20200528_114842.jpg20200528_115059.jpg20200528_115238.jpg20200528_115404.jpg
 
Good Morning Everyone,

Yesterday I continued gluing frames to the keel until completion. I was eager to get to the next part but had to wait until the following day to allow the glue to completely dry.

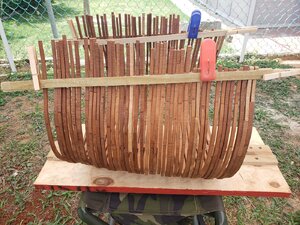
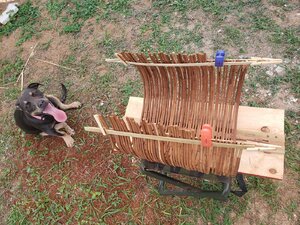
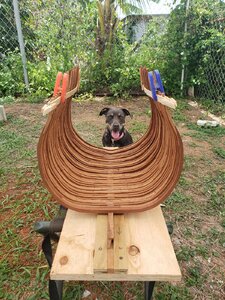
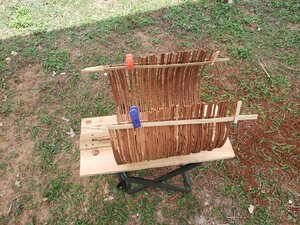
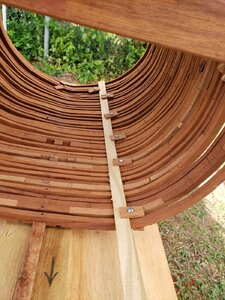
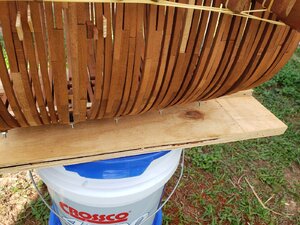
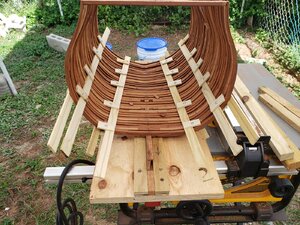
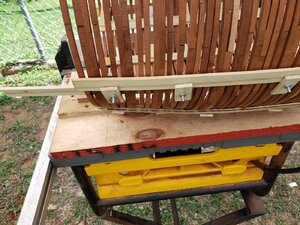
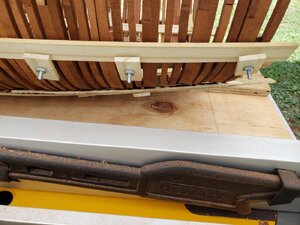
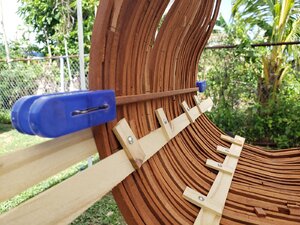
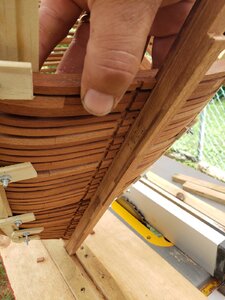
This morning I removed the aft bulkhead that was used to ensure the frames were 90 degrees and squared. I then proceeded to remove all the battens and rubber bands to see how she looked. While I was happy now she was looking, I noticed that the aft frames needed a lot of fairing to the point that some sections of frames would be extremely thin.

After a quick smoke break to think about what I would do next, i came to the conclusion that i would use sets of battens in order to straighten out the aft frames to keep the fairing process to a minimum. After the battens were in place, I could see that I had reached my desired results.

Since I will eventually remove these temporary battens, I started to draw my attention to the positions of the deck clamps. Since the position of the orlop deck clamp were covered, I would have to start from the lower deck clamps. I position a temporary deck clamp.on the lower deck and see that I can start from there and add all the deck clamps. Once these deck clamps are in place, I will remove the battens and secure the orlop deck clamps in place.

Below are a few photos showing the process so far.

Raymond 20200529_082442.jpg20200529_082452.jpg20200529_082500.jpg20200529_082507.jpg20200529_101609.jpg20200529_101617.jpg20200529_101627.jpg20200529_102114.jpg20200529_102224.jpg
 
Was that the yard master rolling over wit laughter at your work in first photo?? ROTF

What connection to military do you have, notices the nice pattern in tan camo pants in photo for you man build.
 
Was that the yard master rolling over wit laughter at your work in first photo?? ROTF

What connection to military do you have, notices the nice pattern in tan camo pants in photo for you man build.
Hey Buddy,
Blu was actually rolling in the grass to get the stench of ,"Clean Dog Smell" off of her. I don't get why dogs dislike being bathed and prefer to smell terrible. Ya gotta love em.

I'm actually retired from the military. Army life was great but my joints could no longer keep up with the younger generation. When ever I go to the shop I put on my desert camouflage instead of ruining nice clothing.

Raymond
 
I have a set like yours, and few others and many green BDU's, 24 years USAF for me.

Thanks for your service. What part of US are you from? In your profile you can add city or state in the location function.
 
I have a set like yours, and few others and many green BDU's, 24 years USAF for me.

Thanks for your service. What part of US are you from? In your profile you can add city or state in the location function.
I played it smart and moved to Isabela, Puerto Rico. This way, with retirement and disability, I no longer have to work and just enjoy building models. When I first left the Army, I moved to San Antonio, Texas but had to work in order to pay the mortgage. I was working night shifts as a security guard and was not able to spend time with my wife Jenny. After all the missed holidays and anniversaries while in the military, it didn't make sense to continue missing out. So I opted for a move to Puerto Rico. Now I spend my time with Jenny and the grandkids while also enjoying my builds.

Raymond
 
Back
Top