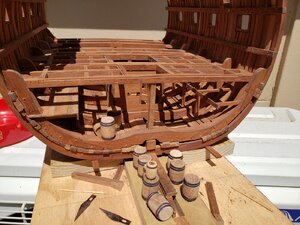
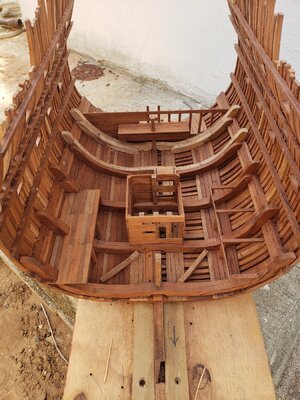
HMS Victory Cross Section, POF ,Scale 1:48 by Raymond Deliz

Greetings everyone,
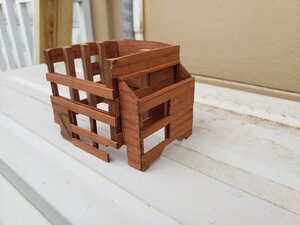
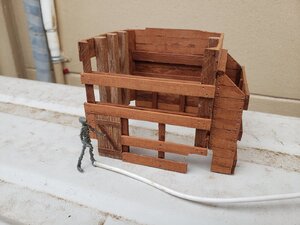
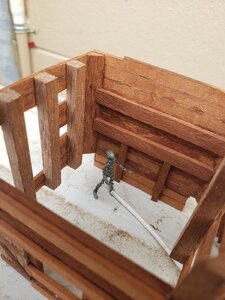
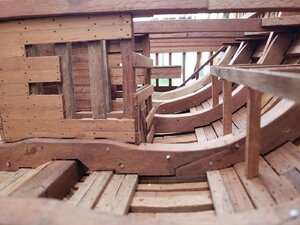
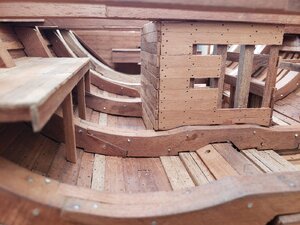
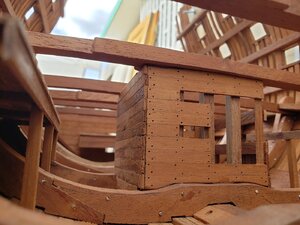
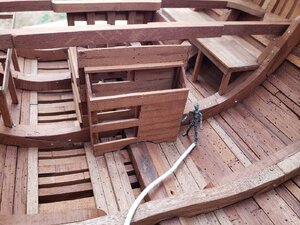
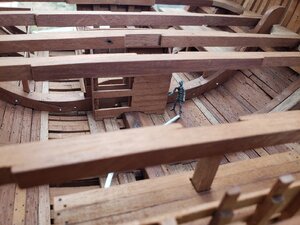
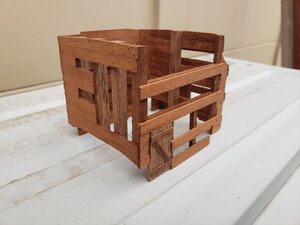
It's been hot and humid the past few days here but progress continues. I constructed the hold well, which includes the shot locker. Since it is planked on one side and framed on the other, I thought it would be a walk in the park. NONSENSE!!! It actually took a lot of time due to having to incorporate the hold well's door on the side that has frames. I wanted to have the door open but due to a lack of strengthening structure I opted to have the door closed. After completing it, I decided that it looked better closed.

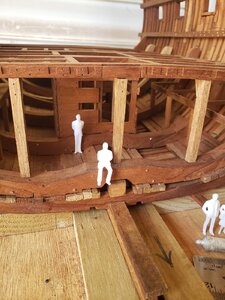
I also wanted to get a feel for how big it was at this scale and used my guy to get a better look. I am quite surprised at how really large the hold well is. In scale size it is approximately 3 inch (77 mm) cubed. In our normal size, it will be equivalent to 12 feet by 12 feet (approximately 3.5 meters) squared. If you think about the homes that people lived in during the construction of the Victory I would say that the hold well was quite roomy.

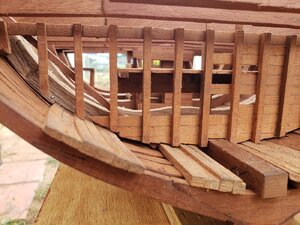
I also constructed the forward spirit room bulk head which is also half planked and half framed. Everything still needs to be glued in place but will wait in order to have room and space to make all the posts within the hold. Since the hold's posts are crude compared to other decks it should be really straightforward.

I have not received any information in regards to my mini lathe, I may have to actually go to Plan B and use a drill for the construction of the numerous barrels that need to be placed within to starboard side hold.

Here are a few photos.20200702_164906.jpg20200702_164913.jpg20200702_164951.jpg20200702_165010.jpg20200702_165145.jpg20200702_165205.jpg20200702_165218.jpg20200702_165230.jpg20200702_165252.jpg20200702_165357.jpg20200702_165430.jpg
 
Nice! That sailor looks so tiny in the hold :)
I like the Z reinforced door and I think it's OK to have it closed. Since You left parts of the well unplanked You will still be able to see inside.
 
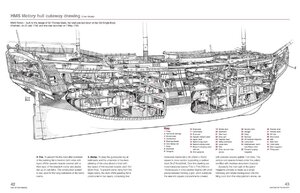
I know, that the shot locker of the Victory was / is really high
6b7d7a3d91092a7a7f2fdd3e60160d54.jpg

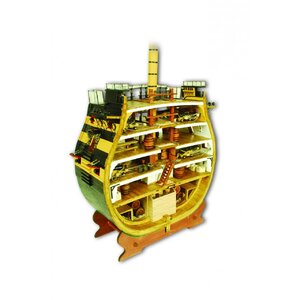
For such details the Victory cross section of De Agostini was really good
dsc_1832_1.jpg

But I have the feeling, that your figurine is a relatively small guy - but on the other hand, the Victory is a big vessel
Very good work oin the bilge pump room and the shot-locker Thumbsup
 
Hi Raymond,

Great work on that shot locker/lower well. I see you had a bit of a dilemma with the door.

I didn't have that problem when I did my lower well since there are no details available about the hold of these 50 gun ships. Instead I had to adapt from what I saw on other builders lower well structures. The ones I saw didn't appear to have any door at all, so mine doesn't have a door either. It does have a completely open back, although that 'side' should also be planked. I can only assume that access down into the well was from the orlop deck above. It won't be long before I'm having to consider creating something for the structure of the upper well. That WILL have a door.

Are all of your orlop deck beams fixed in place? Reason I'm asking is that it looks as if it would have been very difficult to have placed that lower well down there between these two beams if they were already fixed? I can't imagine you created the well down there 'in situ' -- unless you got your little man to help?
Hello Jim,
I have pretty large mitts and my little guy decided he'd rather go to the beach instead of helping out. What a beach bum. The orlop deck beams are not glued down due to the work that need to be done in the hold. The beams are hanging on the deck clamps and held in place with pins. Once everything is good to go in the hold then the beams will be glued down.

Raymond
 
I found one photo of the shot locker in the hold
Hello Uwe,
I really appreciate this link. I was looking at my drawings and the upper part of the posts/columns look like they flare out when they touch the bottom of the beams. Upon viewing that photo, I realized that they have wedges to incorporate the size difference between post and beam. It is very similar to the bibs and cheeks just below the mast tops. Once again, thank you.

Raymond
 
Last edited:
Hello everyone,

It feels like forever since the last time I posted anything. I've been pretty busy keeping myself occupied on the Victory. I have been working on the carlings of the orlop deck and getting sections together so that once the hold is complete I can just jump onto the orlop deck with prefabricated sections.

As you know, I finally got my mini lathe from China but it is what it is. I originally thought I would make the cannons with the lathe but it was not to my liking. I then decided to send Dave a PM in order to see if the Lumberyard would ship pewter cannons to Puerto Rico and he informed me to email EV and get things started with her. EV is a gem and if you need anything, just drop her a line and she will square you away.

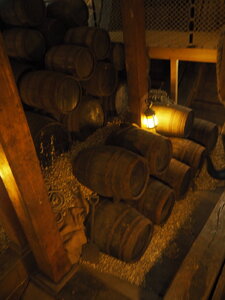
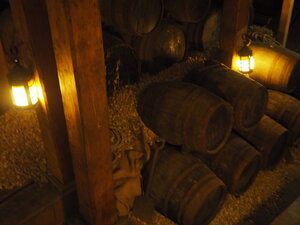
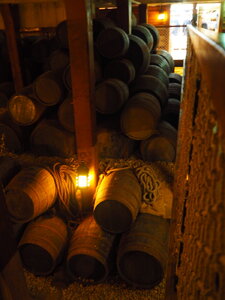
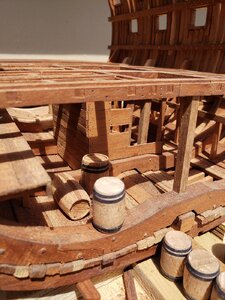
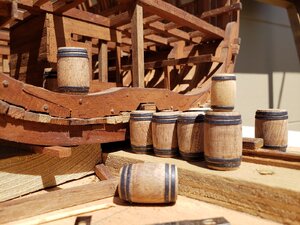
Now back to the mini lathe. So far I've been tinkering with it and I am starting to get a feel for it. What I've been doing was the simple task of making barrels with it. The barrels are a good exercise in honing your lathe skills and before I knew it, I had quite a substantial amount ready for card stock hoops. The barrels themselves are 1 inch by 3/4 inch (25mm by 18mm). These barrels are where fresh water and/or food stuff was stored which will be placed in the hold. I have also made barrels that are 5/8" by 3/8" (16mm by 10mm) which stored the beer and/or rum and will go into the spirit room. My first thought was to make them and use them as plugs which would then be covered by staves. After working on two of them I decided I would just use them as is straight from the lathe with the exception of adding the hoops. I feel like the hardest part of making barrels is adding the hoops. It is time consuming work but once finished, I think the barrels look great. I ha e a little over a dozen complete so far but must continue with the other two dozen so that I can the turn my attention to the pump well mechanisms.

Here are a few photos showing you how everything is so far.

Raymond 20200715_144058.jpg20200715_144106.jpg20200715_144113.jpg20200715_144135.jpg
 
Hi Raymond,

Your deck beams & carlings and the barrels look great. Once these deck beams go in, the model really starts to look like it's going somewhere.
You're right about them pesky barrels ~ they do take some time, especially putting the bands on them. I'm still toiling away getting more barrels done. Interesting that you mention that the smaller barrels would go in the spirit room. I've made 2 different sizes but I've already got some large and small attached to the racks. I've based that on what I've seen on other models with hold displayed.
Can I ask how you created the 'hollow' in the tops of the barrels for allowing the lids to sit inside? (I have a method for doing that, but it isn't the easiest -- just wondered if there's an easier, 'clever' way to do it.)
Hey Jim,
The two with the hollows, which will be the only ones like it, were constructed in the following manner.
1. Make a plug (barrel shaped solid wood). Make it a little smaller then the actual size of the finished barrel.
2. Cut thin boards approximately 1/12 or 1/16 the circumference of the plug and a little longer then the actual height of the barrel. These boards will be used as barrel staves and will eventually go around the barrel.
3. Figure out the center of the board going across. This will be the mid section of the stave. Grab the board from this middle section and push/pull on sand paper along its edges working outwards so it tapers. What you will wind up doing is working four edges of the same board in order to make the stave. Once you have finished your staves set them aside.
4. Grab your barrel plug and add the tops and bottoms. I usually leave them square until the glue has completely dried and cut off the excess with an xacto blade and sand them smooth until it is perfectly round.
5. Now we grab the staves and place them around the plug. I use rubberbands to hold them onto the plug. I start at one end and ensure the tapered ends of the staves sit perfectly together. At this time I also ensure that the staves stick out a little bit past the top or bottom. Once I am happy, I close off the opposite end to see if the staves fit together tightly. If they sit perfectly, I'll start the gluing process at this end. Add glue, grab a rubberband and start tightening it to secure the staves on one end. Once this side is complete, I remove the rubberband from the opposite end and glue that side as well.
6. Once the glue has completely dried, remove rubberbands and sand smooth. Make sure you do not overdo it on the ends so that you have a reveal between the top/bottom and the ends of the staves.
7. Add your hoops and "Presto", you've got a decent looking barrel.

I hope this explanation was of any use. Should there be any doubts, ask and I'll be more than happy to walk you through it.

Raymond
 
Hi Raymond,

Thank you for that very comprehensive explanation. Your method for making barrels is quite different to the method I have used, AND it seems a lot easier. Creating the initial 'blank' for taking to the lathe is quite a laborious task for me, even before any turning begins. The turning is actually the easiest and quickest part of the whole process. For any remaining barrels, I'll be trying your method.
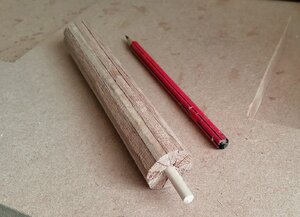
This is the blank I prepare for taking to the lathe >
Barrel Blank.jpg
 
Last edited by a moderator:
Those beams and carlings really look complicated with those rabbets along its sides. Well done!
I struggled with the few I had to make for my model so: my respect for Your work!
 
Greetings everyone,
I know it has been a long time since I've posted anything or for that matter, shown you anything new on my Victory. The reason for being away from the boatyard for so long was do to the Admiral's "Honey-Do List". We had a storm come my way so I had to ensure that I had to batten down the hatches to avoid flying debris causing damage. I also had to repair along the fence line prior to the storm. If not, then I would have had to work longer on repairs.

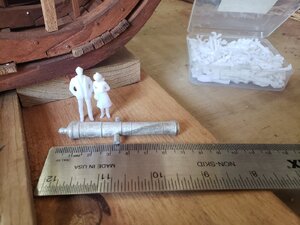
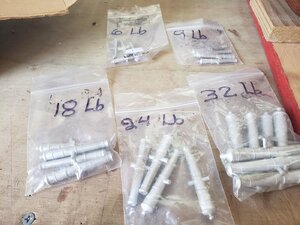
While I was away, it did not really mean I was away for long. I did manage to add some ledges to the orlop deck and look online for other stuff I could order. Mrs. EV form the lumberyard was able to take my order for some cannons and she was a delight to work with. I finally received my cannons yesterday and I am pleased with how they look and I am now very anxious to get to the lower gun deck so as to start getting the cannons in place. I also visited a model railroad site on the internet and ordered 35mm figures. While they are modern folk, i hope to be able to get them more sea worthy in appearance.
Here are a few pictures.

Raymond20200804_133931.jpg20200804_133940.jpg20200804_133948.jpg20200804_134000.jpg
 
Hi Raymond,
I just found your thead here. Very interesting. I have build the Victory also in parts, but horizontal parts. See: https://shipsofscale.com/sosforums/threads/hms-victory-inside-out.6134/
I built i scale 1:72 like the Caldercraft kit, what is your scale?
Your build resembles the build of a friend of me what you can find on https://www.henkvanluinen.com
I visited the Victory twice and I have a lot of pictures of her. WHen you want to see something ask me, may be I have a picture of it.
Good luck with your build and I will follow you
Jan
 
Hi Raymond,

Just discovered your log. Such nice super detailed work. I will re-visit from the start

Regards,
 
Hello everyone,
Please forgive me for not posting anything in a while, 5 months to be exact. The Admiral had me remodel the bathroom along with the holidays I was not able to work on my Victory. My goal was to accomplish everything on the honey-do list by the end of December so that I could get back on track. Since it has been 5 months away from the shipyard, I had to reaquaint myself to all the plans and look over all the work I had done in order to see where I could jump back in.
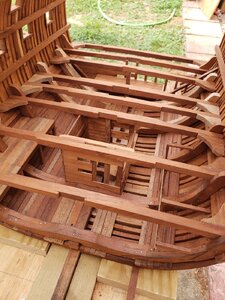
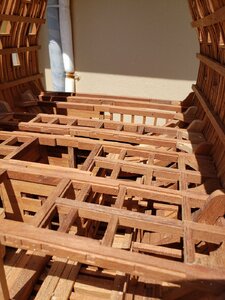
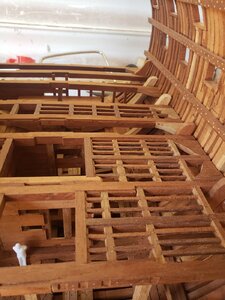
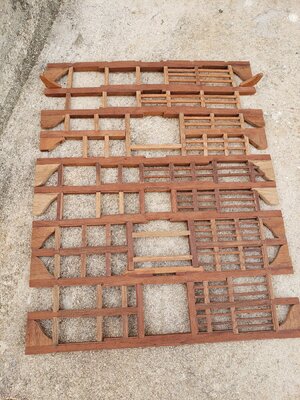
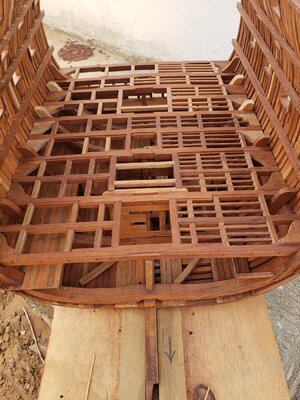
After cleaning up my work station and removing accumulated dust, I returned back to the process finishing off the orlop deck. I continued joining beams with carlings and ledges until I had the whole deck complete. I still have to add the decking material on the starboard half of the deck and tweak up a few more areas of framework on the port side.
The orlop deck is still not glued in place as a means of still having access to the hold area. I have a few columns to add and getting the barrels situated in place. I also have to varnish the hold before I can permanently add the orlop deck in place.
Here are three photos showing what I have so far.
Raymond 20210110_160523.jpg20210110_160531.jpg20210110_160451.jpg
 
Back
Top