Just 2 words: BEAUTIFUL and IMPRESSIVE, Wil.51 Running rigging
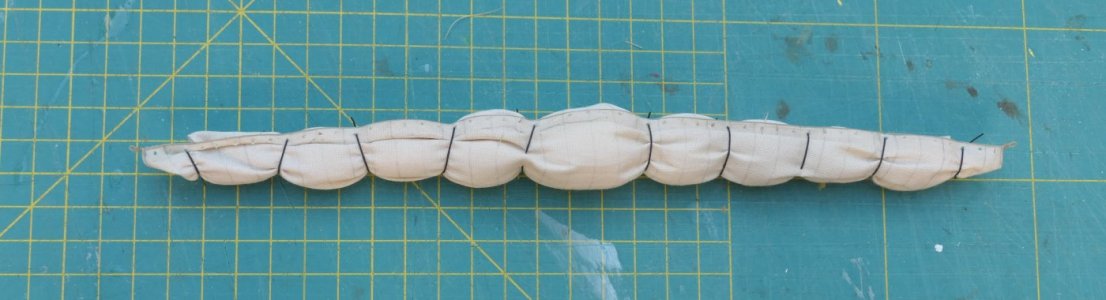
In my previous posts I explained how I make my sails. Now that the three sails for the foremast are ready, it's time to hang the yards with the sails.
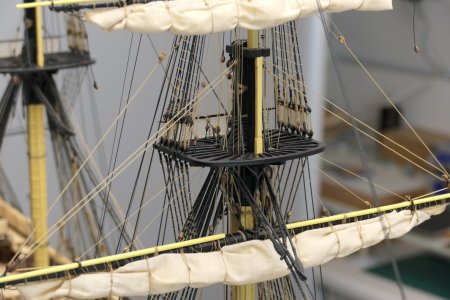
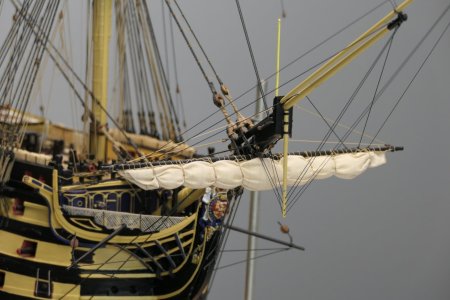
Starting with the lowest yard, the fore yard. This is hung from a sling in two parts. The upper part, which lies over the masthead, is connected to the lower part, which sits around the yard with a double loop, by means of a tackle. In practice this happens when the yard is in its upper position, to relieve the tackles in wind and to fix the yard vertically. Normally the yards hang in their lower position with the sails furled, but on my model I've made an exception for the lower yards by hanging them at the top, so the construction with the sling is clearly visible. It also obstructs the view of the deck less. (Caldercraft's building plans, incidentally, also assume this position.)
To the left and right of the sling, the jeer falls are also clearly visible. Their purpose is to be able to lower the yard when furling the sails. These tackles are hung from the mast, just below the masthead, by means of a jeer block strop and lashings.
View attachment 626588
Next come the lifts and the sail sheets, which in practice keep the yard in the correct horizontal position when the sails are set and the yard is hanging from the sling.
The thickest one on the outside is the fore topmast sail sheet. This runs via a large block at the tip of the yard downward, behind the sail, and then via another block to the belaying point on the deck. At the top, the sheet is connected via a block to the fore topmast sail clueline, which runs via a second block directly under the yard to a belaying point on the deck.
Quick question in between: I don't quite understand the interplay between the sheets and the cluelines in this context. Perhaps the experts among us can explain this?
View attachment 626589
View attachment 626590
In addition, the fore yard is fixed against the mast by means of the truss pendant. Schematically, this looks as follows. At the back of the mast, the truss pendant is held up by the "nave line", which allows the truss pendant to move smoothly up and down with the yard. A nice bit of fiddly work that ends up completely hidden behind the sail. Hence the schematic drawing below.
View attachment 626591
The principle described above, of lifts, sheets and cluelines, also applies to the fore topmast yard.
We're talking here about:
The fore topmast yard and the fore topgallant yard, however, are not fixed against the mast with a truss pendant but with a parrel rope. The name says it all, a beaded rope with spacers.
- Fore topmast yard lift
- Fore topgallant sail sheet
- Fore topgallant sail clueline
View attachment 626592
View attachment 626593
View attachment 626594
Unlike the fore topmast yard, the fore topgallant yard has only lifts, so no cluelines or sheets.
General remarks
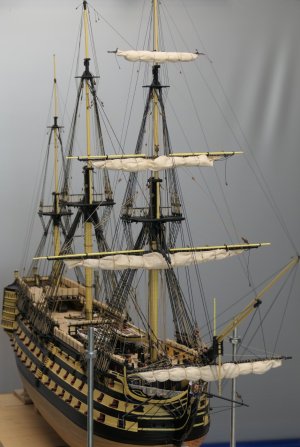
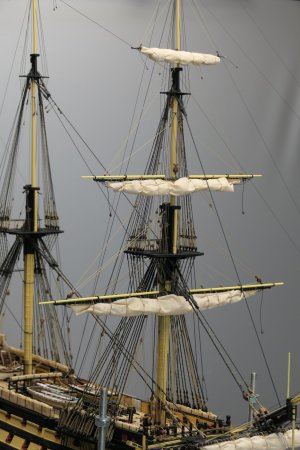
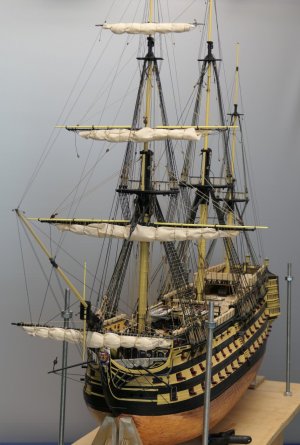
The photos below give an impression of the end result.
- In my model I chose not to fit belaying points on the shroud cleats in the shrouds, because the exact placement is too constrained at this scale by the rigging above the deadeyes and the ratlines. So I've run a number of lines down the middle along the mast and belayed them, combined or not, on the two pin rails at the foot of the mast. Not entirely historically accurate, but I found it neater and clearer this way.
- Bringing the various lines down was occasionally a bit of a challenge. I had to re-run several lines multiple times because somewhere along the way they had gotten wrapped around another line.
- All in all, quite fiddly work that takes a lot of time.
- A number of lines still need to go on the yards, related to operating the sails. The blocks for these are already fitted, but first I need to lay in a supply of rope.
View attachment 626595
View attachment 626596
View attachment 626597
View attachment 626598
Next time, on to the mainmast. But for Amsterdam I already have something to show.
Regards, Peter