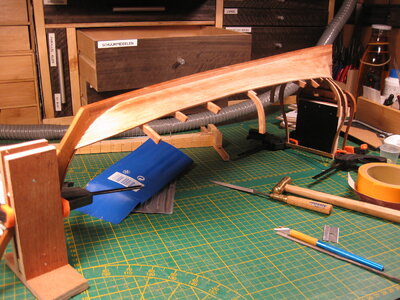
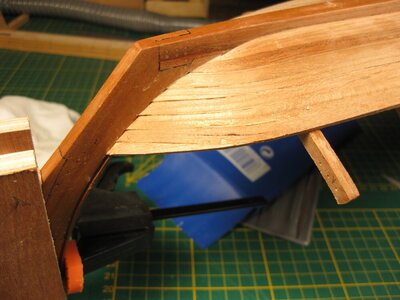
Hohenzollernmodell 1660-1670 Scale 1/75 POF build by Stephan Kertész (Steef66)

Peter, Paul, Maarten, Uwe and Johan many thanks for your visit and interest. Thanks to the others for the likes and also those who just peeping by.

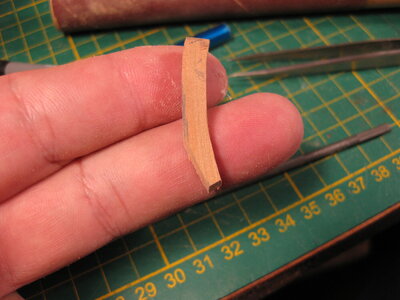
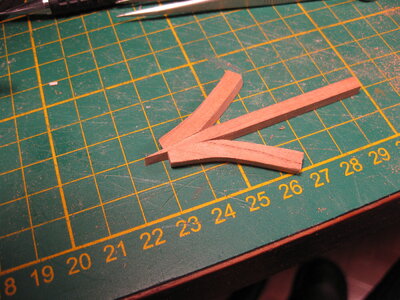
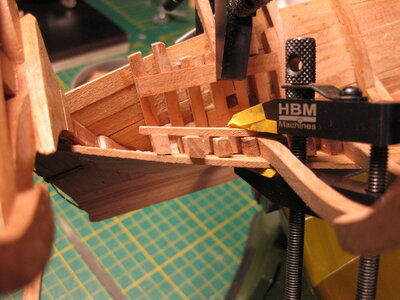
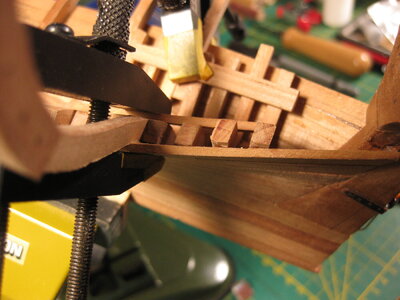
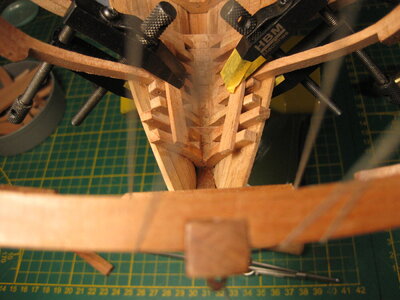
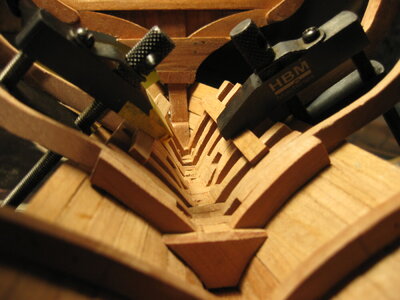
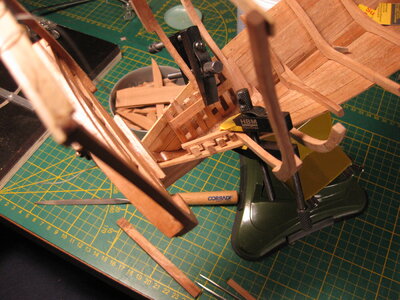
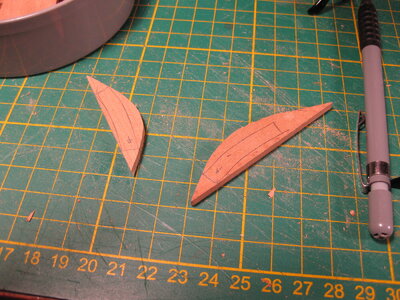
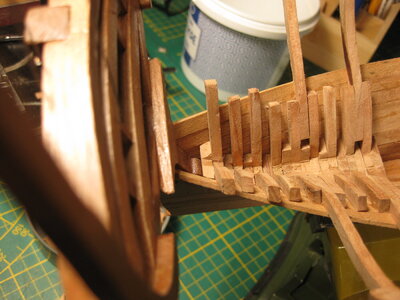
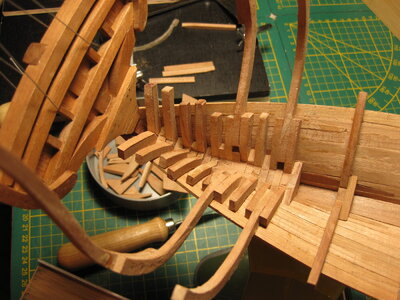
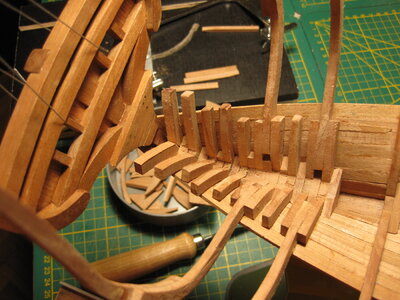
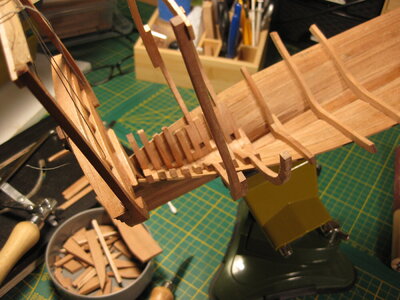
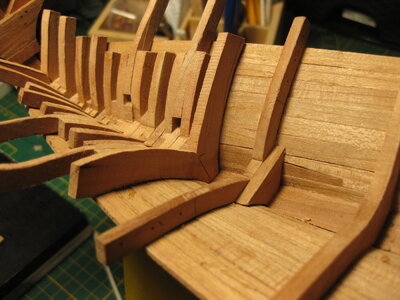
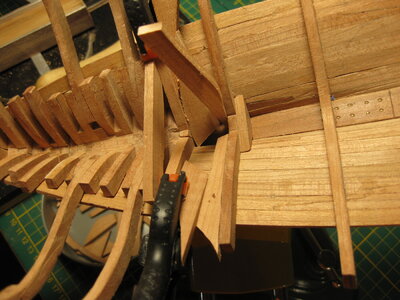
Small update but 4 hours work. 3 pieces of wood. the small one between the timbers and 1 set of timber (zoogstukken)
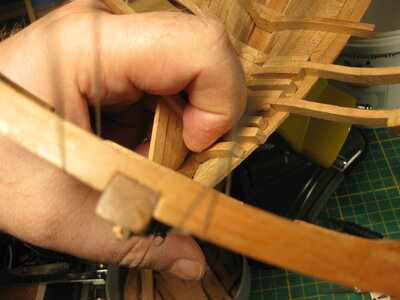
IMG_3706.JPGIMG_3707.JPGIMG_3708.JPGIMG_3709.JPGIMG_3710.JPGIMG_3711.JPG

When the glue is dry, I cut of the wig between the timbers on the correct length and glue the also between them. And go on to the next part.

My stack of scratch wood is slinking.
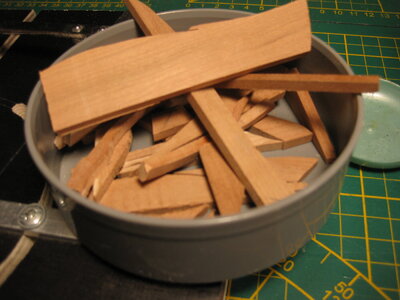
IMG_3713.JPG

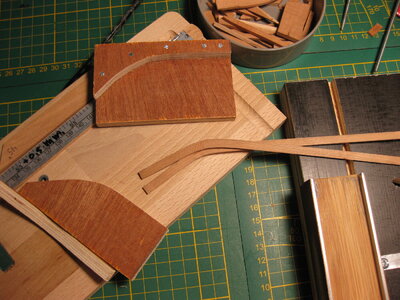
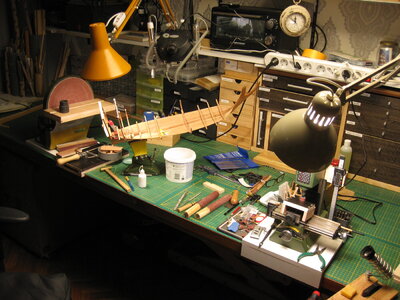
My workspace and the tools I use to make this. Mostly I use files and a round piece of wood with a piece of sandpaper glued to it. But also sometimes the Proxxon MF70 to make angle over a length of a piece of wood. The disk sander to do large parts of sanding and the small nail drill on top also to do precision sanding.
IMG_3714.JPG

Hope you enjoy this update, could be boring because it is a lot of the same kind of work I show. On the Dutch forum there is a builder (Pauwels) who builds ships in this way and he only used a few hand tools to do this. He got a little wooden box with tools he use. He using basswood/lime wood, that's a little easier to work with then cherry. It is softer. And I think he don't have arthritides in the hands like me.
Thanks for the visit
 
Hi Stephan,

this real hull construction is very interesting and admirable at the same time.
I am also very impressed by your very structured and tidy workplace. I like it too, but I always fail to keep it clean...:)
Thanks for your interest Johann and about my clean working space, I cheated a little bit. Just vacuüm the dust and arrange my tools a bit before I took the picture. That is something I always try to do when I stop working. Try..... :)
 
Thanks again for the likes, comments and interest in my build log. It is appreciated.

A few more to do before I go further planking the floor and bilge.

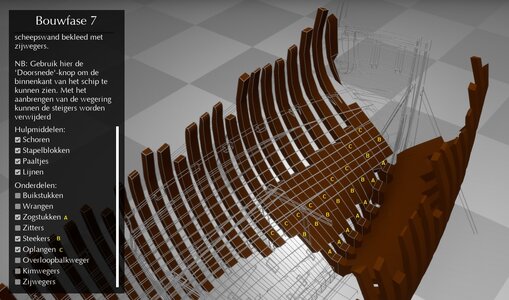
A little lesson in what I'm doing and what I do different.

Witsen.jpg

A. Crutch
B. Steekers
C. Futtock

The 'zogstukken' are not connected to each other exept the keel. No wood between them. But in my build I did. This was done on places where the mast is resting on the keel or on ships which had a heavy load. Like a warship with big heavy guns. That's why I made them between the 'zogstukken' (crutches) but also to have a steady rest for the crutches and keep the distance even, but the biggest reason is to make the work easy. And when the 'wegers' come inside, these parts will be invisible.

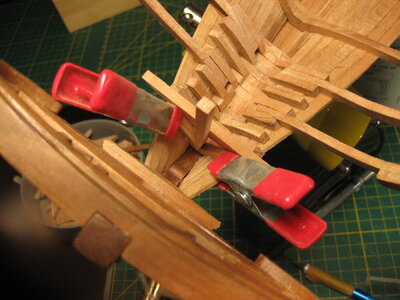
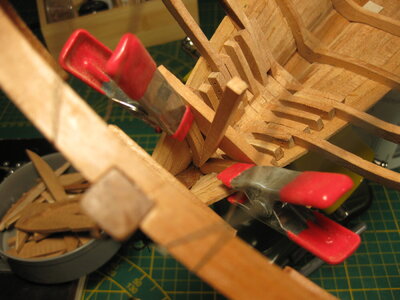
Back to the build, the last crutch on the back.

IMG_3721.JPGIMG_3722.JPGIMG_3723.JPGIMG_3724.JPGIMG_3725.JPG


And the next on to the bow direction, first a rough measurement
IMG_3726.JPG

And the when finally in shape glued and clamped in place.

IMG_3727.JPG

Time for coffee.
 
A nice 3D puzzle you are building - both in your brain and on your workbench.
It is indeed a puzzle in both. Have to do it with pictures and drawings of another kind of ship and translate that in my head to my ship. And then make it. Somehow it is a lot of fun to do. And see how it grows before your eyes more and more in a ship.
 
Thanks for all the likes and comments

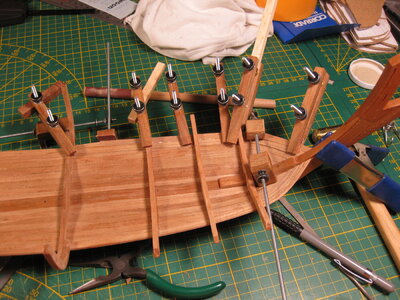
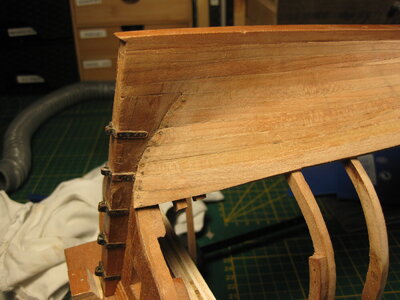
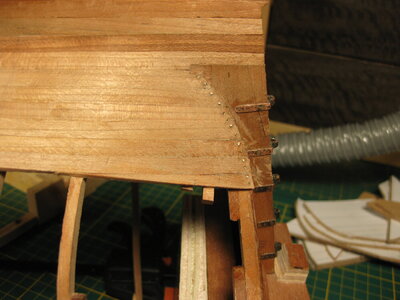
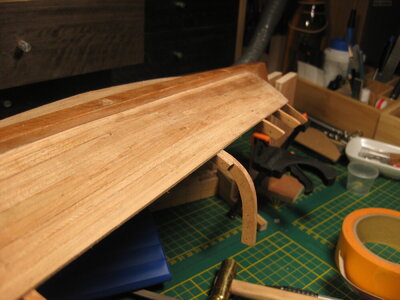
The first layer of planks after the timber is done. Also I make sure the planks stay attached to the keel with brass nails. Lot of tension there. Also I made a an extra "insteker" on the planking on the stern and stem.

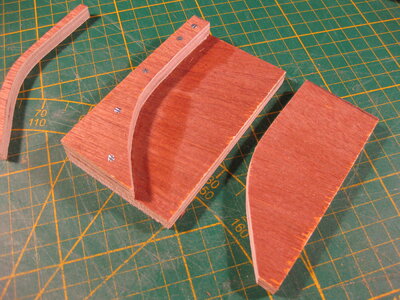
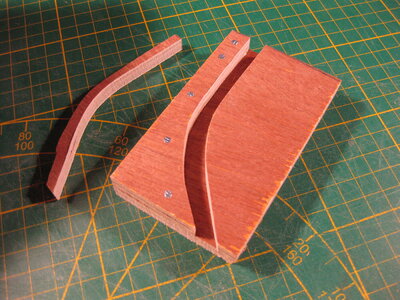
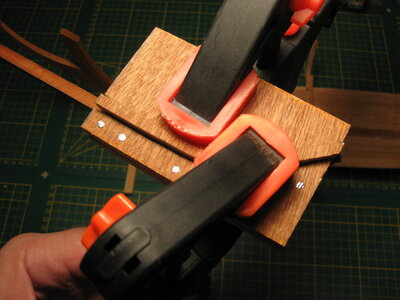
First a little tool for bending the planks on the bow
IMG_3734.JPG
IMG_3735.JPG
IMG_3736.JPG
IMG_3739.JPG
IMG_3740.JPG


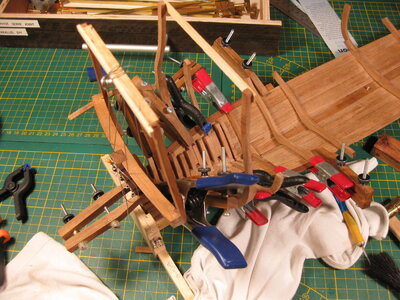
The ingenius clamping on the stern part. IMG_3737.JPG
IMG_3738.JPG

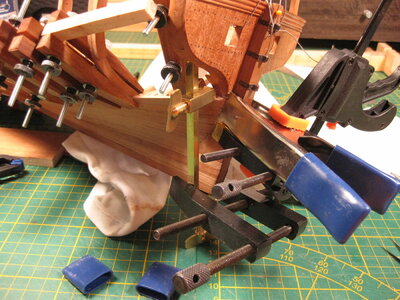
The nailing on the stern part incl. the "insteker"

IMG_3741.JPGIMG_3746.JPG

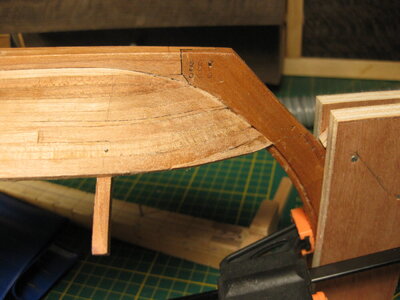
I made the "instekers" because the planking makes there an extreme bend. With the extra part between the planking this is more in line.
The bow is the same
IMG_3744.JPG
IMG_3746.JPG
IMG_3743.JPGIMG_3747.JPG
Thanks for watching.

IMG_3745.JPG
 
Hey Stephan, again a wonderful update on your progress, but...
From the pictures I understand you did quite some severemin-plane bending of some of the planks? Until now I was assuming that in-plane bending was not favored if not to be avoided. Is there something I missed unril now, or is this artistic license/free interpretation?
Hi Johan, without bending in the plane I would not manage the obtuse bow. Maarten lets the floor continue and slides them off over the first bilge plank. This creates the brick shape in his case. I let the floor planks continue on the bow.
Therefore, I have to bend the boards across the plane to get that brick shape more or less in there.
 
I always thought edge-bending was rather common on ships? Especially on those with rounded ends. We struggle at scale and especially with veneers, but dimensional lumber should be 'easier'. Of course, I just work on teeth so what do I know...
You say it right, when it are big timber beams they can be bend more easily above a fire or they used beams they grow like that.
But hey, how do I know, I used to fry French fries for living.... ROTF Oh and make lovely hamburgers, finger licking good.
 
Last edited:
Stephan, this is fast becoming one of my favorite builds. The lines are excellent and your process is methodical and fascinating. I'm really enjoying the build.
Thanks Marc for your support and interest in my build. I only can tell, try it to build like this, ask Maarten. It is fun to do. It is so different and goes so deep in how it was done in real. I started mybe a little to big and it was better to start the first time with a smaller vessel like a galjoot or something. But I like to jump into the deep. That's the way to learn fast. I'm glad you enjoy this build.
 
Back
Top