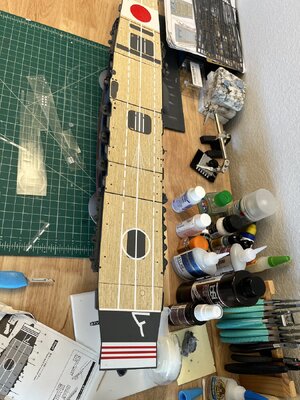
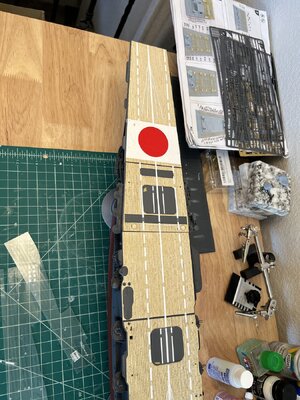
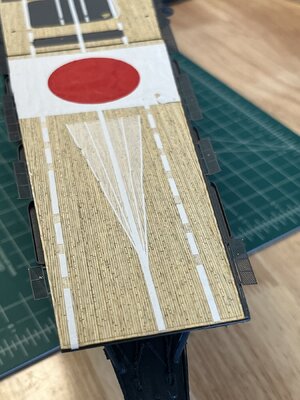
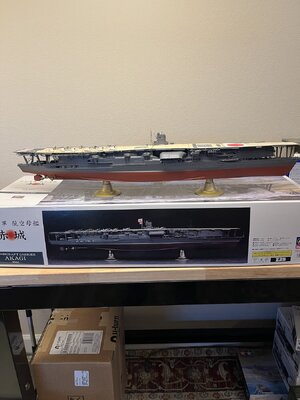
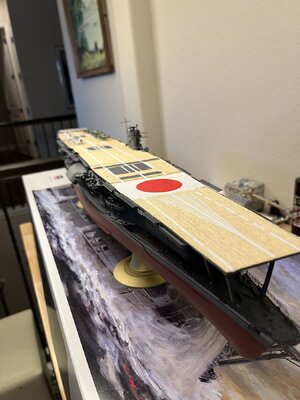
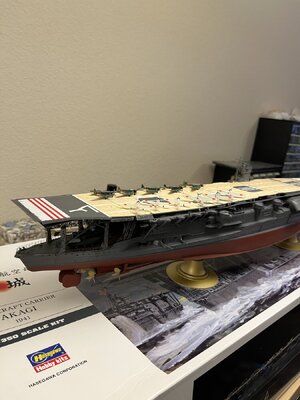
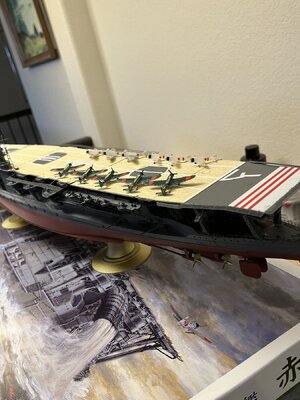
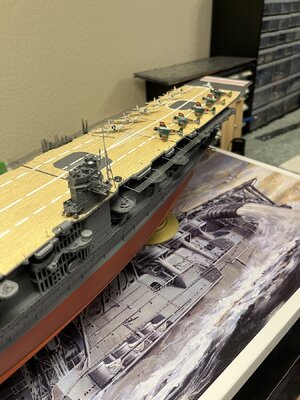
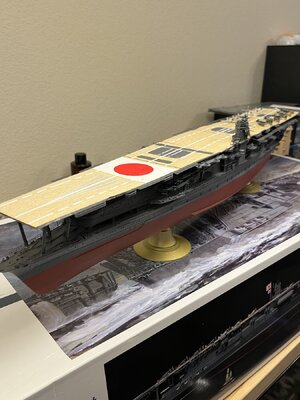
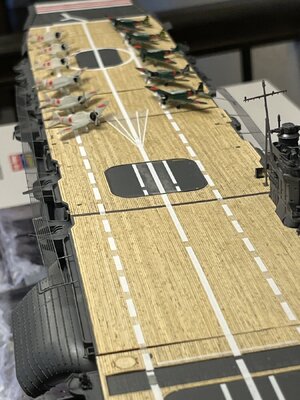
IJN AKAGI 1/350 by Hasegawa [COMPLETED BUILD]

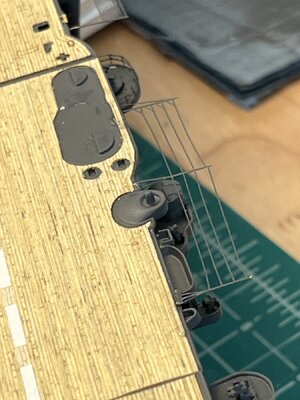
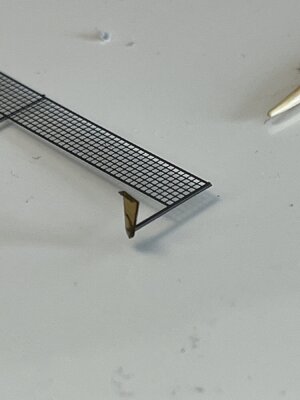
Time for an update but first a big thank you for the kind words and all the likes. I enjoy reading them as I check into what others are doing on their models. I started with the pe netting alongside the deck. What I thought would be straight forward, as always, turned out to be another difficult assembly. First thing was the delicacy of the parts and then where and how to attach them. I finally decided to attach them as I thought they'd be. Using ce glue on each post and holding the part in place until it set became a multi day chore. A few photos of the netting.
IMG_1420.jpeg
This was the fragile of the netting.
IMG_1421.jpeg
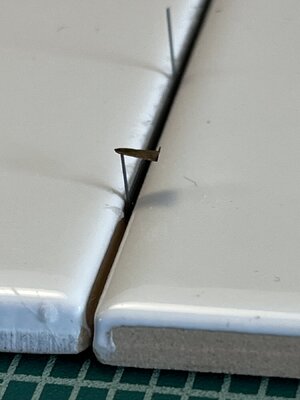
I got the upper piece with out bending or damaging and was feeling pretty proud of my work until !!!! The next required angle brackets to be attached to the end of the wire posts. Each angle had to be bent in a 90 degree angle and attach them to the post required inserting the post into a slit on the angle. Sounds simple but this part and very small and fragile. Another day making angles, inserting posts in the slits, a small dot of ce. With small dot of ce some the of the angles came loose and putting them back required rework of the post. I laid the netting on the cutting #11 blade scraping the ce from the post. This had to be done as the slit was so tight that any amount of ce prevented the post to be inserted into the slit.

Done and a couple of photos.
IMG_1417.jpeg
Above is a closeup of the angle and post
IMG_1415.jpeg
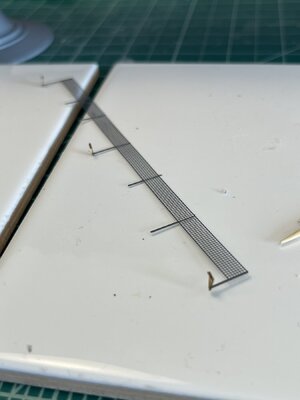
This is how held the netting to put the post on
IMG_1416.jpeg
you can see not all the posts required an angle and not all were the same length so it was hard to find where to put the netting assembly
Finally done with the netting and now on the forecastle and deck fittings.
 
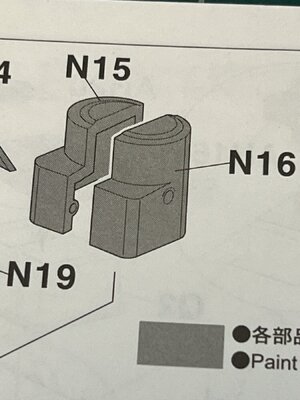
I have been able to squeeze modeling time between doctor appointments and traveling to Arizona to look at wedding dresses for my daughter, so I'll bring you up to date. I finally finished the construction phase on the model. The bridge superstructure was a challenge with a the pe to be placed. I don't know why I think the superstructure was a challenge, THIS WHOLE MODEL HAS BEEN A CHALLENGE. The hardest part was making half of the of the structure specifically N16
IMG_1430.jpeg
which was lost. I used plastic putty to make the basic shape and then carved and sanded until the shape was a good approximation of the otherside. (N15) Finished the structure glued in place and touched up all the black and grey paint that had been mishandled by yours truly.
IMG_1425.jpegIMG_1424.jpeg
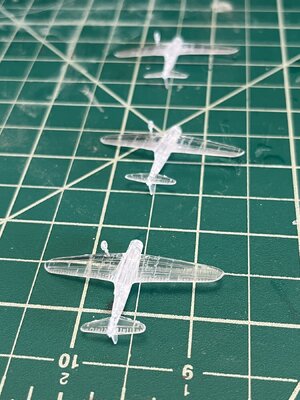
With all this done it was time to start the airplanes. Working on these small subjects is hard on me with my old clumsy hands. This is my aircraft assembly line just like WW2.
IMG_1426.jpeg
I was impressed with Hasegawa using clear plastic until I realized I'd have to mask the cockpits to keep them clear. Looking further into the paint schemes I realized I'd have to mask parts of them as the planes are two colors. Silly me thinking I was in the home stretch.

IMG_1423.jpeg
 
I have been able to squeeze modeling time between doctor appointments and traveling to Arizona to look at wedding dresses for my daughter, so I'll bring you up to date. I finally finished the construction phase on the model. The bridge superstructure was a challenge with a the pe to be placed. I don't know why I think the superstructure was a challenge, THIS WHOLE MODEL HAS BEEN A CHALLENGE. The hardest part was making half of the of the structure specifically N16
View attachment 425649
which was lost. I used plastic putty to make the basic shape and then carved and sanded until the shape was a good approximation of the otherside. (N15) Finished the structure glued in place and touched up all the black and grey paint that had been mishandled by yours truly.
View attachment 425652View attachment 425653
With all this done it was time to start the airplanes. Working on these small subjects is hard on me with my old clumsy hands. This is my aircraft assembly line just like WW2.
View attachment 425656
I was impressed with Hasegawa using clear plastic until I realized I'd have to mask the cockpits to keep them clear. Looking further into the paint schemes I realized I'd have to mask parts of them as the planes are two colors. Silly me thinking I was in the home stretch.

View attachment 425654
Will I really love this ship and you are doing a superb job of her. JJ..
 
I have been able to squeeze modeling time between doctor appointments and traveling to Arizona to look at wedding dresses for my daughter, so I'll bring you up to date. I finally finished the construction phase on the model. The bridge superstructure was a challenge with a the pe to be placed. I don't know why I think the superstructure was a challenge, THIS WHOLE MODEL HAS BEEN A CHALLENGE. The hardest part was making half of the of the structure specifically N16
View attachment 425649
which was lost. I used plastic putty to make the basic shape and then carved and sanded until the shape was a good approximation of the otherside. (N15) Finished the structure glued in place and touched up all the black and grey paint that had been mishandled by yours truly.
View attachment 425652View attachment 425653
With all this done it was time to start the airplanes. Working on these small subjects is hard on me with my old clumsy hands. This is my aircraft assembly line just like WW2.
View attachment 425656
I was impressed with Hasegawa using clear plastic until I realized I'd have to mask the cockpits to keep them clear. Looking further into the paint schemes I realized I'd have to mask parts of them as the planes are two colors. Silly me thinking I was in the home stretch.

View attachment 425654
Really good work on this model especially all the PE. Incidently, there are some good CGI shots of the Agaki in the first part of the Japanese movie "The Eternal Zero" (released in some countries as 'Fighter Pilot')
 
I have been able to squeeze modeling time between doctor appointments and traveling to Arizona to look at wedding dresses for my daughter, so I'll bring you up to date. I finally finished the construction phase on the model. The bridge superstructure was a challenge with a the pe to be placed. I don't know why I think the superstructure was a challenge, THIS WHOLE MODEL HAS BEEN A CHALLENGE. The hardest part was making half of the of the structure specifically N16
View attachment 425649
which was lost. I used plastic putty to make the basic shape and then carved and sanded until the shape was a good approximation of the otherside. (N15) Finished the structure glued in place and touched up all the black and grey paint that had been mishandled by yours truly.
View attachment 425652View attachment 425653
With all this done it was time to start the airplanes. Working on these small subjects is hard on me with my old clumsy hands. This is my aircraft assembly line just like WW2.
View attachment 425656
I was impressed with Hasegawa using clear plastic until I realized I'd have to mask the cockpits to keep them clear. Looking further into the paint schemes I realized I'd have to mask parts of them as the planes are two colors. Silly me thinking I was in the home stretch.

View attachment 425654
Hey Will,
You hard work is certainly paying off. This ship looks terrific. Would you consider yourself on the 'home straight' as yet?
Cheers,
Steve
 
I want to thank everyone for the likes, comments and suggestions. So nice to read the comments and look at the the number of likes. Steve I believe I'm on the final leg but something always pops up. I read somewhere that a model is never finished as you keep looking and see what could have been done better. I'll check to find the movies.
Again thank you all
 
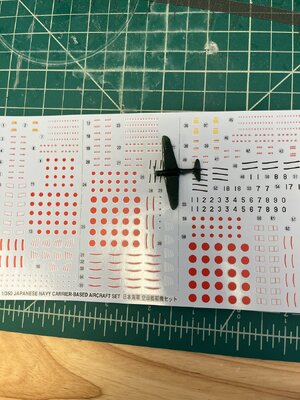
Well it certainly was correct about silly me. I painted the airplanes with grey paint as they were uniformly grey. The torpedo planes were green on the top and silver underside while the bombers were grey top and silver bottom. The zeros were all grey.
I painted the torpedo planes green and placing them on the sheet of wet slides giving an idea of what's next on my silly me.
IMG_1432.jpeg
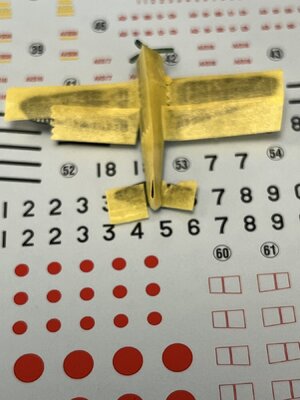
The taping will be very difficult as the planes are delicate. Below is a taped plane on the we slide sheet.
IMG_1433.jpeg
I see I have to redo the right tail. The tape will protect them from overspray. Let the fun begin.
 
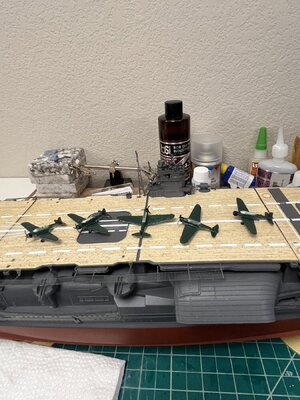
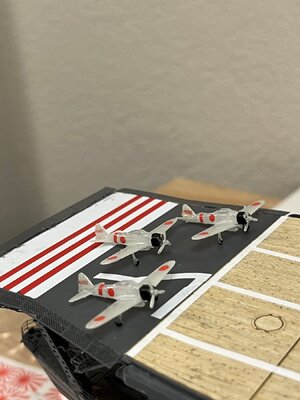
Short update. All planes painted top and bottom. Touched up the silver as some bled under the tape. I think the tape wasn't securely pressed in place as the planes are so small and fragile. Brushed the flat black nose sections and wheels. Completed the slide on decals unto the Zeros with more to come tomorrow. I'm really trying to complete the Akagi before saturday as that is my birthday and it would be a great present.
Bombers painted waiting for decals
IMG_1436.jpeg

Zeros completed
IMG_1437.jpeg
 
Short update. All planes painted top and bottom. Touched up the silver as some bled under the tape. I think the tape wasn't securely pressed in place as the planes are so small and fragile. Brushed the flat black nose sections and wheels. Completed the slide on decals unto the Zeros with more to come tomorrow. I'm really trying to complete the Akagi before saturday as that is my birthday and it would be a great present.
Bombers painted waiting for decals
View attachment 426346

Zeros completed
View attachment 426351
Great birthday present Will, mind you, you have had to work hard for it. Great job and definitely worth it.

Best wishes for your birthday JJ..
 
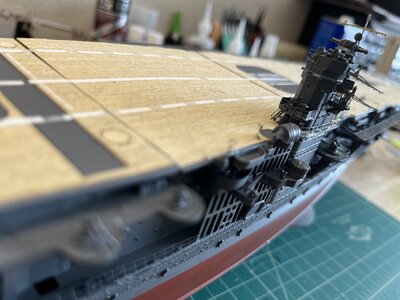
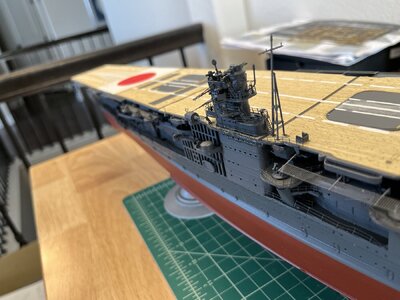
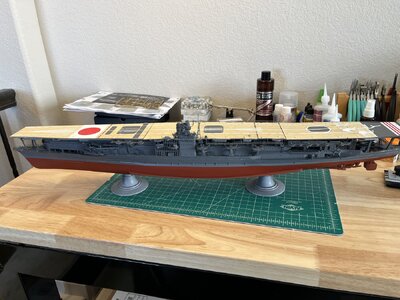
IJN Akagi is complete and I want to thank everyone who took the journey with me.
This has been a long journey taking almost 7 months with many ups and some downs. My modeling skills have made drastic improvements since the start back in July and that I will take to the next model. Looking back upon the model the hardest part was using photo etch from three suppliers. My lack of discipline was exposed when using three sets of photo etch. If ever again using multiple sets of photo etch I must ensure what parts from each set to use and what parts won't be used. Another thing about me was I looked at all the logs and youtube videos without realizing that I never had attempted anything a complex as Hasegawa Akagi. just thinking I can do this.
So now the final version of my IJN Akagi
IMG_1438.jpegIMG_1439.jpegIMG_1440.jpegIMG_1445.jpegIMG_1444.jpegIMG_1443.jpegIMG_1442.jpeg
 
Back
Top